
If there’s a type of bread that has fantastic taste and incredible looks, it’s croissants. This recipe is one of the finest pieces of art by the French and it makes us drool nonstop. You can eat it on its own, with jam and butter or use it to make sandwiches. However you like them, no doubt these will always be a conversation starter.
The Croissant Dough
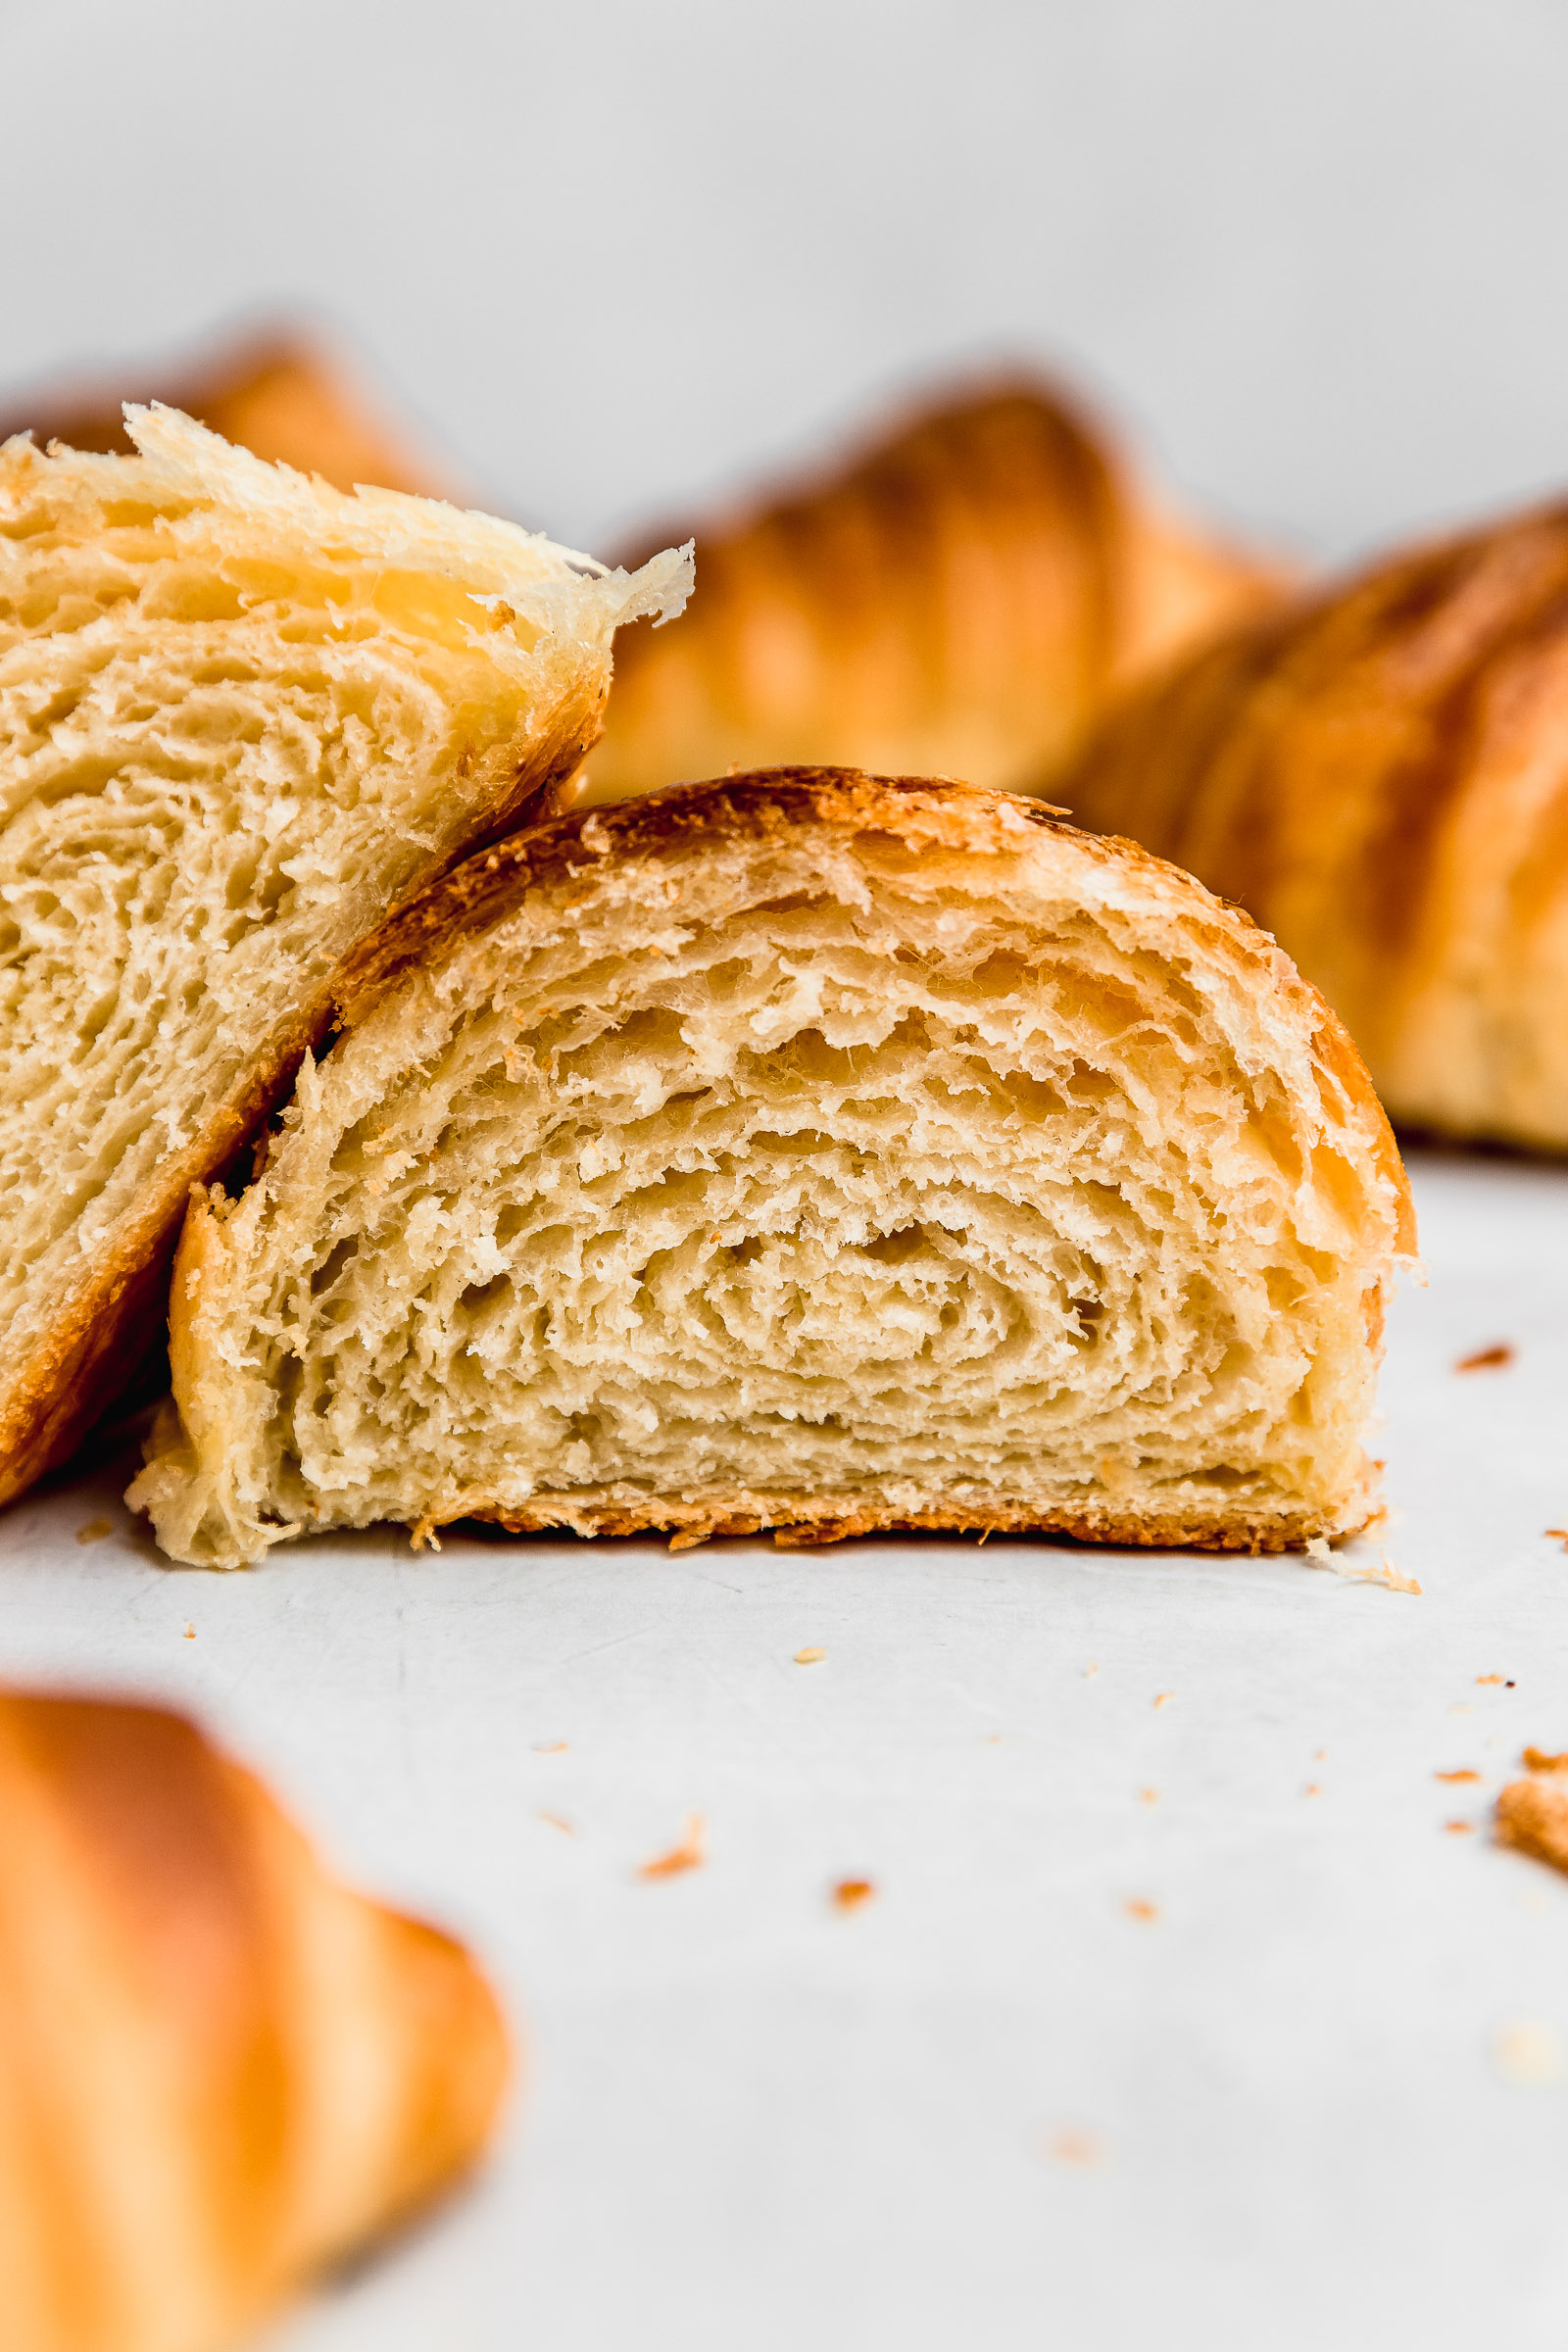
Many people think croissants are made with puff pastry, but it’s a half-truth. Croissant dough is made with a similar method as puff pastry but the dough also has yeast, which makes it fluffy and bouncy like bread. Puff pastry, when baked, is crispy and flakey but certainly not bouncy. This makes it so that there aren’t only layers of dough and butter in the dough, but also lots of pockets of air and fluffiness. This same croissant dough can be used for making pain au chocolate, almond croissants, cronuts and so many more inventions.

How to make croissants
To make croissants, we need to components first. On one hand, we have to shape the butter into a sheet. For that purpose, I make an envelope with baking paper the size of an A4 sheet. I start by getting myself a sheet of paper that size, like a bill, letter or whatever. In that way, I can fold the baking paper around the A4 paper. Once that’s done, I remove the paper from the inside and add the butter. For the butter, if it’s cold, I cut it into slices and place them next to each other. Then I tap it gently with the rolling pin until it softens. Finally, I use the rolling pin to spread it evenly in all of the envelope, including the corners. Another option is to use room-temperature butter and spread it using the rolling pin as well. After that, you refrigerate it. If you need a good rolling pin, this is my favourite on Amazon.

The key to making this dough
Just like with puff pastry, the temperature of the butter is key to making sure that we have an even lamination of butter within the dough. Croissants are made of layers of bread dough and butter. Even lamination will make it so that you have that beautiful air pockets and prevents the butter from seeping out during baking as well. The butter needs to have a playdough texture at all times. Harder than that and the dough will break when you roll it out, and softer than that and it will start to escape the dough. To achieve this, the temperature needs to be perfect every time. Consider that if it’s hot in your kitchen, you will have to refrigerate the dough for longer (up to 1 hour – 1 hour 30 minutes) to achieve the perfect texture. If it’s too hard from being too cold, you will usually notice it at the edges of the dough, where you will feel hard bits of butter. In this case, give it 5-15 minutes at room temperature before rolling it out.

How to shape croissants
Once the croissant dough is ready to use, you will roll it out on a lightly floured surface until it measures 30x40cm/12x16in. Then you will cut 10 cm-based triangles, keeping the 30cm/12in as the height. To form the croissants, you will gently stretch out the base of the triangle to the sides and then also pull on the length carefully. This will result in a long triangle. Then, you will start to roll and pull the length as you do that as well. In this way, you will have several layers of dough around your croissant so that it has that round, chubby shape.

How to keep them
There are several moments where you can stop the process to continue at a later time. I also want to talk about how to keep croissants once they are ready.
- Freezing the dough: You can freeze the dough at any moment in the process. Ideally, you want to freeze it once the dough is ready, before proofing and shaping the croissant. To use it, let it thaw completely to room temperature, checking that it’s not too soft before rolling it out.
- Freeze the croissants before proofing: You can freeze the croissants as soon as you have finished shaping them, before proofing. Once rolled up, you can freeze them on a tray with baking paper at the base. Once completely frozen, about 8 hours later, you can place them all in a bag or container and they won’t stick together. To bake them, let them thaw completely and from that moment proof them for 2 hours or until wobbly and fluffy.
- Freeze baked croissants: Once baked, homemade bread keeps well frozen. You can keep them already open or whole. To reheat them, bake them for 15-20min at 130c/250F.

Butter Croissant Recipe
Ingredients
For the dough
- 600 g bread flour
- 60 g sugar
- 12 g salt
- 10 g instant yeast
- 360 ml lukewarm water
Butter for the lamination
- 250 g unsalted butter at room temperature
Eggwash
- 1 egg
- 1 tbsp water at room temperature
Instructions
For the dough
- Place the dry ingredients in a bowl and mix.
- Form a hole at the centre and pour the water.
- Mix the ingredients and knead for 20 minutes by hand or 10 minutes on medium-low speed in a stand mixer with the hook attachment. You should have a smooth dough.
- Cover the bowl and let it proof in a warm place for one hour. I like to do this in my oven turned off and with the light on to generate a warm environment.
- Once proofed, de-gas it by flattening it out, wrap in cling film and refrigerate for 30 minutes.
Butter for the lamination
- Get yourself an A4 or letter-sized piece of paper. It can be a utility bill, a document or a flyer. With baking paper, wrap the paper on both sides, leaving an edge all around. Fold the edges in to wrap the paper tightly. You should have an envelope at the end.
- Remove the piece of paper from the envelope and place the butter at the centre. If the butter is hard, slice it and place the slices flat on the paper. Fold the envelope shut and make sure that the foldings of the edges are facing down. Lightly tap it with a rolling pin to soften the butter. Once soft, Roll it out evenly in the envelope, including the edges. If the butter is at room temperature, just place it in the envelope and use the rolling pin to spread it. You can touch the envelope with your hand to see if some places are thicker than others and correct it.
- Refrigerate the butter until it's time for the lamination.
Lamination and baking
- Remove the dough and butter from the fridge. Roll out the dough on a lightly floured surface until it has 1.5 times the length of the butter and leave 2-3cm on each side and bottom. Try to keep it as rectangular as possible as you roll it out.
- Place the butter on the bottom part of the dough, remembering to leave 3cm at the base.

- The top third of the dough that doesn't have butter gets folded onto the butter so that now you only see half the butter.

- Now the bottom third gets folded over so that you have 3 layers of dough and 3 layers of butter. If your butter isn't too soft at this point, we can go for the first turn. If it has softened, chill the dough for 30-60min wrapped in film before we continue.
- Roll the dough on a lightly floured surface, always trying to keep the shape as rectangular as possible. It should have 60cm in length. For the first fold or turn, we're doing a book turn. Use a brush to remove the excess flour from the surface. Fold both edges to the centre so that they meet there and then fold the dough in half so that you have 4 new layers.
- Refrigerate the dough wrapped in film for 30min or up to 1 hour if it's a hot day.
- Roll out the dough once again, keeping the sides that weren't folded at the top and bottom. Brush off the excess flour and fold in 3 like we did with the inclusion.
- Wrap the dough again in film (you can reuse the same strip every time) and refrigerate for 30 minutes or overnight. Make sure that it's tightly wrapped as it will inflate overnight.
- After this time, roll out the dough on a lightly floured surface until it measures 30x40cm/12x16in. It will be about 5-7mm thick. Always make sure that it's not sticking to the surface and try to have it as rectangular as possible.
- With a knife, trim the edges to have more of a perfect rectangle. Don't through them out! They're still yummy! I roll them and place them in a muffin tin.
- Use a ruler to mark every 10cm at each side of the long side of the rectangle. Use a knife to cut the triangles, going from one 10cm mark to the mark across and then one mark over to form the triangle. Repeat with all triangles.
- Stretch the base of the triangle and also the length of it so that it's about 3cm/1in longer. Remove the excess flour with a brush. Roll the croissants starting at the base, pulling on the triangle as you go to stretch it further. This way you will have more layers to your croissant. At the end, press down a bit to stick the end to the croissant and leave the tip under it.
- Place all the croissants on an oven tray with baking paper or a silicone mat. Let them proof for 2 hours in a warm place.
- Paint the proofed croissants with the egg mixed with the water and bake in a preheated oven at 200°C / 390°F for 25-30 minutes. They should be nice and golden.

