
If there’s something I constantly get asked about, it’s food photography. It’s true that it’s a world on its own and there’s a whole lot to learn. In the meantime let’s start with these 10 food photography tips for beginners, perfect for foodies and bloggers.
Looking for a food photography course to take? I highly recommend Foodtography School, and you and use my code “LORE15” for 15% off.
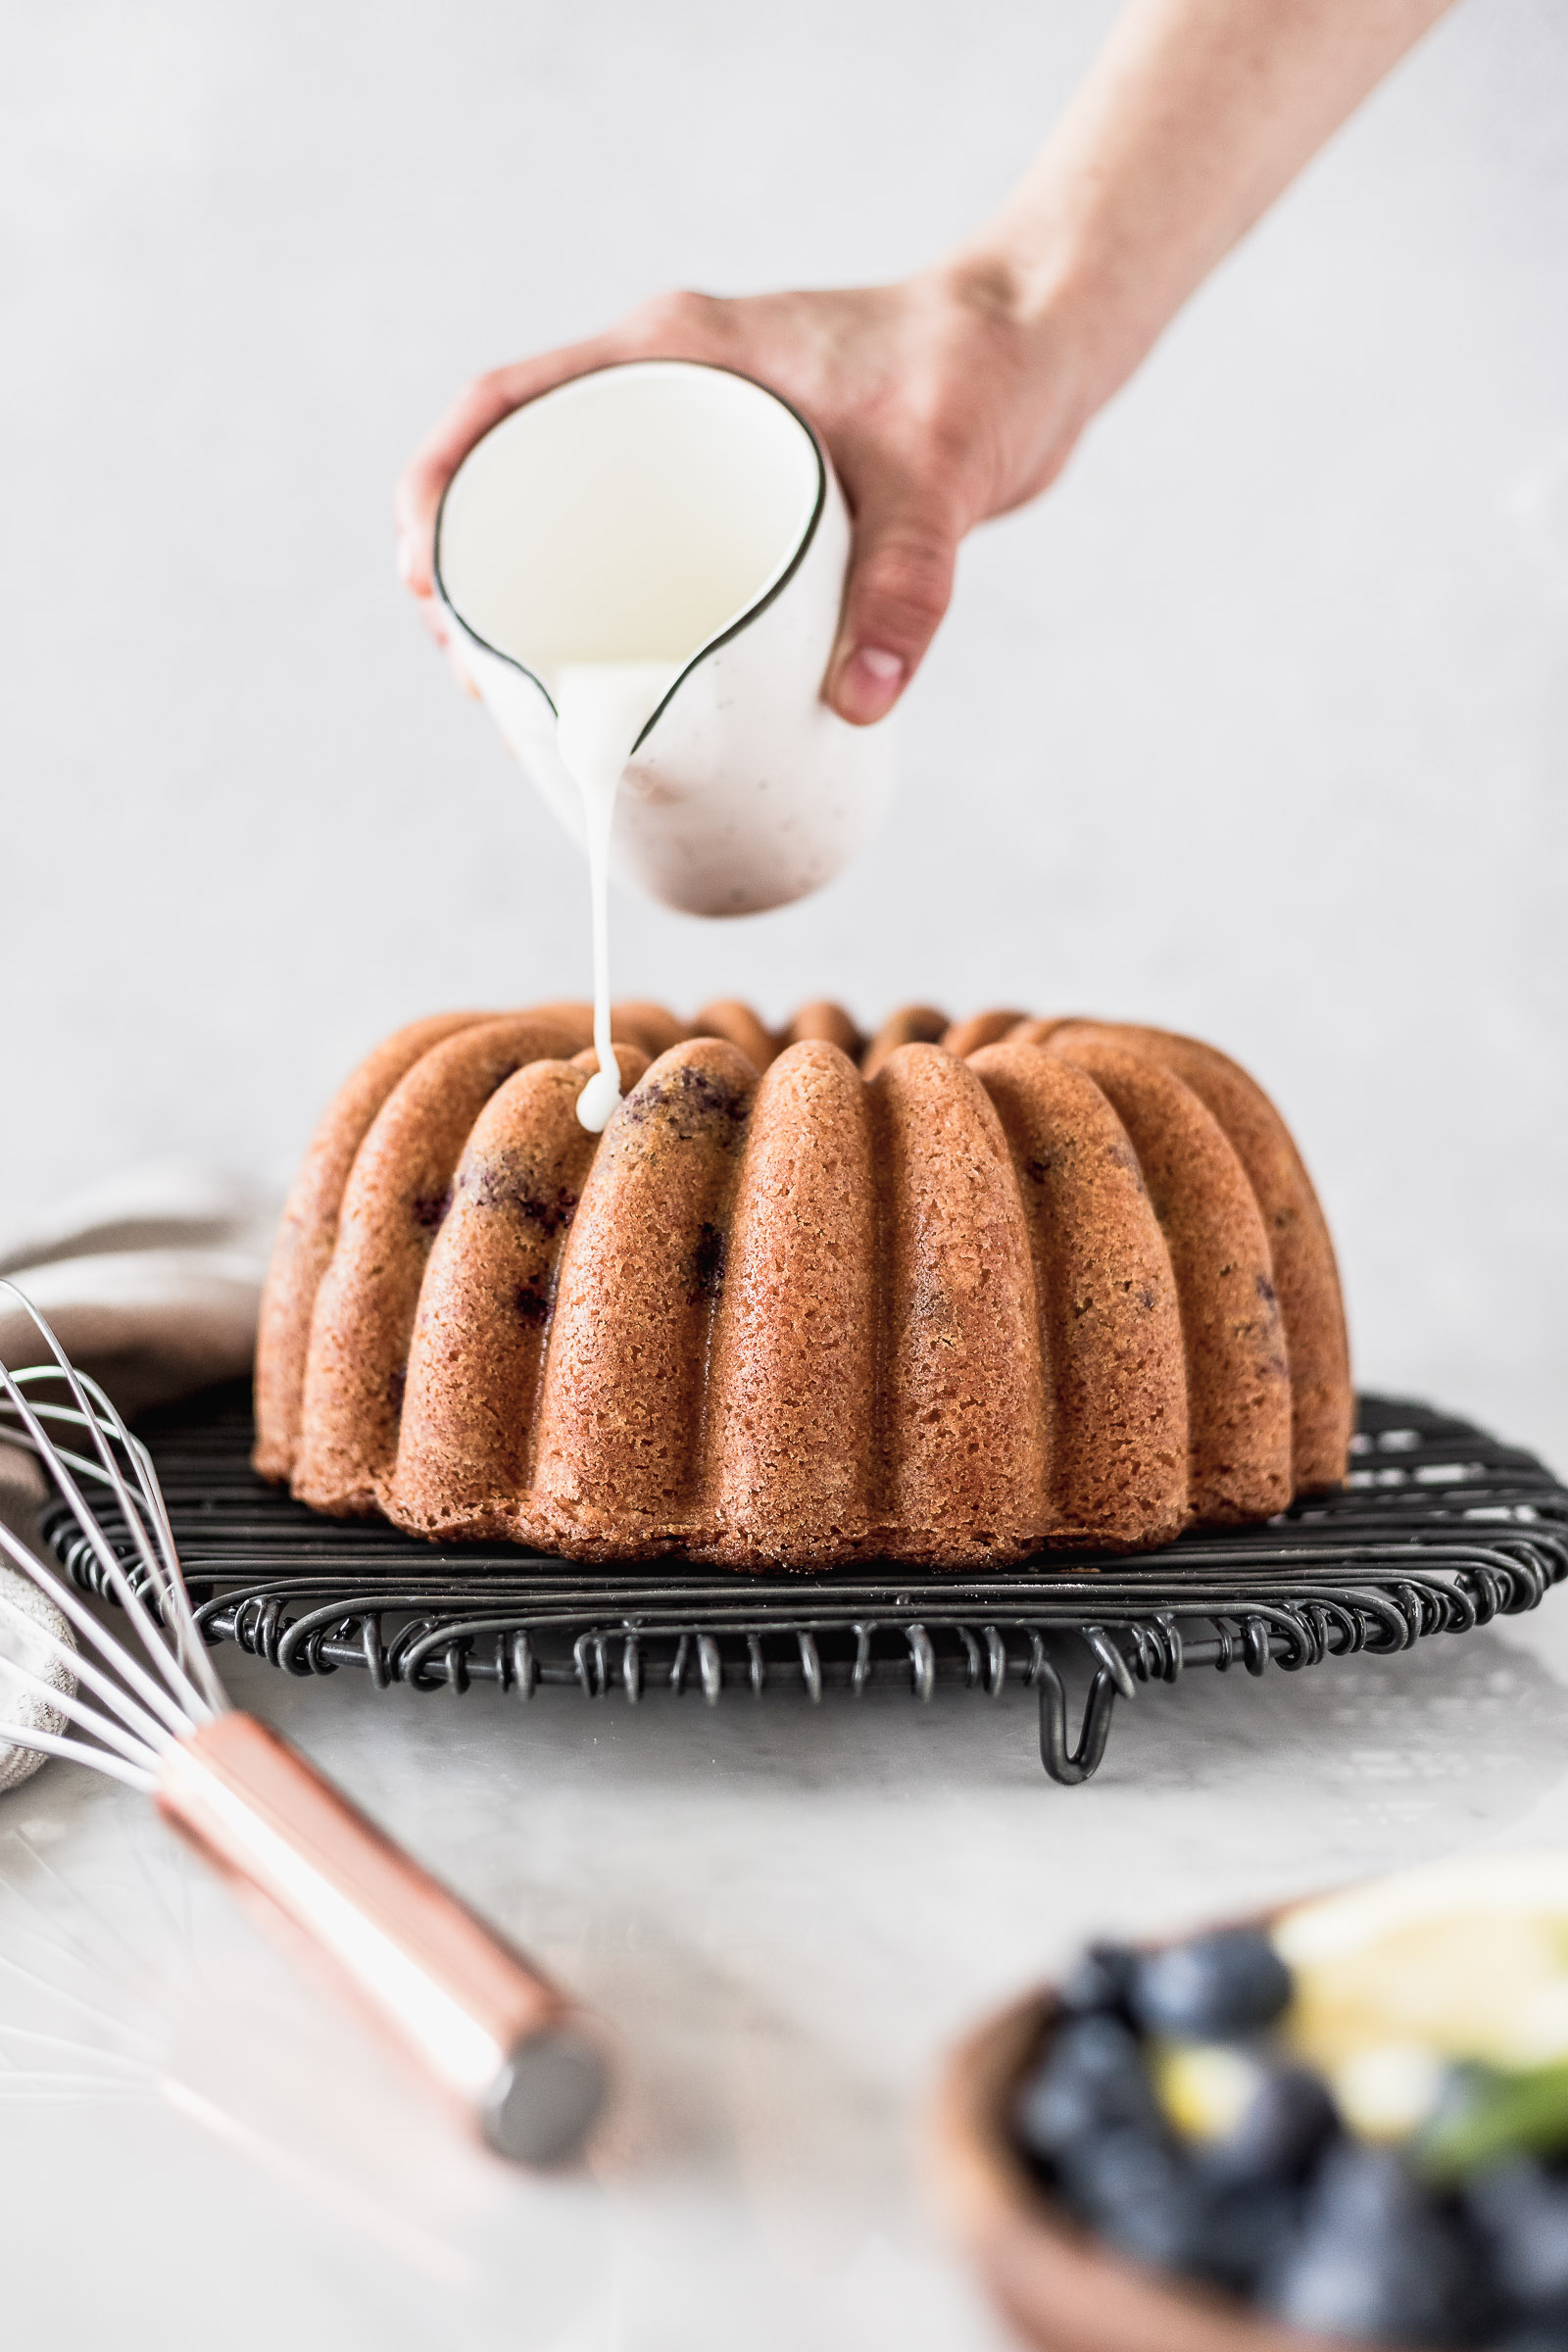
Food Photography Tip 1. Make the light hit the food from the side or from the back
Controlling light is basic in all photography branches and food photography is no exception. That’s why for the first food photography tip I’m going to show you the same bowl of fruit from different angles of lighting so you can see the difference. Also I want to start by saying that I don’t recommend shooting at night unless you have professional lighting to do so.
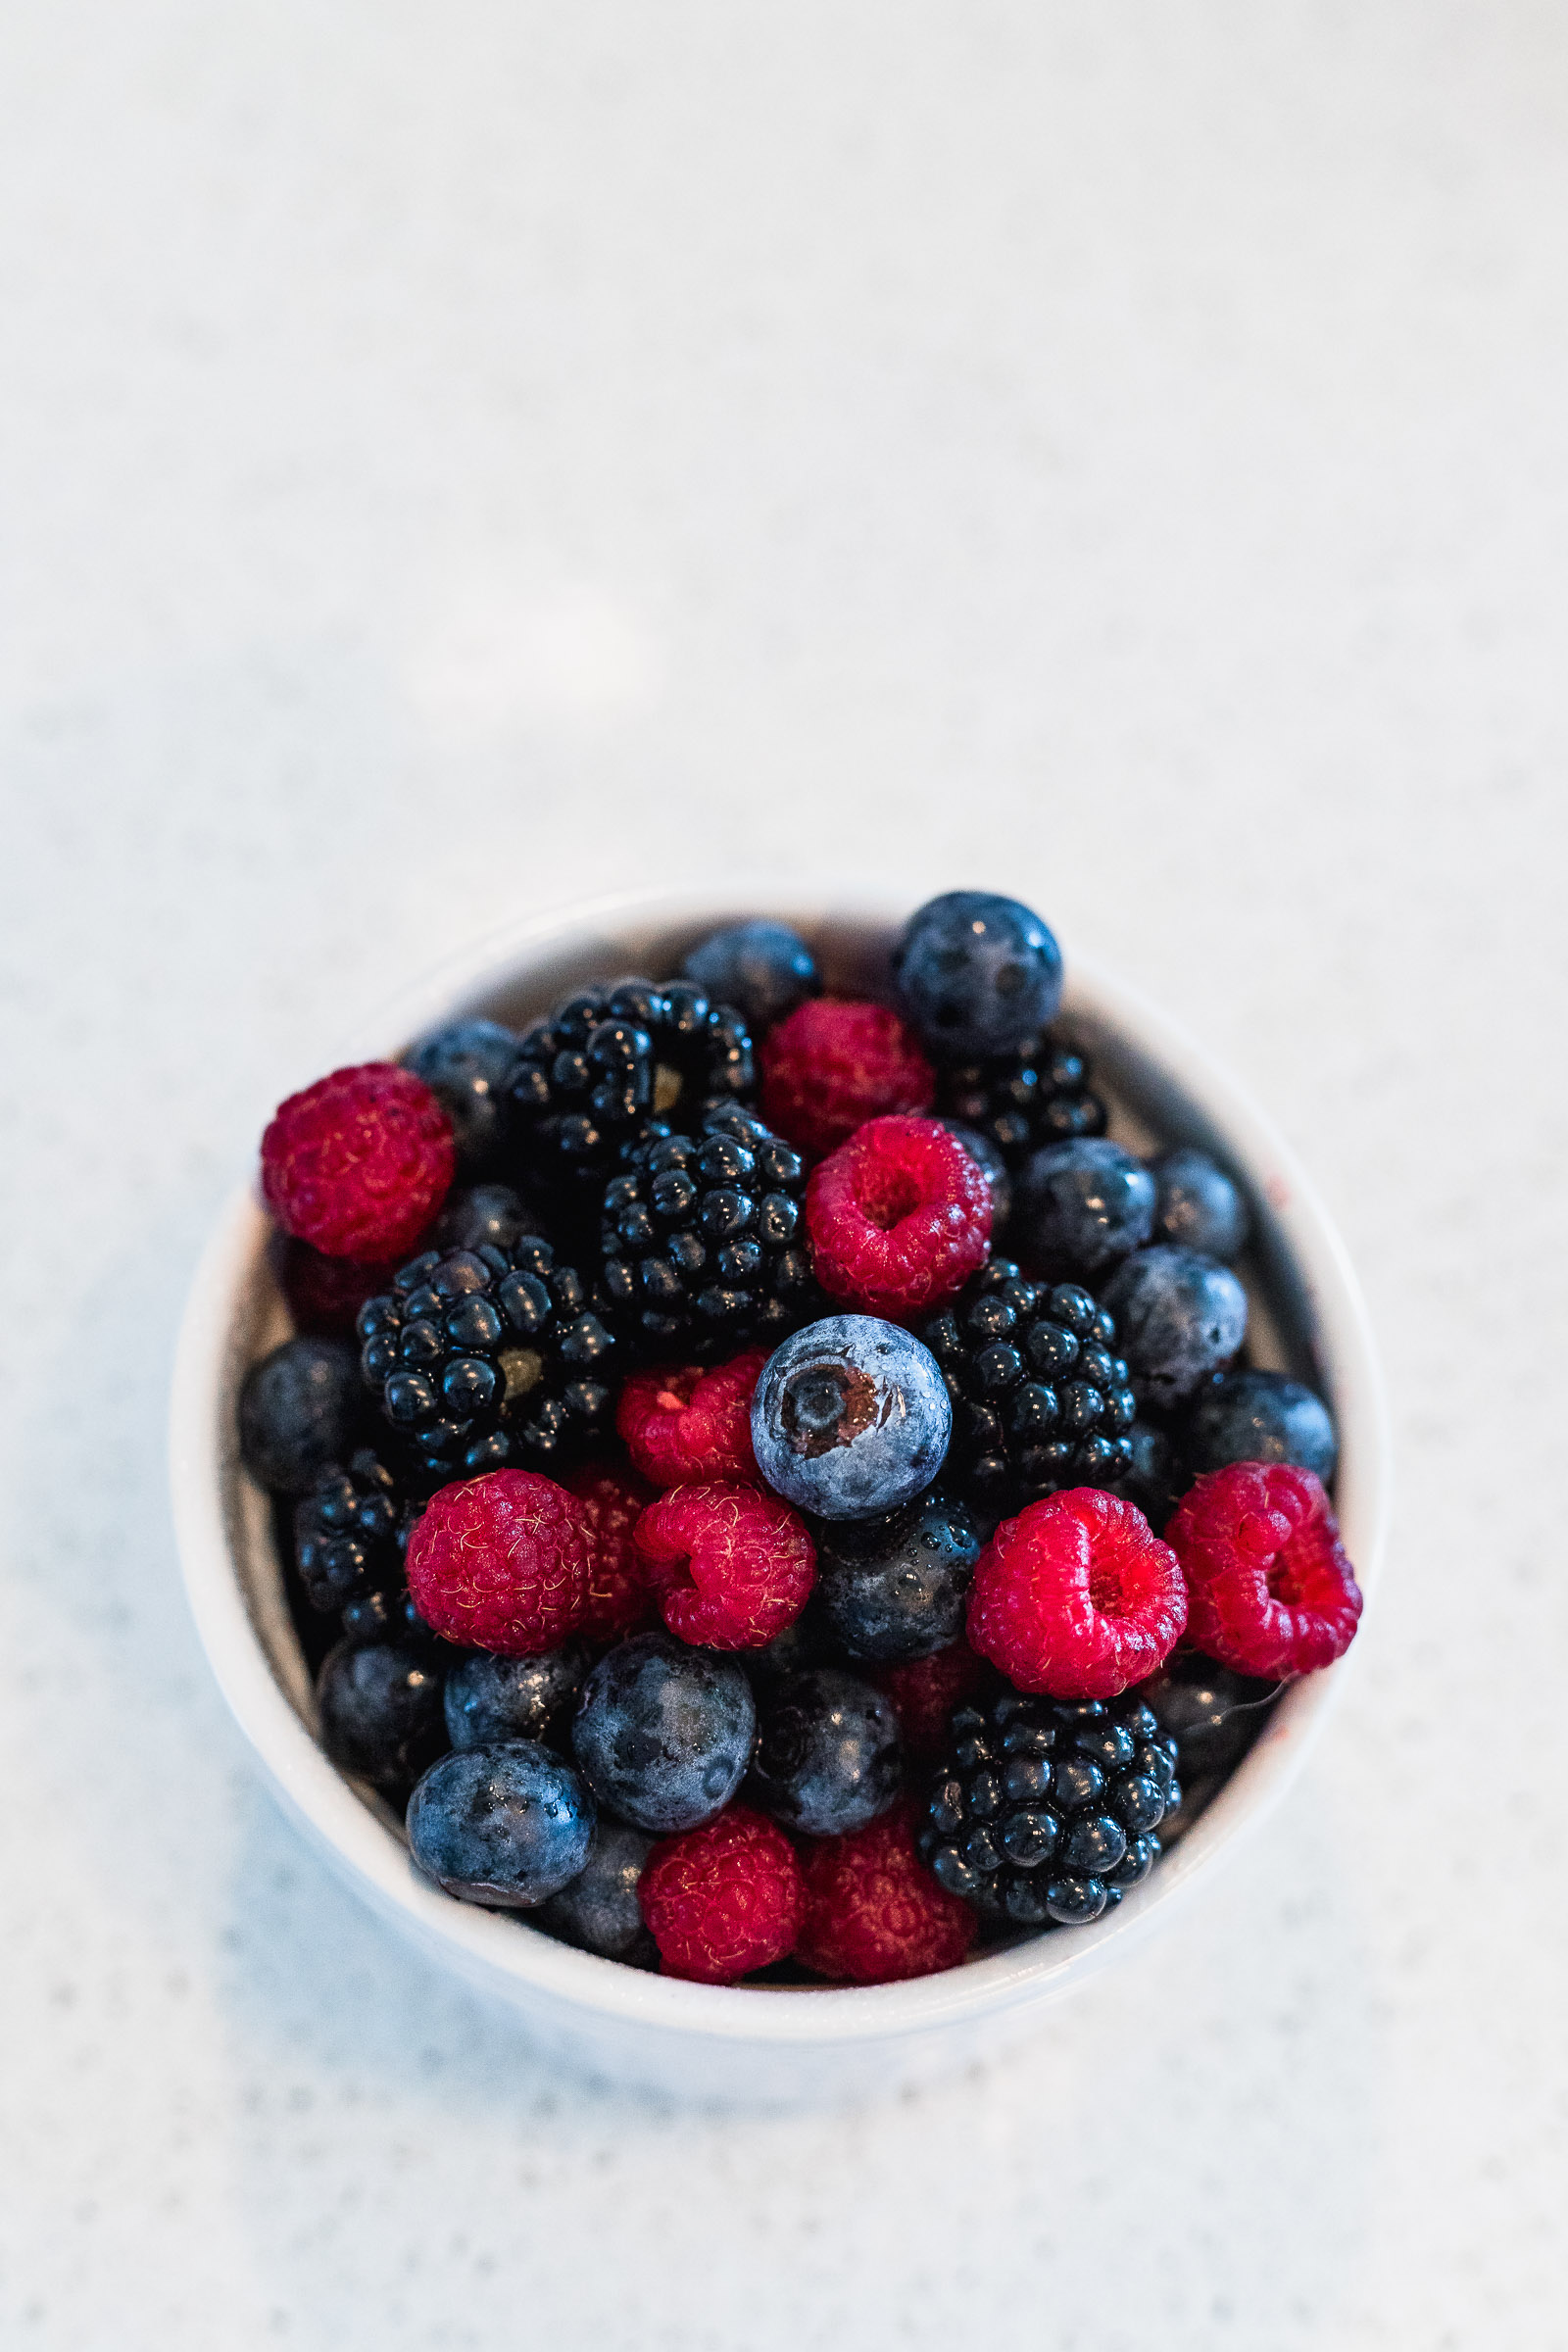
No: light hitting straight on
When you place the light source right in front of the subject we end up feeling like the image is flat and lacks dimension. It doesn’t feel alive but rather static, without any shadows and not dynamic at all.
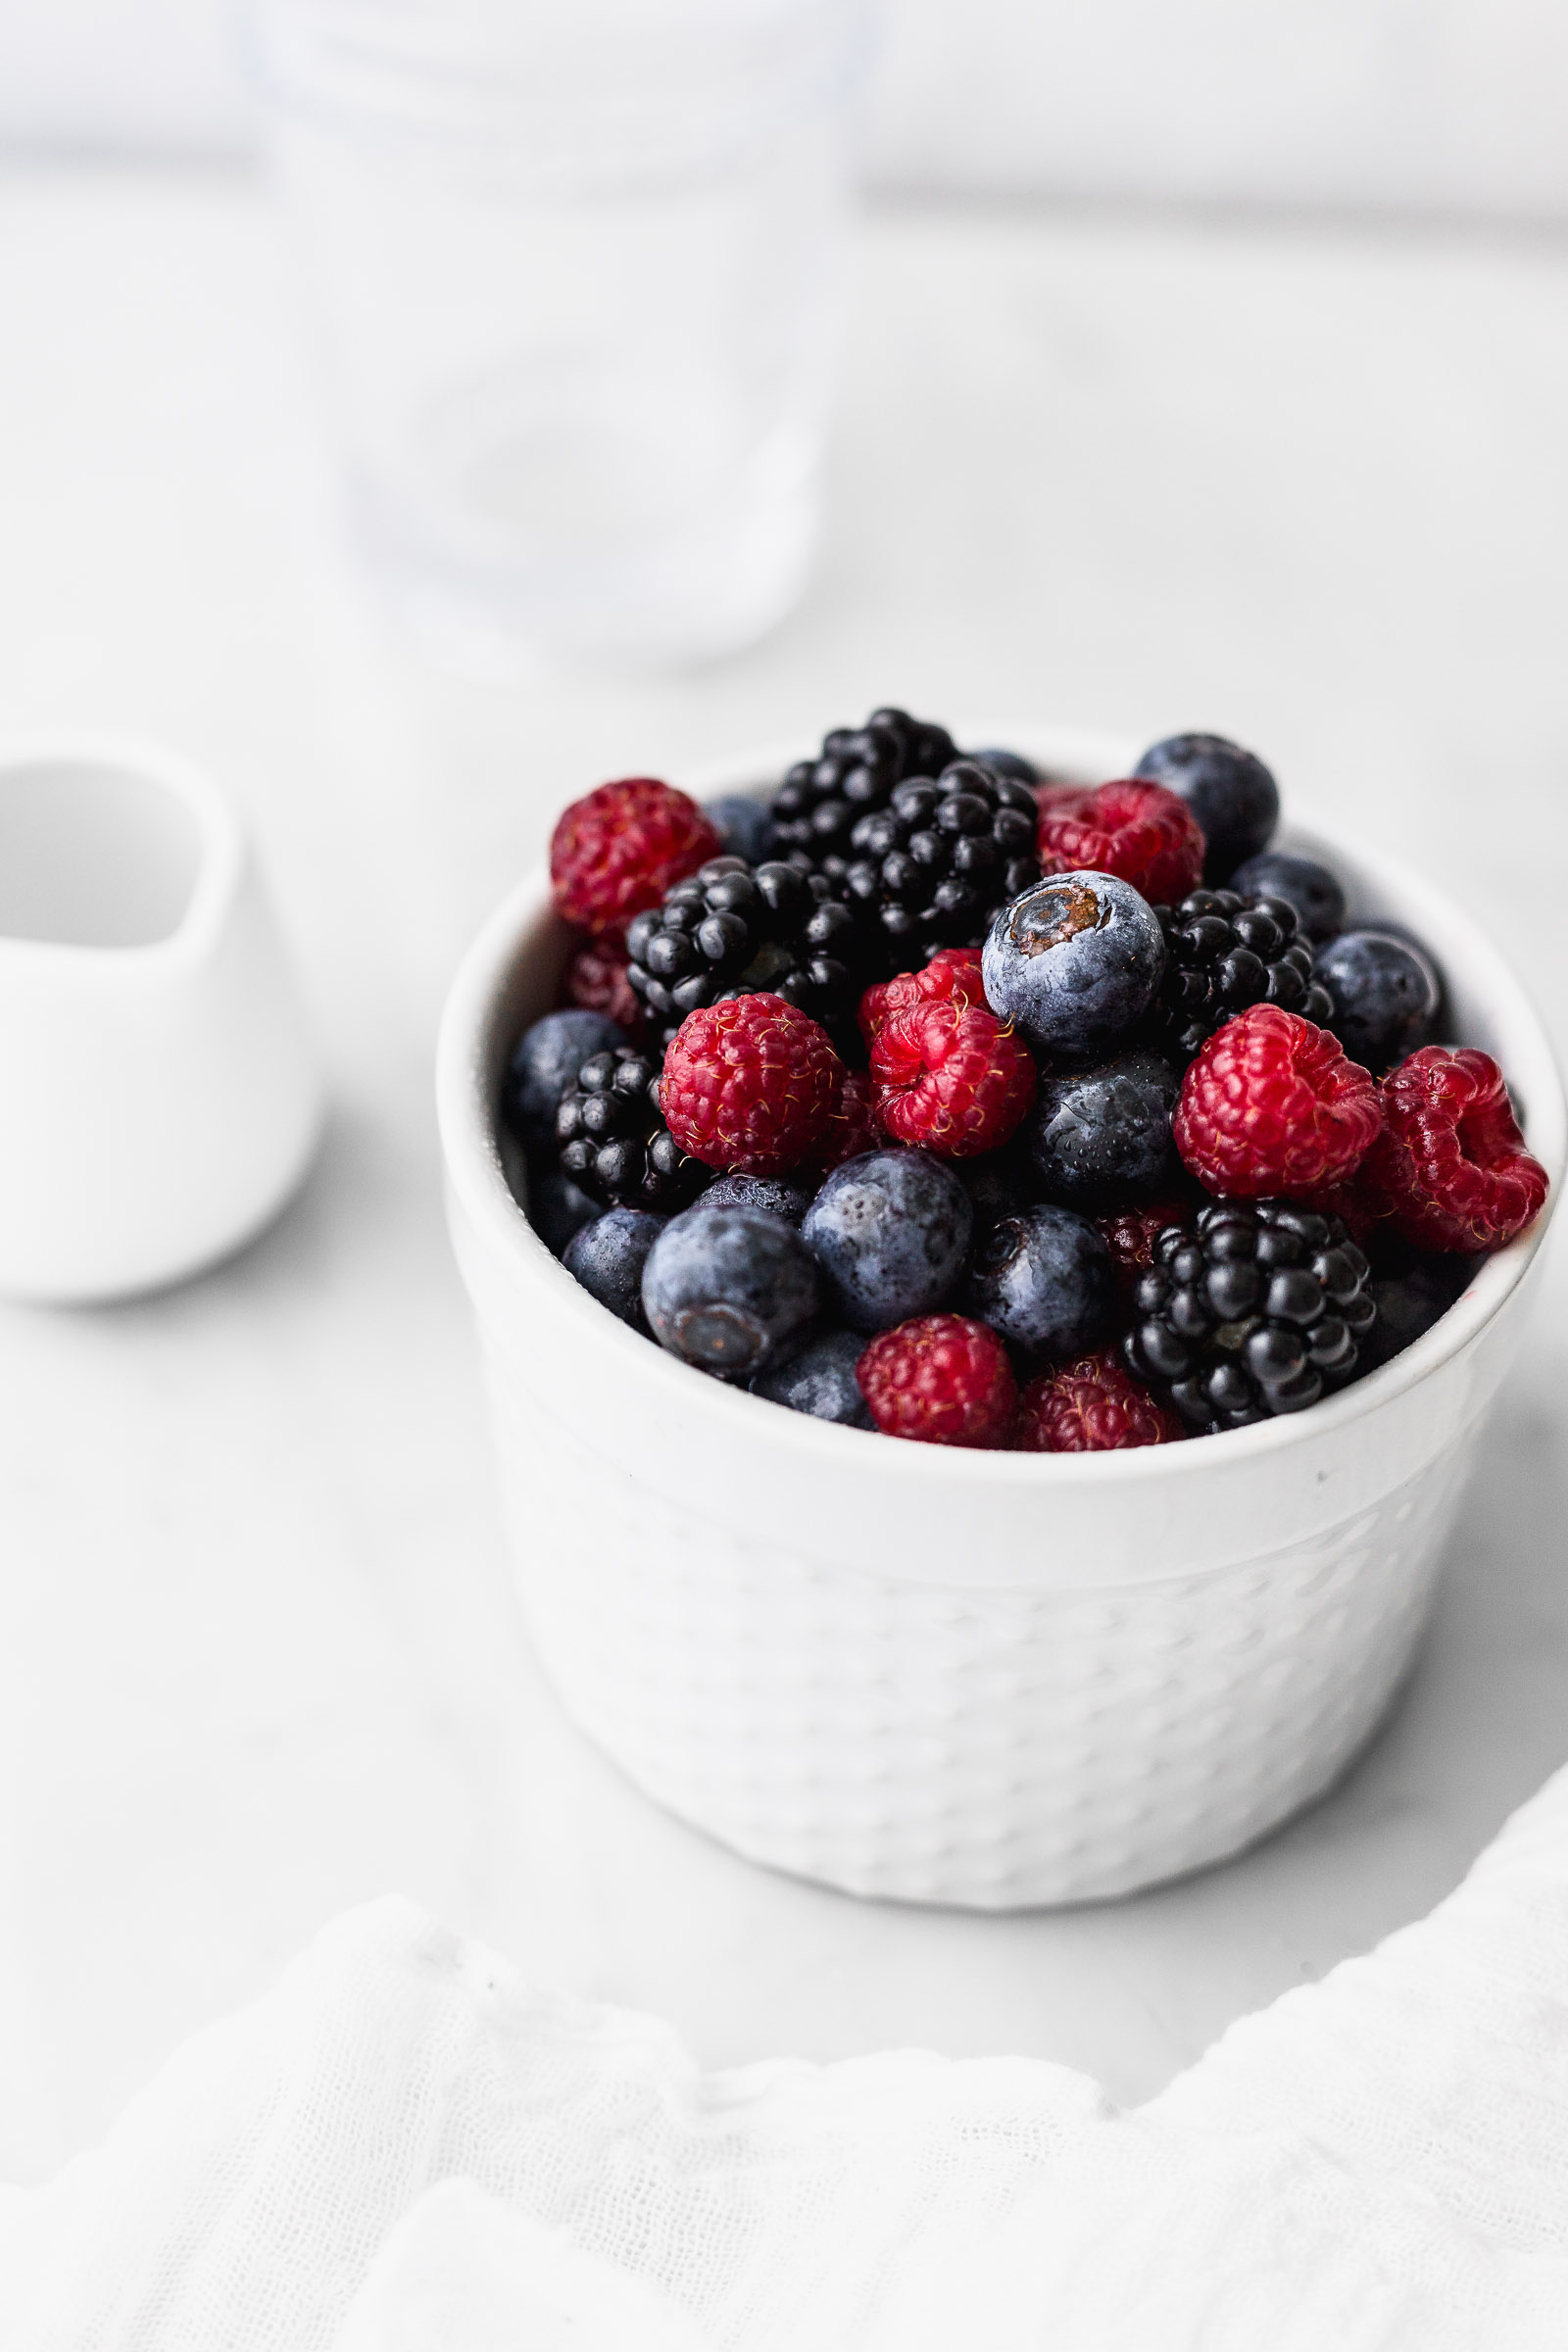
No: kitchen or dining room light
Light coming from the ceiling of your kitchen or dining room was not made for photo taking. They always create weird reflections and are not very flattering to food.
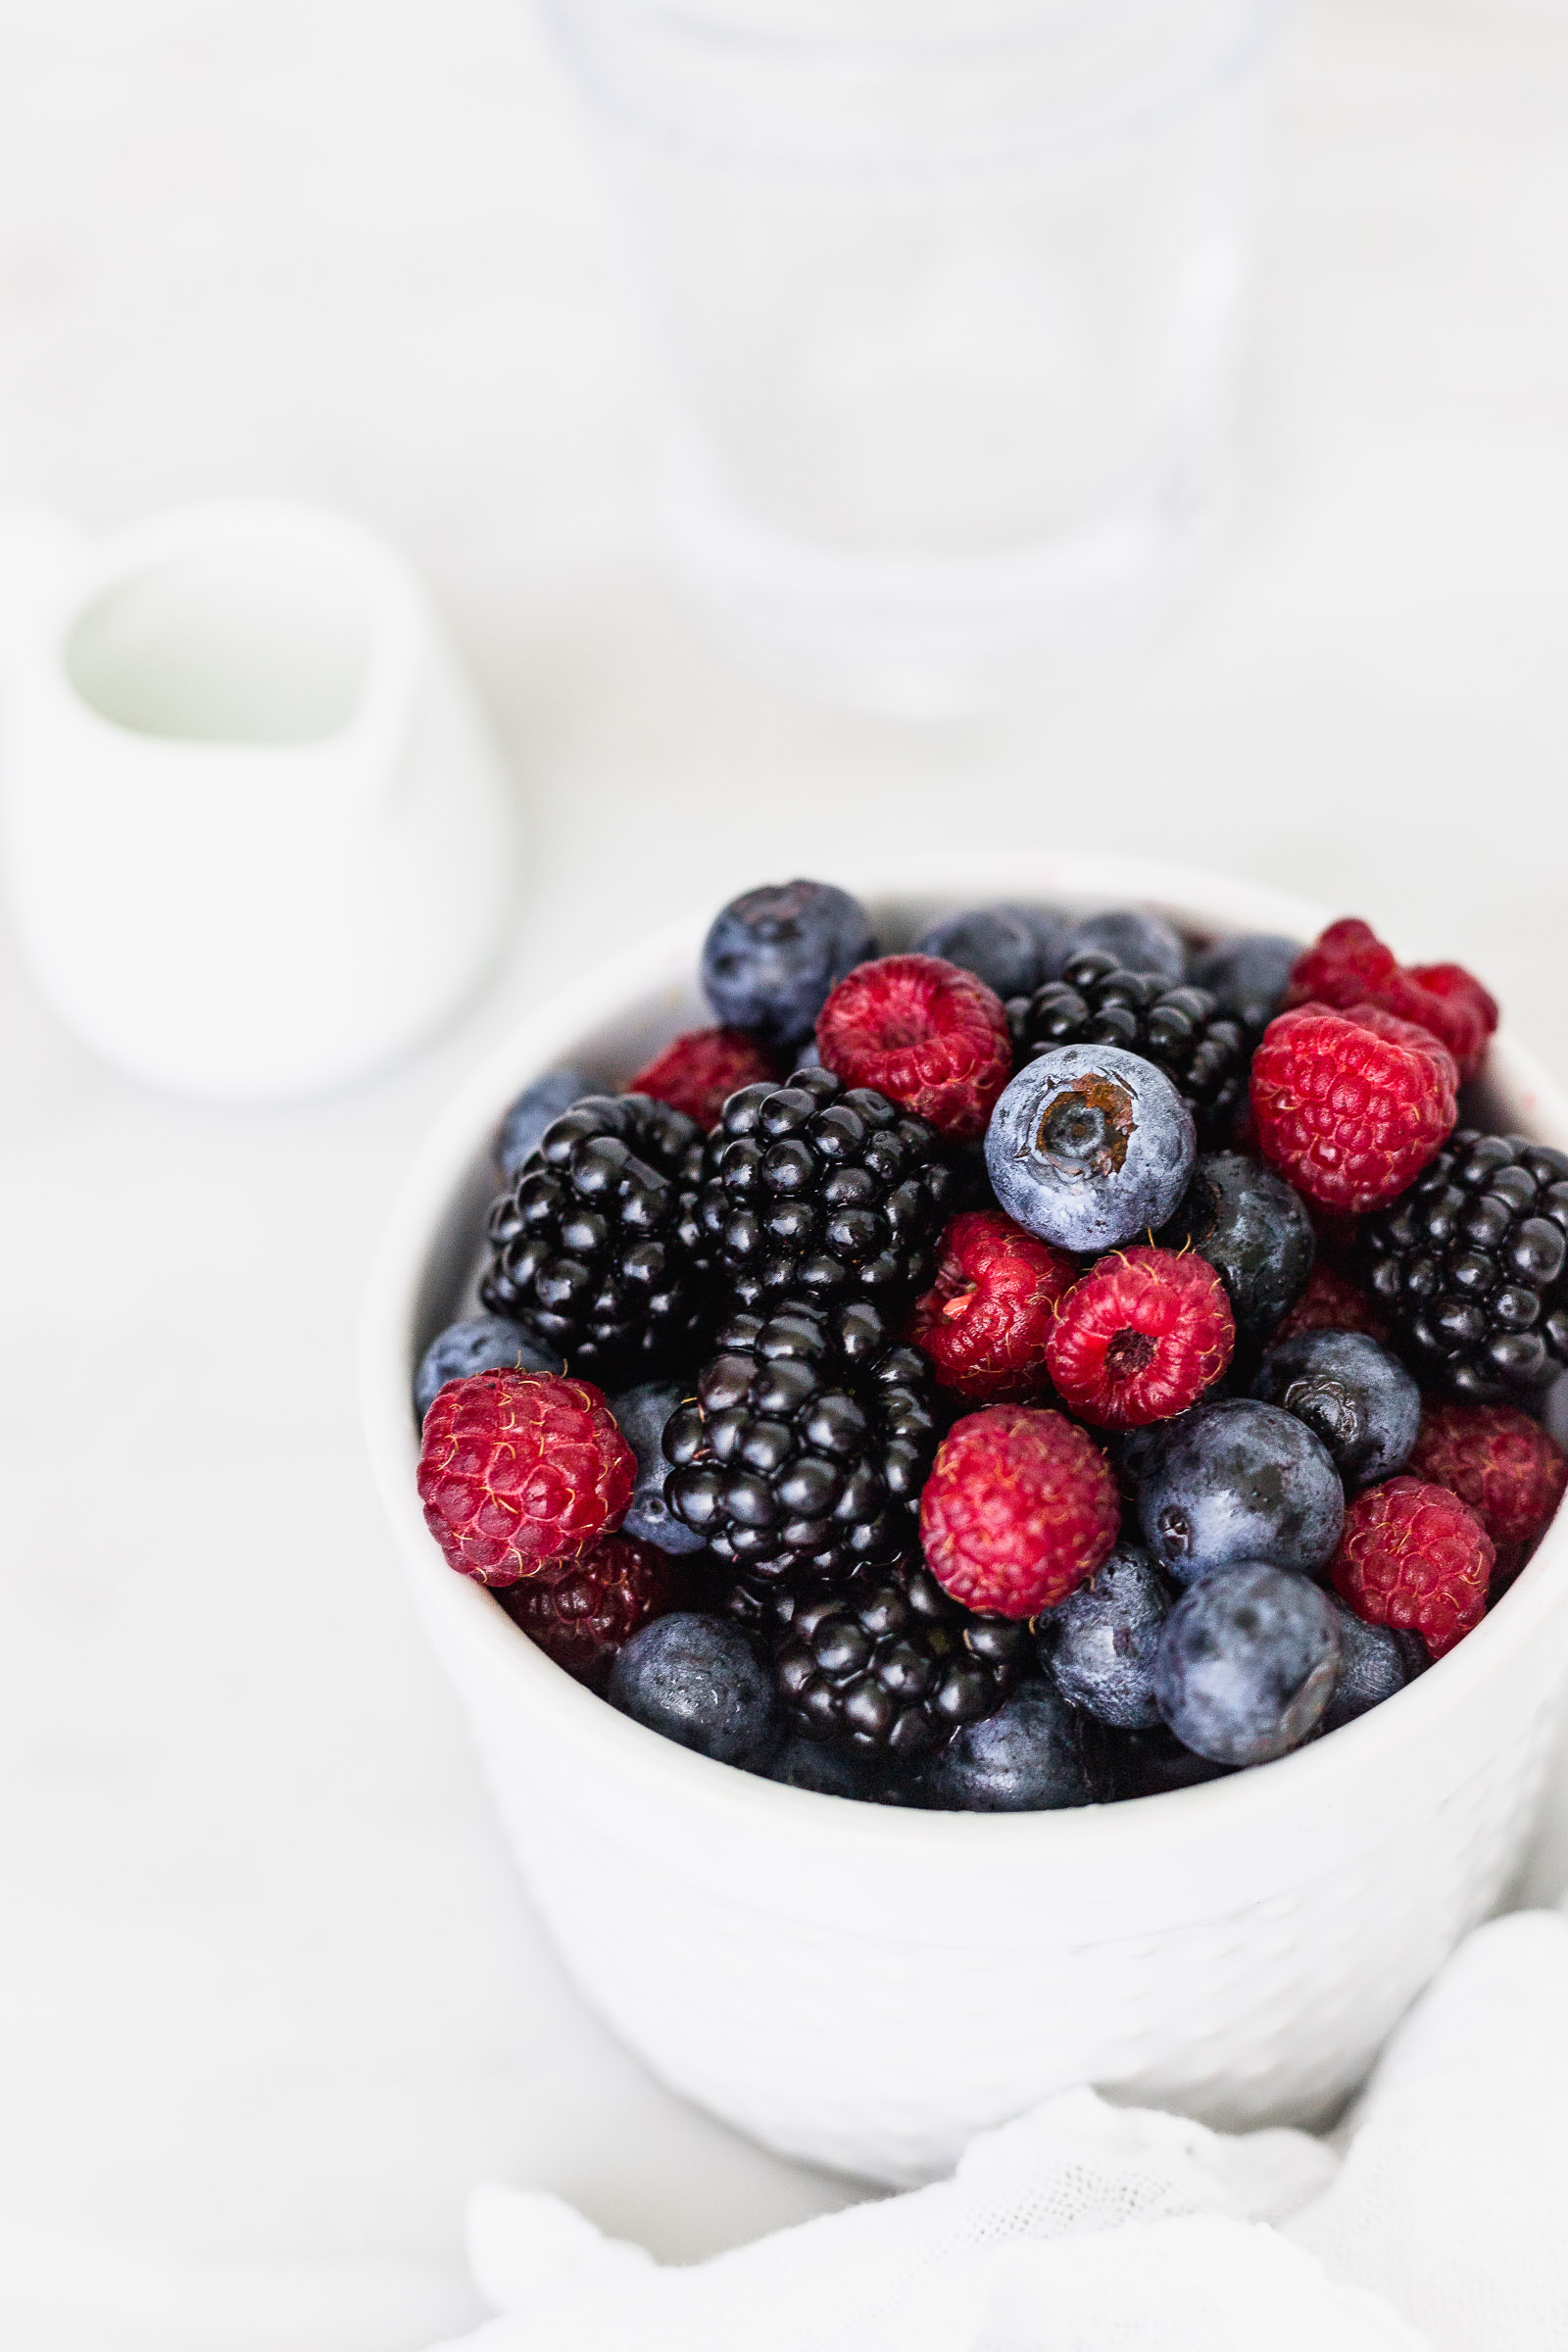
Yes: light hitting from the side (any side)
You can place the light at any angle starting from the side of the food and all the way to the back but avoid the front. Illuminating food from the side adds a few shadows that give depth to your plate of food. We don’t want something flat but rather that it looks like you could reach out and grab it. I could talk for hours about lighting and its different qualities but that will be for next time. The easiest thing you can do is place your “set” next to a window with natural lighting that hopefully doesn’t have rays of sunlight hitting straight onto the food. If you only have that option you can use a white sheet to soften out the light.
Yes: light hitting from behind
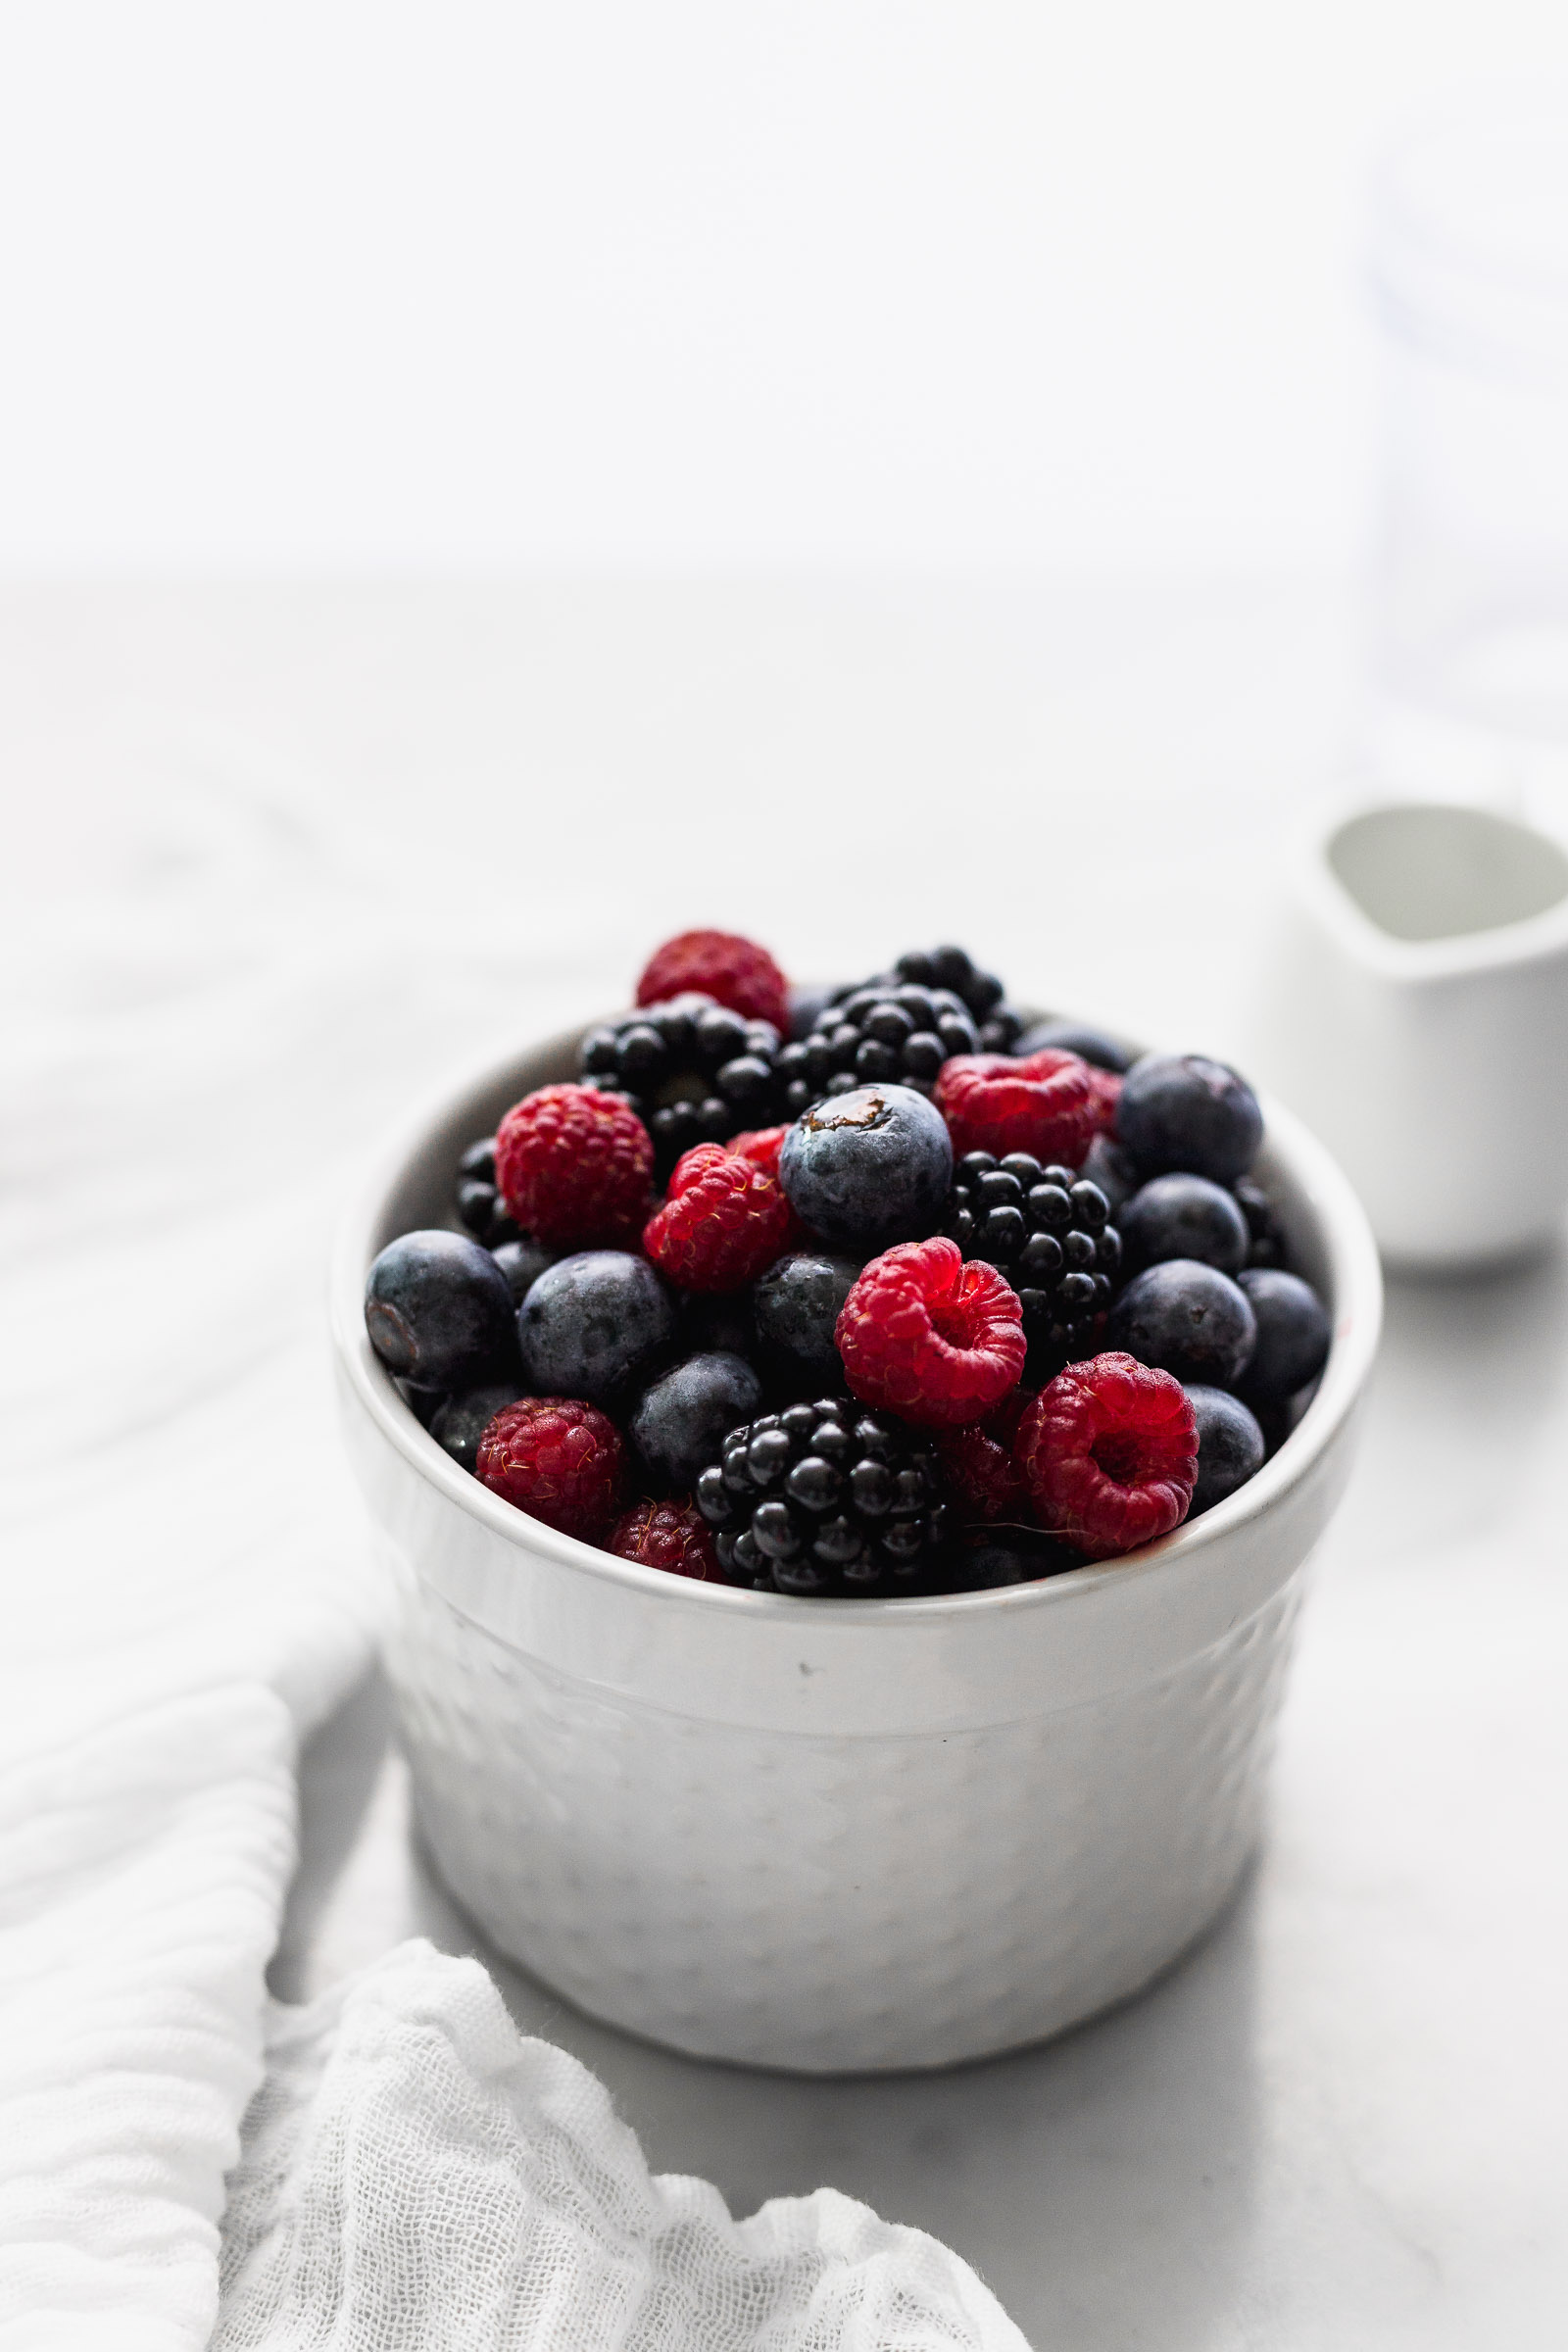
When the light comes from behind the food it gives a similar shadowy effect to side-lighting giving depth to the photo. It also gives the food a sort of angelic glow. The window with natural light that I talked about before also applies to this type of light.
Food Photography Tip 2. Use plates and bowls smaller than you would to eat in
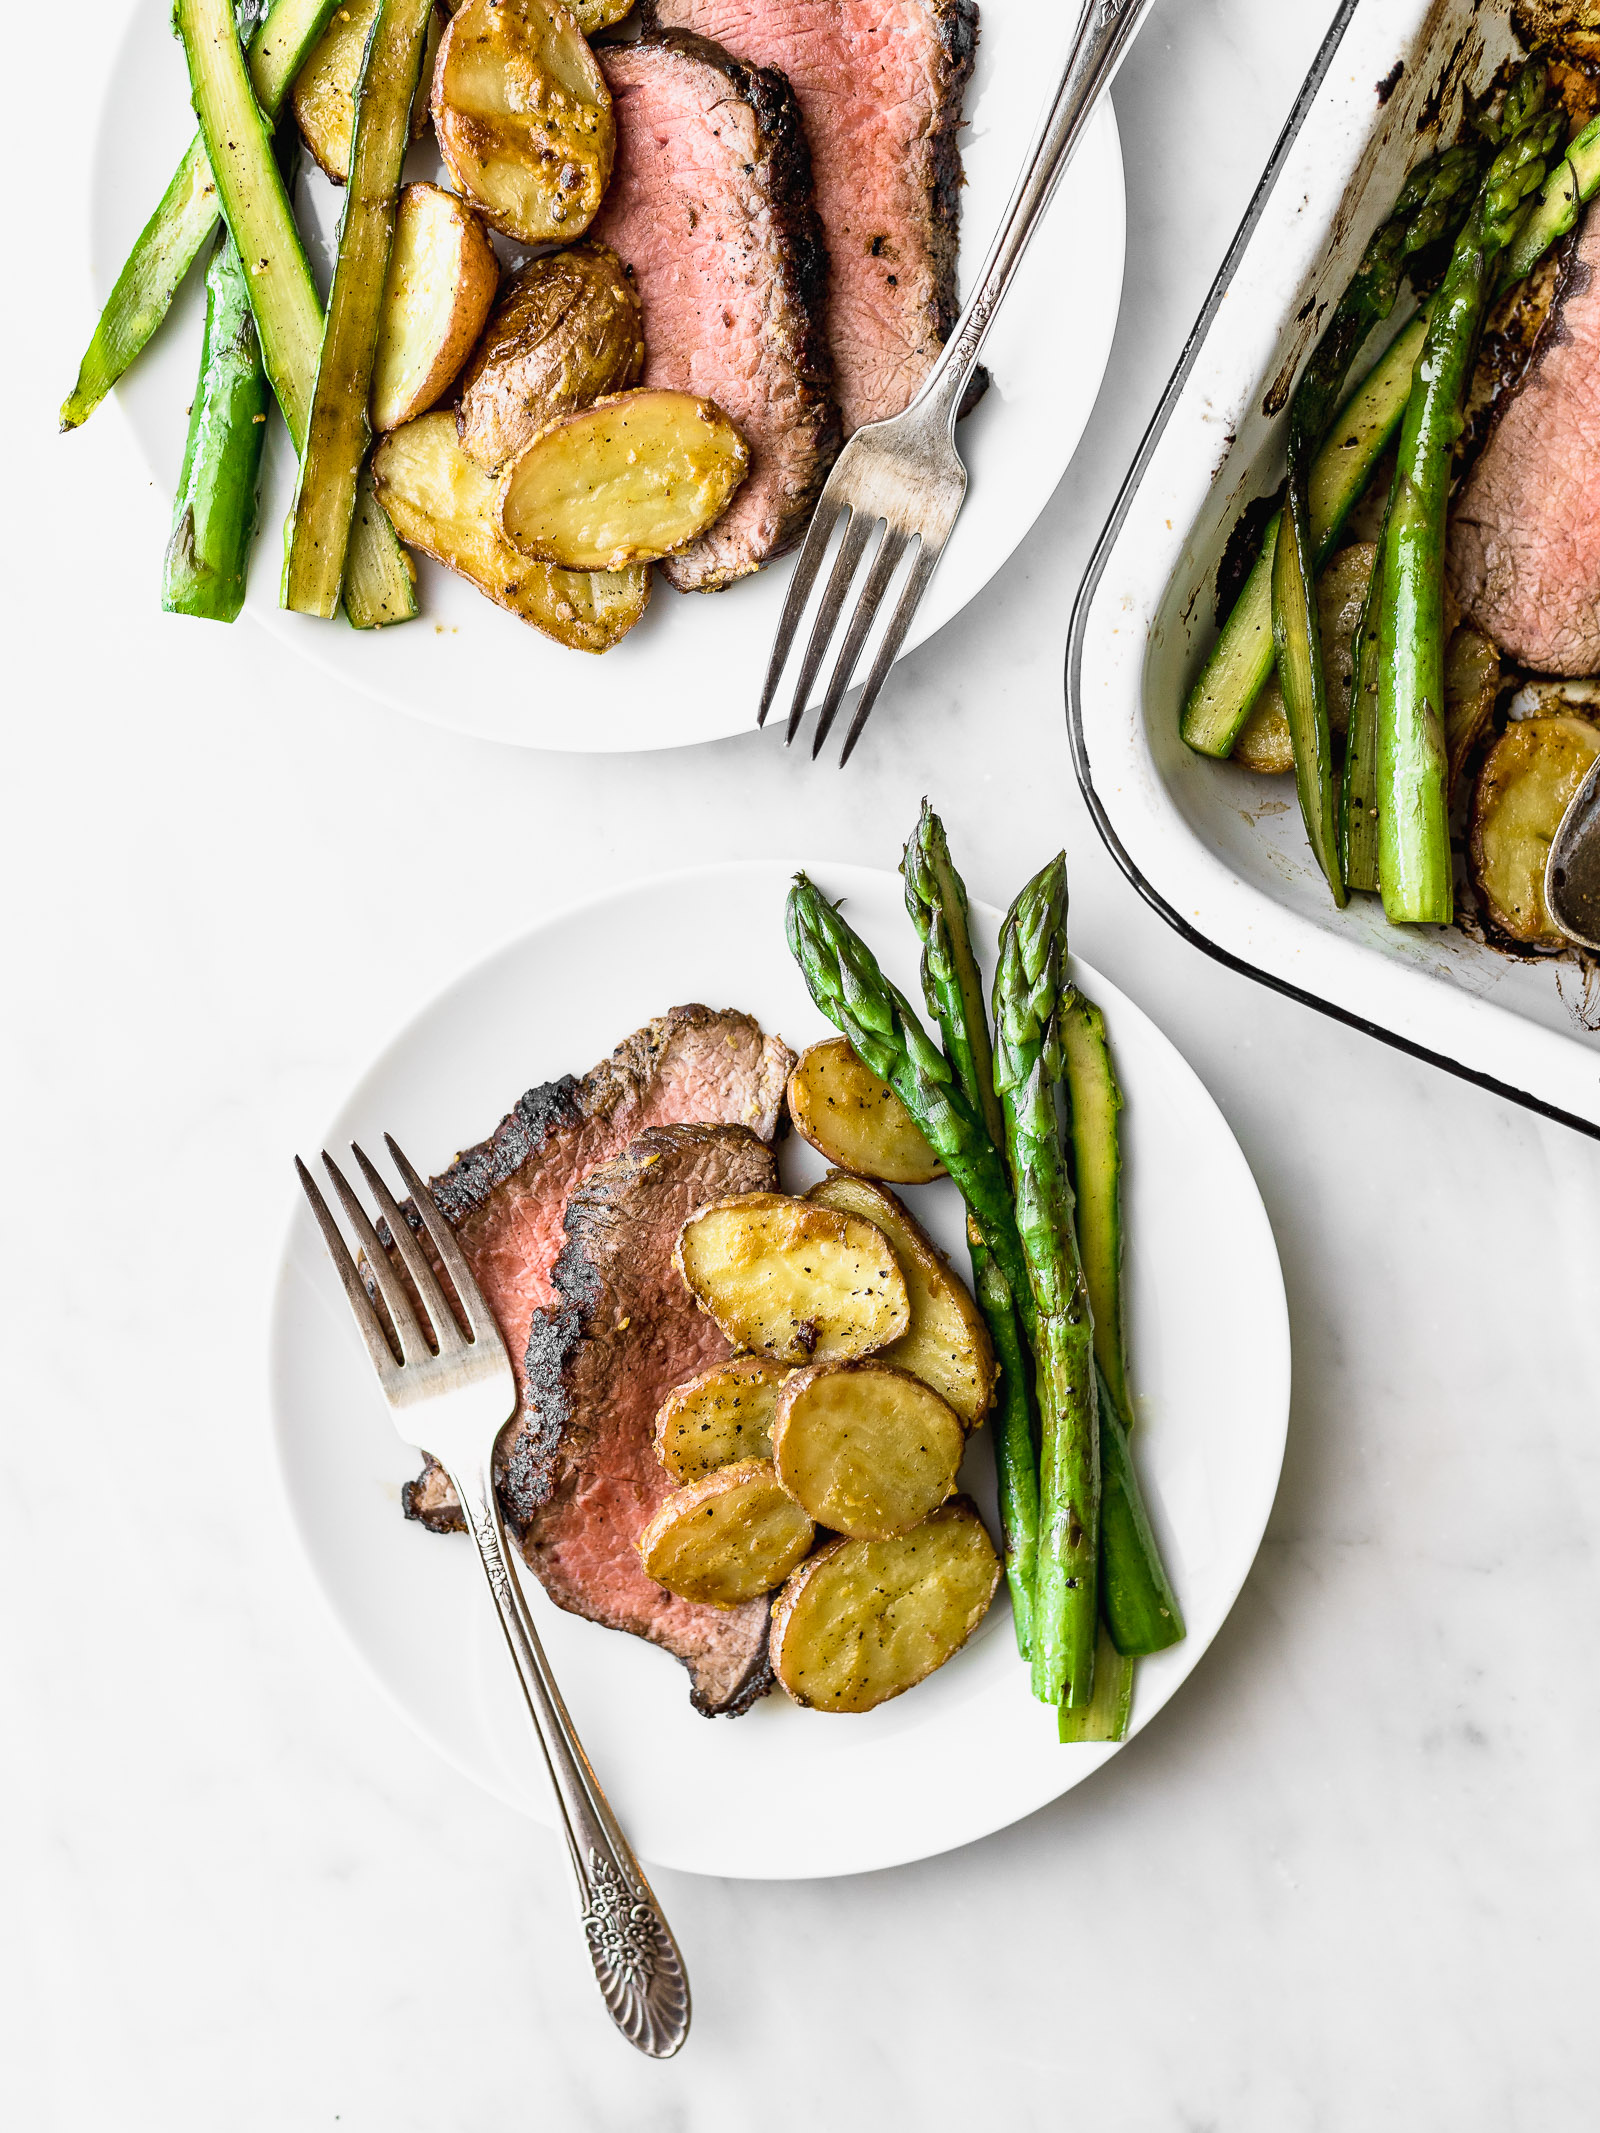
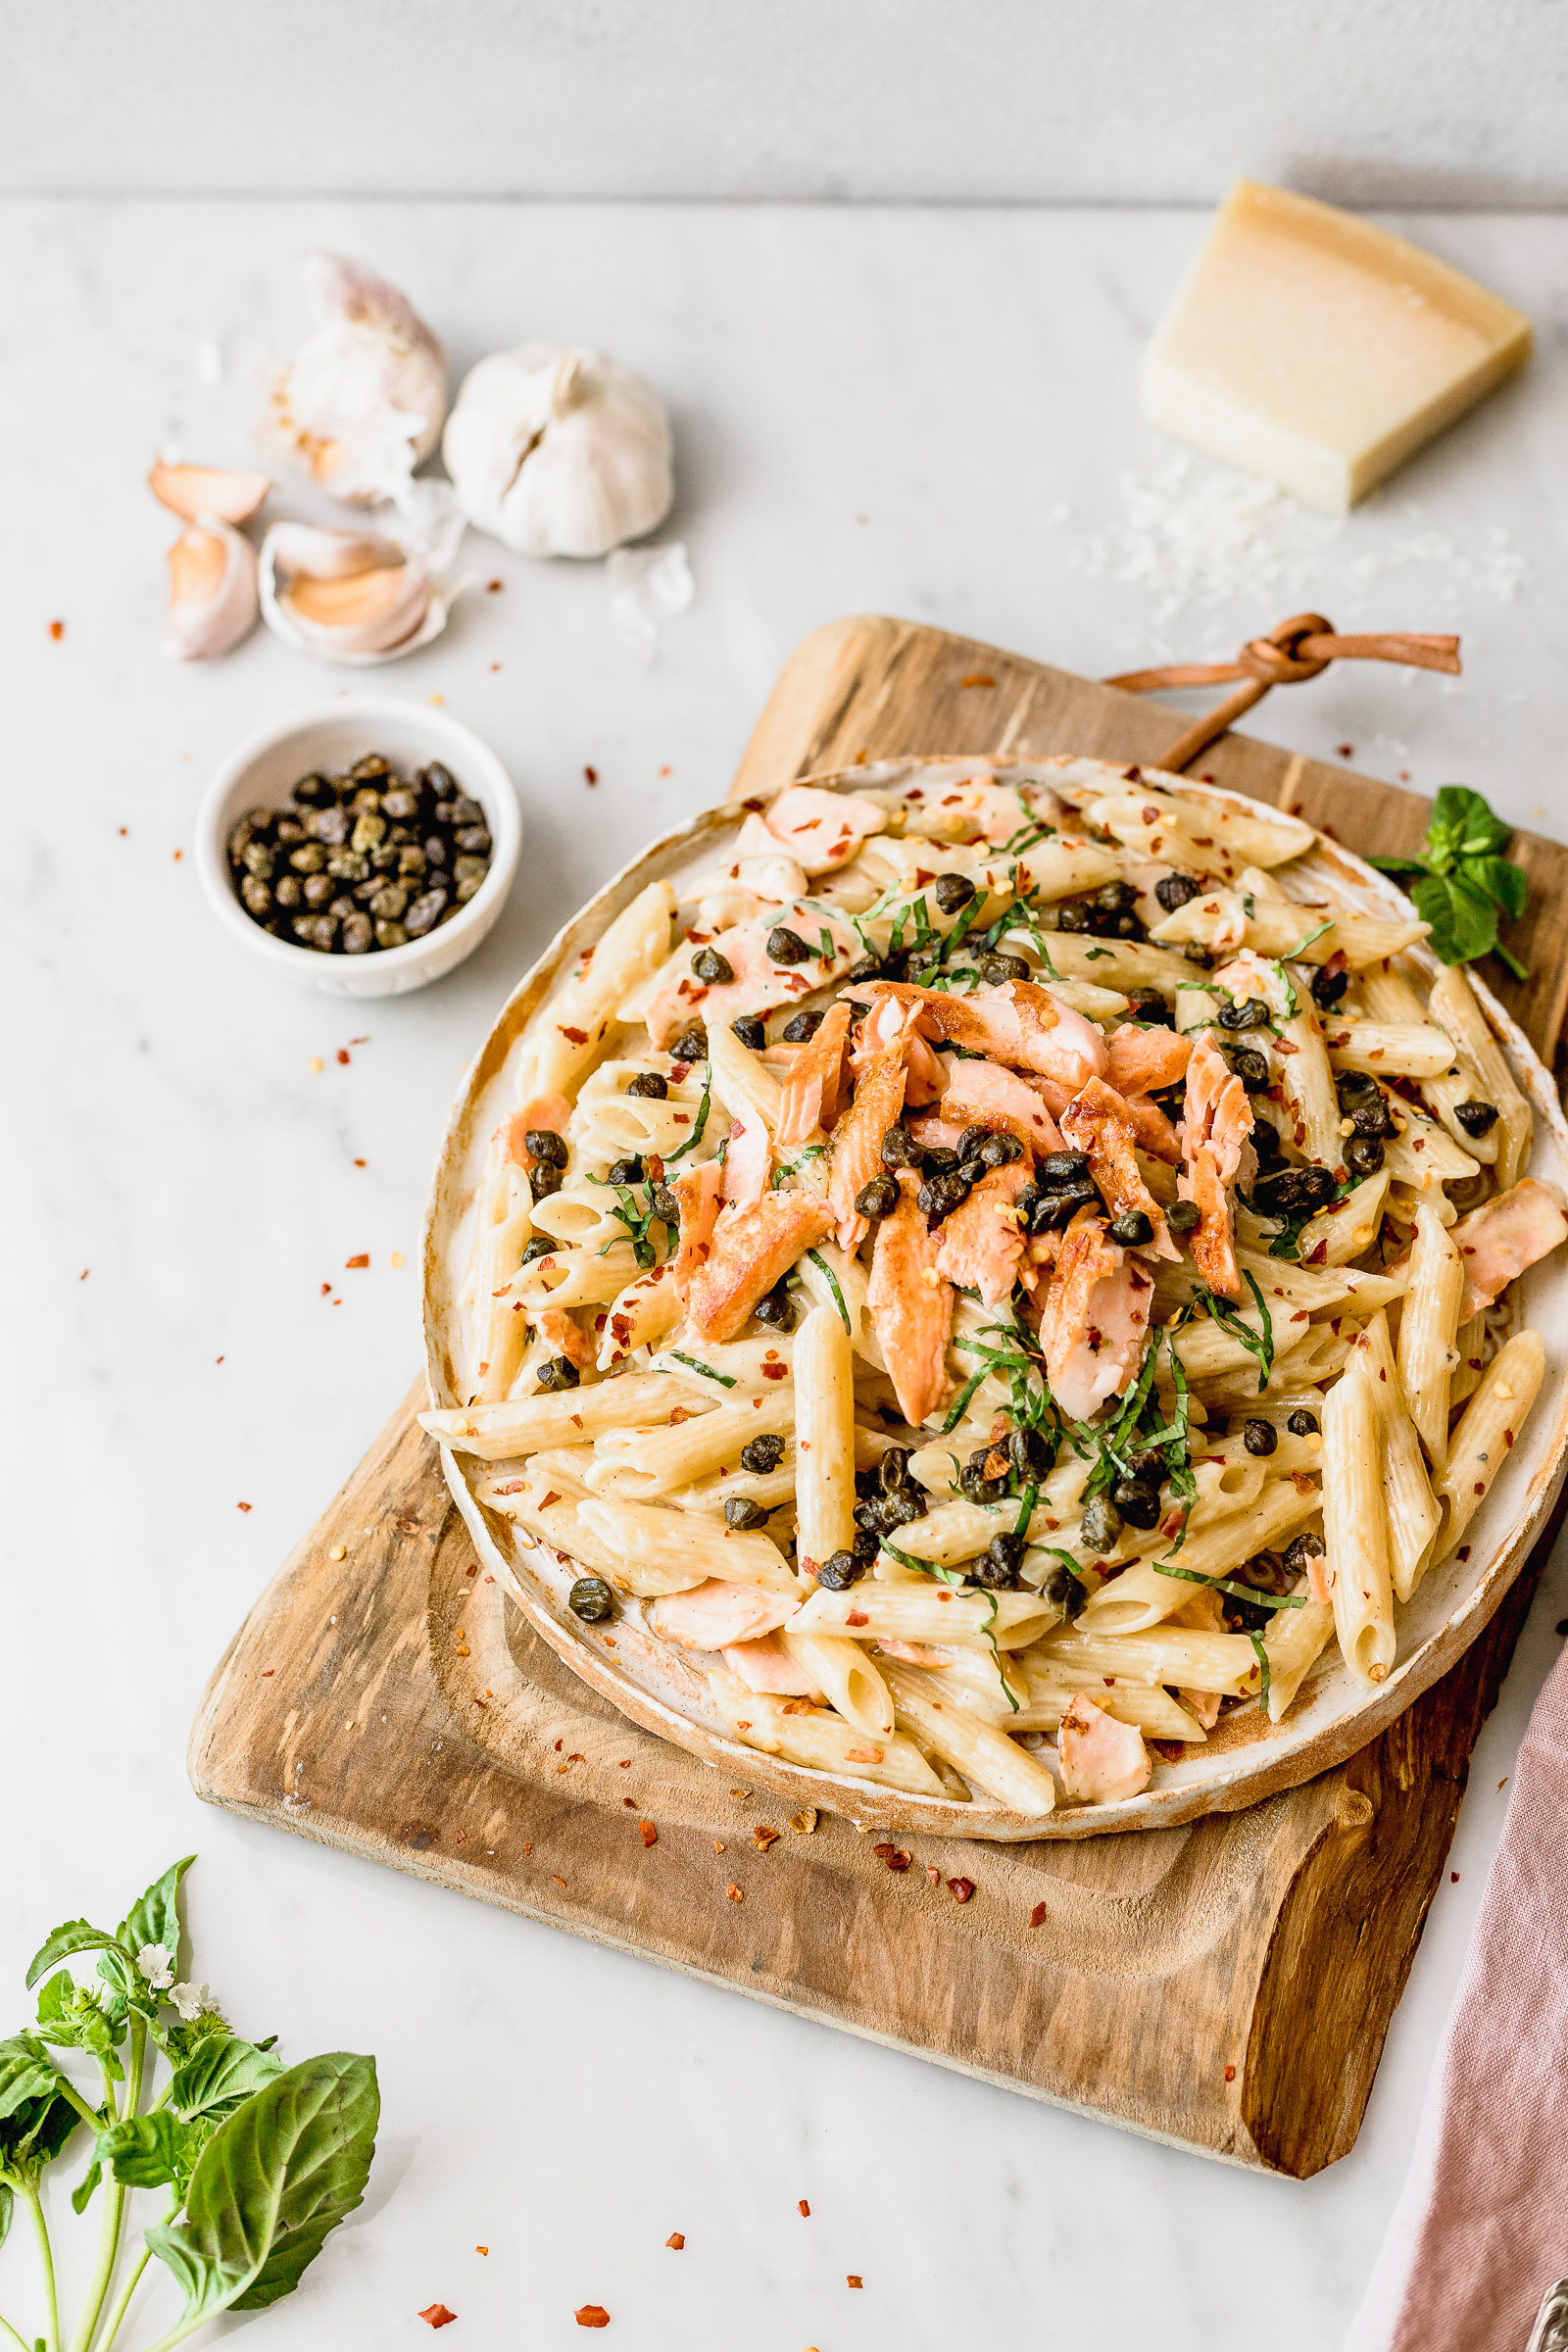
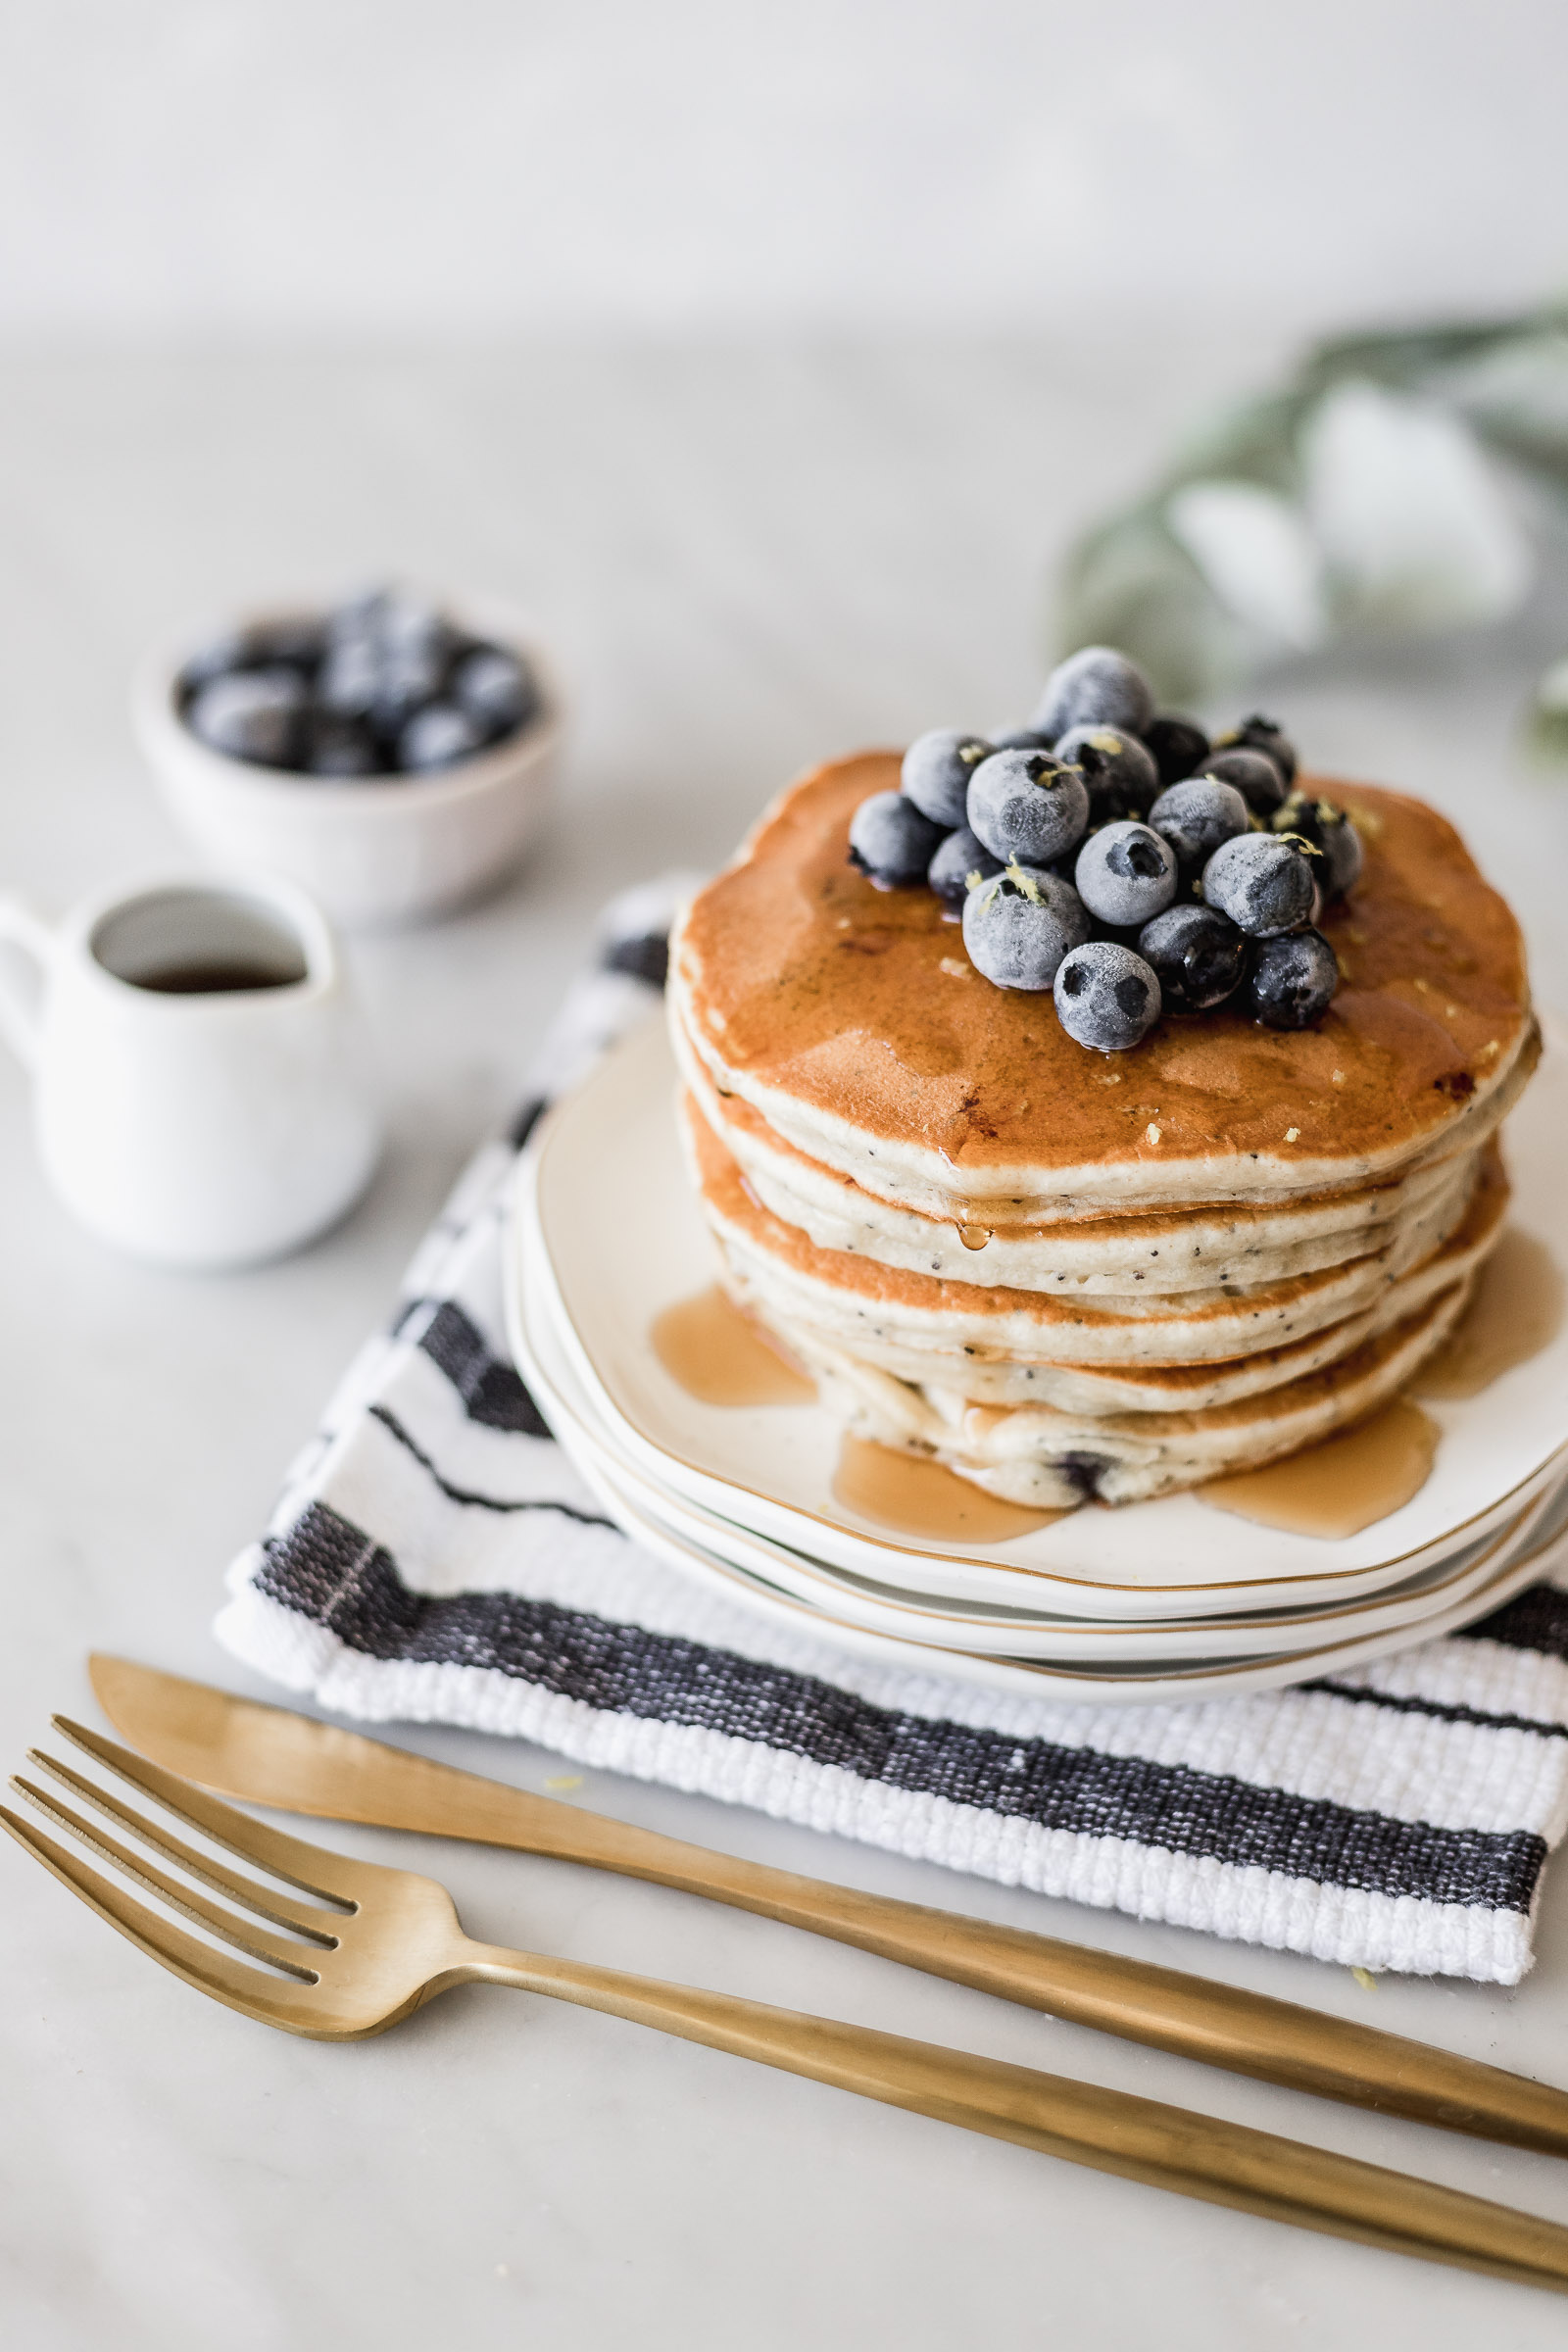
Let’s go for the second food photography tip, one that I never suspected! The meat that’s on the left is served on a dessert plate. I would never serve meat on a plate that small because you wouldn’t have space to cut and manoeuvre. The same with the salmon pasta; with one fork going in to grab a bite the whole leaning tower of pasta would come crumbling down. On the other side, it would definitely be hard to eat those pancakes on such a small plate. However, I chose small plates for these photos because it makes the elements in them stand out and seem more generous. At the same time it gives us more space around the plates to add more elements if we wish instead of more space being occupied with plate edges.
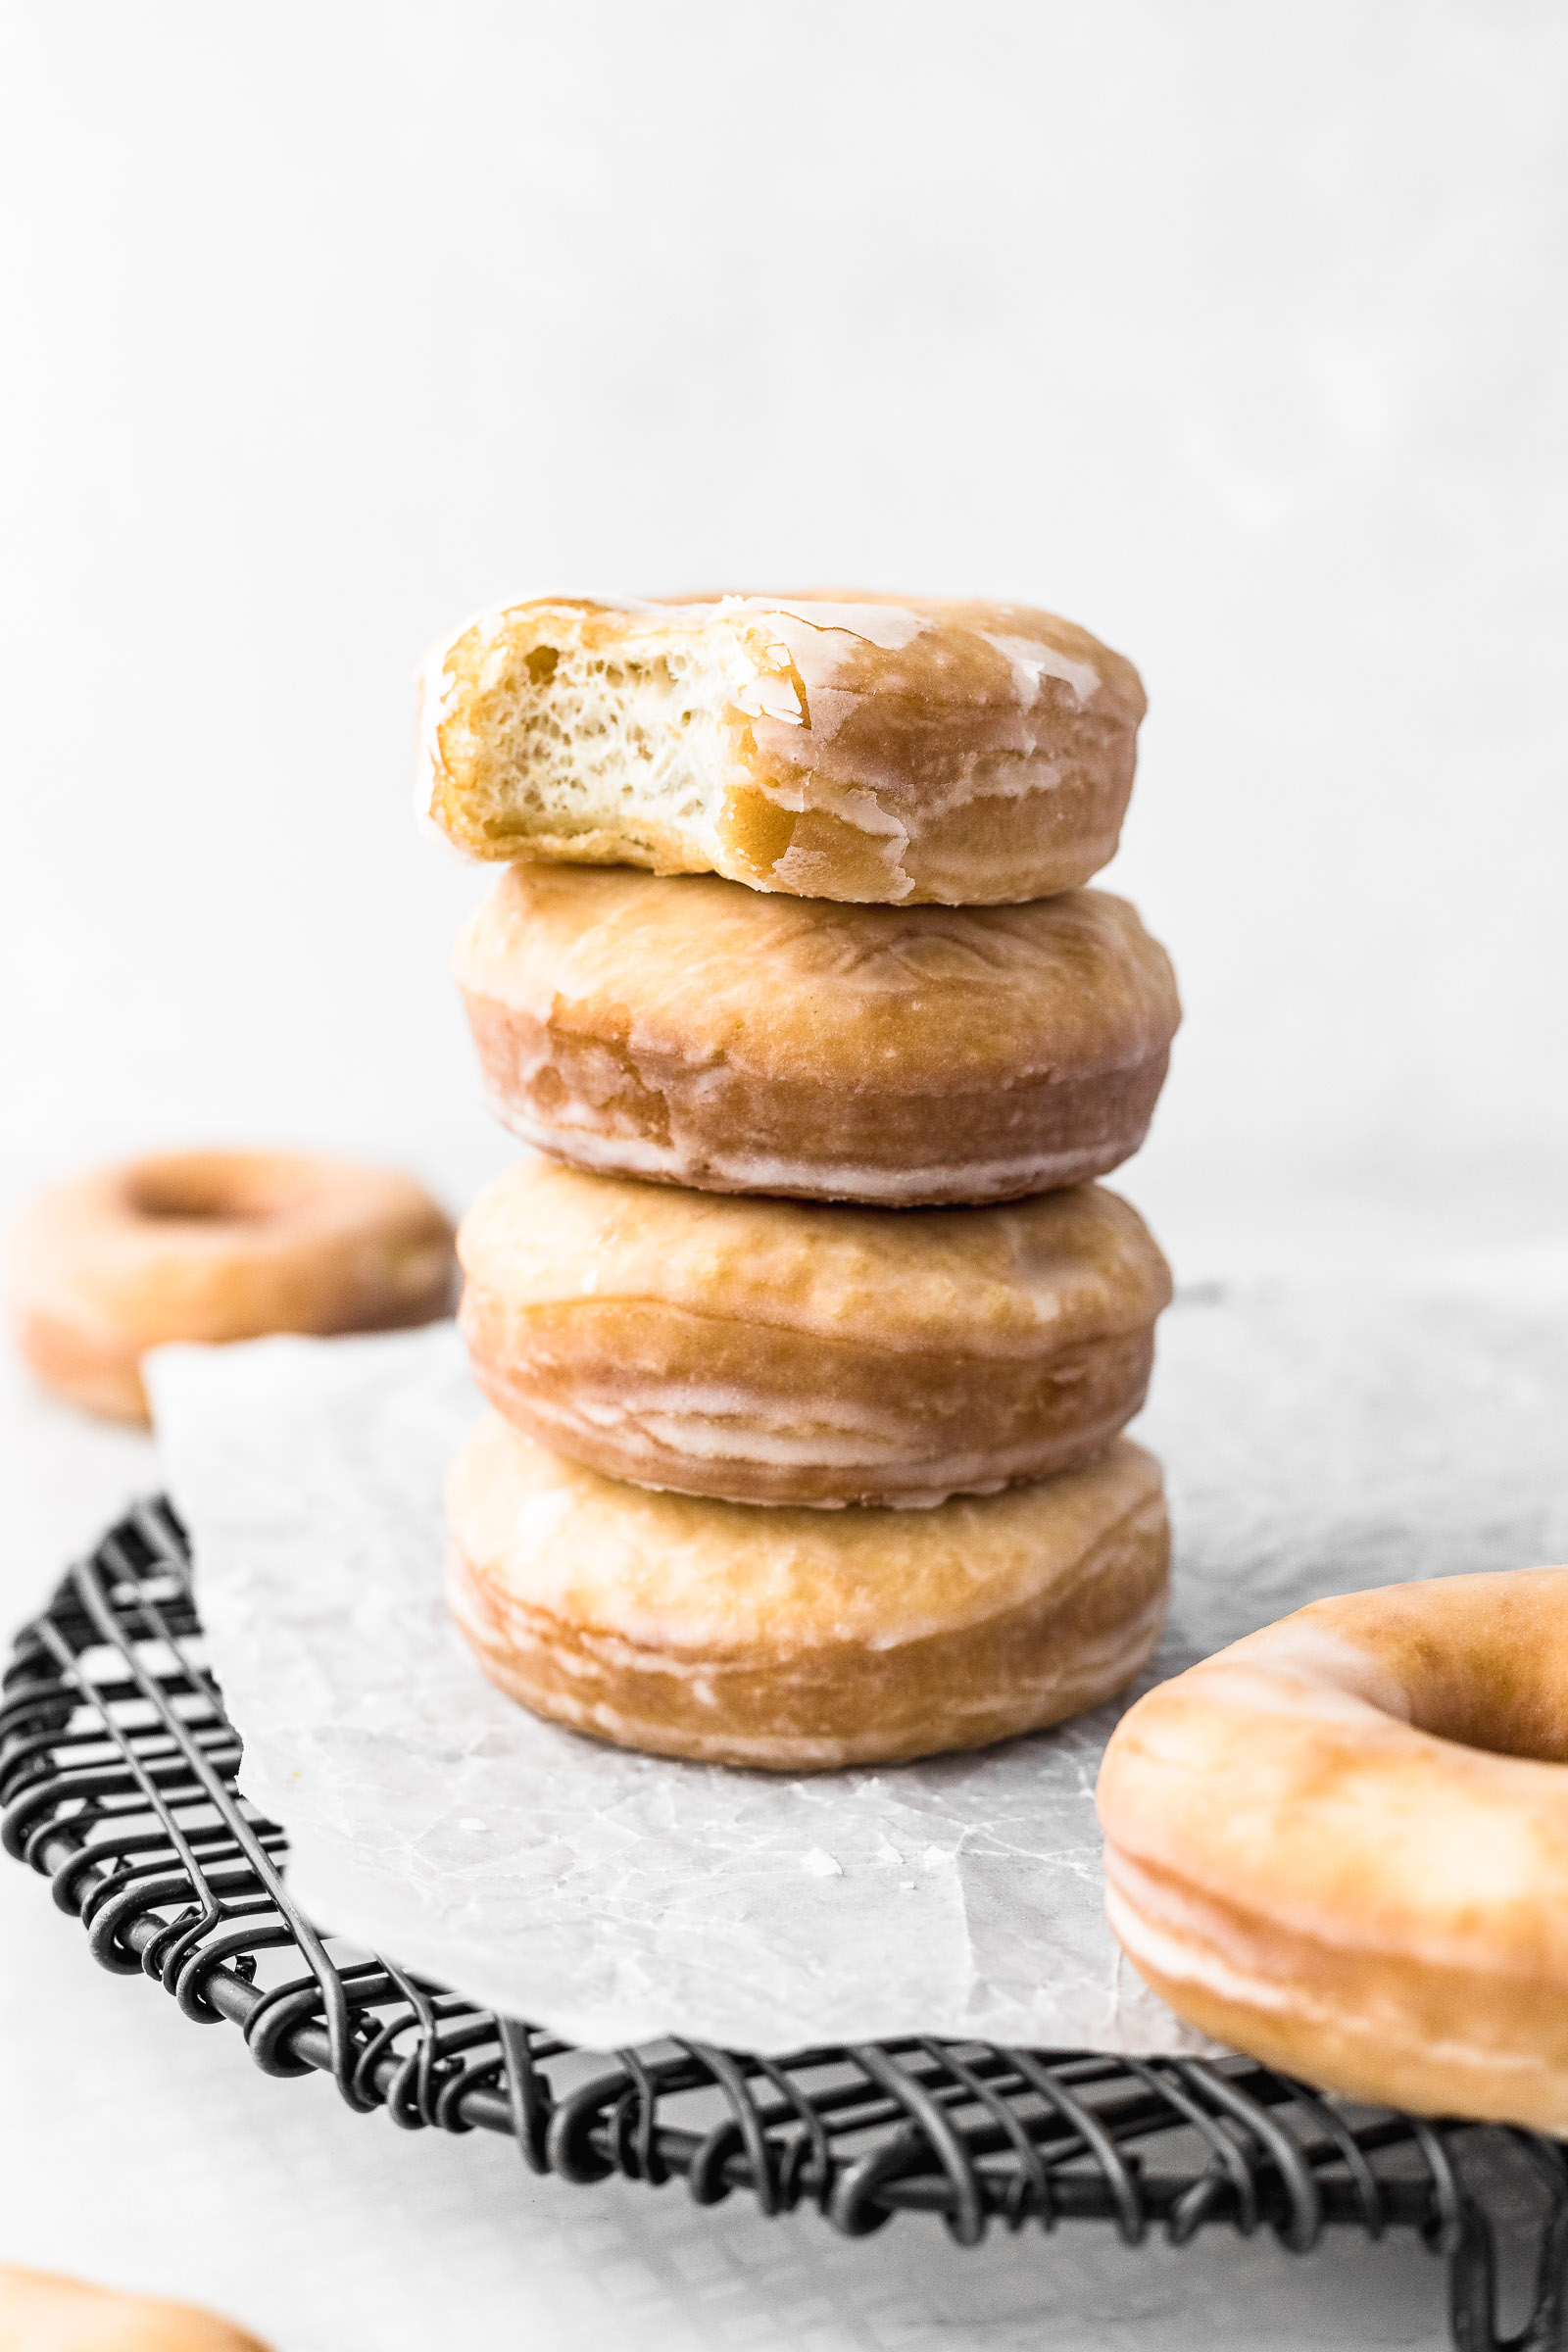
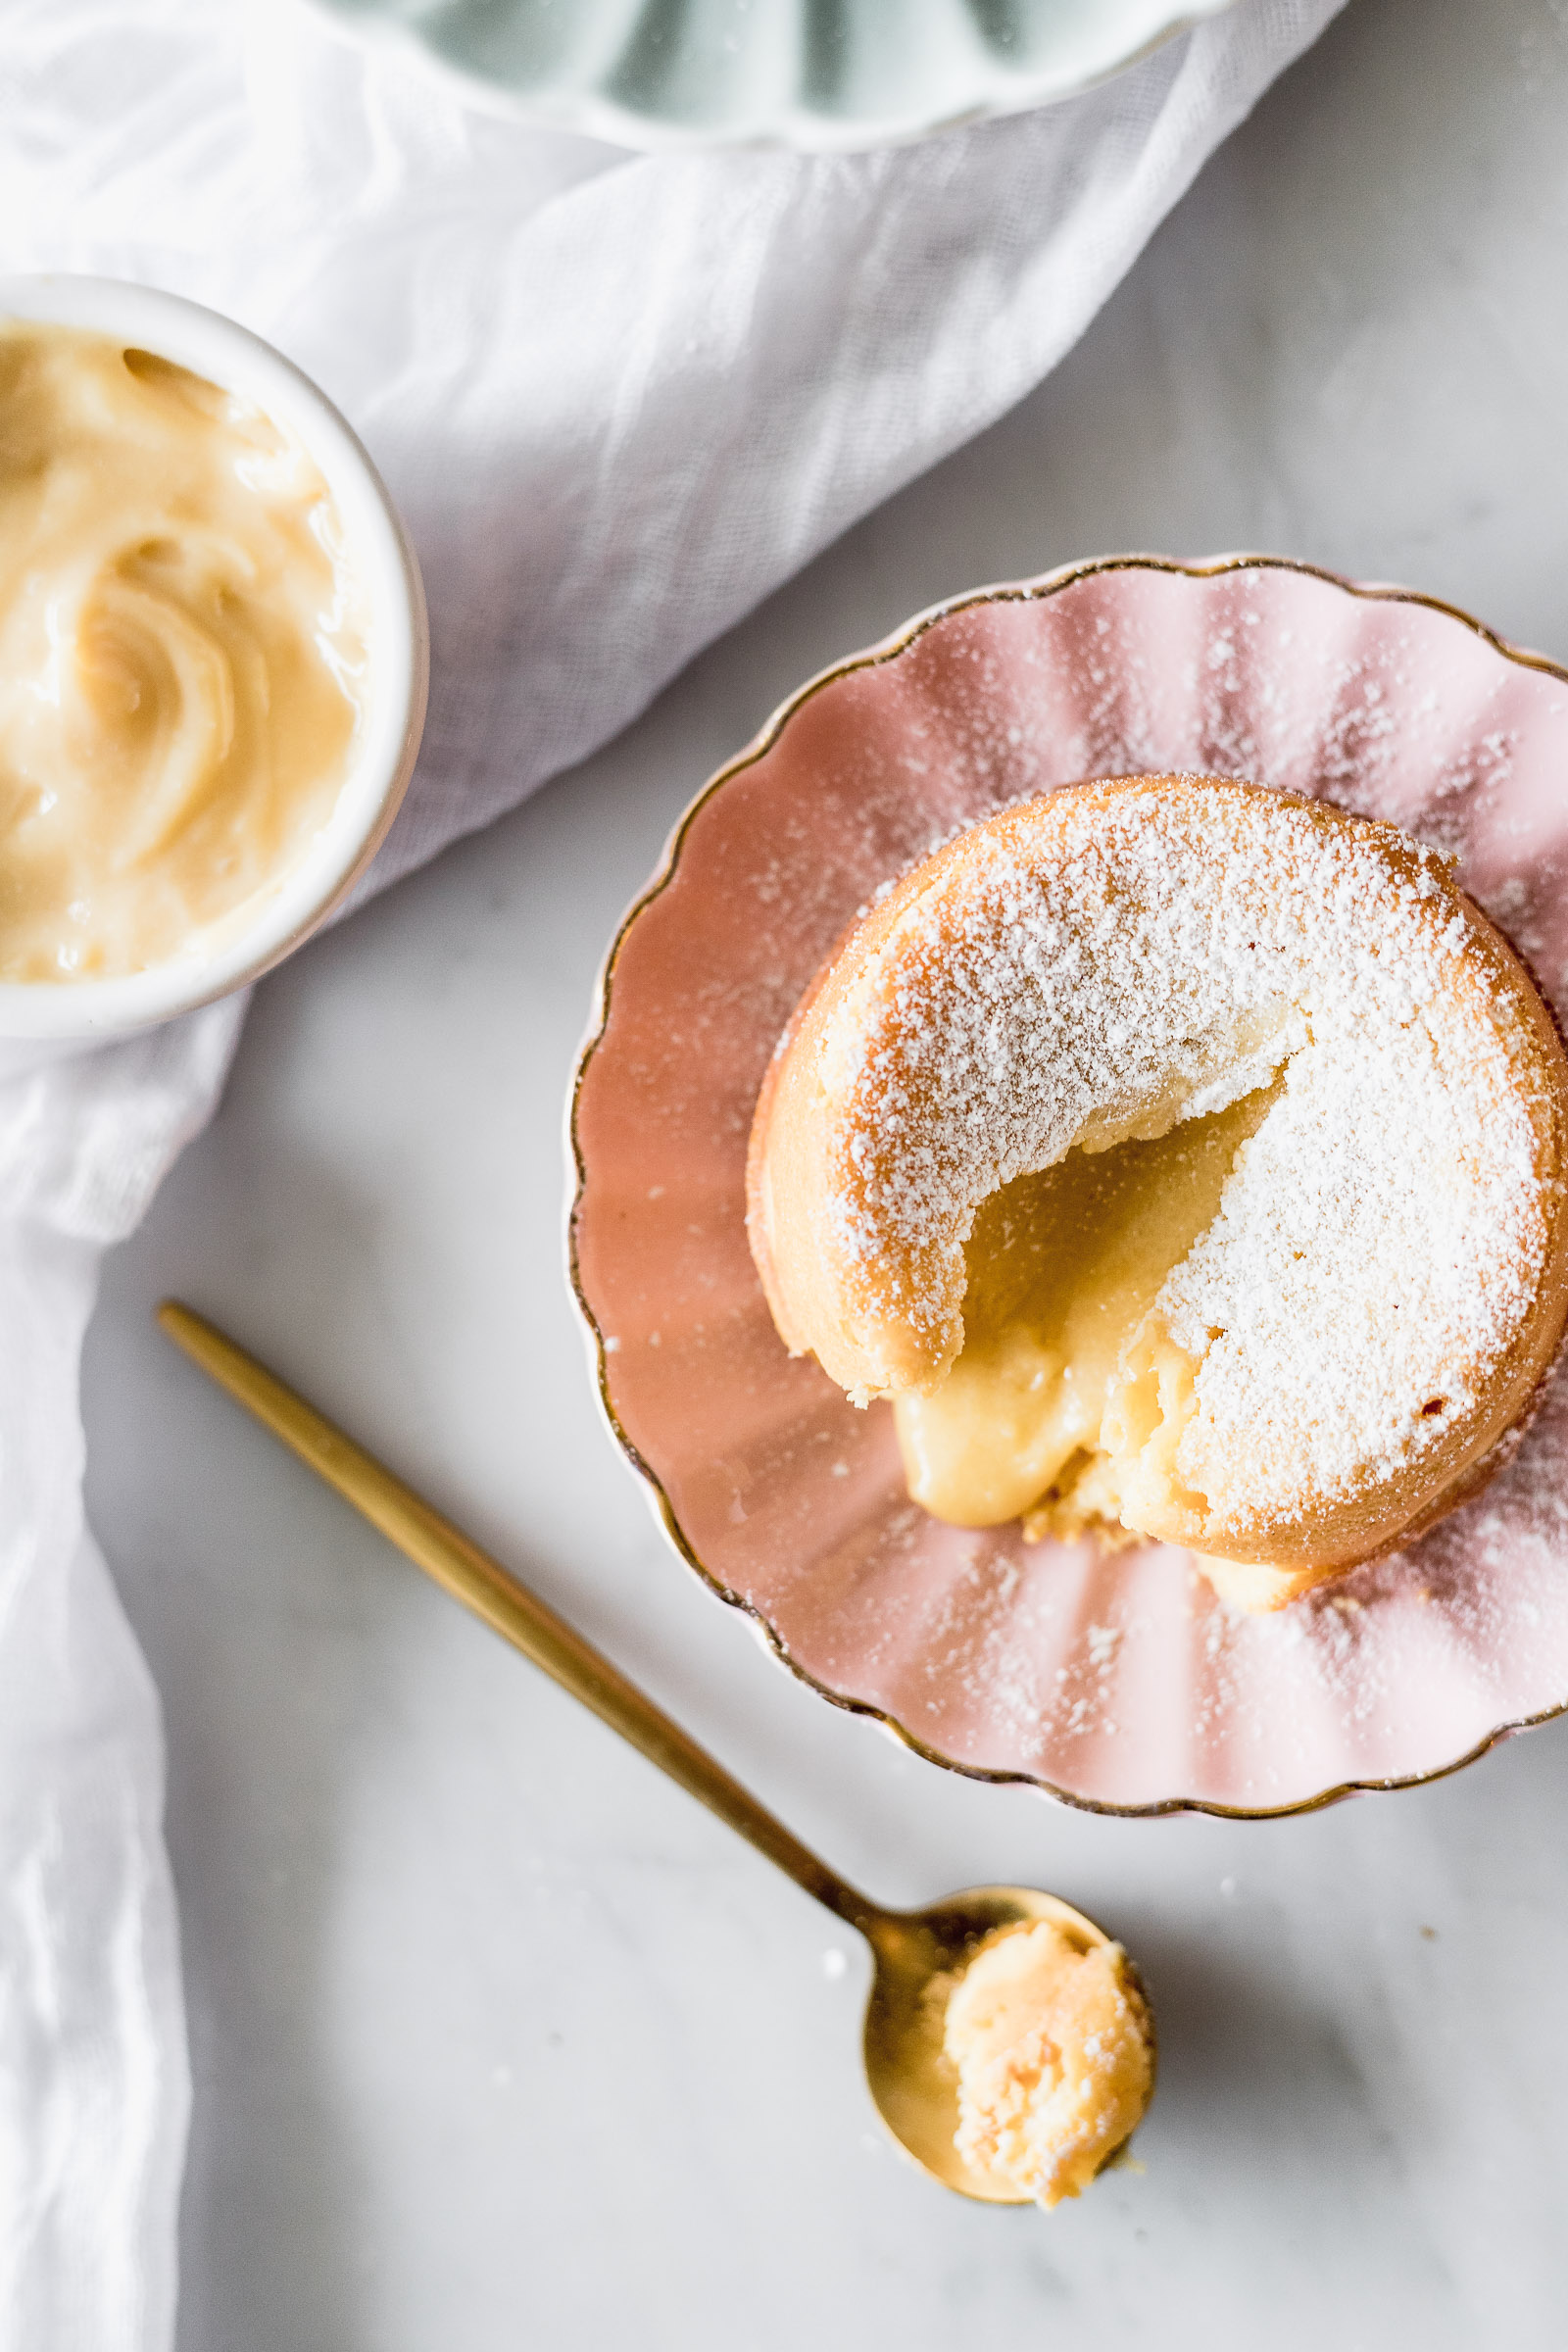
Tip 3. Make the most important part of the dish stand out
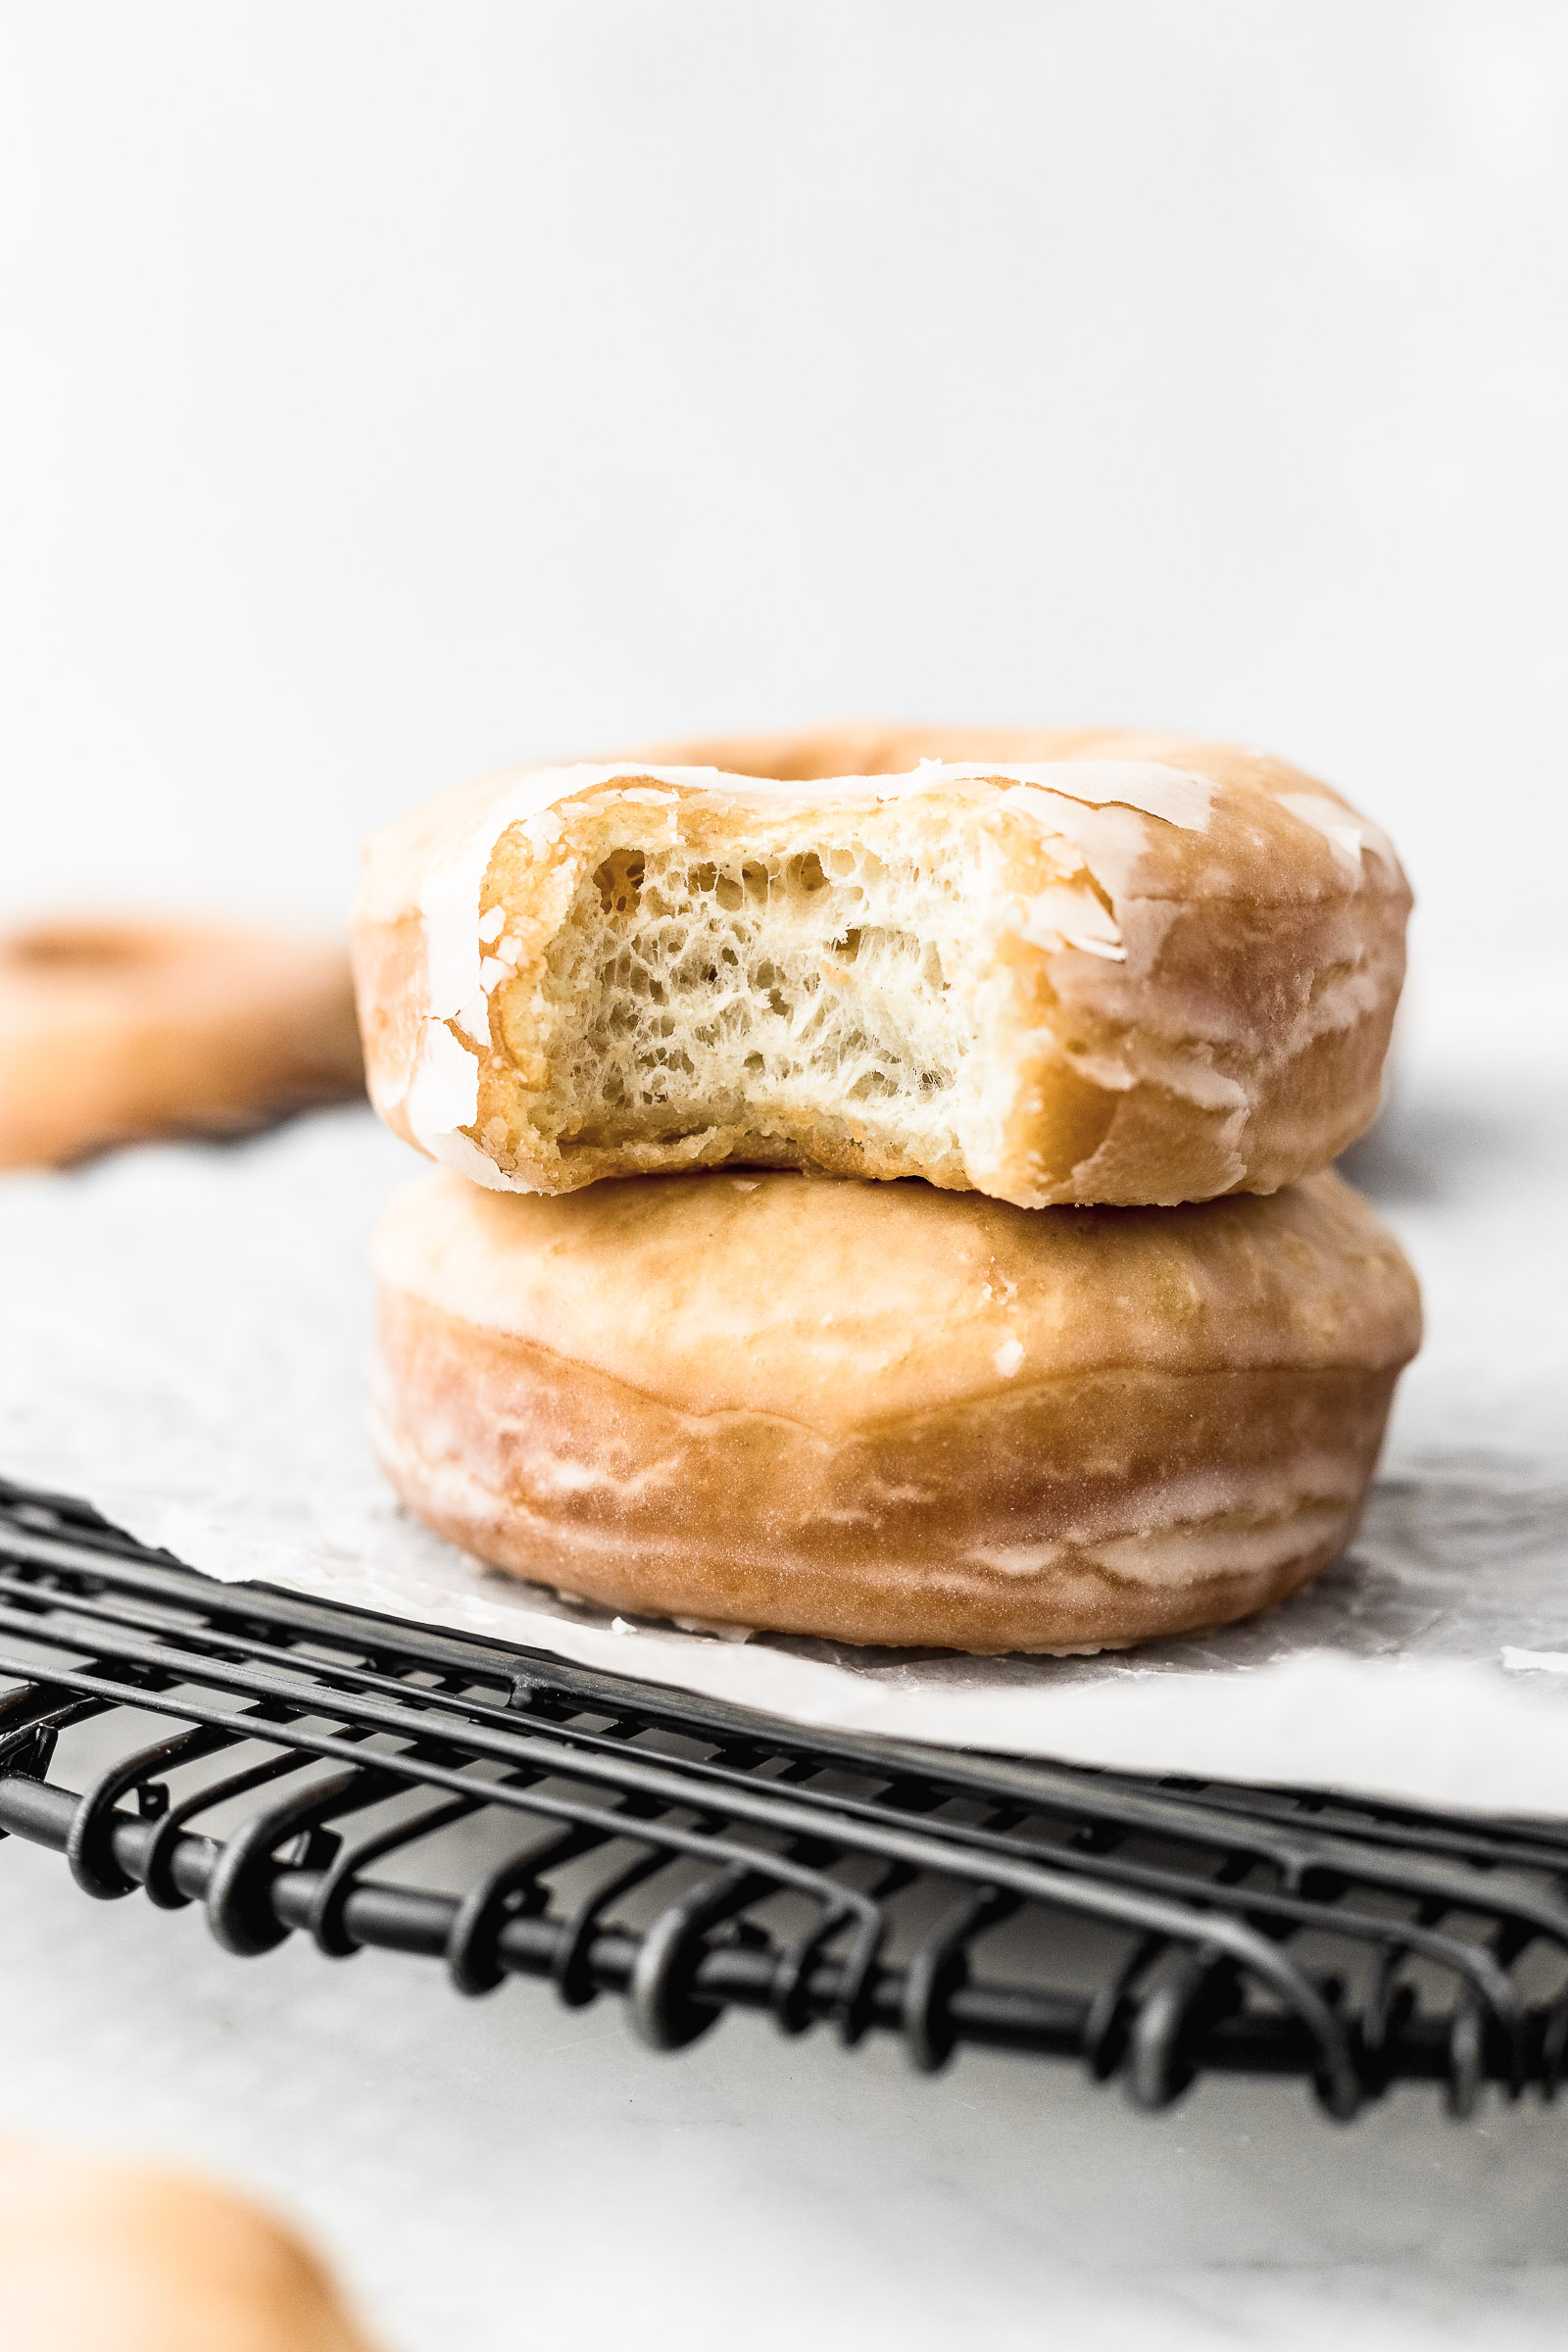
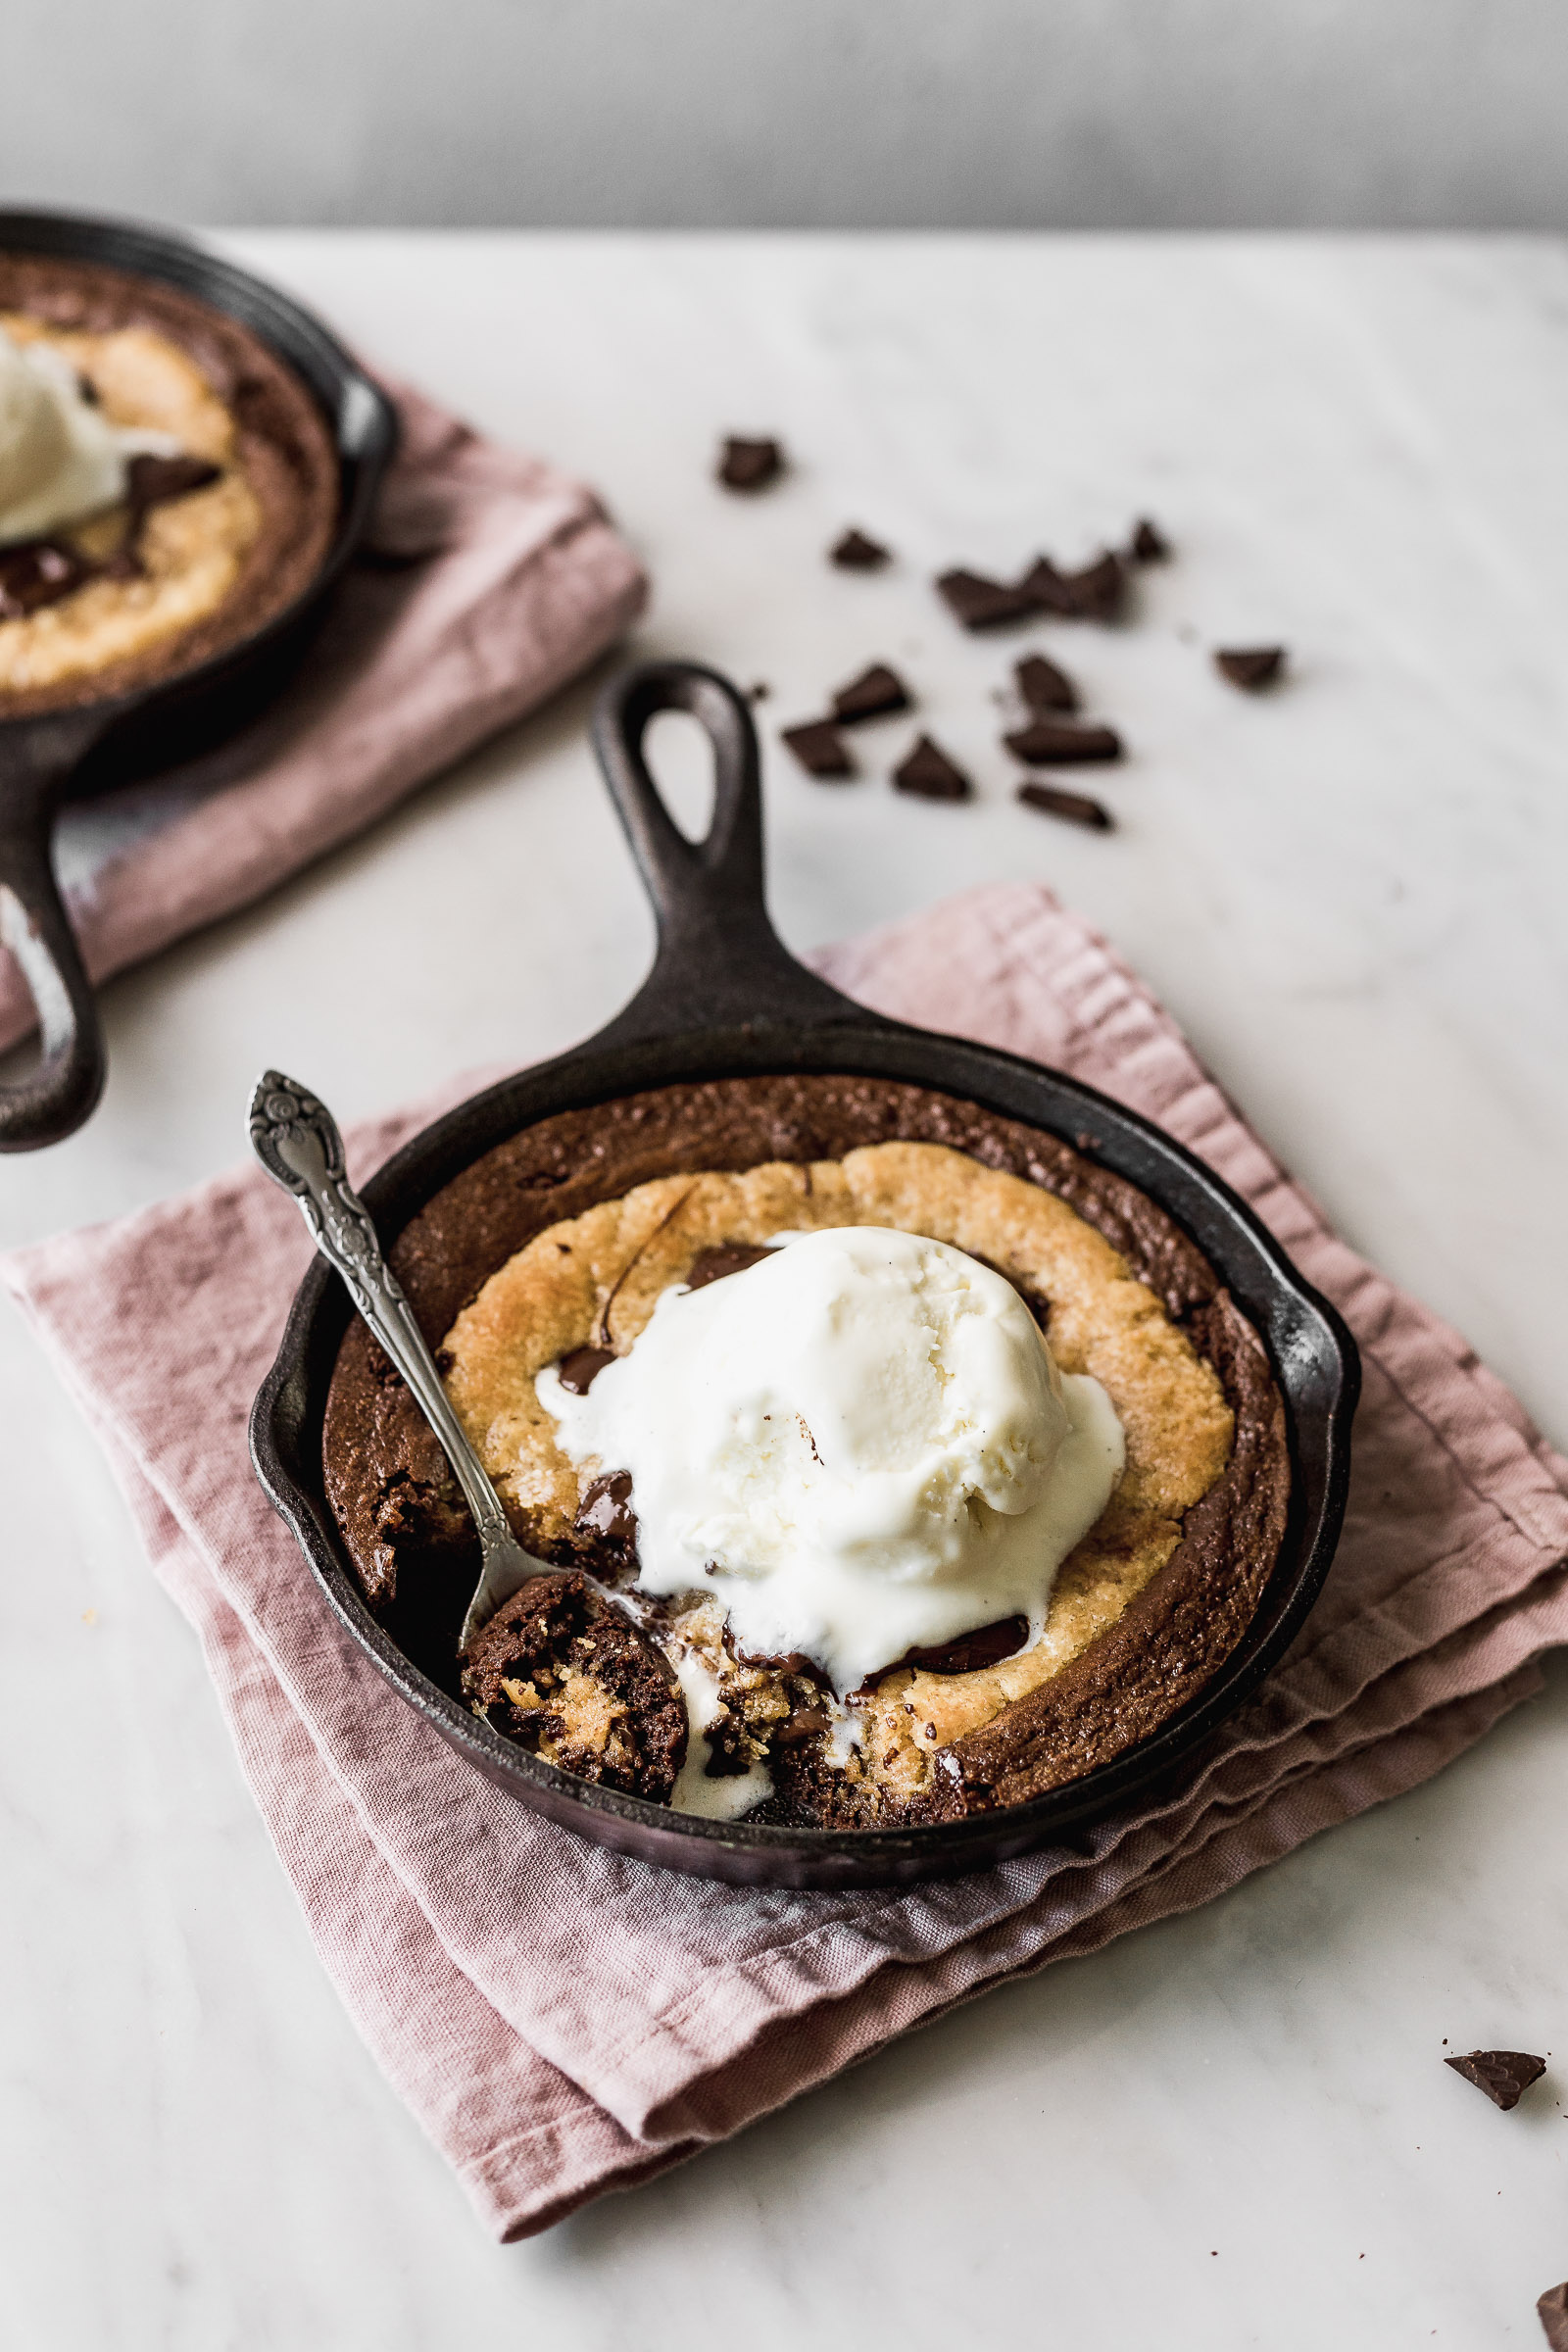

Whenever you’re making a recipe or you have a dish in front of you it helps to think what’s the thing that makes it so special. Are the veggies super fresh? You might want to sprinkle some water on them. Is the meat perfectly cooked? Maybe try cutting a piece to show the inside. Does it have a shiny glaze on top? Make sure that the light hits it nicely. The most notorious example of this is when we want to see the inside of a recipe like in the photos above. I want to be able to see how fluffy the doughnuts are on the inside, how moist the brownie and cookie are and how airy the soufflé is. This doesn’t mean that you don’t want to take other photos of them but rather that you need to make sure these are included as part of your photoshoot.
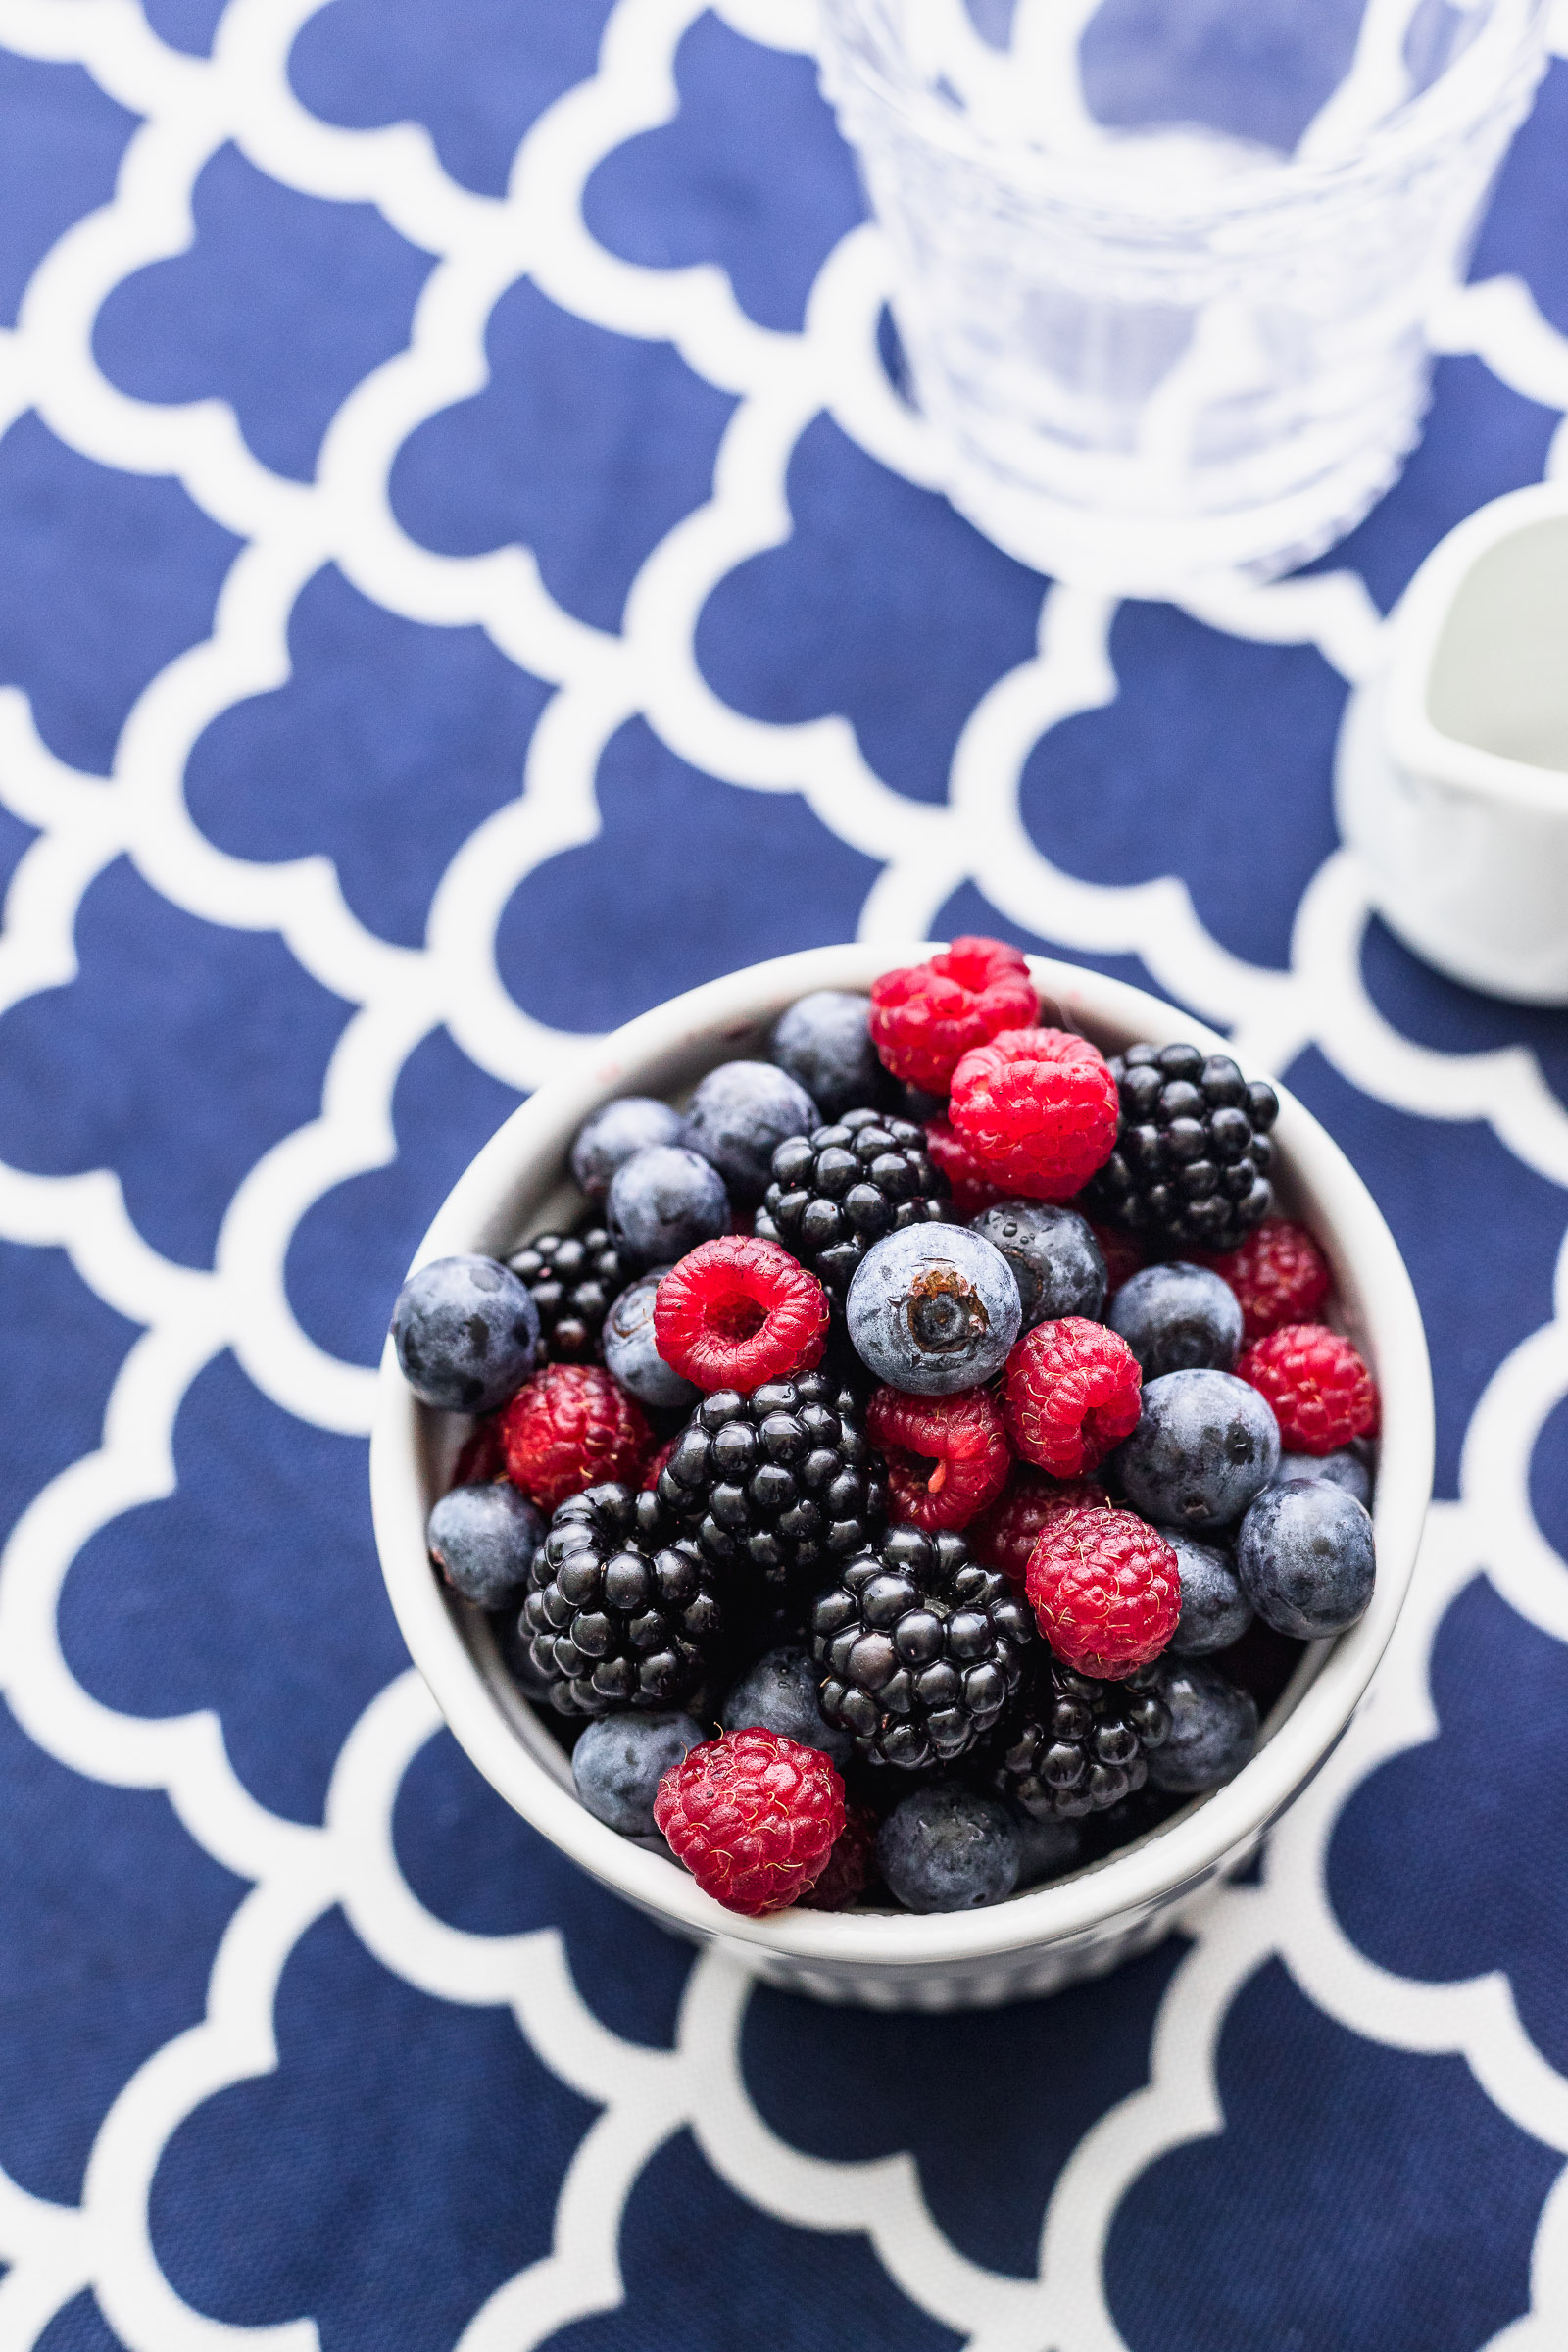
Food Photography Tip 4. Make sure the produce you use is top quality
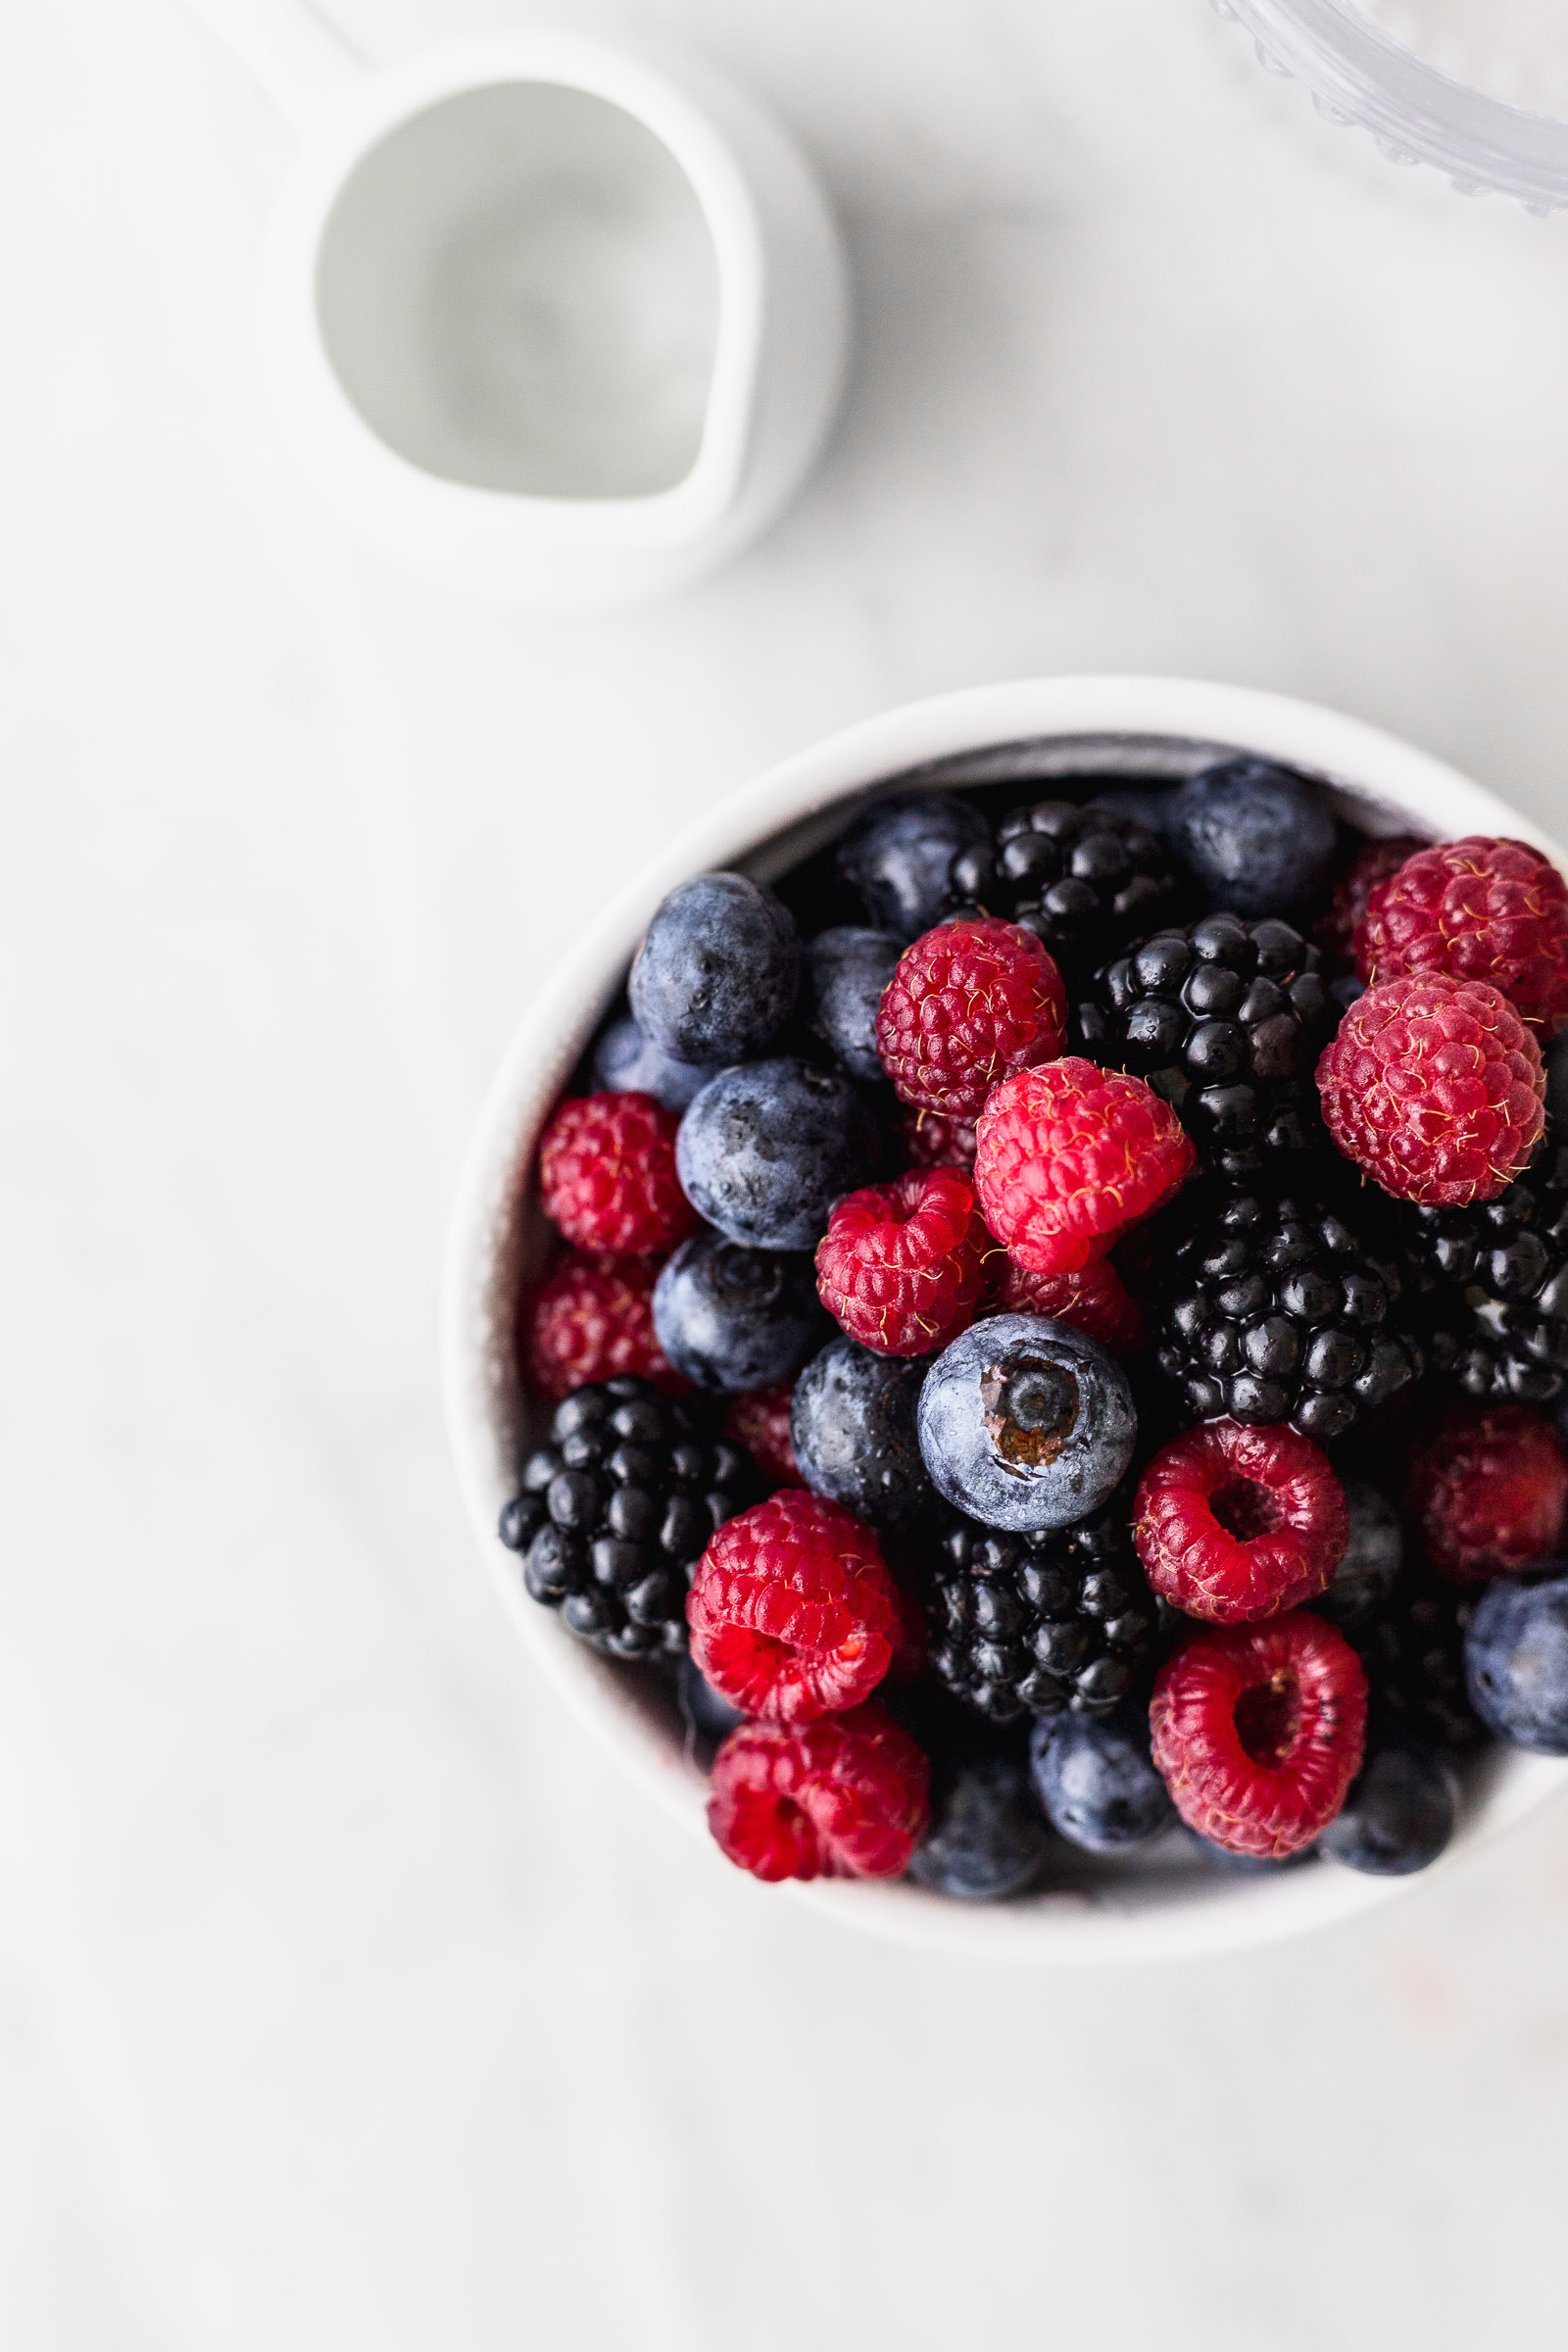
This food photography tip might sound obvious but let’s touch on it still. When I decided to write this post I asked the veggie delivery to bring me berries. When they arrived I spent a few minutes selecting the prettiest ones for this photo. This doesn’t mean that I’m not going to eat the other but rather that you need to choose the more appetizing ones for your photos. You can immediately tell when a leaf is old or the tomato isn’t ripe enough. The magic really is in the details.
Tip 5. Choose the angle that best fits your food
Straight on
Perfect for shooting when you want the attention to go to the layers in the food, their height or volume. It’s also a nice angle when we’re pouring or dusting something onto our elements.
45 degrees
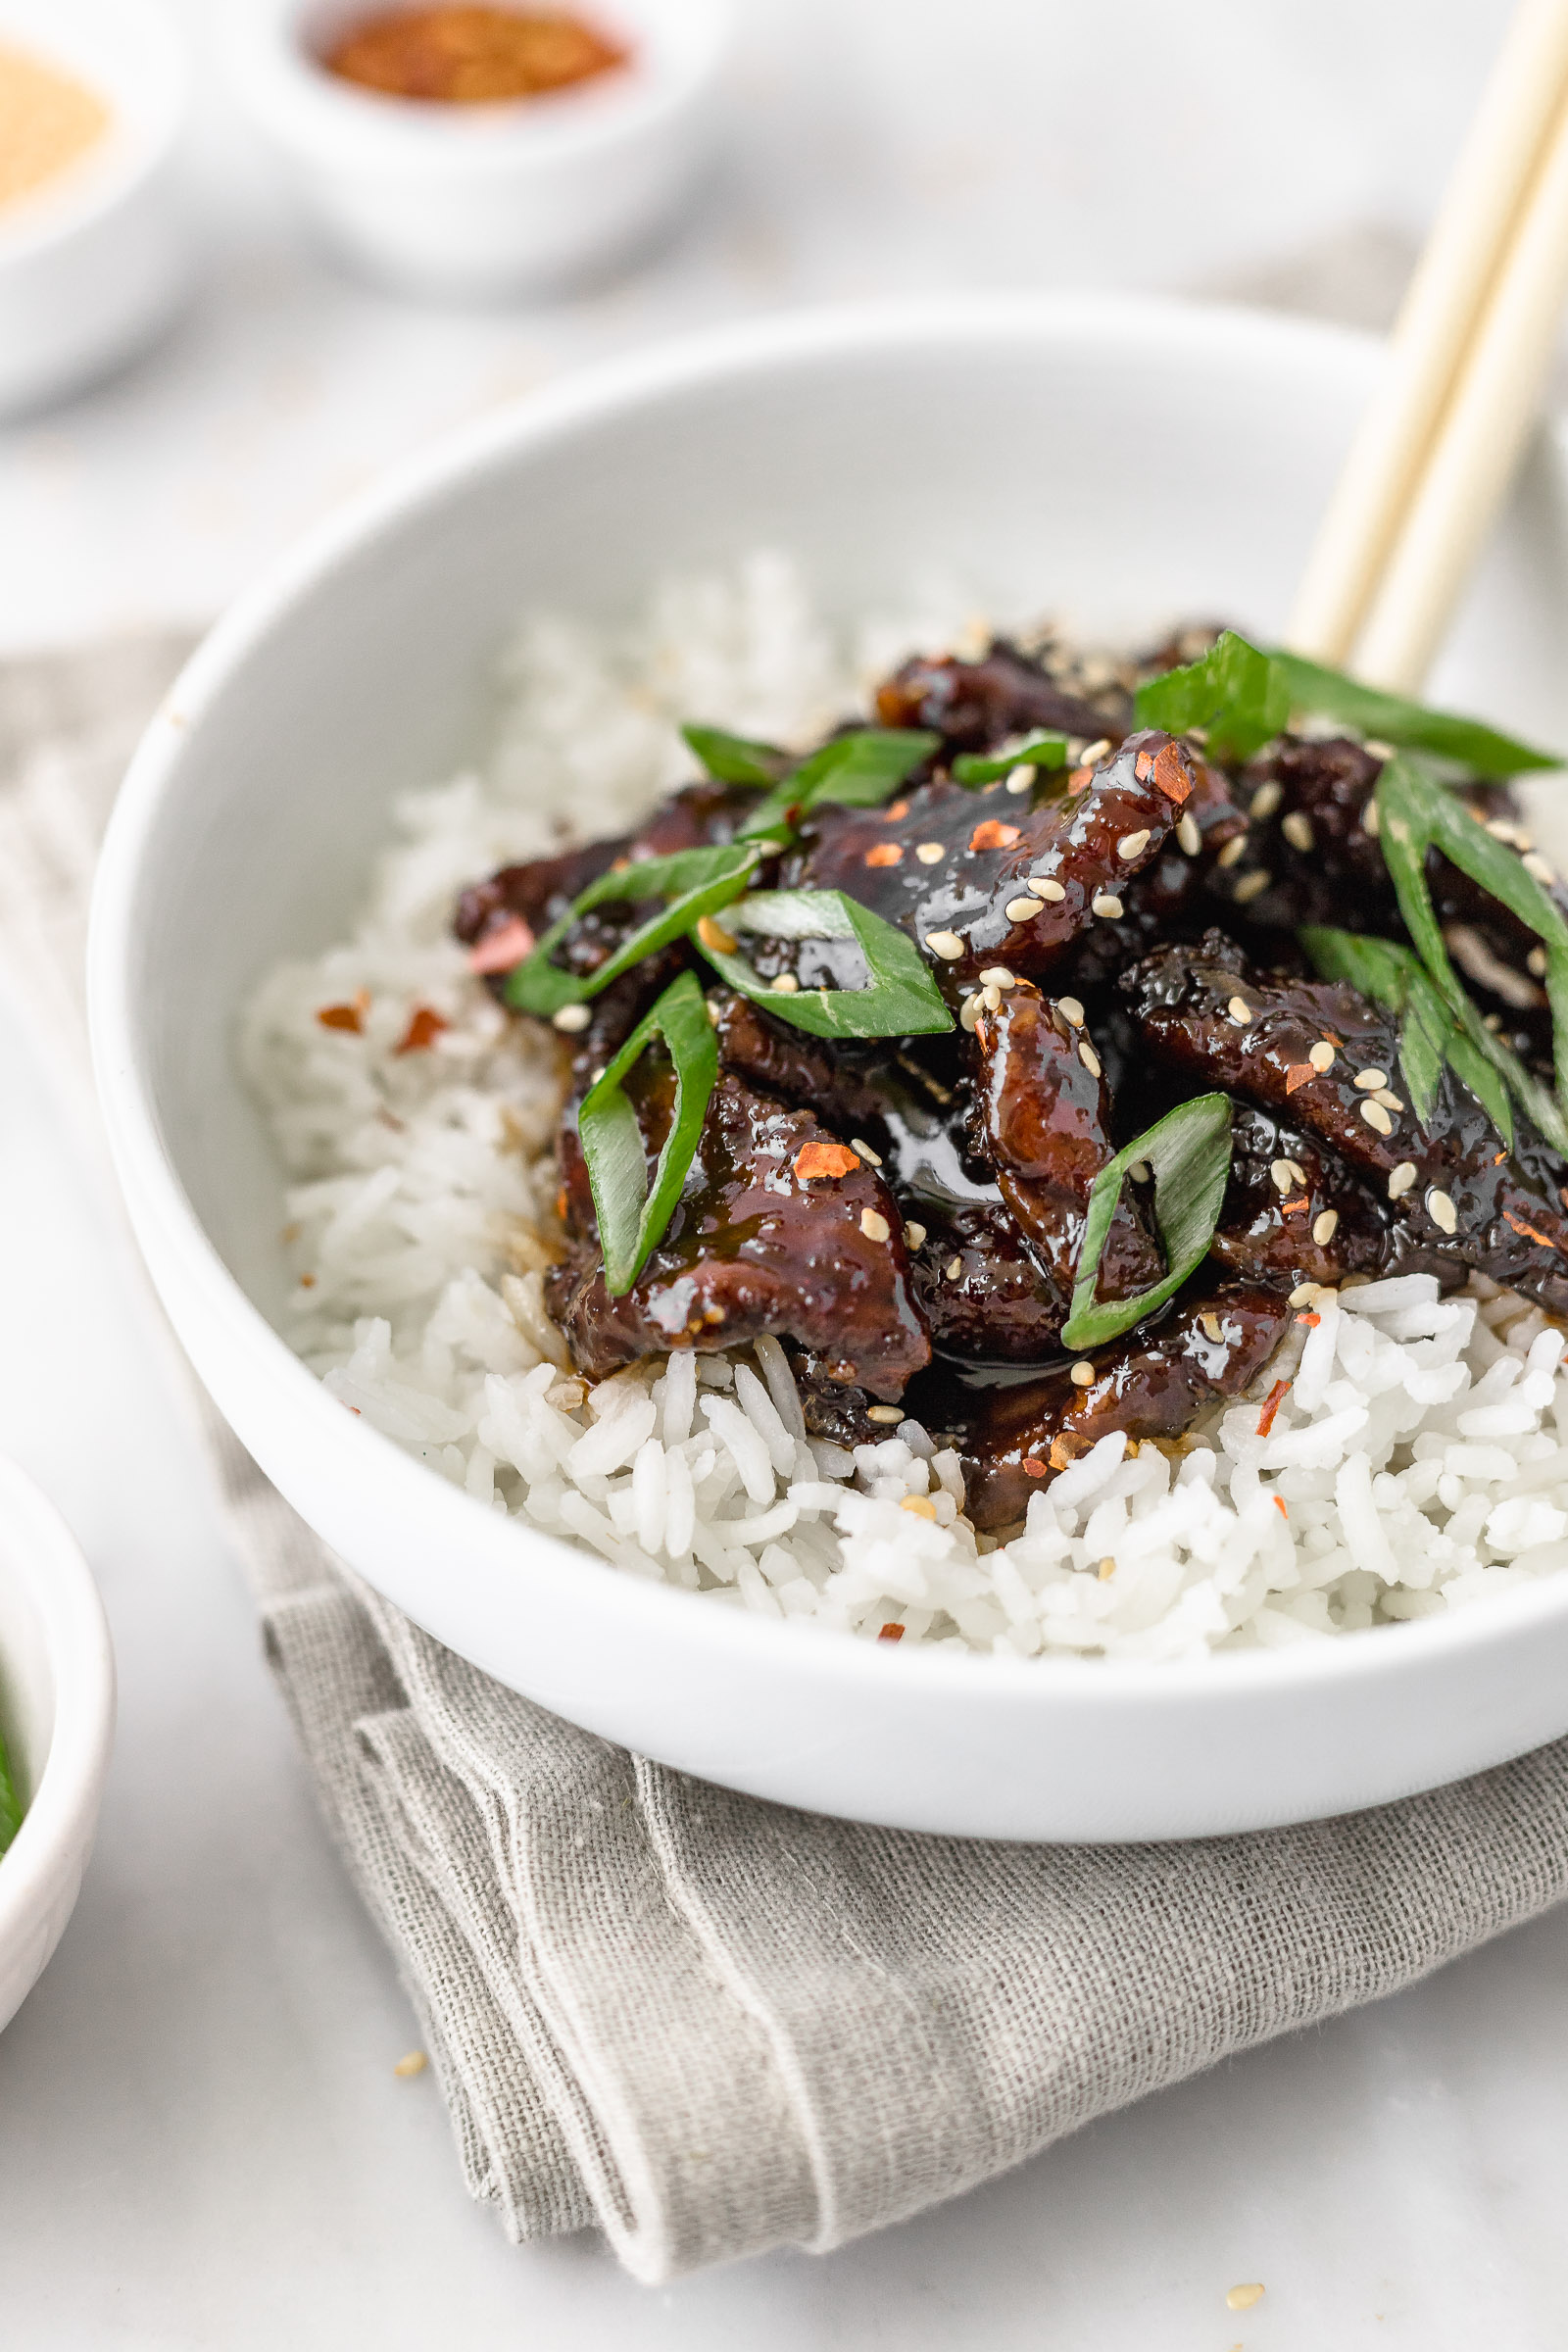
This angle is great when we want a nice shot of something that’s “in there”. If your food is served in a bowl or there’s another element in the way we probably don’t want to shoot straight on. That’s why we go into a 45-degree angle and take a shot of those details. The nice thing about this angle is that it also gives us a sense of depth since the elements closest to the camera as well as the furthest away get unfocused.
Overhead
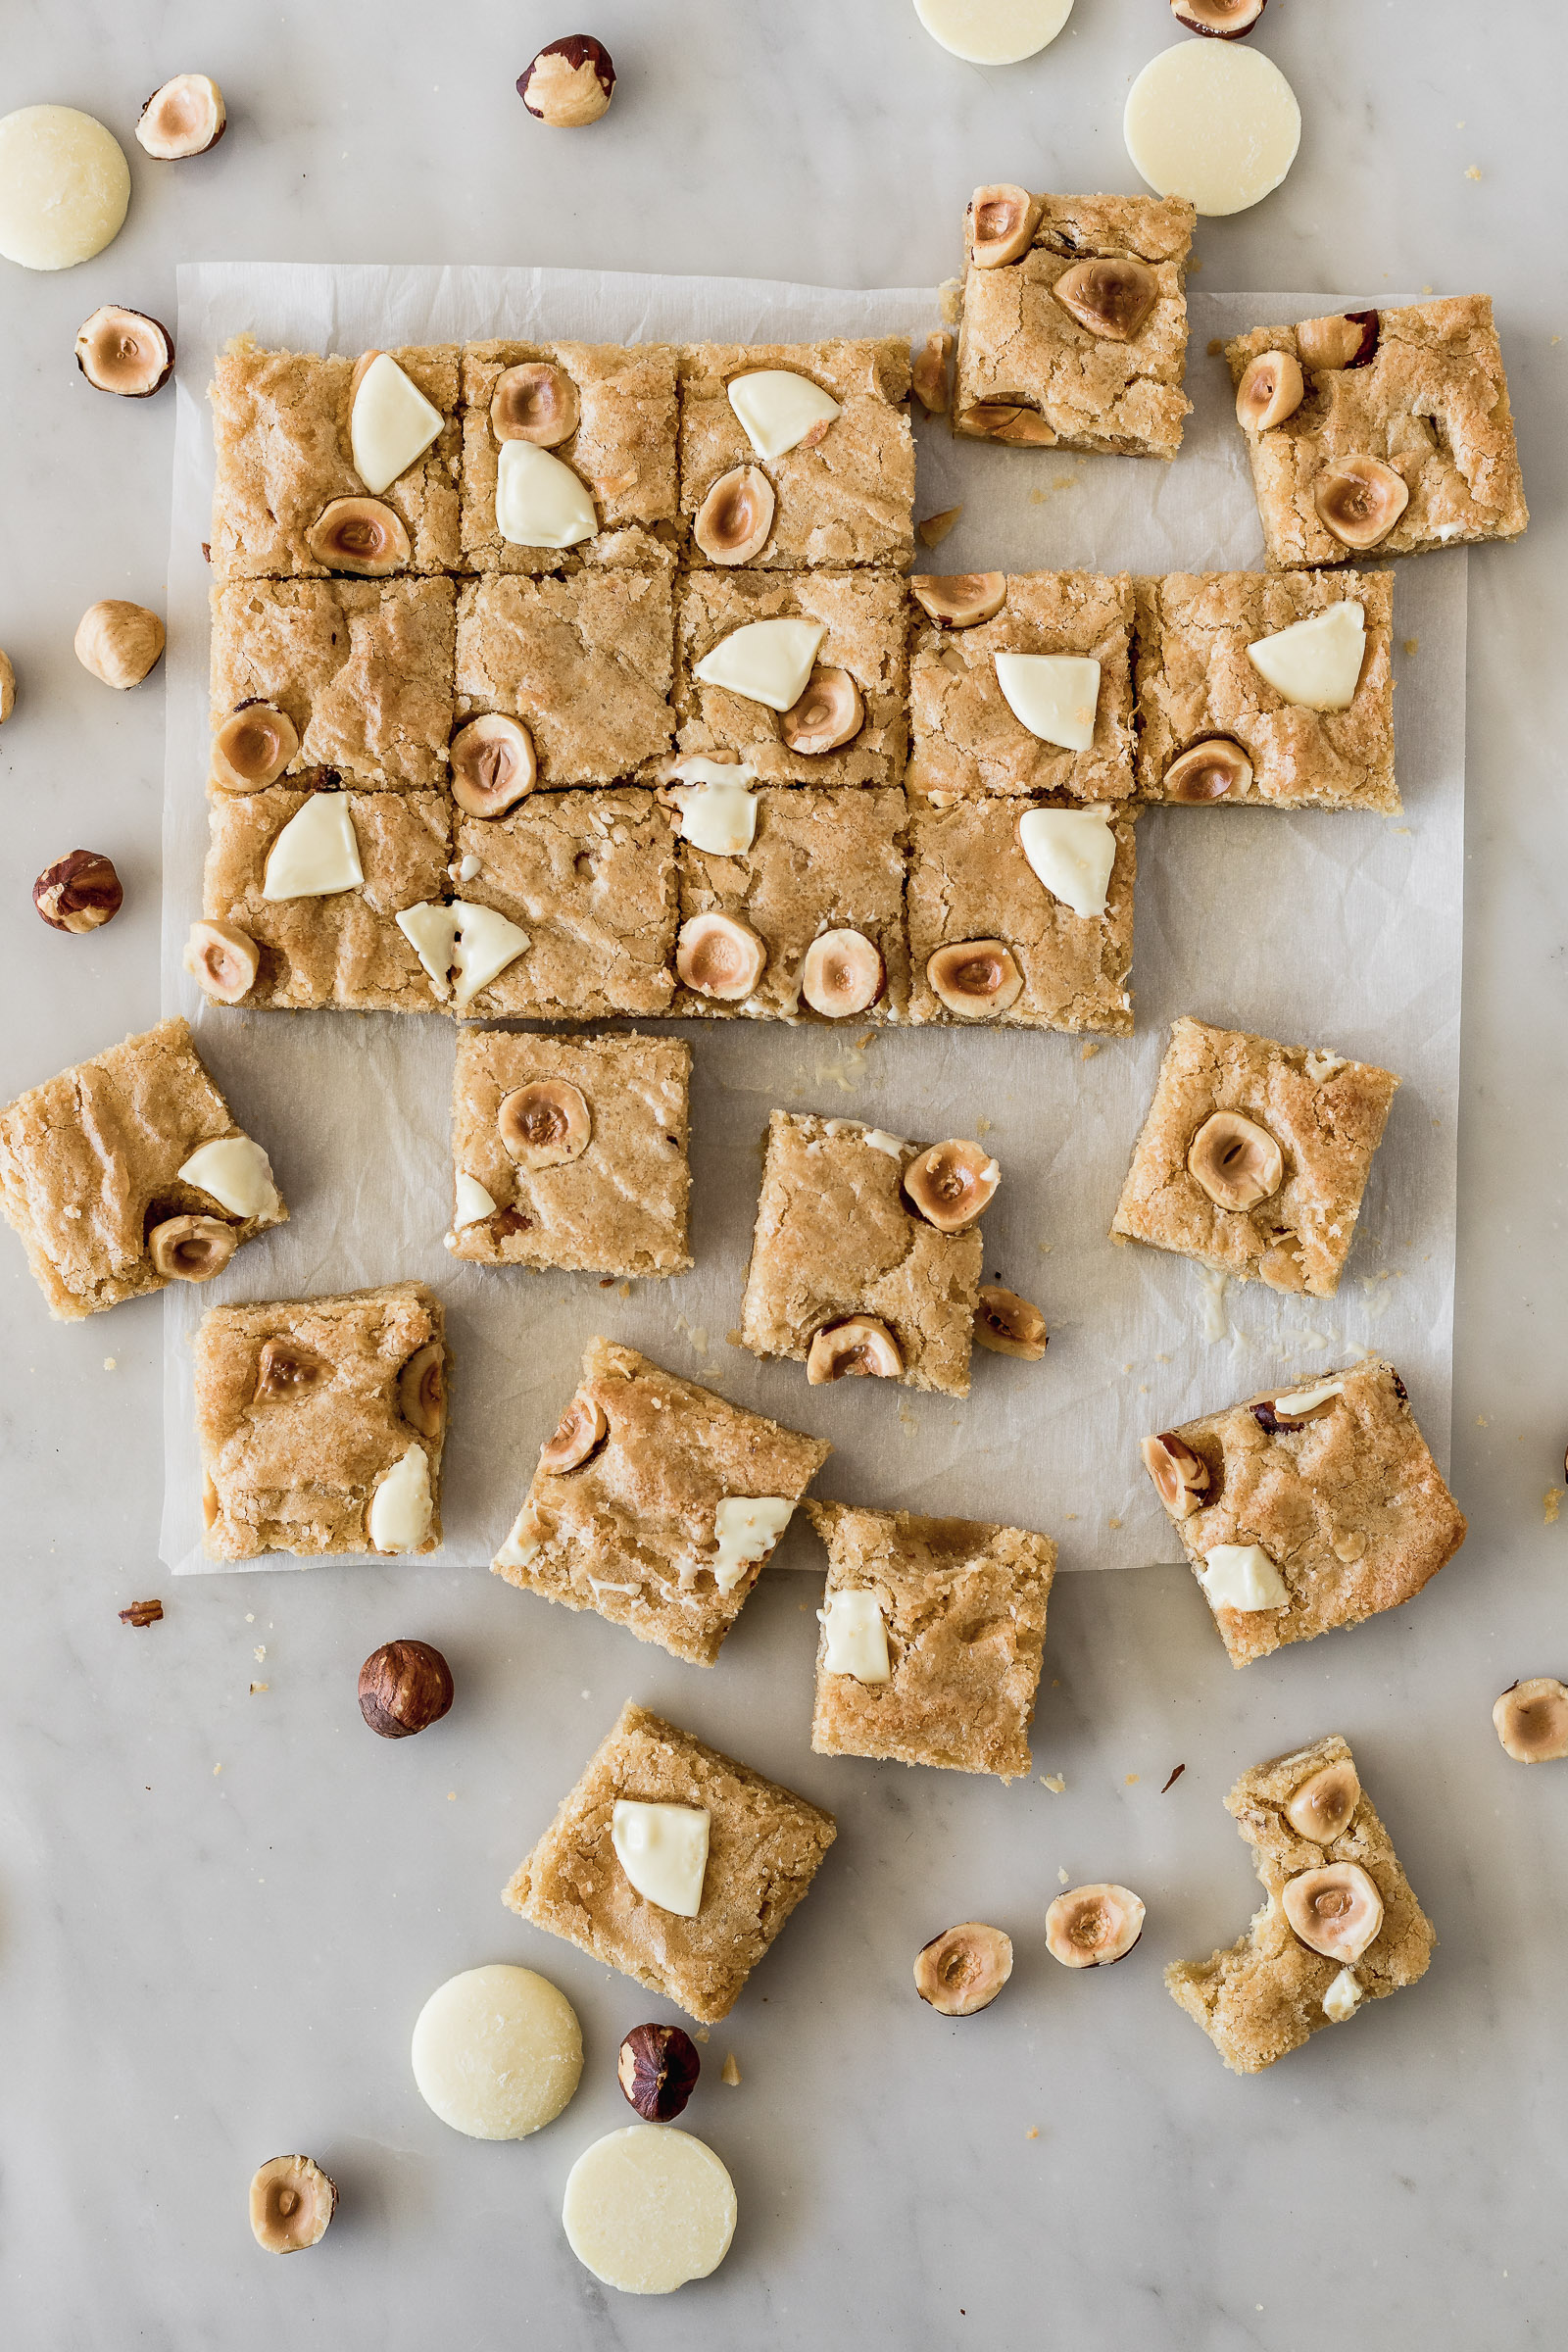

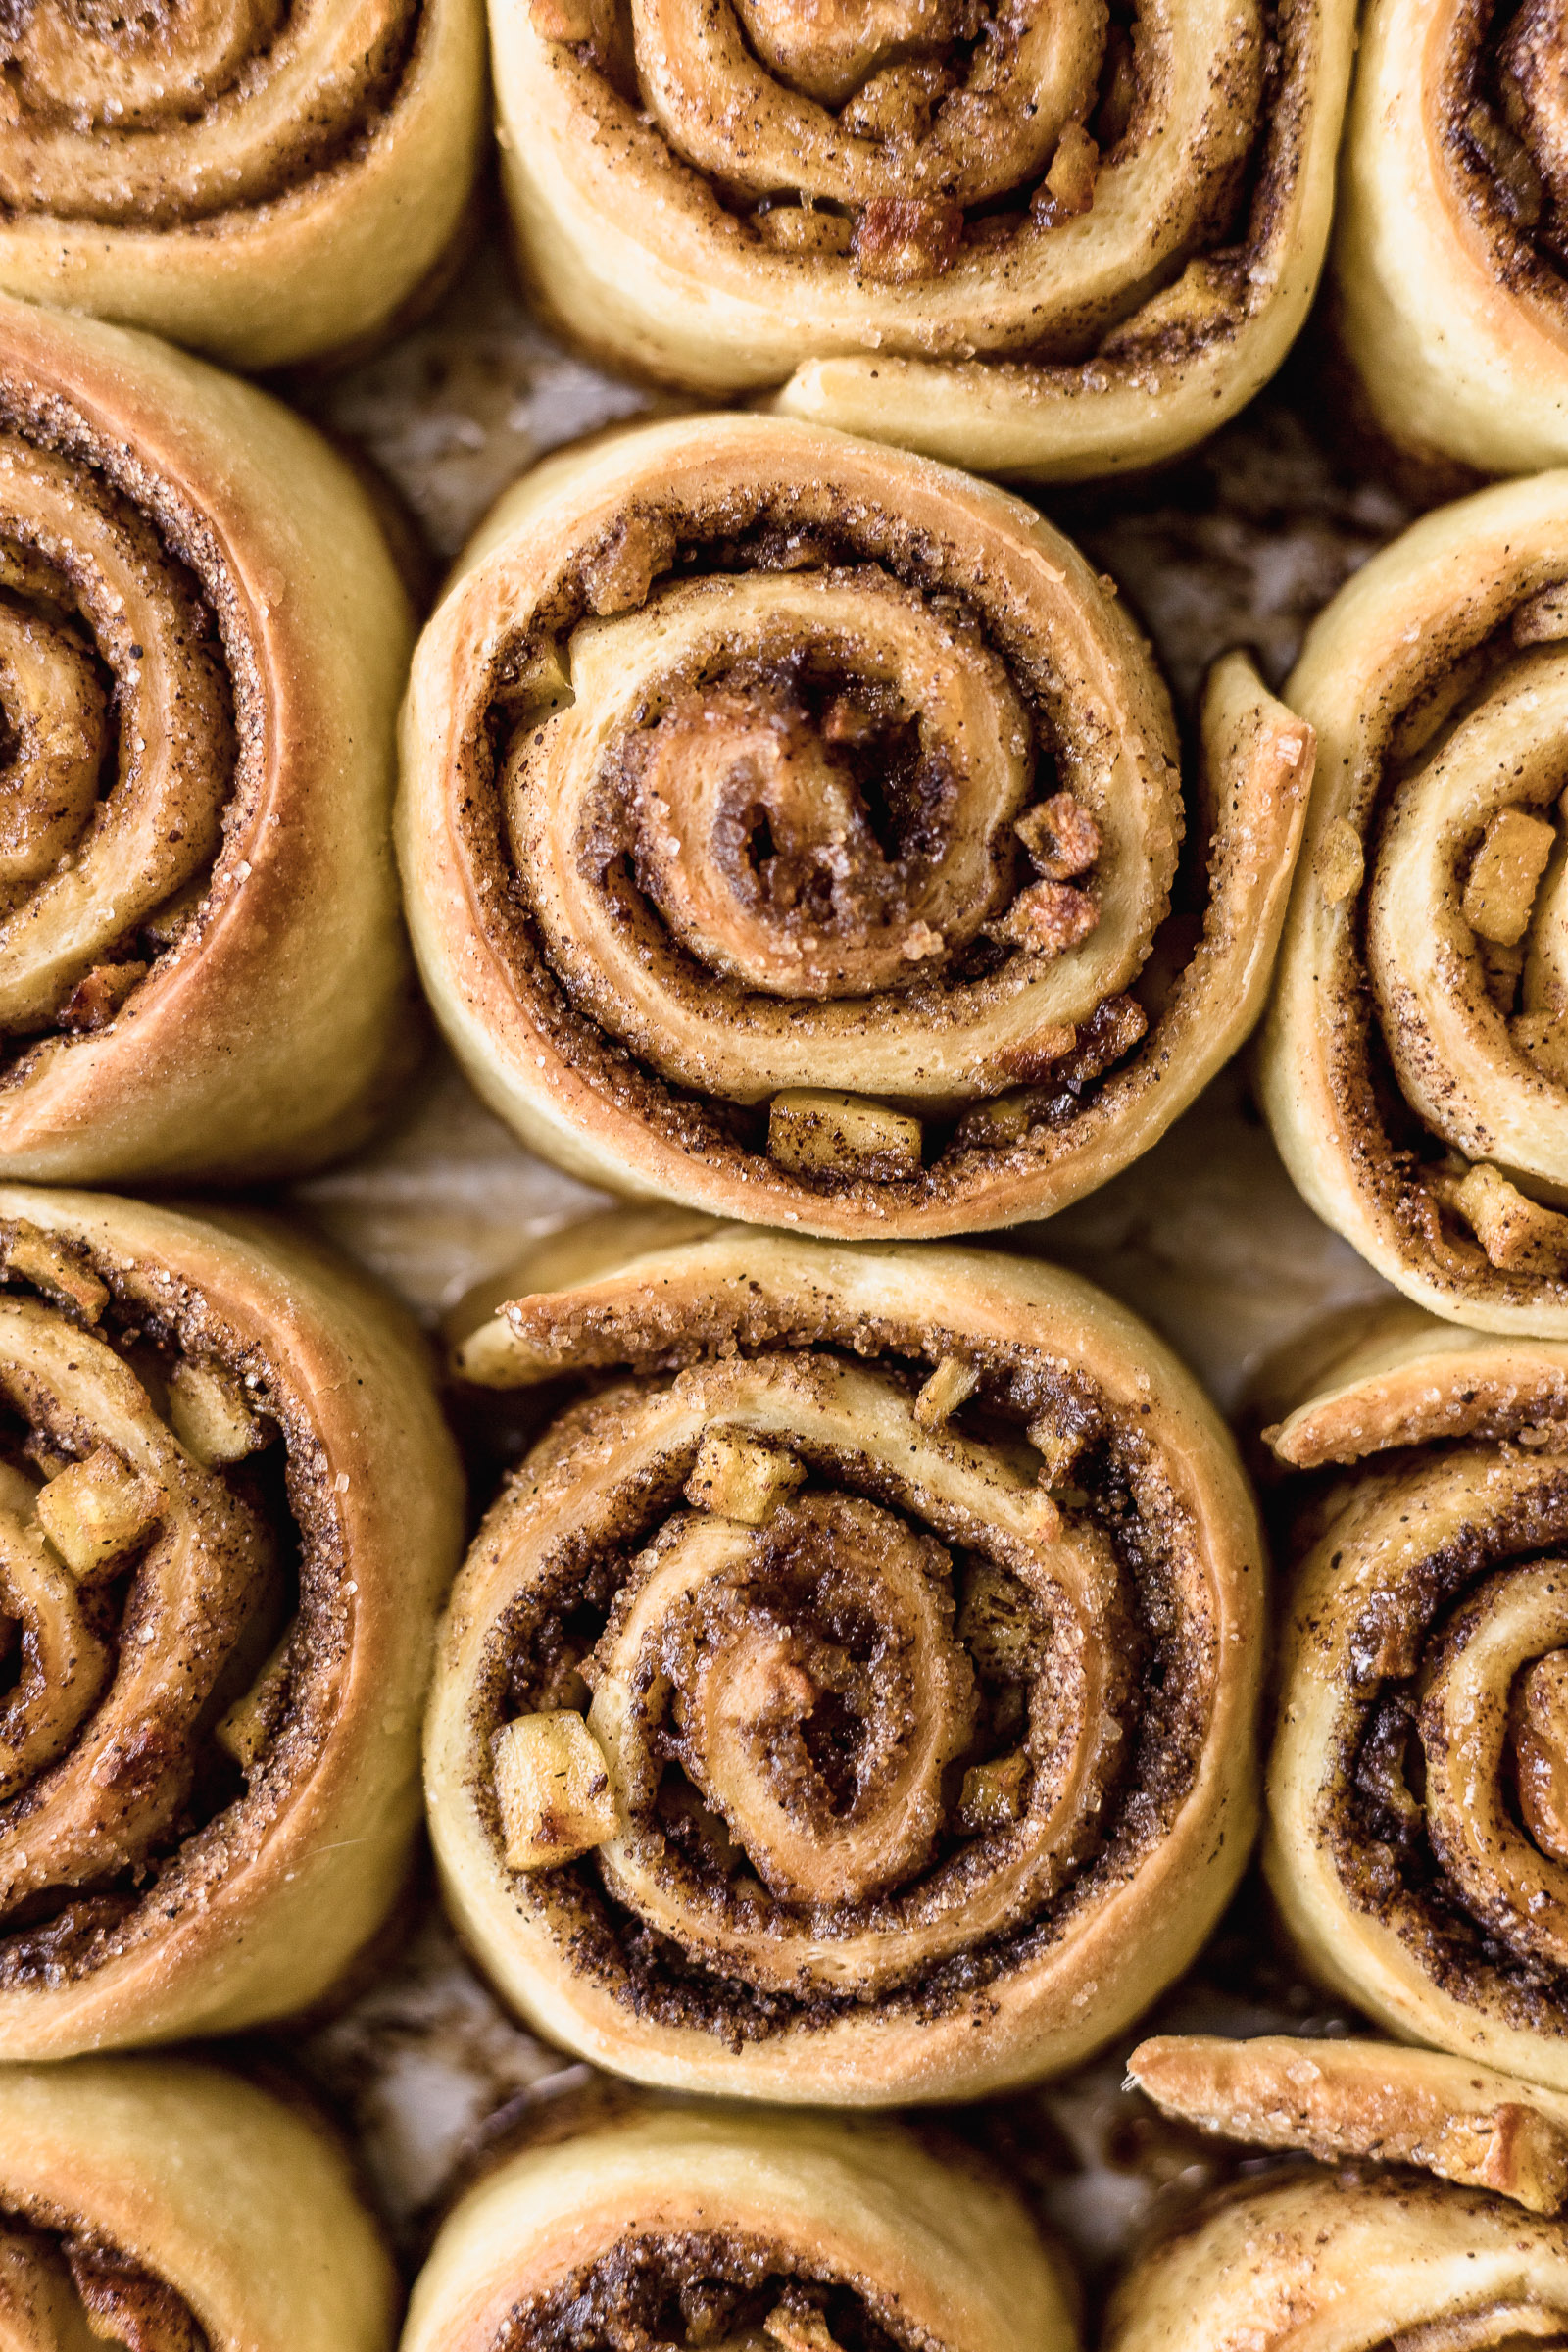
Overhead shots are particularly good for food that’s flat. Shooting flat food from straight on or at 45 degrees doesn’t get such an interesting photo when food is flat like the crêpes in the centre photo. It’s also a great angle when the food has repeating shapes (like the apple cinnamon rolls) or geometric shapes (like the white chocolate blondies).
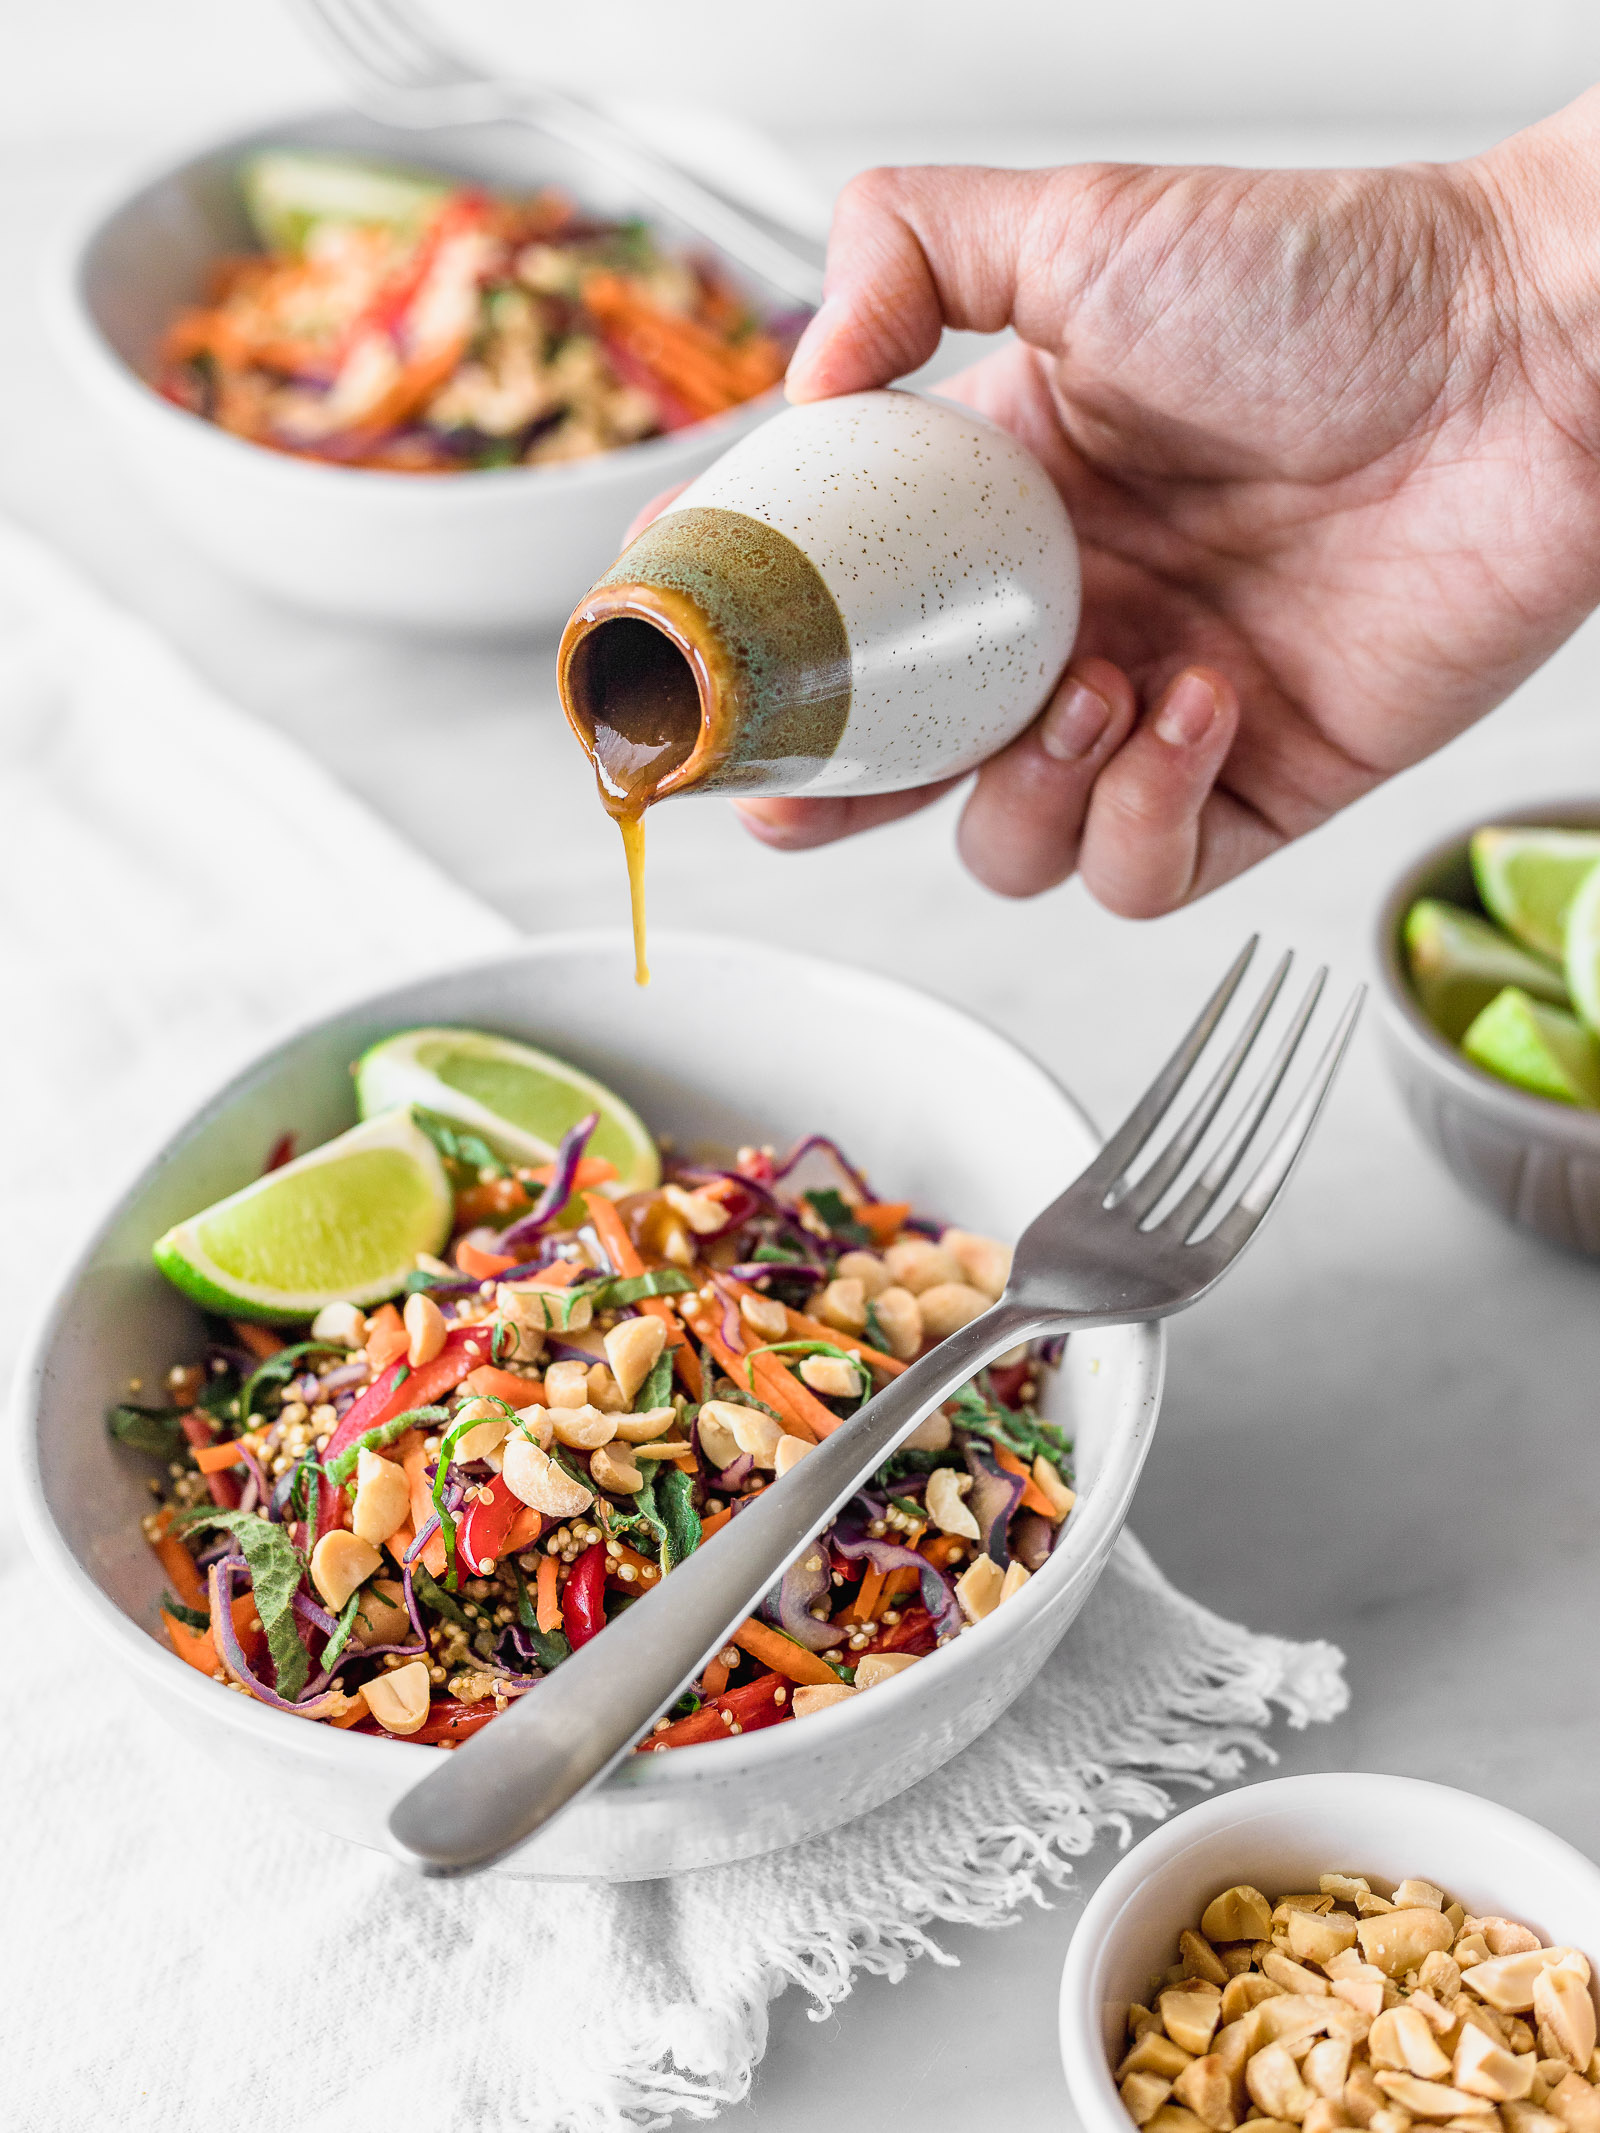
Food Photography Tip 6. Don’t plate up your dish like you do when you eat it
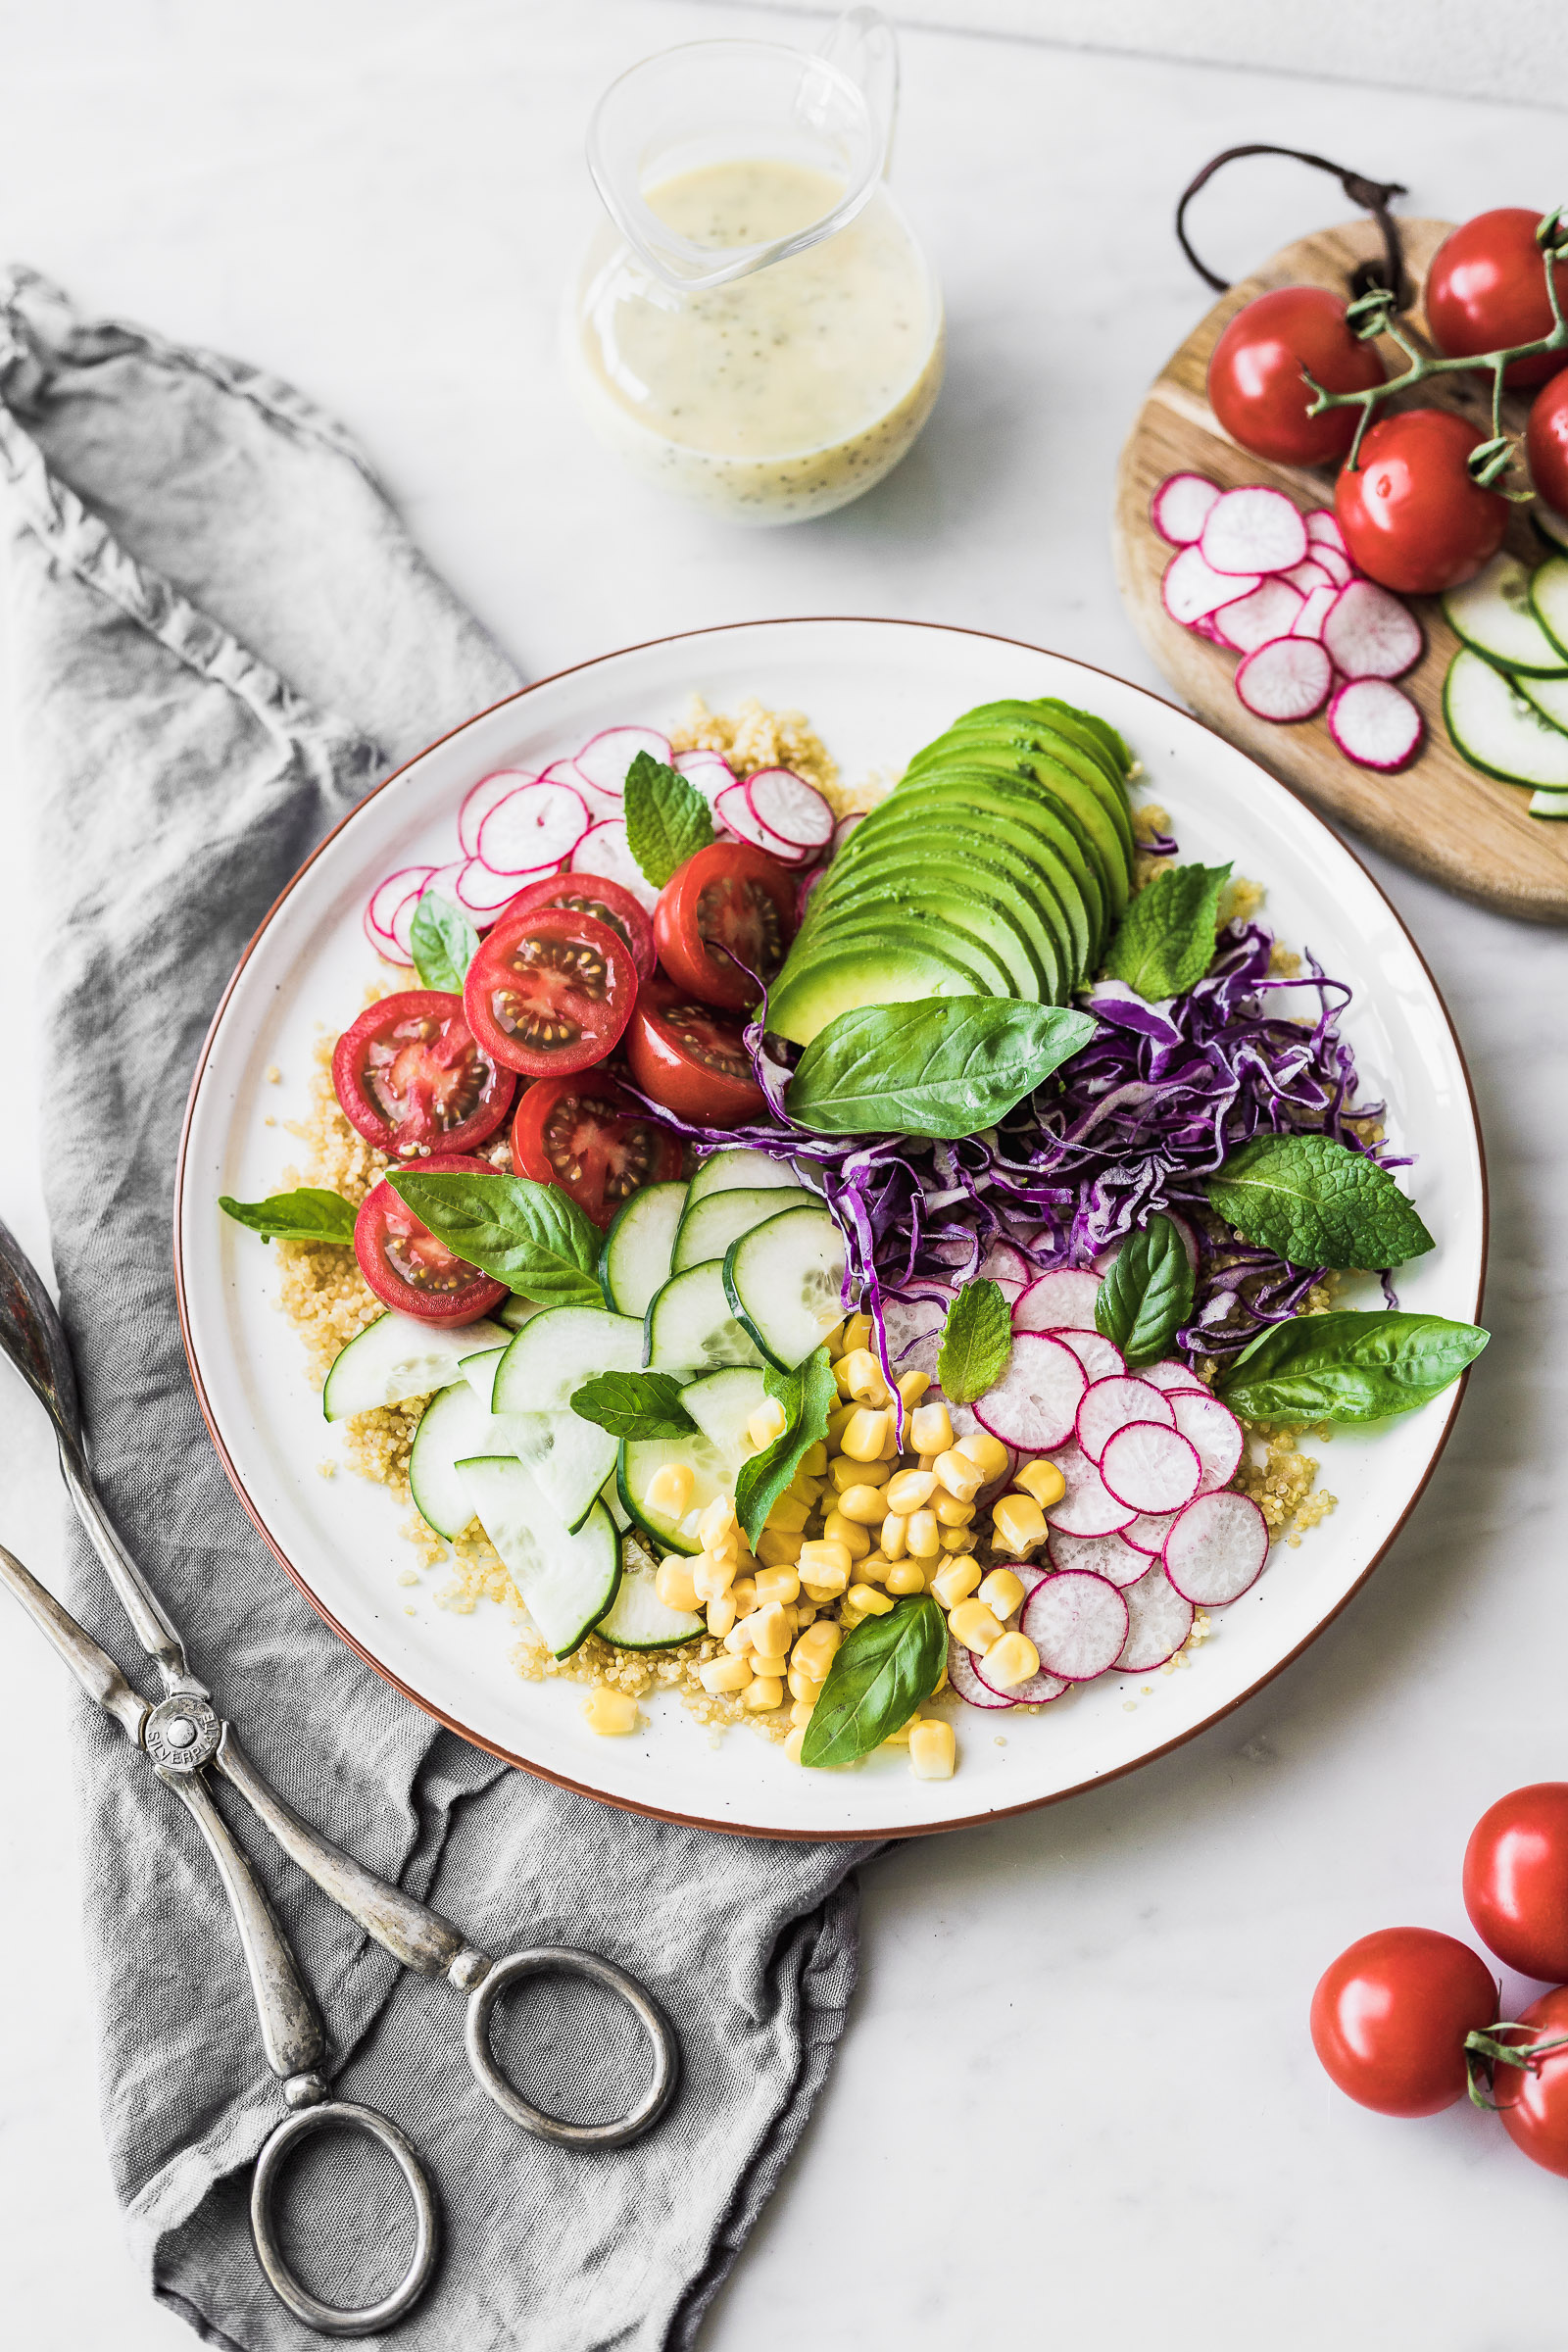
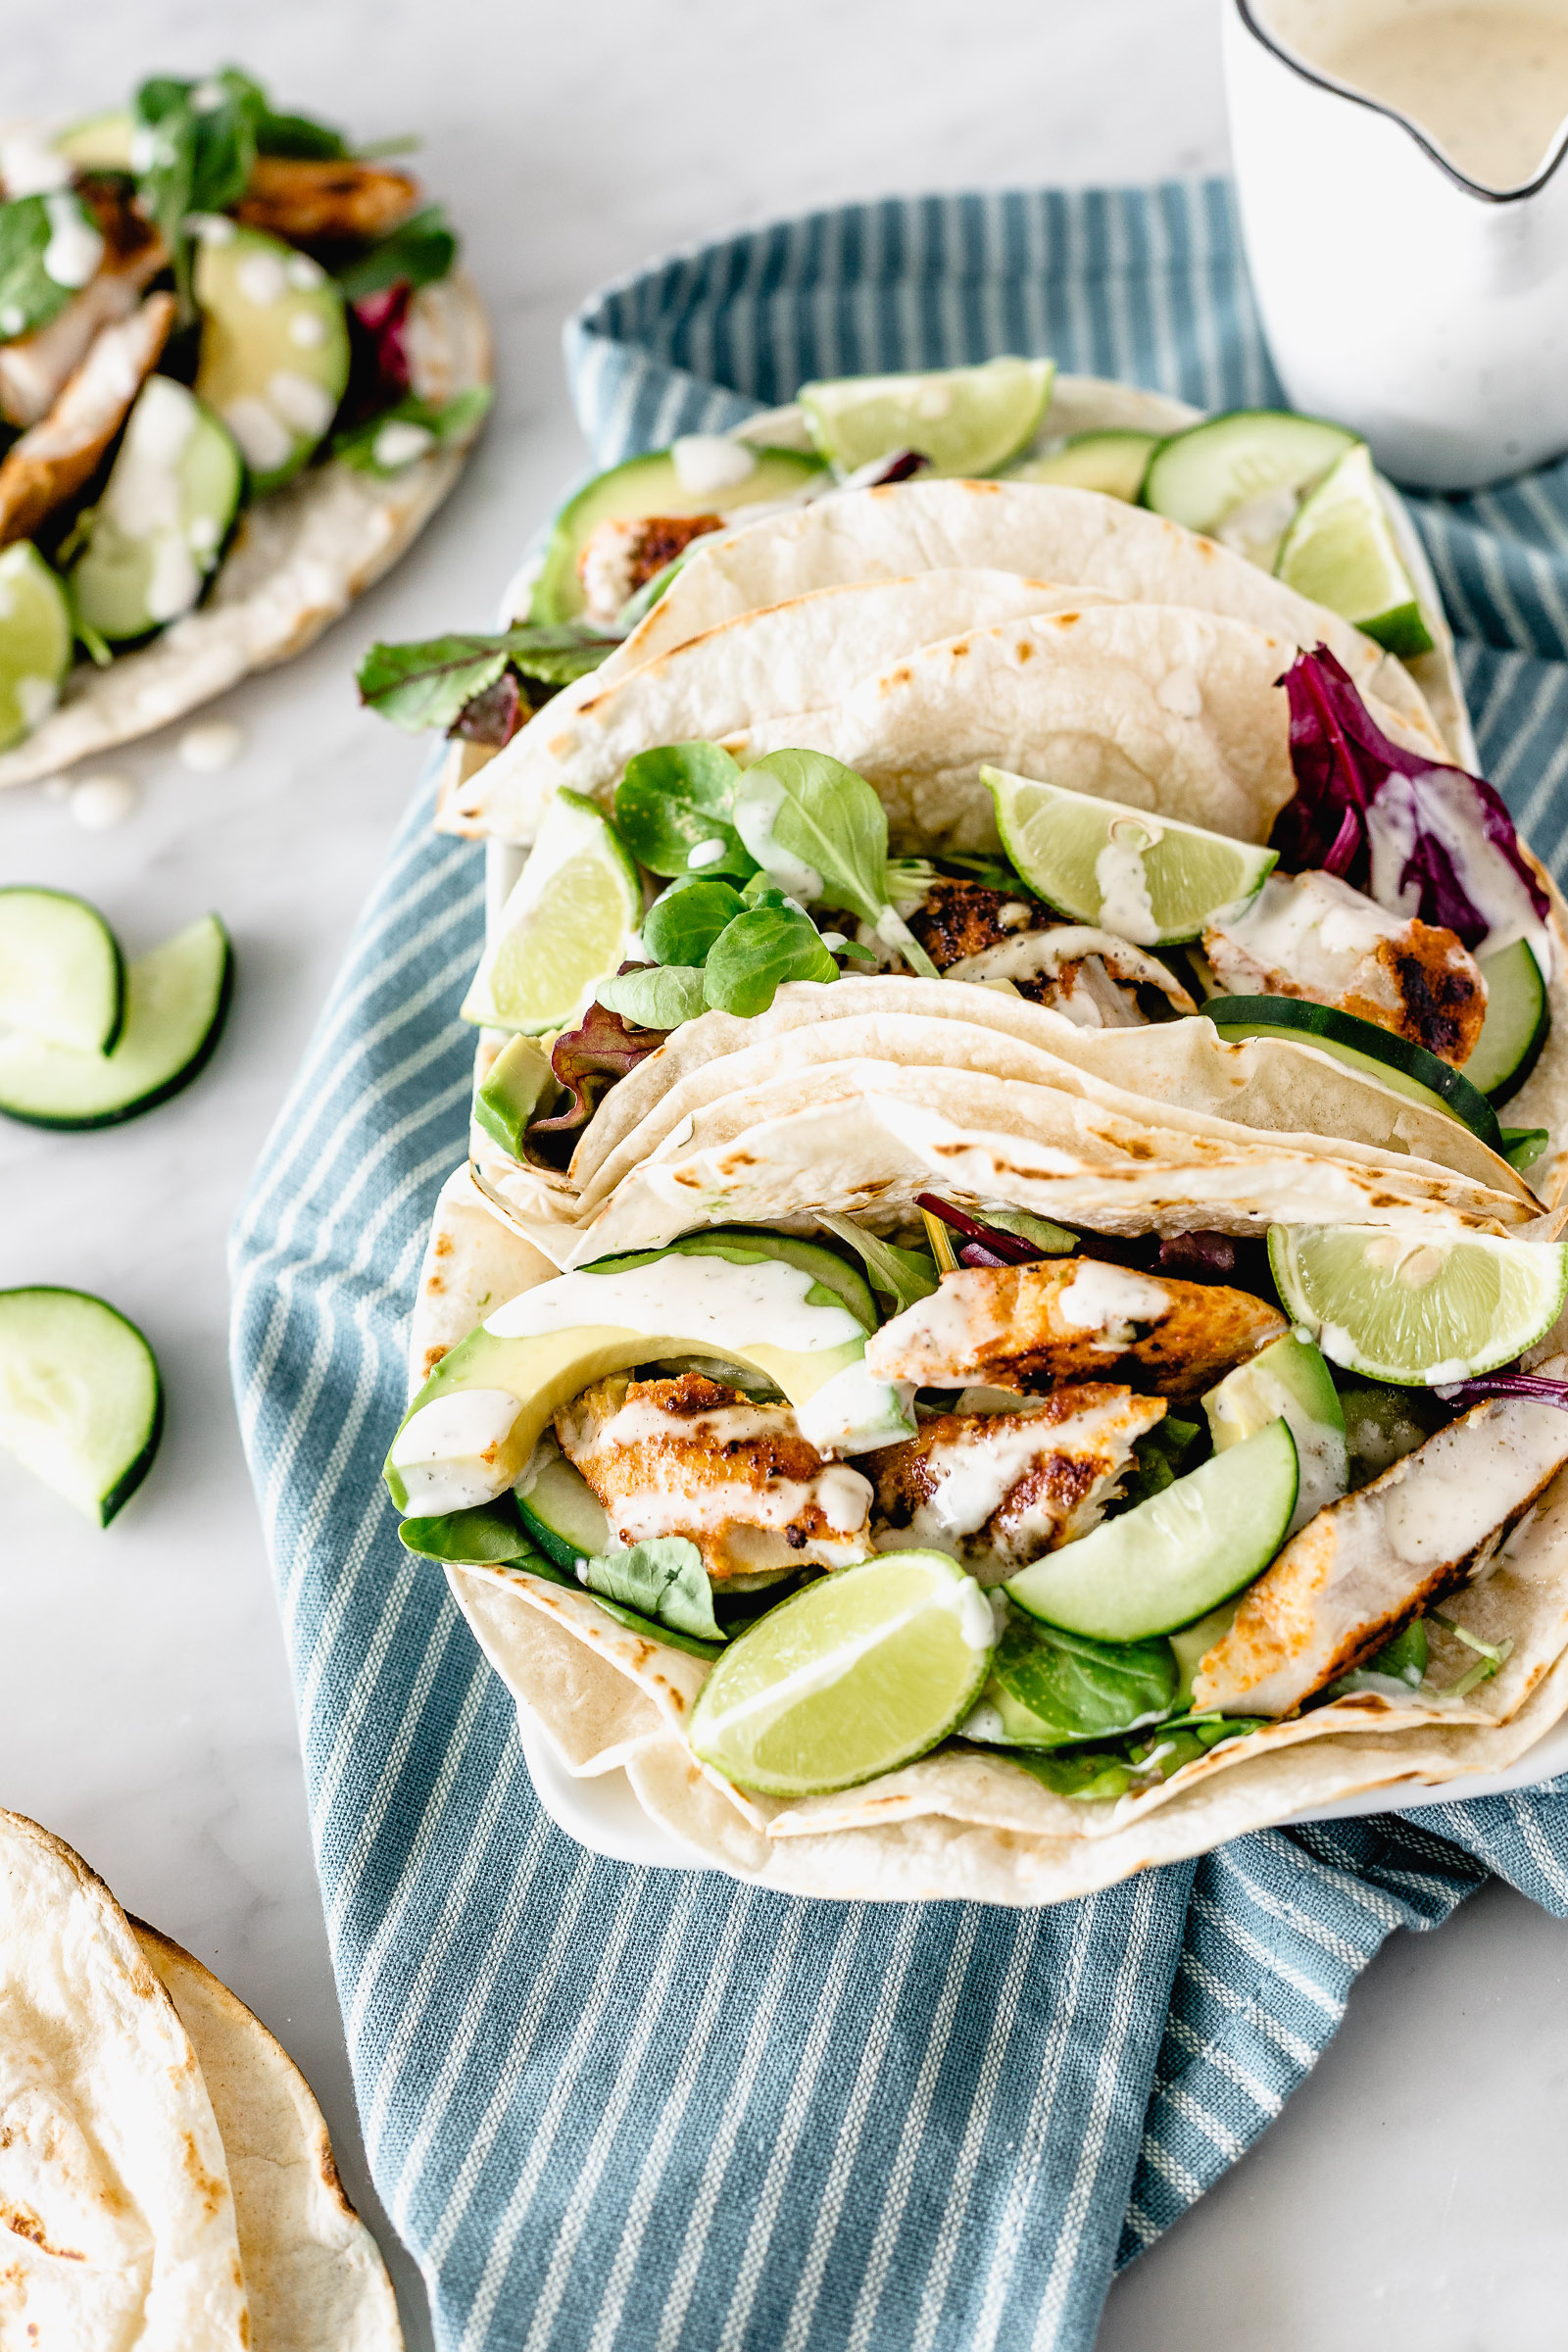
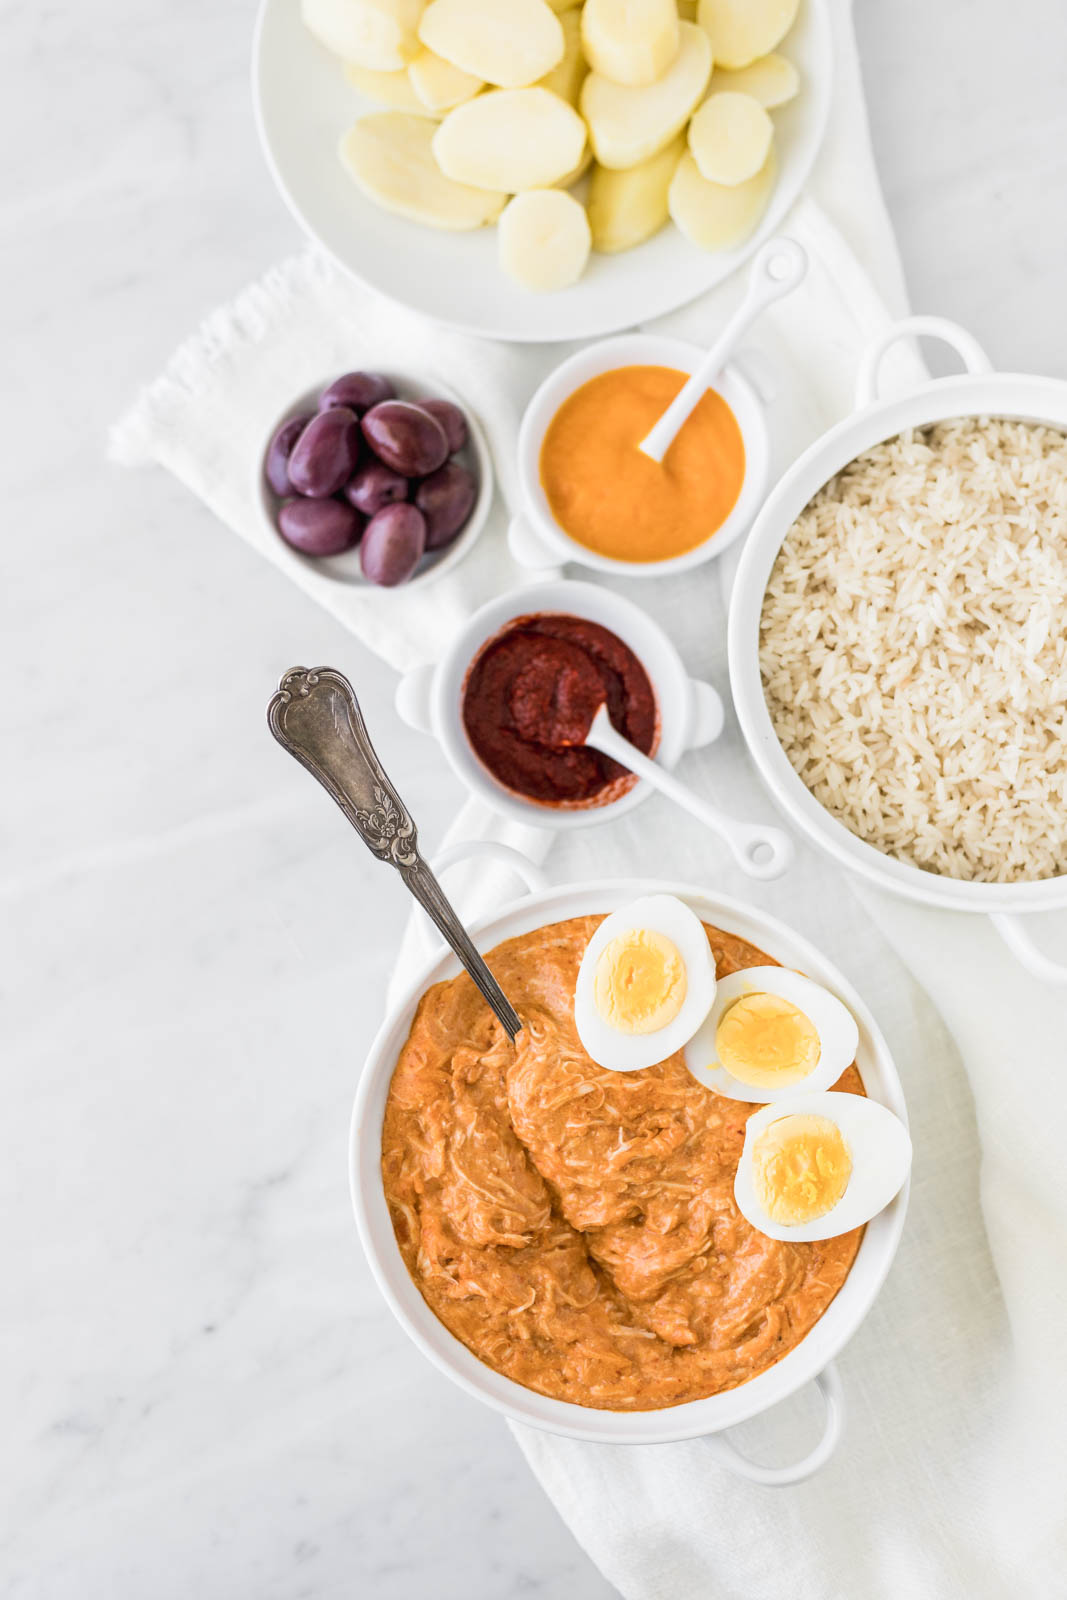
Food styling is a huge subject to tackle but I think that the principle that rules almost all my food styling is that you never plate up something you’re going to photograph the way you would actually eat it at home. For example, if I was to make the salad on the left for me and my boyfriend I would put everything in a bowl, toss it with the dressing and that’s it. However, for this photo I want all the elements and colours to pop. On the other hand, if I were making fish tacos at home I would lay out all the ingredients so everyone makes their one. Also, I would definitely not use two tortillas per taco but it helps generate volume. Finally for the ají de gallina (a Peruvian chicken chilli), even though it’s DELICIOUS it doesn’t look too good ladled on a plate next to a bunch of rice.
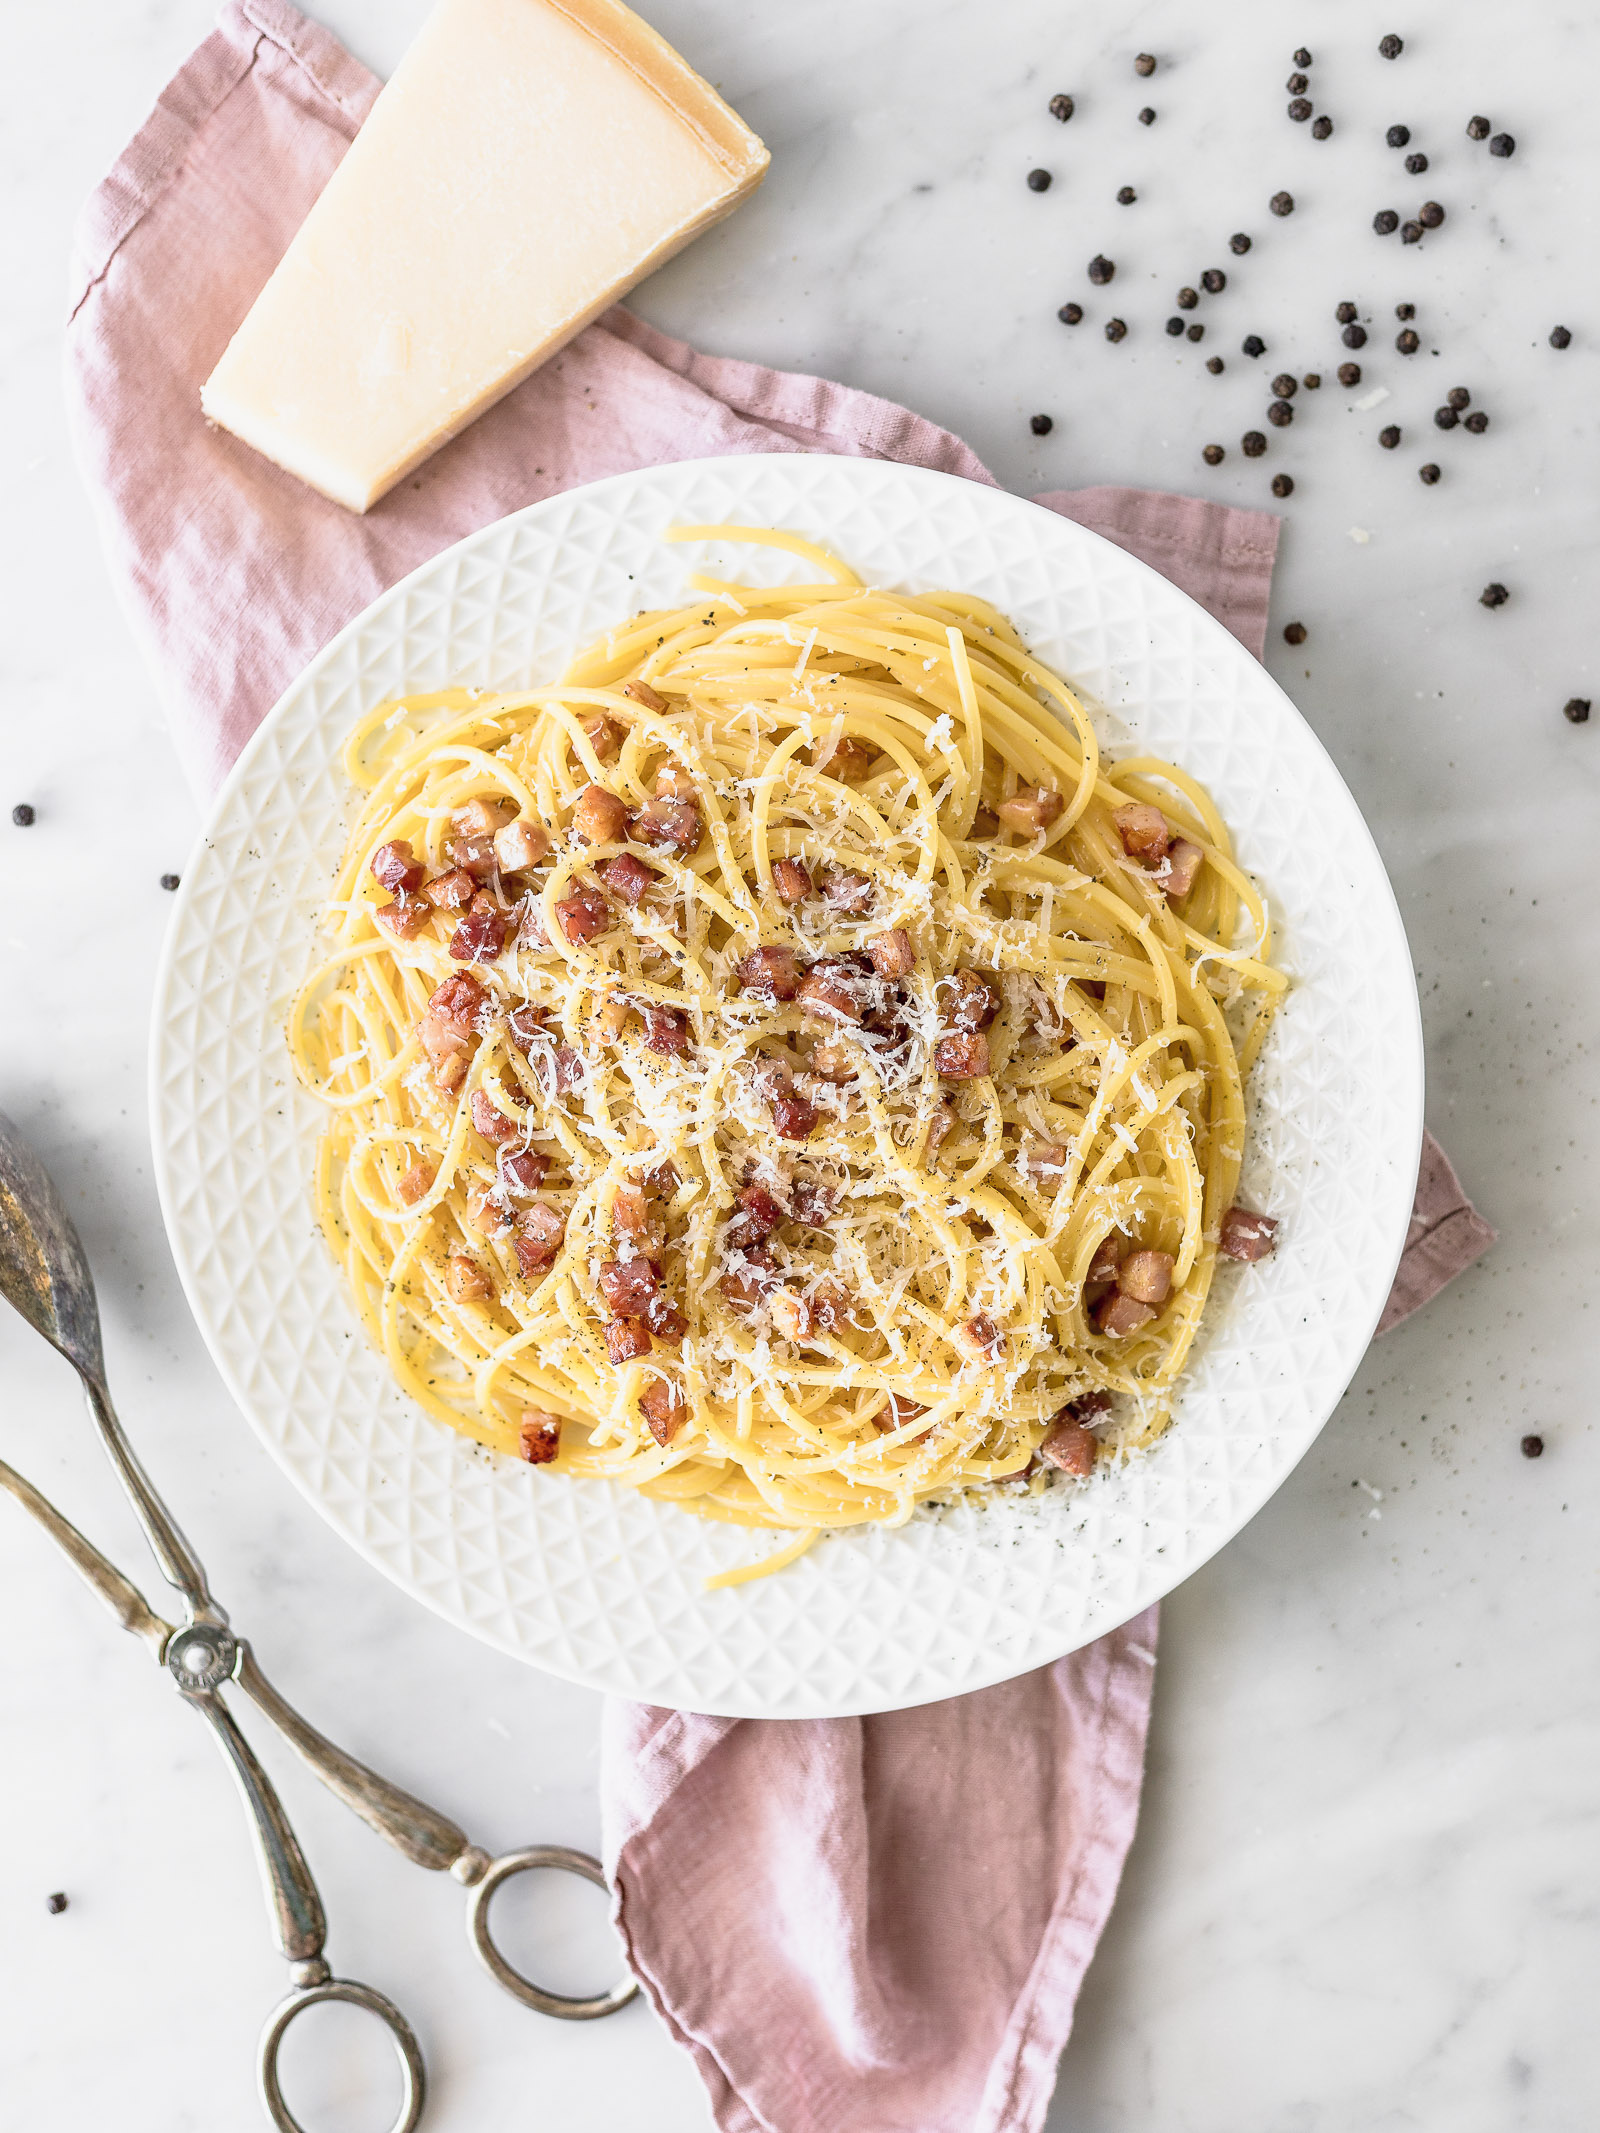
Tip 7. Don’t use elements that will distract from the food
It’s happened to me plenty of times that I’ve entered a store to find dishes and props for my photos and I fall in love with things with flowers or coloured patterns. I like them buuuuut if they’re too pretty or too busy they might distract the viewer from what really matters: the food. In this photo example, the background is waaaay too busy. It’s true that this photograph isn’t ugly because the colours play well with each other but your eyes can’t help but get pulled away by all that information surrounding the food.
Food Photography Tip 8. Plan your photos ahead of time
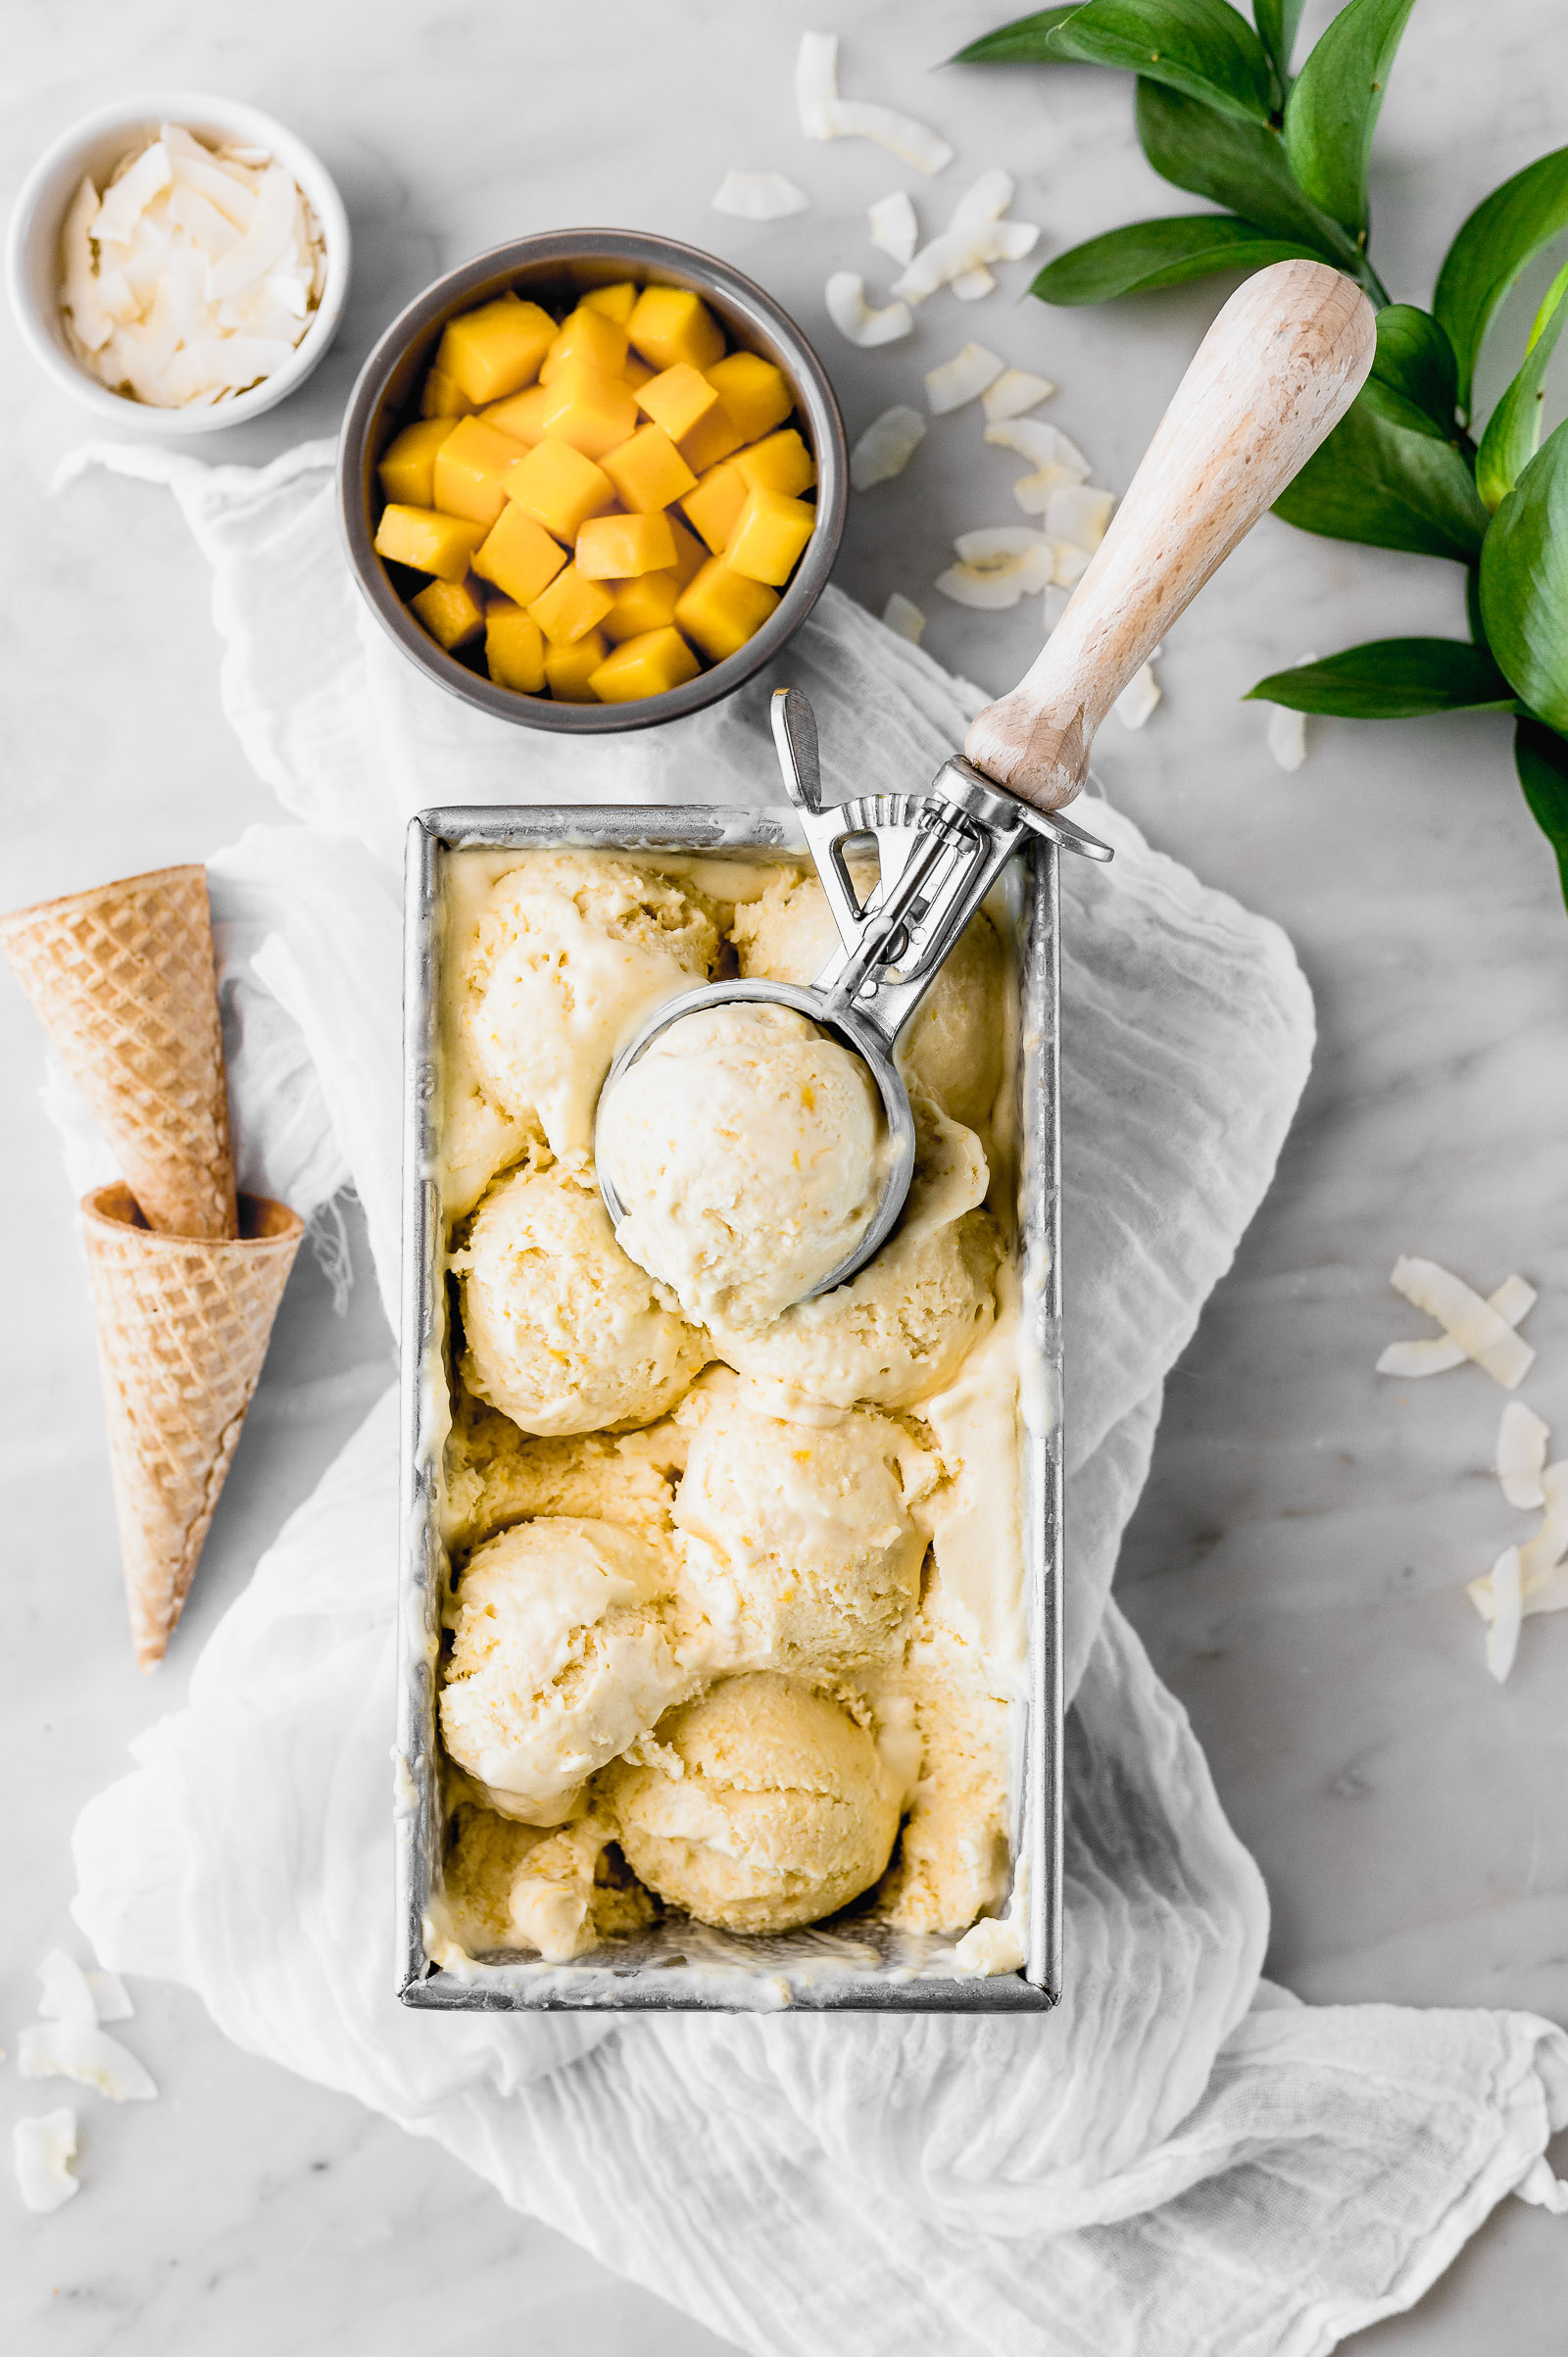
It’s a really good habit to plan out your photos before you go into a shoot. What I usually do is write up my recipe and then sketch a few photos I want to take. This is particularly important with time-sensitive dishes. An example of this are ice creams, creamy pasta sauces or something like a lava cake. For these cases, you don’t only need to plan out the shoot but also have your “set” ready. In that way, once your food is ready you just have to place it and start shooting immediately. Each second that goes by affects how the dish looks.
Tip 9. Use lines to guide the eye

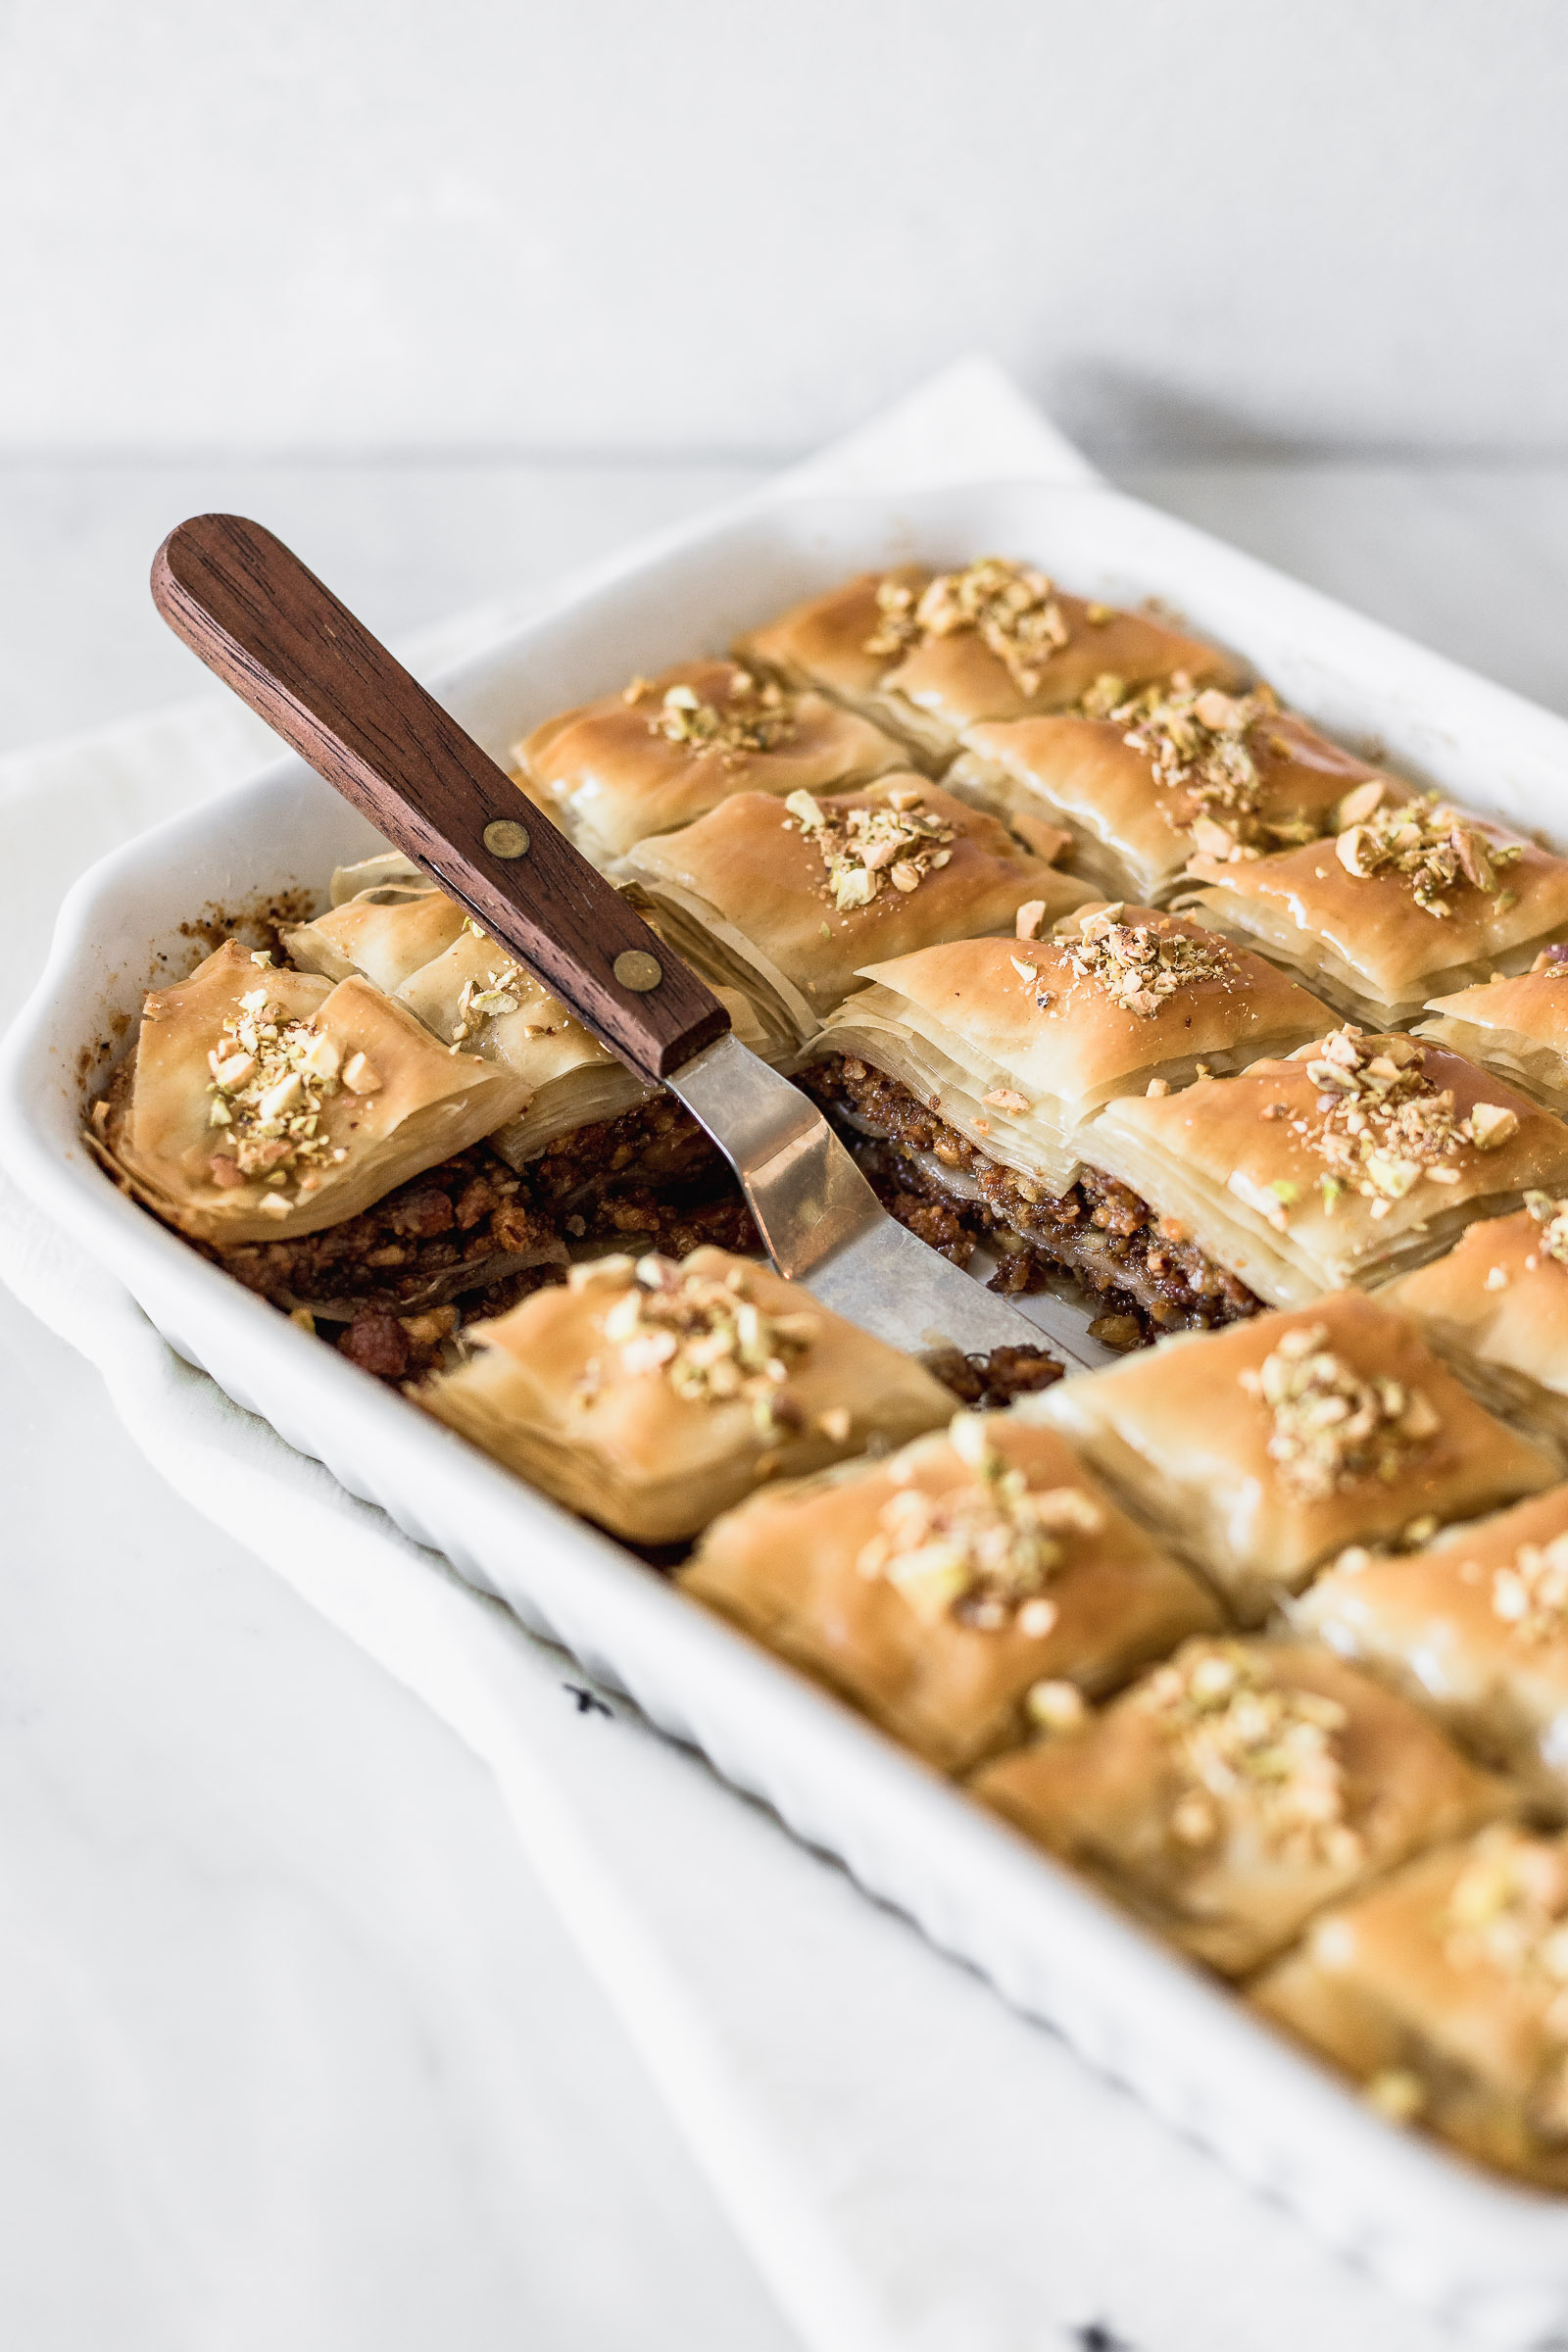
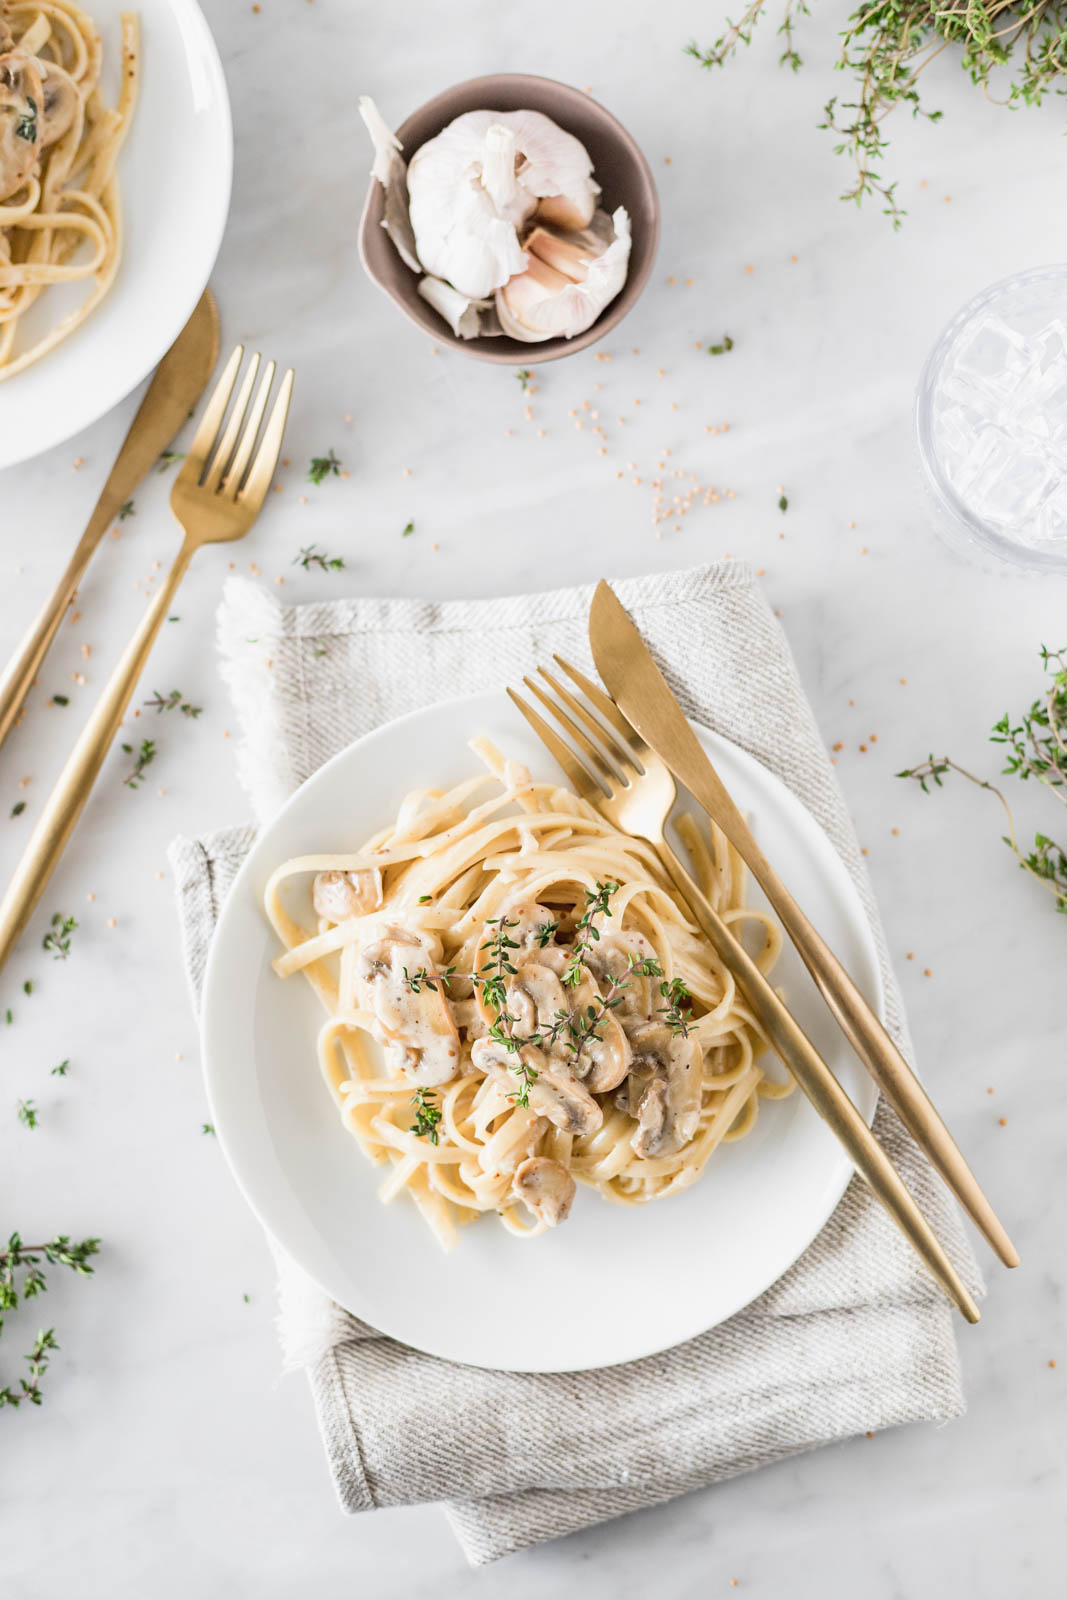
A photo becomes much more dynamic if it includes diagonals or if the way the components are laid out forms lines that guide your eye. In the brownie mousse cake for example the base of the fork makes your eye follow the handle all the way to the lovely texture of the mousse. In the baklava, the dough itself is forming a diagonal which is then supported by the spatula in the same direction. Finally, in the mushroom pasta, our eye is caught by the fork and knife on the plate and follows them upward towards the next pair of utensils. These make our eyes glide up the photo even more until we reach the garlic in the small bowl.
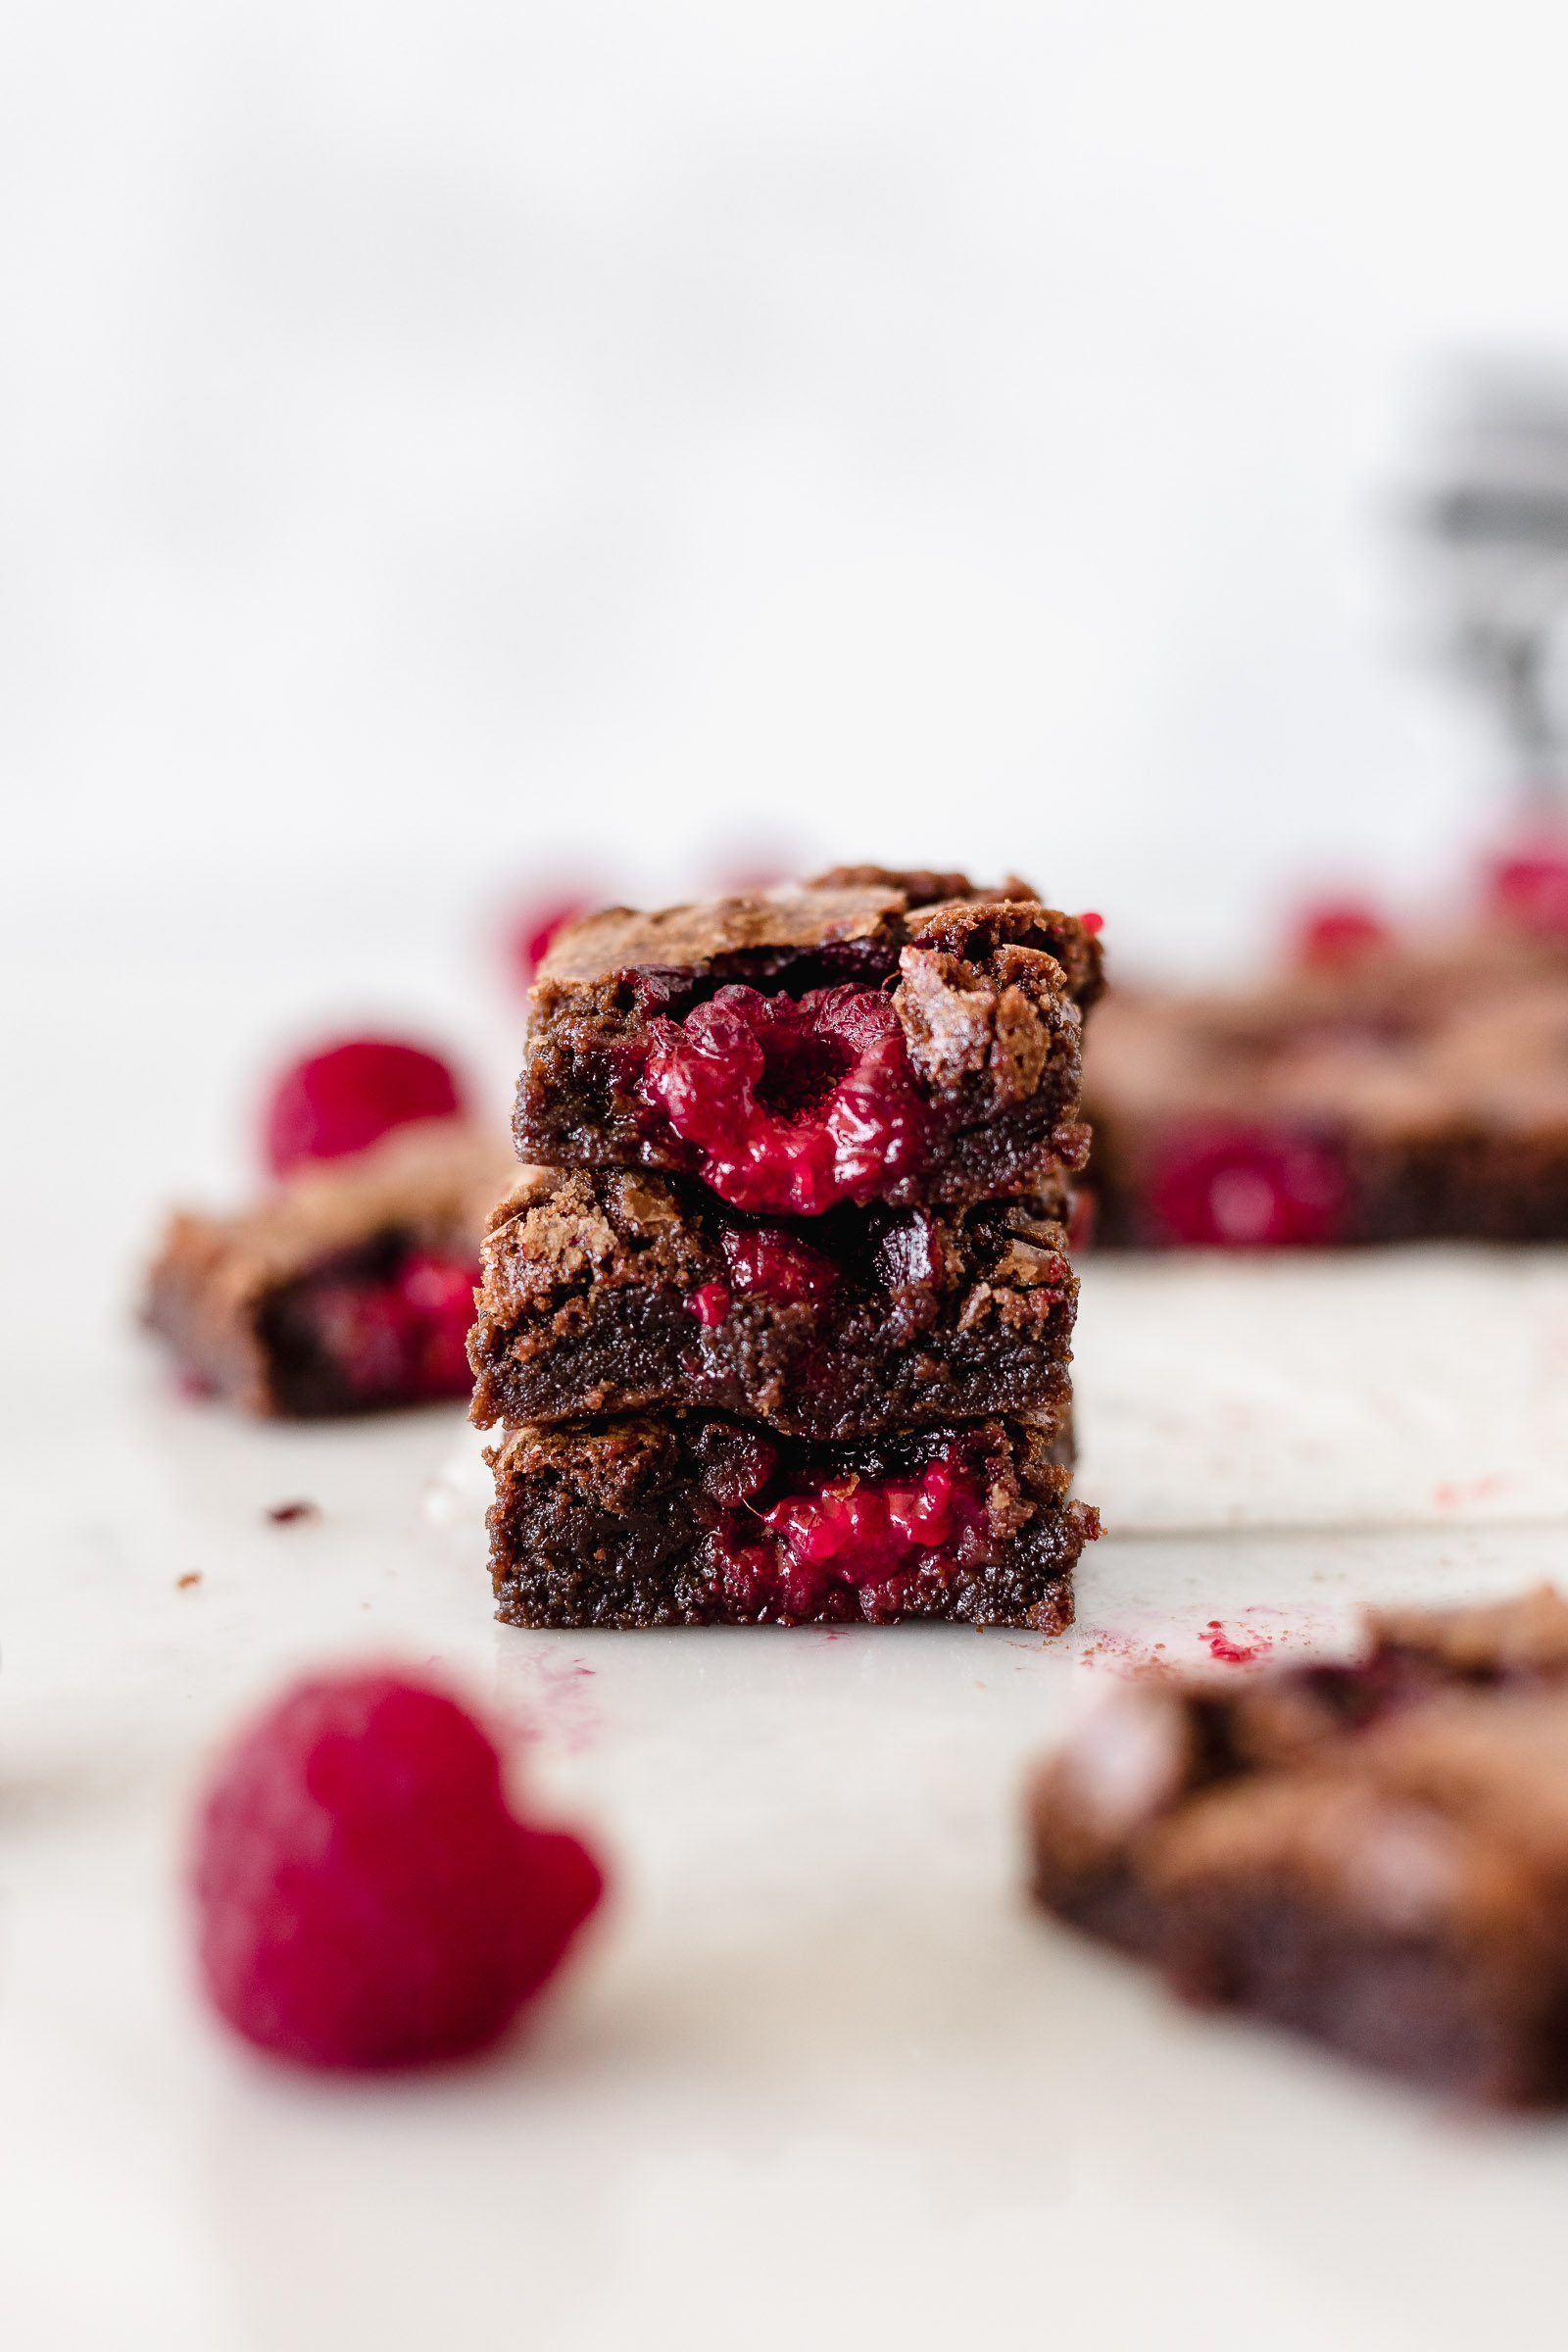
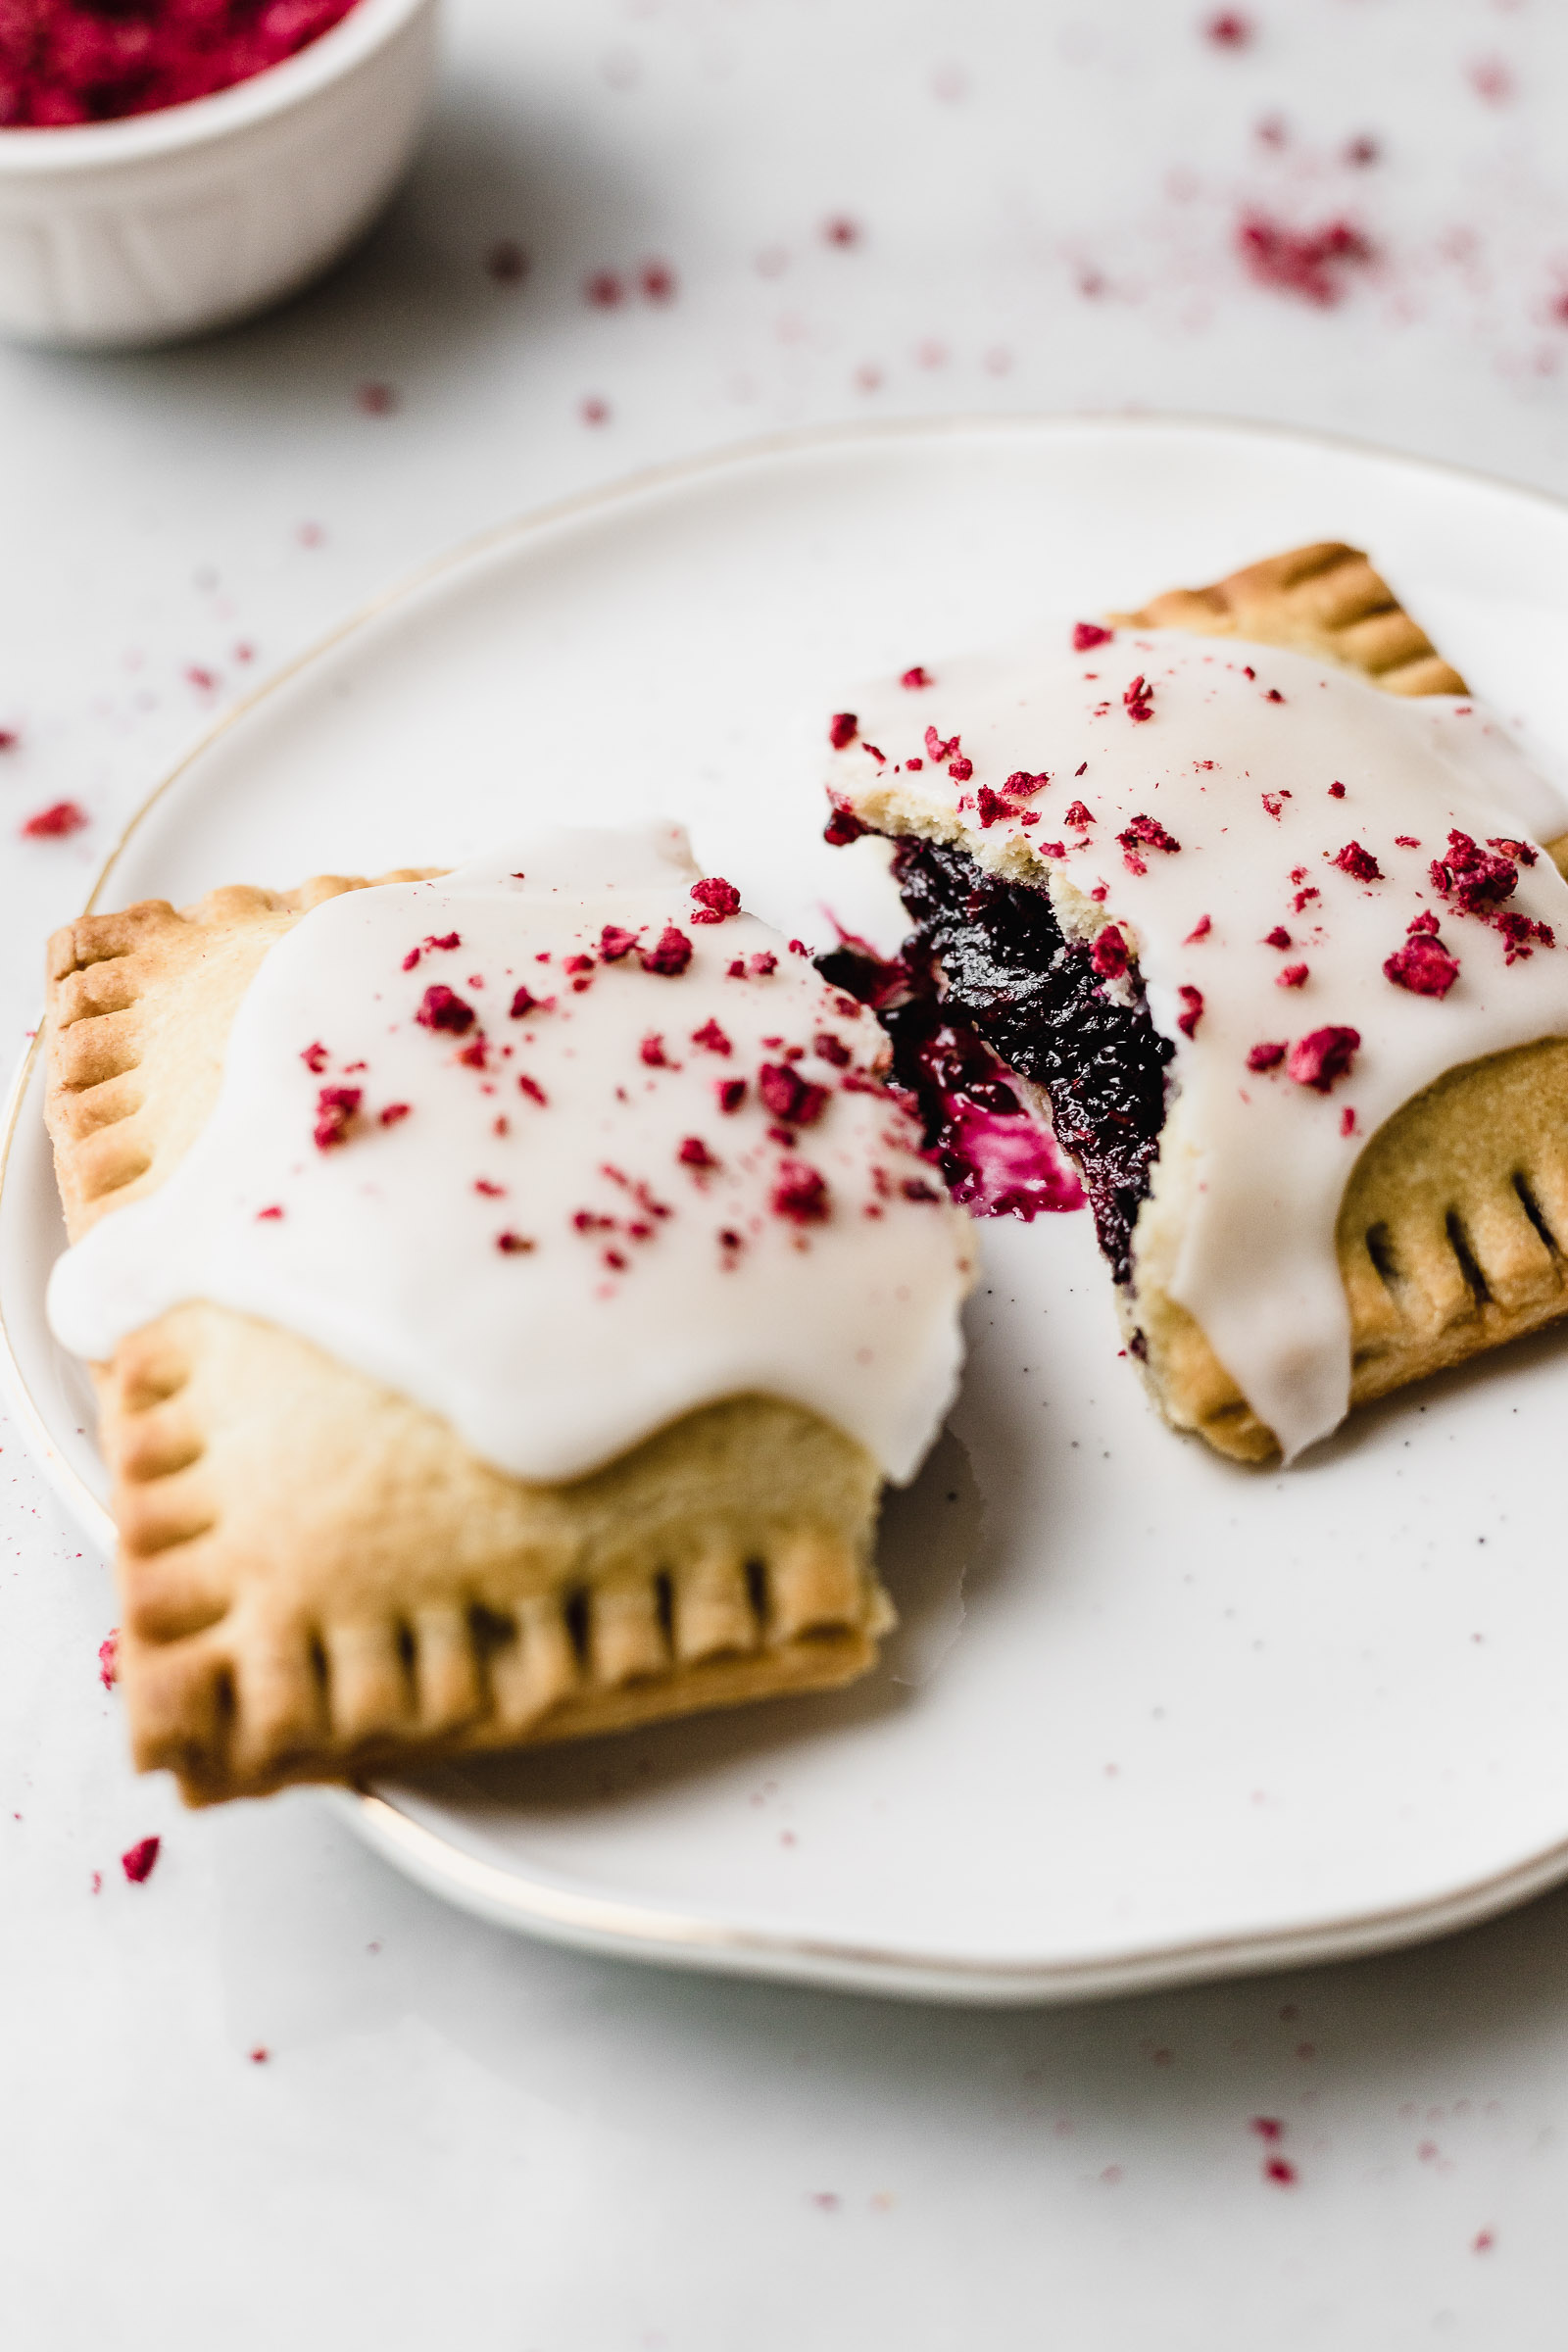
Food Photography Tip 10. Prefer to use an odd number of elements
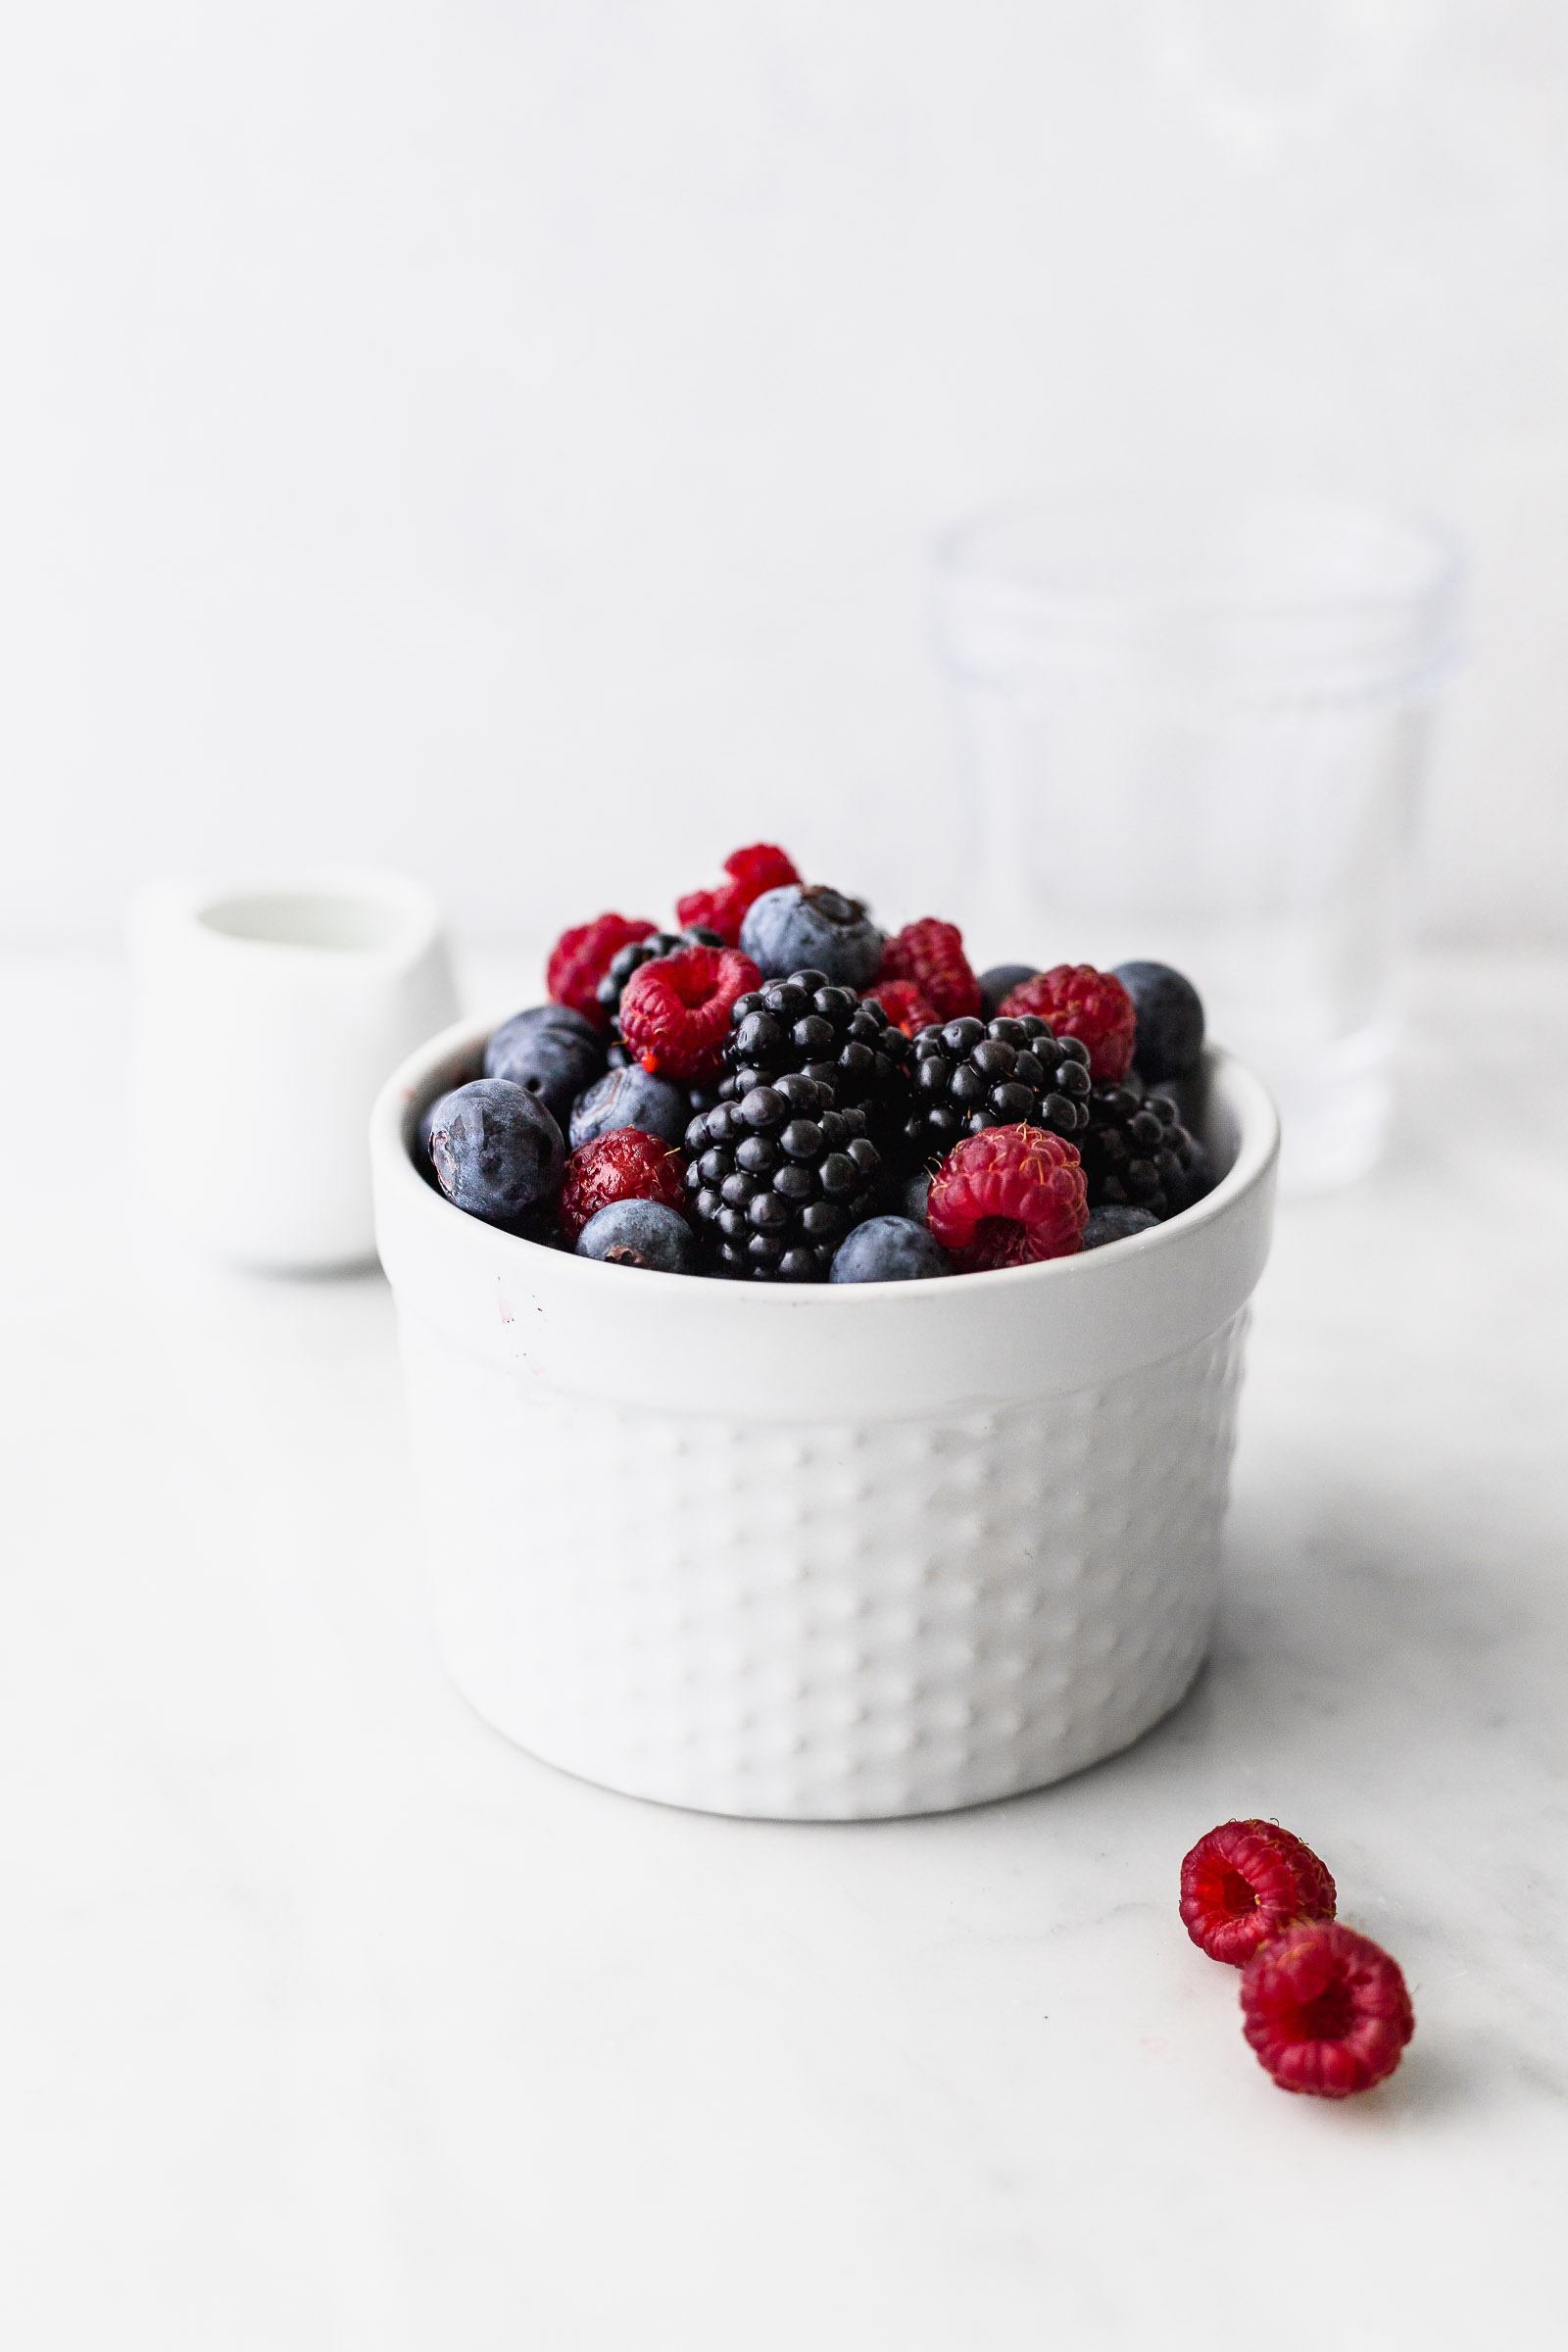

The human eye likes odd numbers, we’re simply more comfortable when watching them. We also like triangles so the number 3 is a nice amount of elements (like those raspberries at the bottom) to start to experiment with.
Conclusions
I hope I was able to explain myself and have given you a few food photography tips that might be useful to you. This is something I’ve been learning throughout my time creating content from this blog. I’m always furthering my education by reading, watching videos and always seeking inspiration. Here are a few “rules” to follow but feel free to experiment a break a few every once in a while, there are some dishes that deserve it. Just don’t break the “no photos under kitchen light” rule, please. LOL. Also, if you’re looking for a food photography course to take, I highly recommend Foodtography School, and you and use my code “CRAVINGS” for 15% off.

4 comments
Thank you Lorena 🙂
Thanks for the useful tips! Your pictures are beautiful.
I just came across this post and it has been so helpful. I am trying to learn more about photographing food and I have read so many points I will now make my go to rules. Thank you!
I am totally new to food photography and this is such a helpful post. Thank you so much!!