
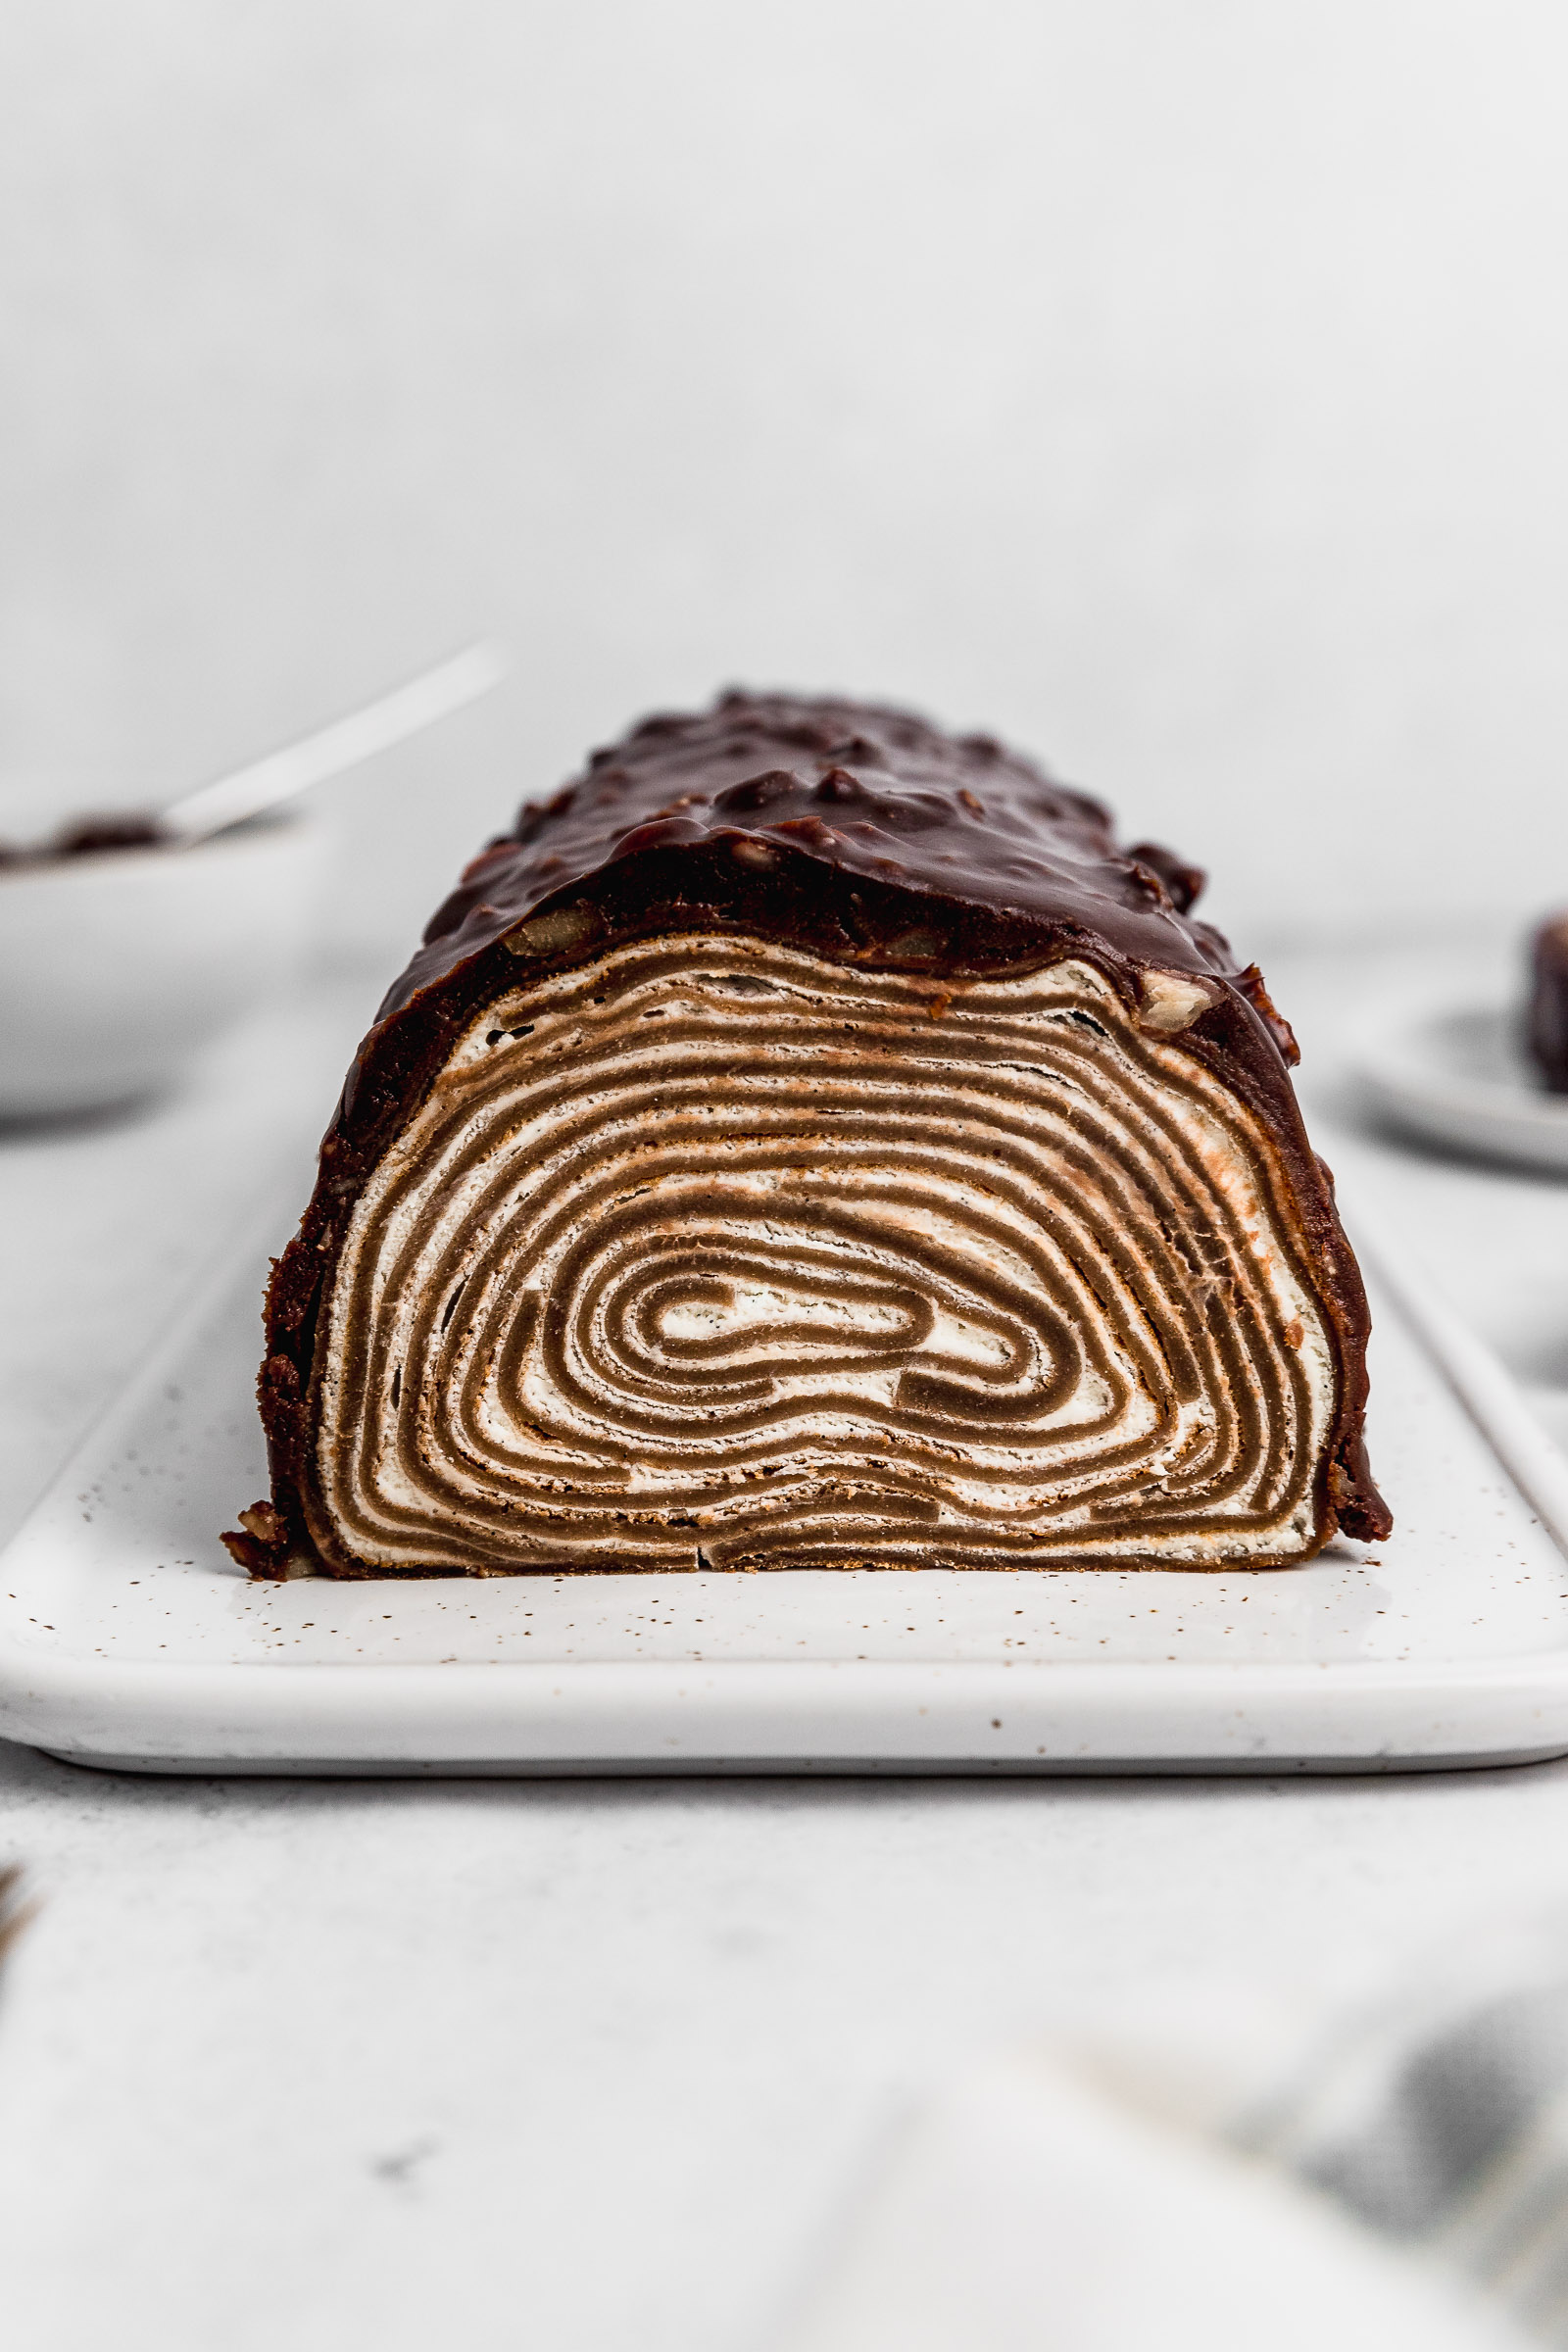
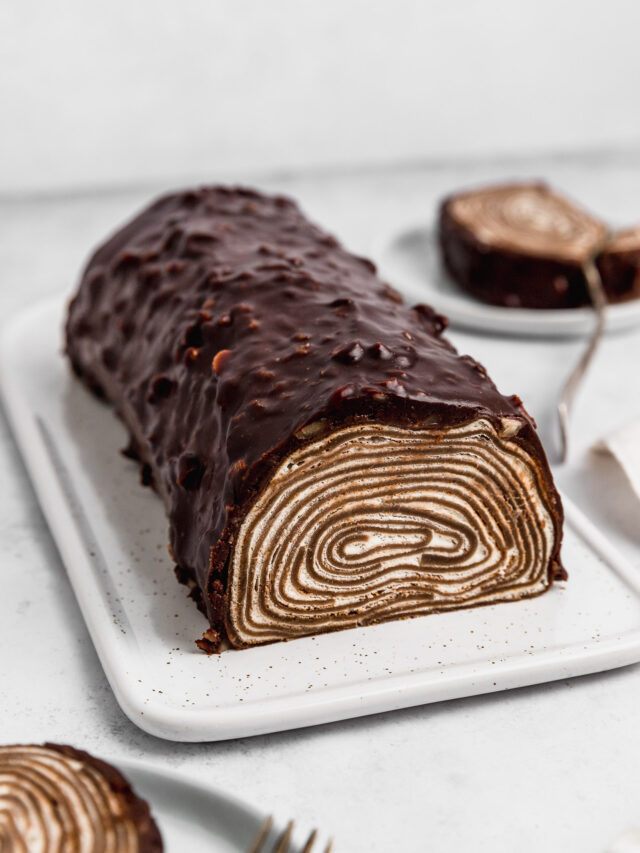
This chocolate crepe roll cake is an absolute masterpiece. It’s assembled differently than a classic “towel cake” to make it larger and serve more people. It has a lovely vanilla filling and is covered in a beautiful chocolate ganache with walnuts.
The crepes for this chocolate crepe roll cake
The crepes that we use for this chocolate crepe roll cake are like regular crepes with the addition of cocoa powder. We have made them before in my chocolate crepes with whipped cream recipe. Chocolate crepes are very simple to make! I would say that the trickiest part is to make them as thin as possible to get the full effect of the dessert. To achieve that you want to use as little crepe batter as you can per crepe. Also, use a large (26cm/10in) nonstick skillet to get them large as well. Here are a few other notes for the crepes:
- There’s no need for a crepe pan to make this chocolate crepe roll cake. However, if you have one around you can certainly use it.
- To get a smooth batter I like to pass it through a colander/sieve before refrigerating it. Don’t skip that step!
- Cook them on a preheated skillet over medium heat. You will only need a bit of melted butter for the first crepe. The next ones will likely not need any butter at all!
- I like to use a whisk to incorporate the ingredients but you could also use a blender. It all comes down to what you would rather wash later!

What’s in the filling?
The filling is the most simple part of this chocolate crepe roll cake. It’s basically whipped cream with the addition of cream cheese. The reason why I didn’t just use whipped cream is because all those layers require a more firm structure inside. It just really helps with the assembly! There’s no need to have the cream cheese at room temperature before beginning. You do need to whip it well with the vanilla (natural vanilla or vanilla extract) and powdered sugar/icing sugar before slowly adding the cream. The result is a delicious filling that complements the chocolate nicely.

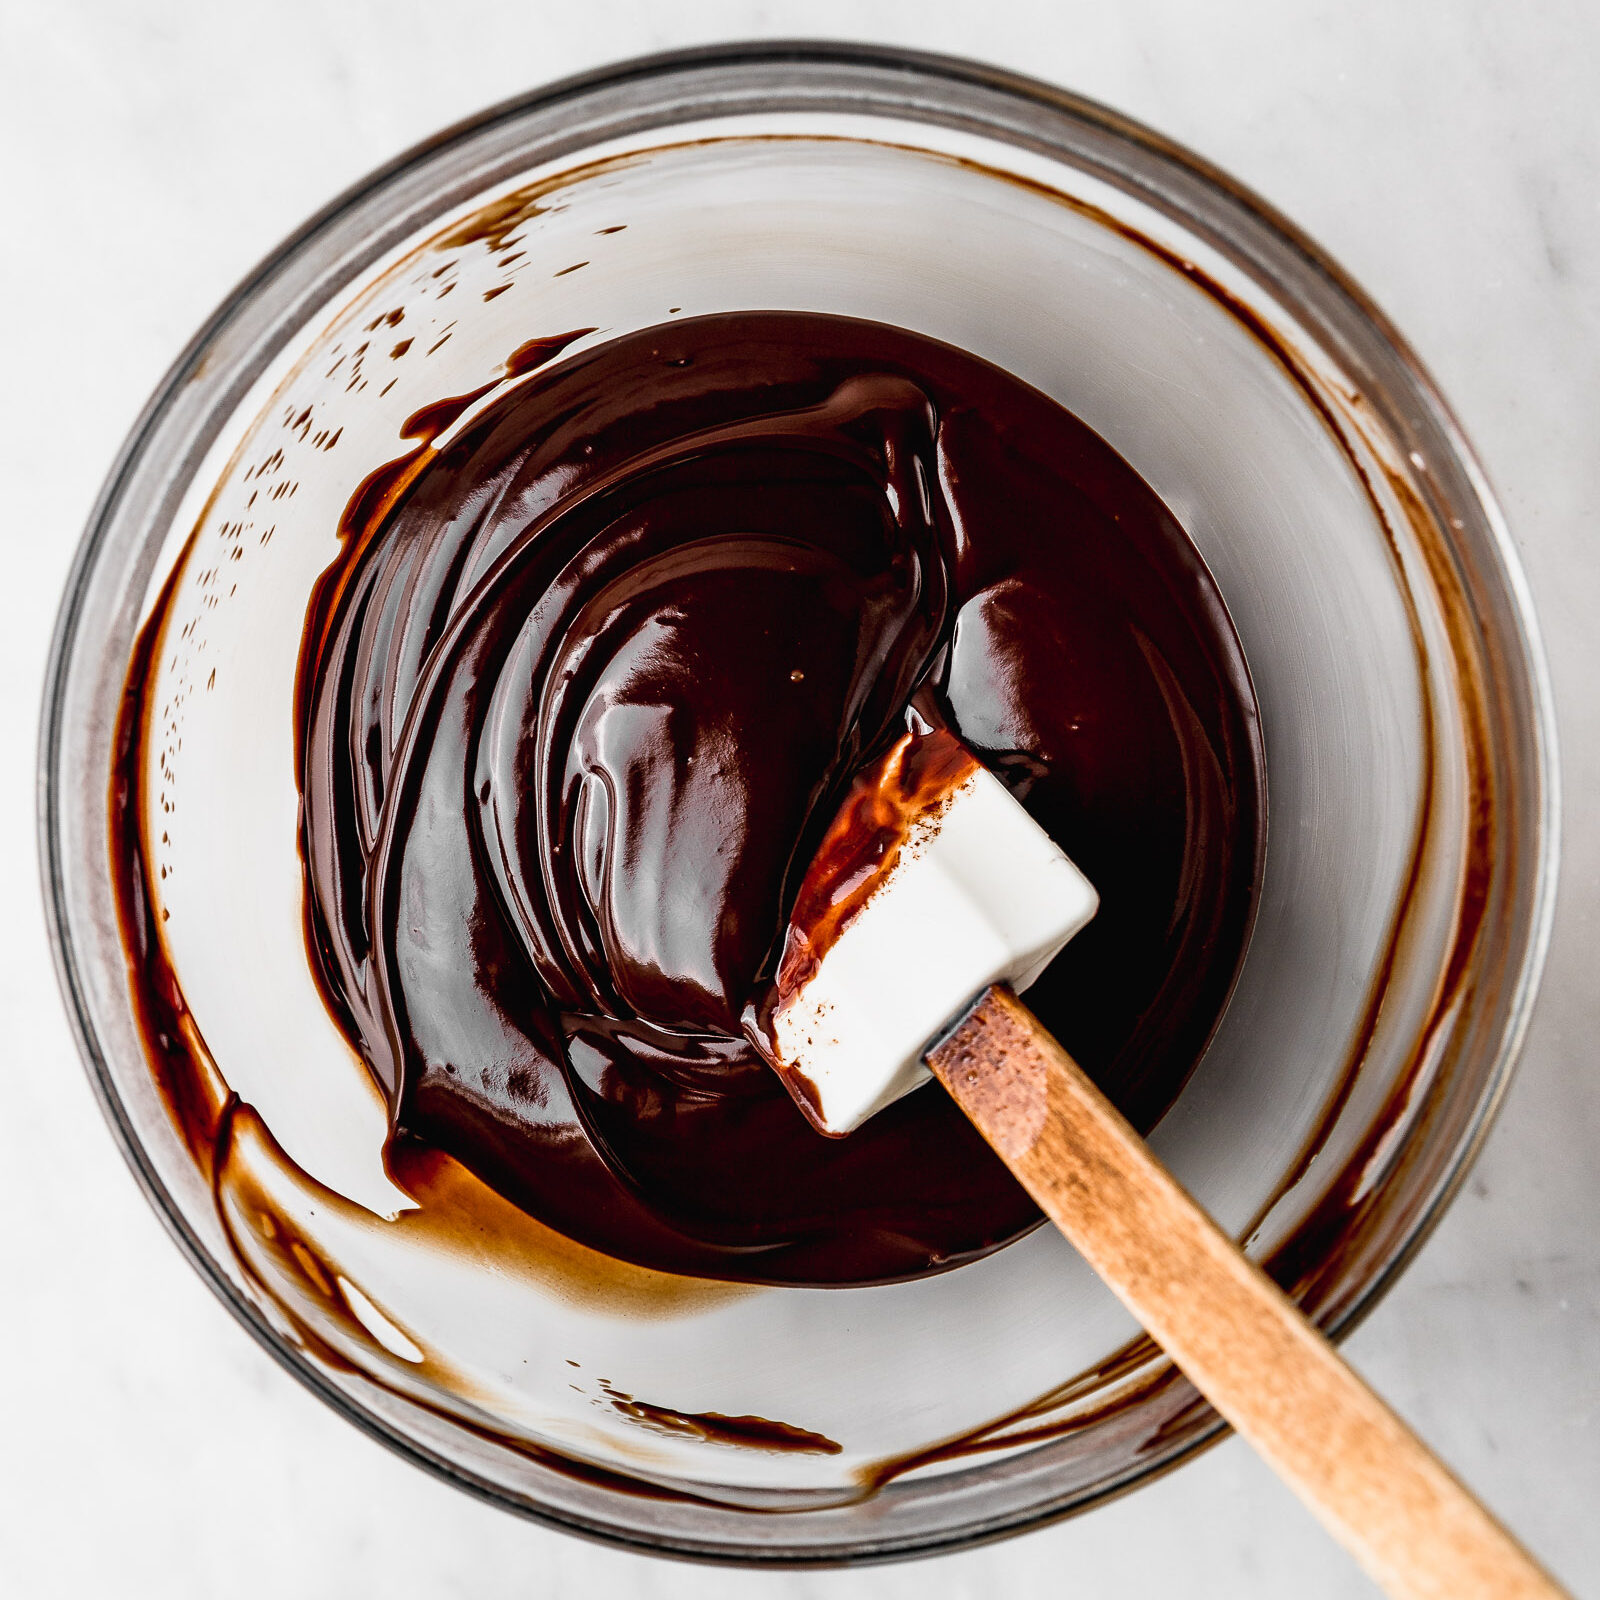
The ganache
The ganache is the third component in this chocolate crepe roll cake. It’s perfect for covering the cake because it has a lovely consistency and flavour. If you want more details on this recipe, check out my post on how to make a chocolate ganache for beginners. I added walnuts to the ganache but you can easily vary it with peanuts, hazelnuts or almonds.
Assembling this Chocolate Crepe Roll Cake
I think that the hardest part of this Chocolate Crepe Roll Cake is the assembly. There are several steps to follow so I hope I make myself clear! I’ve added some illustrations in the recipe so that hopefully you get where my brain is going with this. The problem I had with the classic towel cake version of this dessert is that the resulting dessert is small. It doesn’t feed a crowd which this one does. That’s why I wanted to come up with an alternative assembly. Here are the steps you will follow once you have your crepes and filling ready:
- Place all the crepes one on top of the other. Cut their edges off with the aid of a ruler and a sharp knife. They don’t need to be perfectly square for this.
- For the first crepe layer, lay one crepe next to the other, slightly overlapping them. Spread a thin layer of filling on top using an offset spatula. Roll it tightly.
- Lay another two crepes together, this time one next to the other. This is because we don’t want to bulk up the centre of the roll. This would happen if we keep overlapping. Spread the filling and place the previous little roll at the edge. Roll the small one into the new two layers of crepes.
- For the next layer, you will cut one crepe in half. Place one half on either side of a whole crepe. This helps so that the seams won’t be at the centre this time. This is how we will ensure that our chocolate crepe roll cake won’t divide in half at the centre. Spread the filling and place the previous roll at the edge. Roll it in.
- Go back to a layer with the seam at the centre and then go for one at the sides. Repeat this until you use up all of the crepes. When you roll new layers in, try to align the previous edge to the new edge. This is so that you don’t get bumps.
- Once the roll is ready, place it on a tray that fits your freezer. Line it with parchment paper first for easy removal later. Freeze it for 1 hour, 2 hours max. This is because we’ll be covering it with hot ganache and we don’t want to melt the filling.
- Remove the roll from the freezer. Place it on a cooling rack with a tray below. I recommend you line the tray with parchment paper for easy cleaning. Cover the roll with the ganache.
- Refrigerate overnight, remove the edges for a neat presentation (eat those as well of course) and you’re done!


Chocolate Crepe Roll Cake Recipe
Ingredients
For the crêpes
- 375 g all-purpose flour
- 6 tbsp unsweetened cocoa powder
- 3 eggs
- 8 tbsp granulated sugar
- 1½ tsp salt
- 900 ml milk
- 60 g unsalted butter melted and cooled to room temperature plus more to cook
For the filling
- 300 g cream cheese
- 300 g whipping cream cold from the fridge
- 100 g icing sugar/powdered sugar
- 1 Seeds from one vanilla pod or 1 tbsp vanilla paste or 1 tsp vanilla extract
For the chocolate ganache
- 80 g dark chocolate 60-70% cacao
- 80 g whipping cream
- 40 g granulated sugar
- 20 g cold unsalted butter cut into cubes
- 60 g toasted walnuts chopped
Instructions
For the crêpes
- Mix all the dry ingredients in a bowl and make a hole in the center.
- Add the wet ingredients at the center and whisk from the center, adding the dry ingredients little by little to prevent lumps from forming. You can also use a blender.
- Pass the dough through a colander/sieve and let it rest for 30min in the fridge.
- Place a bit of butter on a non-stick 25cm/10in diameter pan over medium heat and add about ⅔ ladle of the batter. It's easier if you place the batter to one side and spin the pan around to cover it completely. Use both the base and sides of the pan.
- When the edges become crispy, unstick a corner and flip it with your two hands carefully. Repeat with all the batter.
- Let them cool down completely before making the filling.
- Place all the crepes one on top of the other and use a ruler and a knife to make them more square. You don't need to make them perfectly square, we just need a bit of an edge for the assembly.
For the filling
- Use an electric mixer to beat the cream cheese with the vanilla and sugar until it's very creamy. If you're using a stand mixer, remember to stop every couple of minutes to scrape the sides and bottom of the bowl to ensure it's mixing well.
- Add a little whipping cream and as it incorporates add a bit more at a time. Beat until it's fully incorporated and looks fluffy. Reserve.
Assembly
- For the first crepe layer, lay one crepe next to the other, slightly overlapping them. Spread a thin layer of filling on top using an offset spatula. Roll it tightly.

- Lay another two crepes together, this time one next to the other. This is because we don't want to bulk up the centre of the roll, which would happen if we keep overlapping. Spread the filling and place the previous little roll at the edge. Roll the small one into the new two layers of crepes.

- For the next layer, you will cut one crepe in half. Place one half at either side of a whole crepe so that the seams won't be at the centre this time. This is how we will ensure that our chocolate crepe roll cake won't divide in half at the centre. Spread the filling and place the previous roll at the edge. Roll it in.

- Go back to a layer with the seam at the centre and then go for one at the sides. Repeat this until you use up all of the crepes. When you roll new layers in, try to align the previous edge to the new edge so that you don't get bumps.
- Once the roll is ready, place it on a tray that fits your freezer, lined with parchment paper first for easy removal later. Freeze it for 1 hour, 2 hours max. This is because we'll be covering it with hot ganache and we don't want to melt the filling.
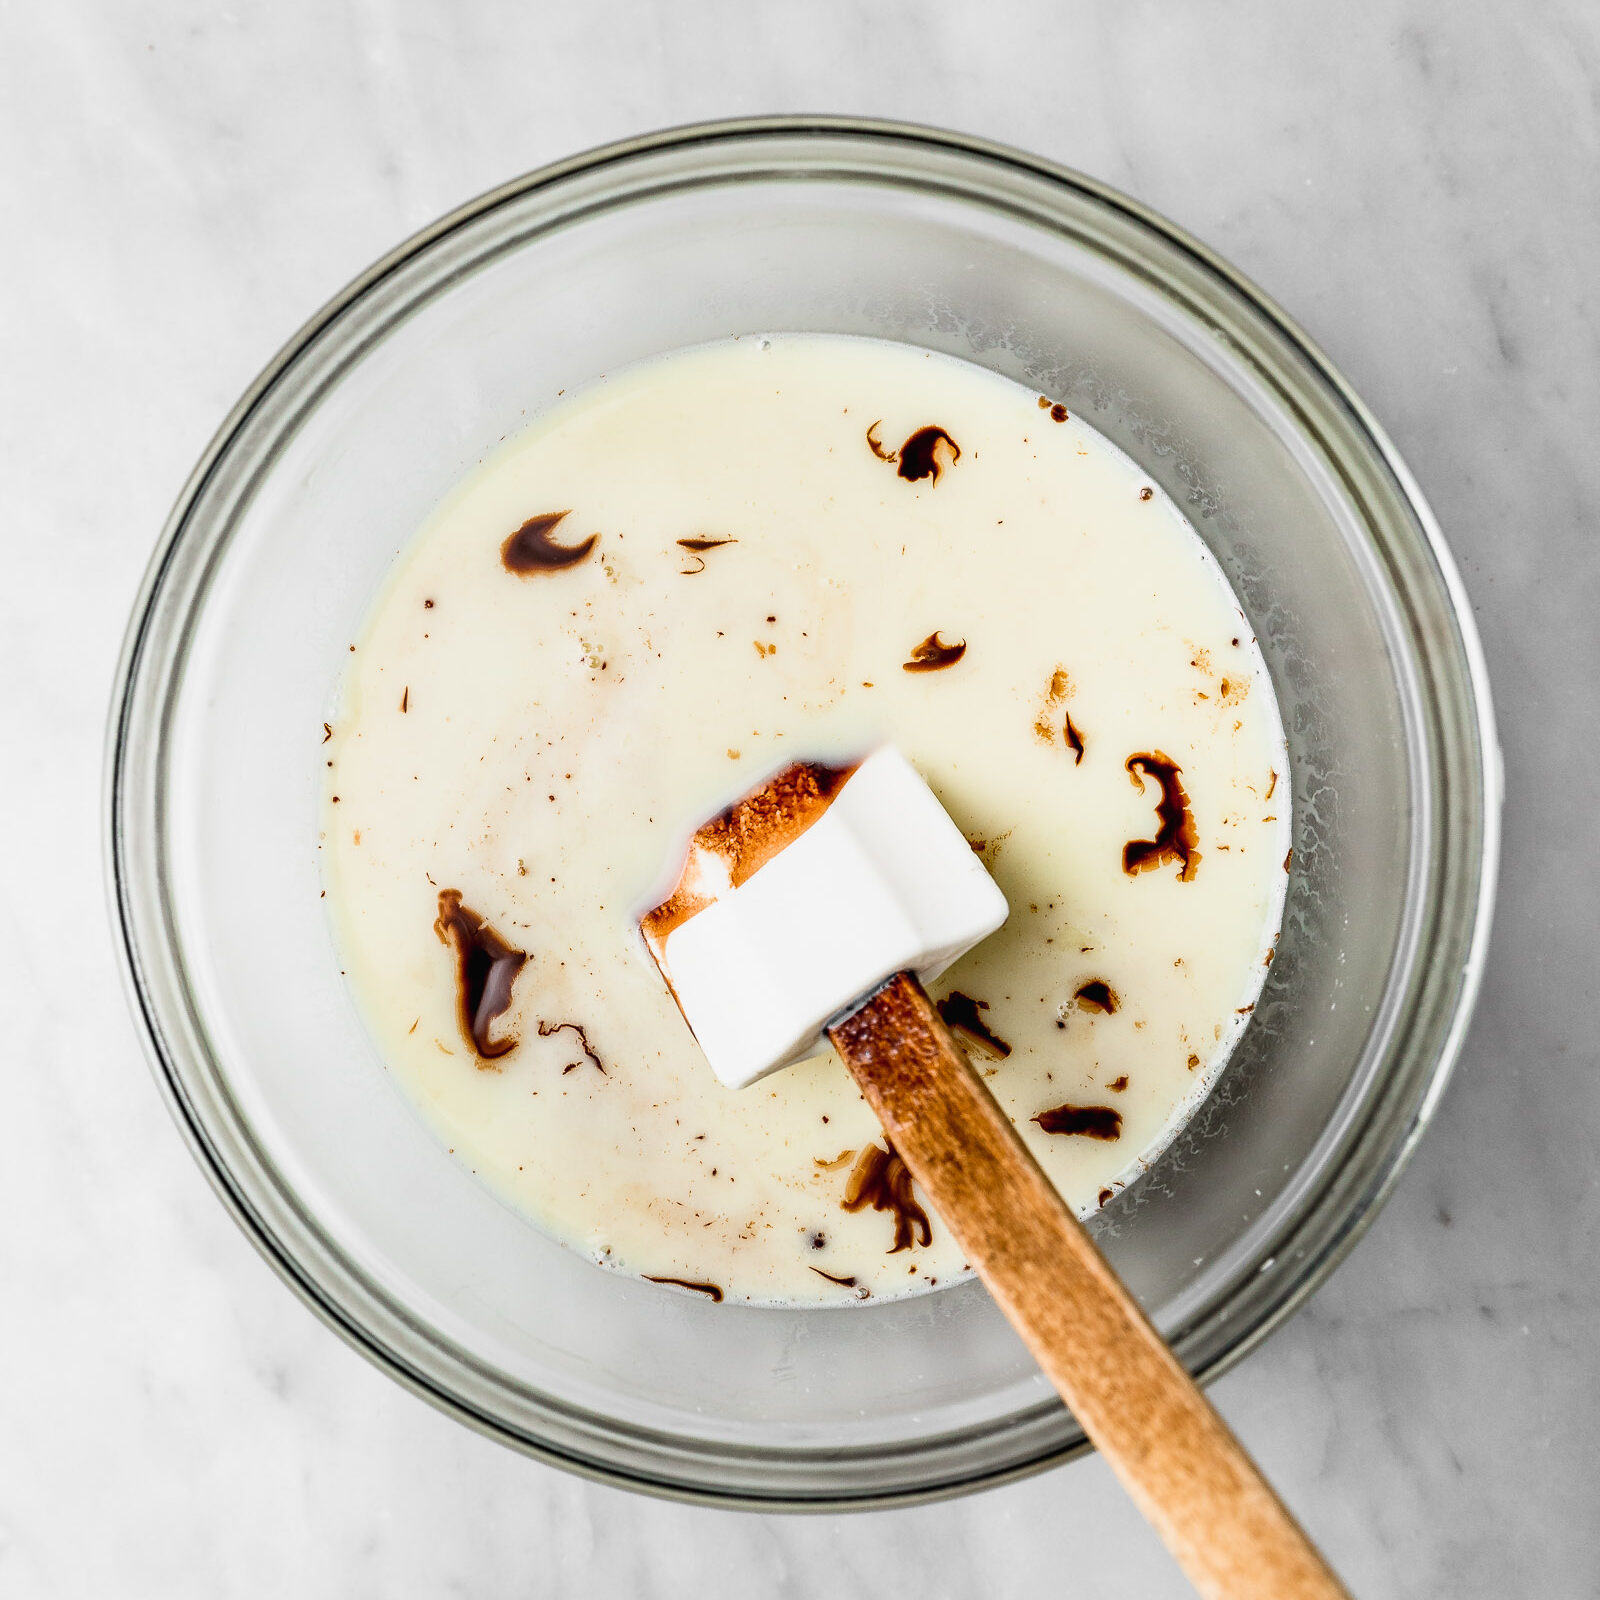
For the ganache
- Place the cream and sugar in a small pot. Heat up the cream over medium heat until it steams. Stir constantly to dissolve the sugar. If by mistake it breaks into a bowl, then you need to cool it down a bit before using it.
- Melt the chocolate in a bowl. You can do it in the microwave in intervals of 30 seconds, mixing in between each interval. Alternatively, you can melt it in a bain-marie over low heat. Make sure that the bottom of the bowl doesn't touch the surface of the water.
- Remove the chocolate from the bain-marie if using. Add all the cream onto the chocolate.
- With a spatula, make small circles at the centre of the bowl. You'll see that it will start to come together at the centre on its own and then expand towards the sides.
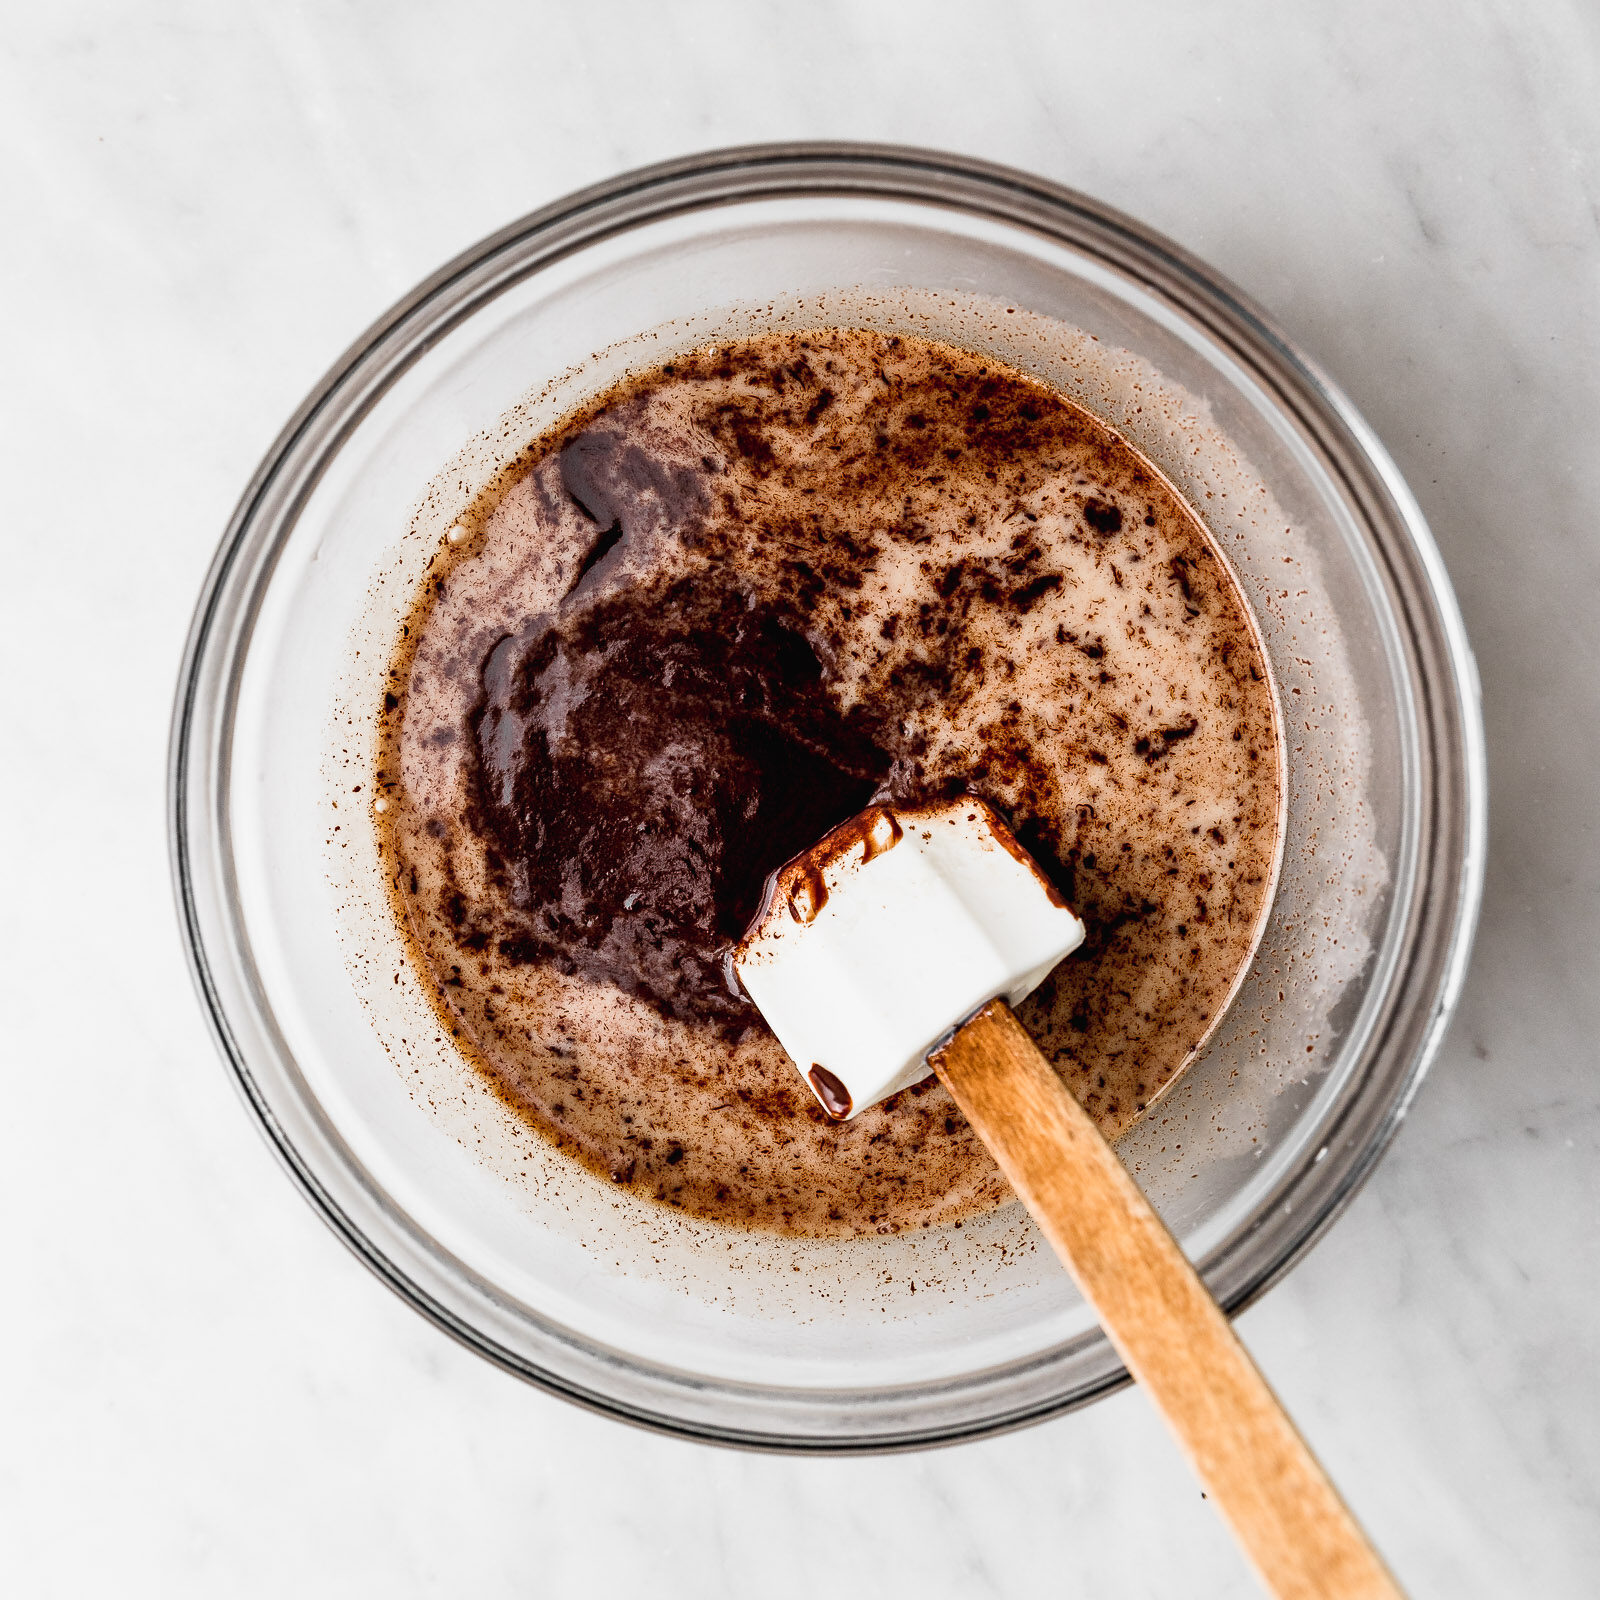
- When everything looks evenly dark, scrape down the sides of the bowl and keep mixing until everything looks incorporated and shiny.
- Add the butter and mix until it completely melts and incorporates into the ganache.
- Add the walnuts and mix them in as well.
- Remove the roll from the freezer, place it on a cooling rack with a tray below (I recommend you line the tray with parchment paper for easy cleaning) and cover it with the ganache.
- Refrigerate overnight, remove the edges for a neat presentation (eat those as well of course) and you're done!


2 comments
HI! This looks absolutely delicious. If I wanted to make this the night before eating it, when is the best time to put it in the fridge overnight.
A heartfelt thank you for your fantastic recipes! They’ve sparked a newfound passion for cooking in my household, and I’m excited to see where this culinary journey takes us. Best regards from Germany!