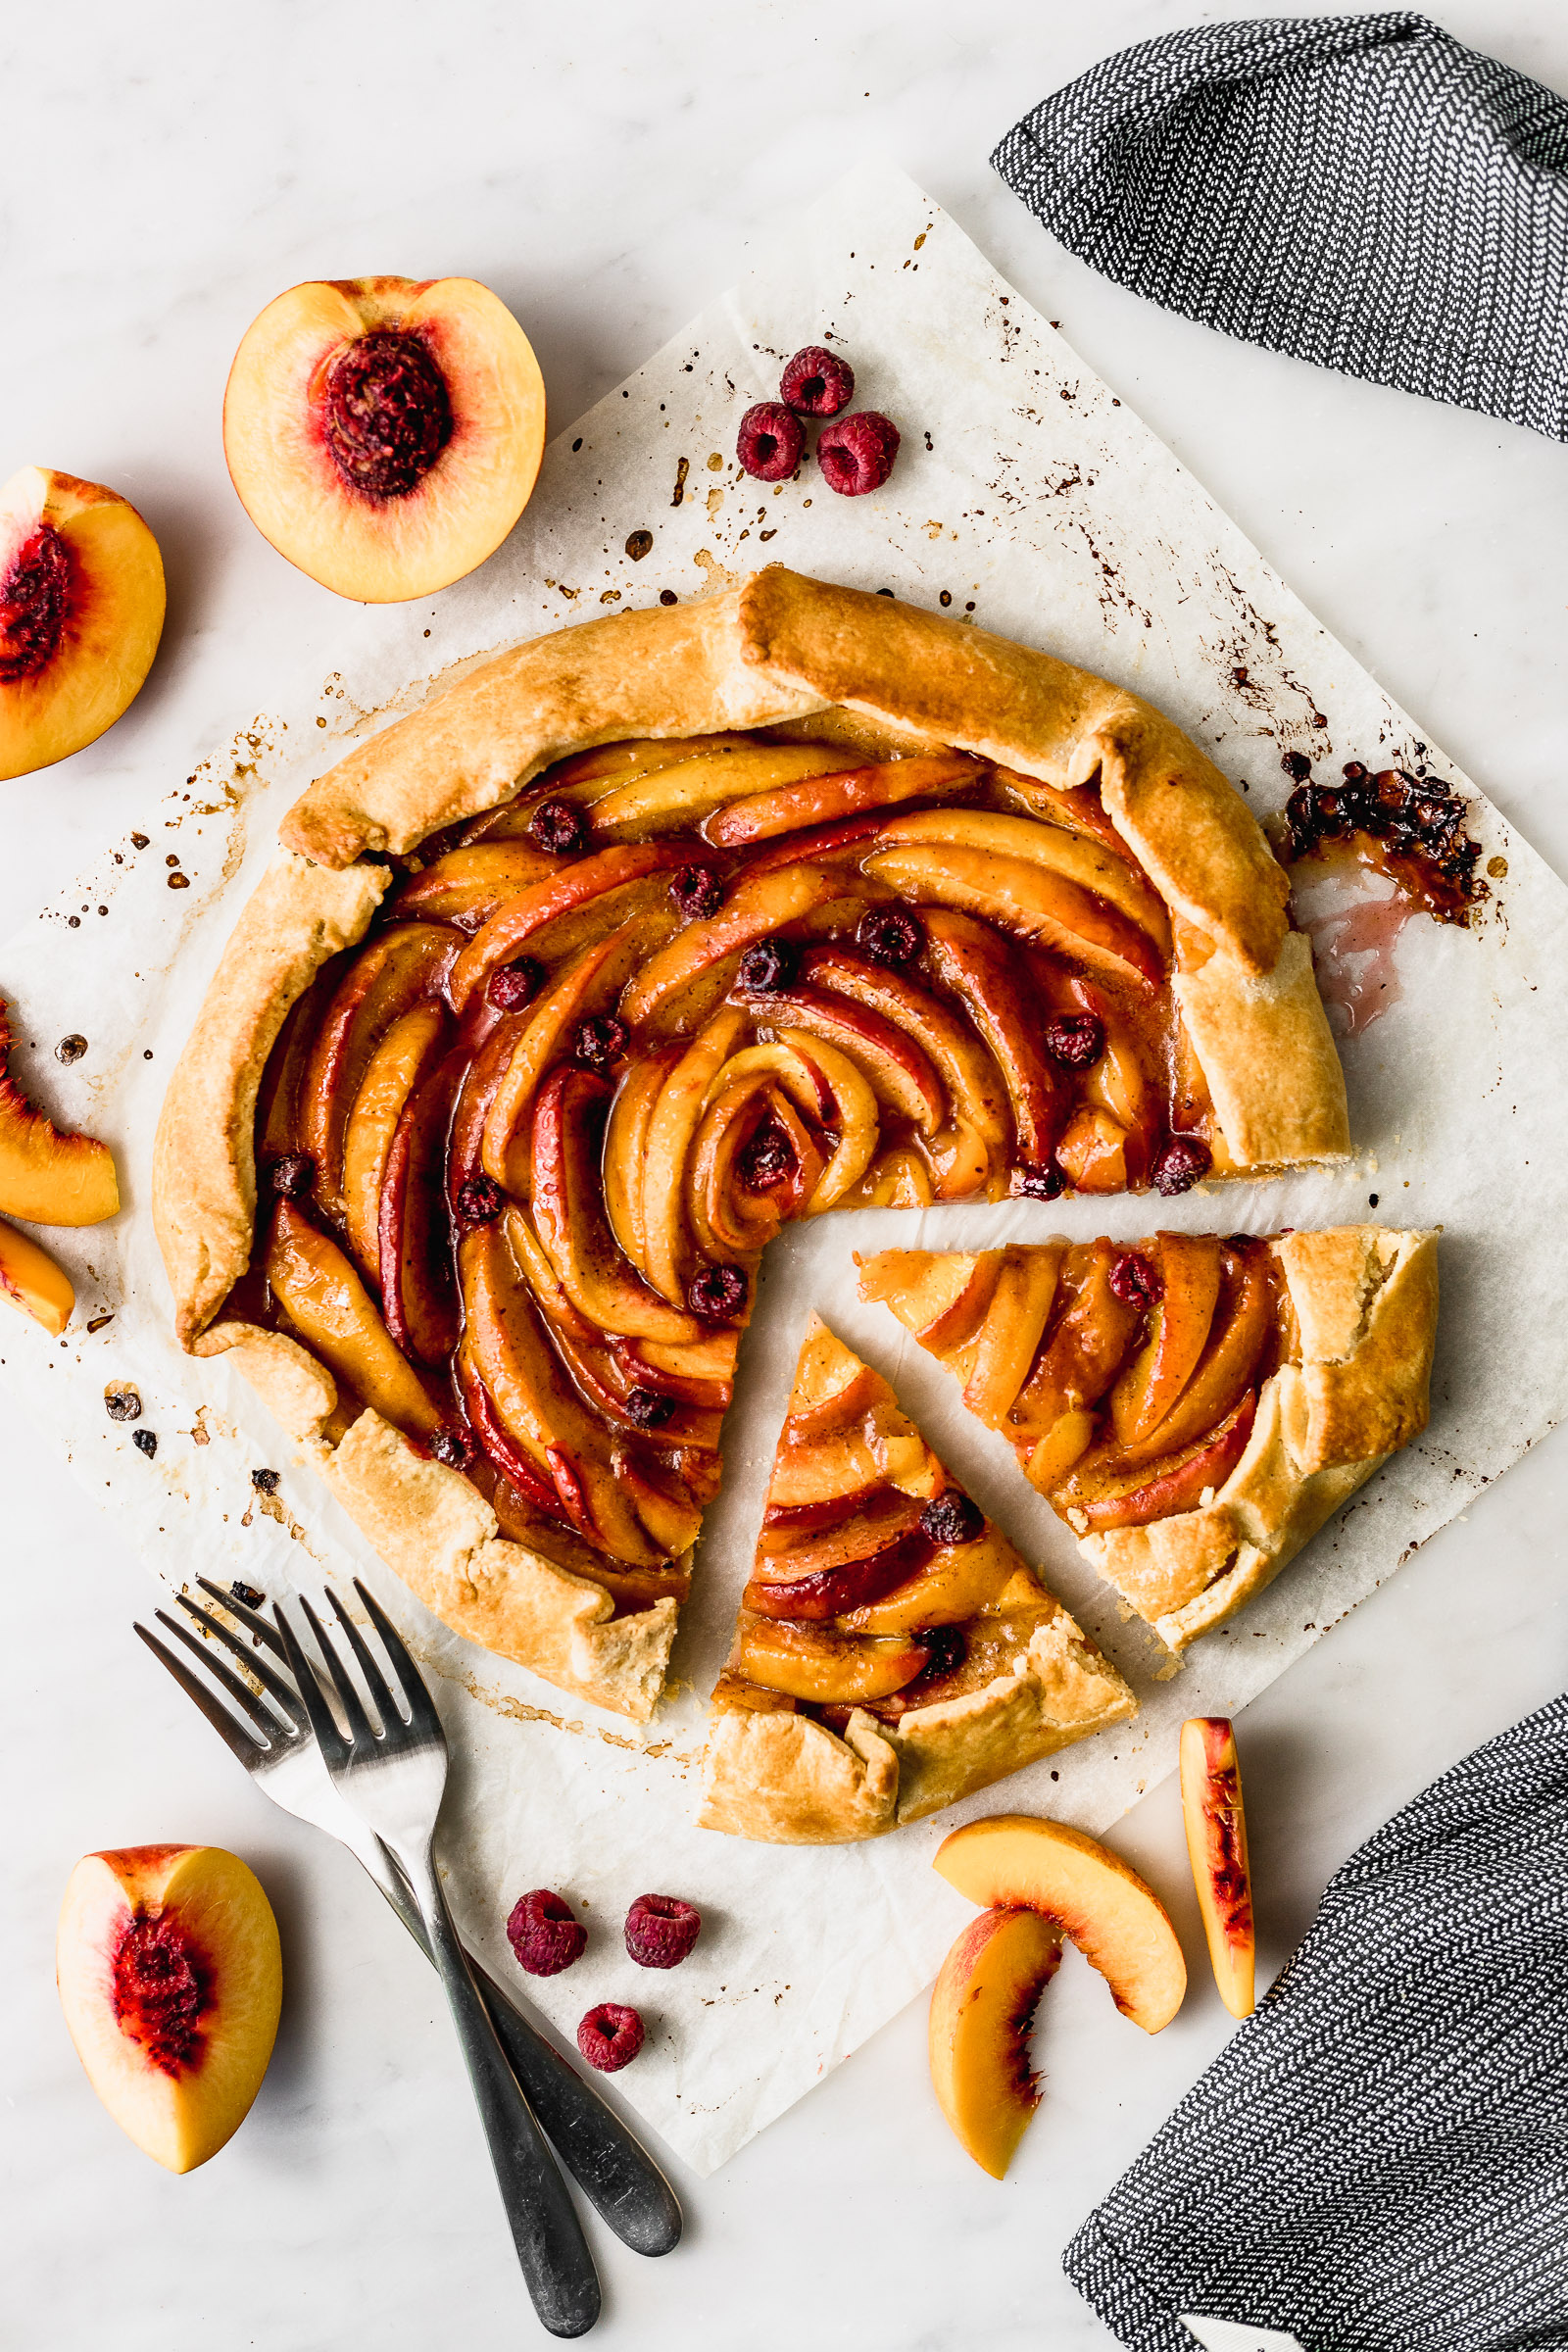
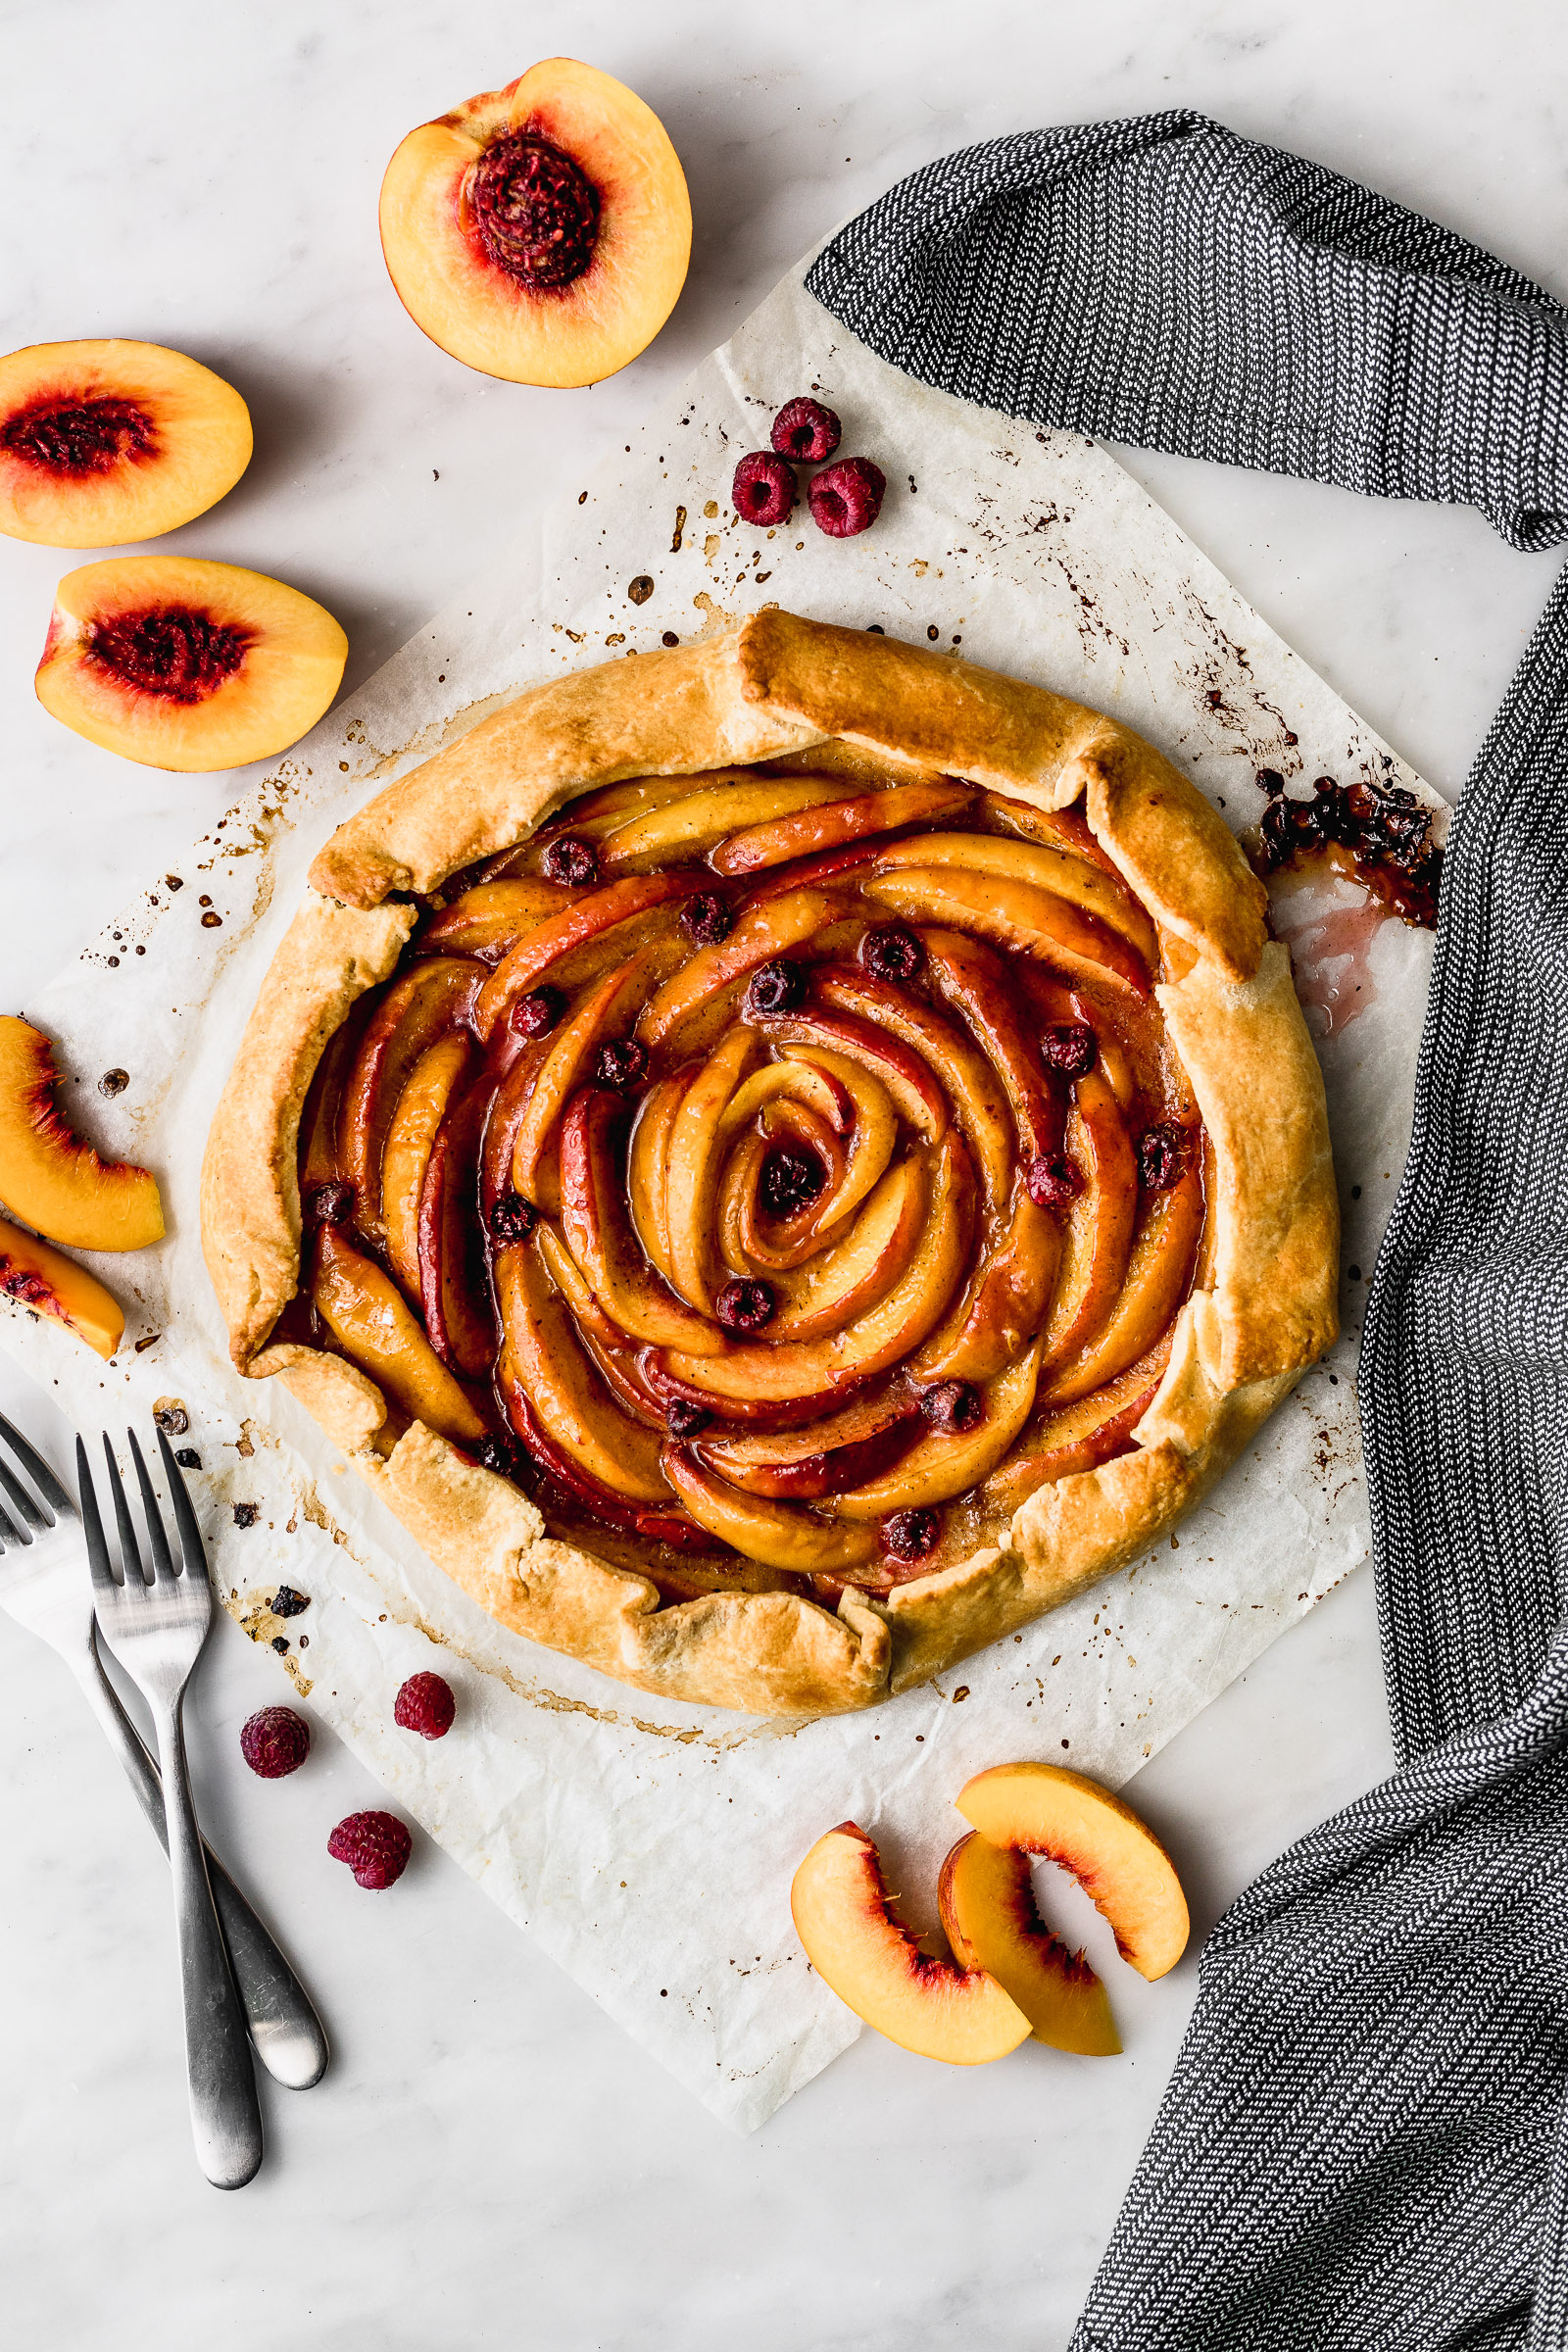
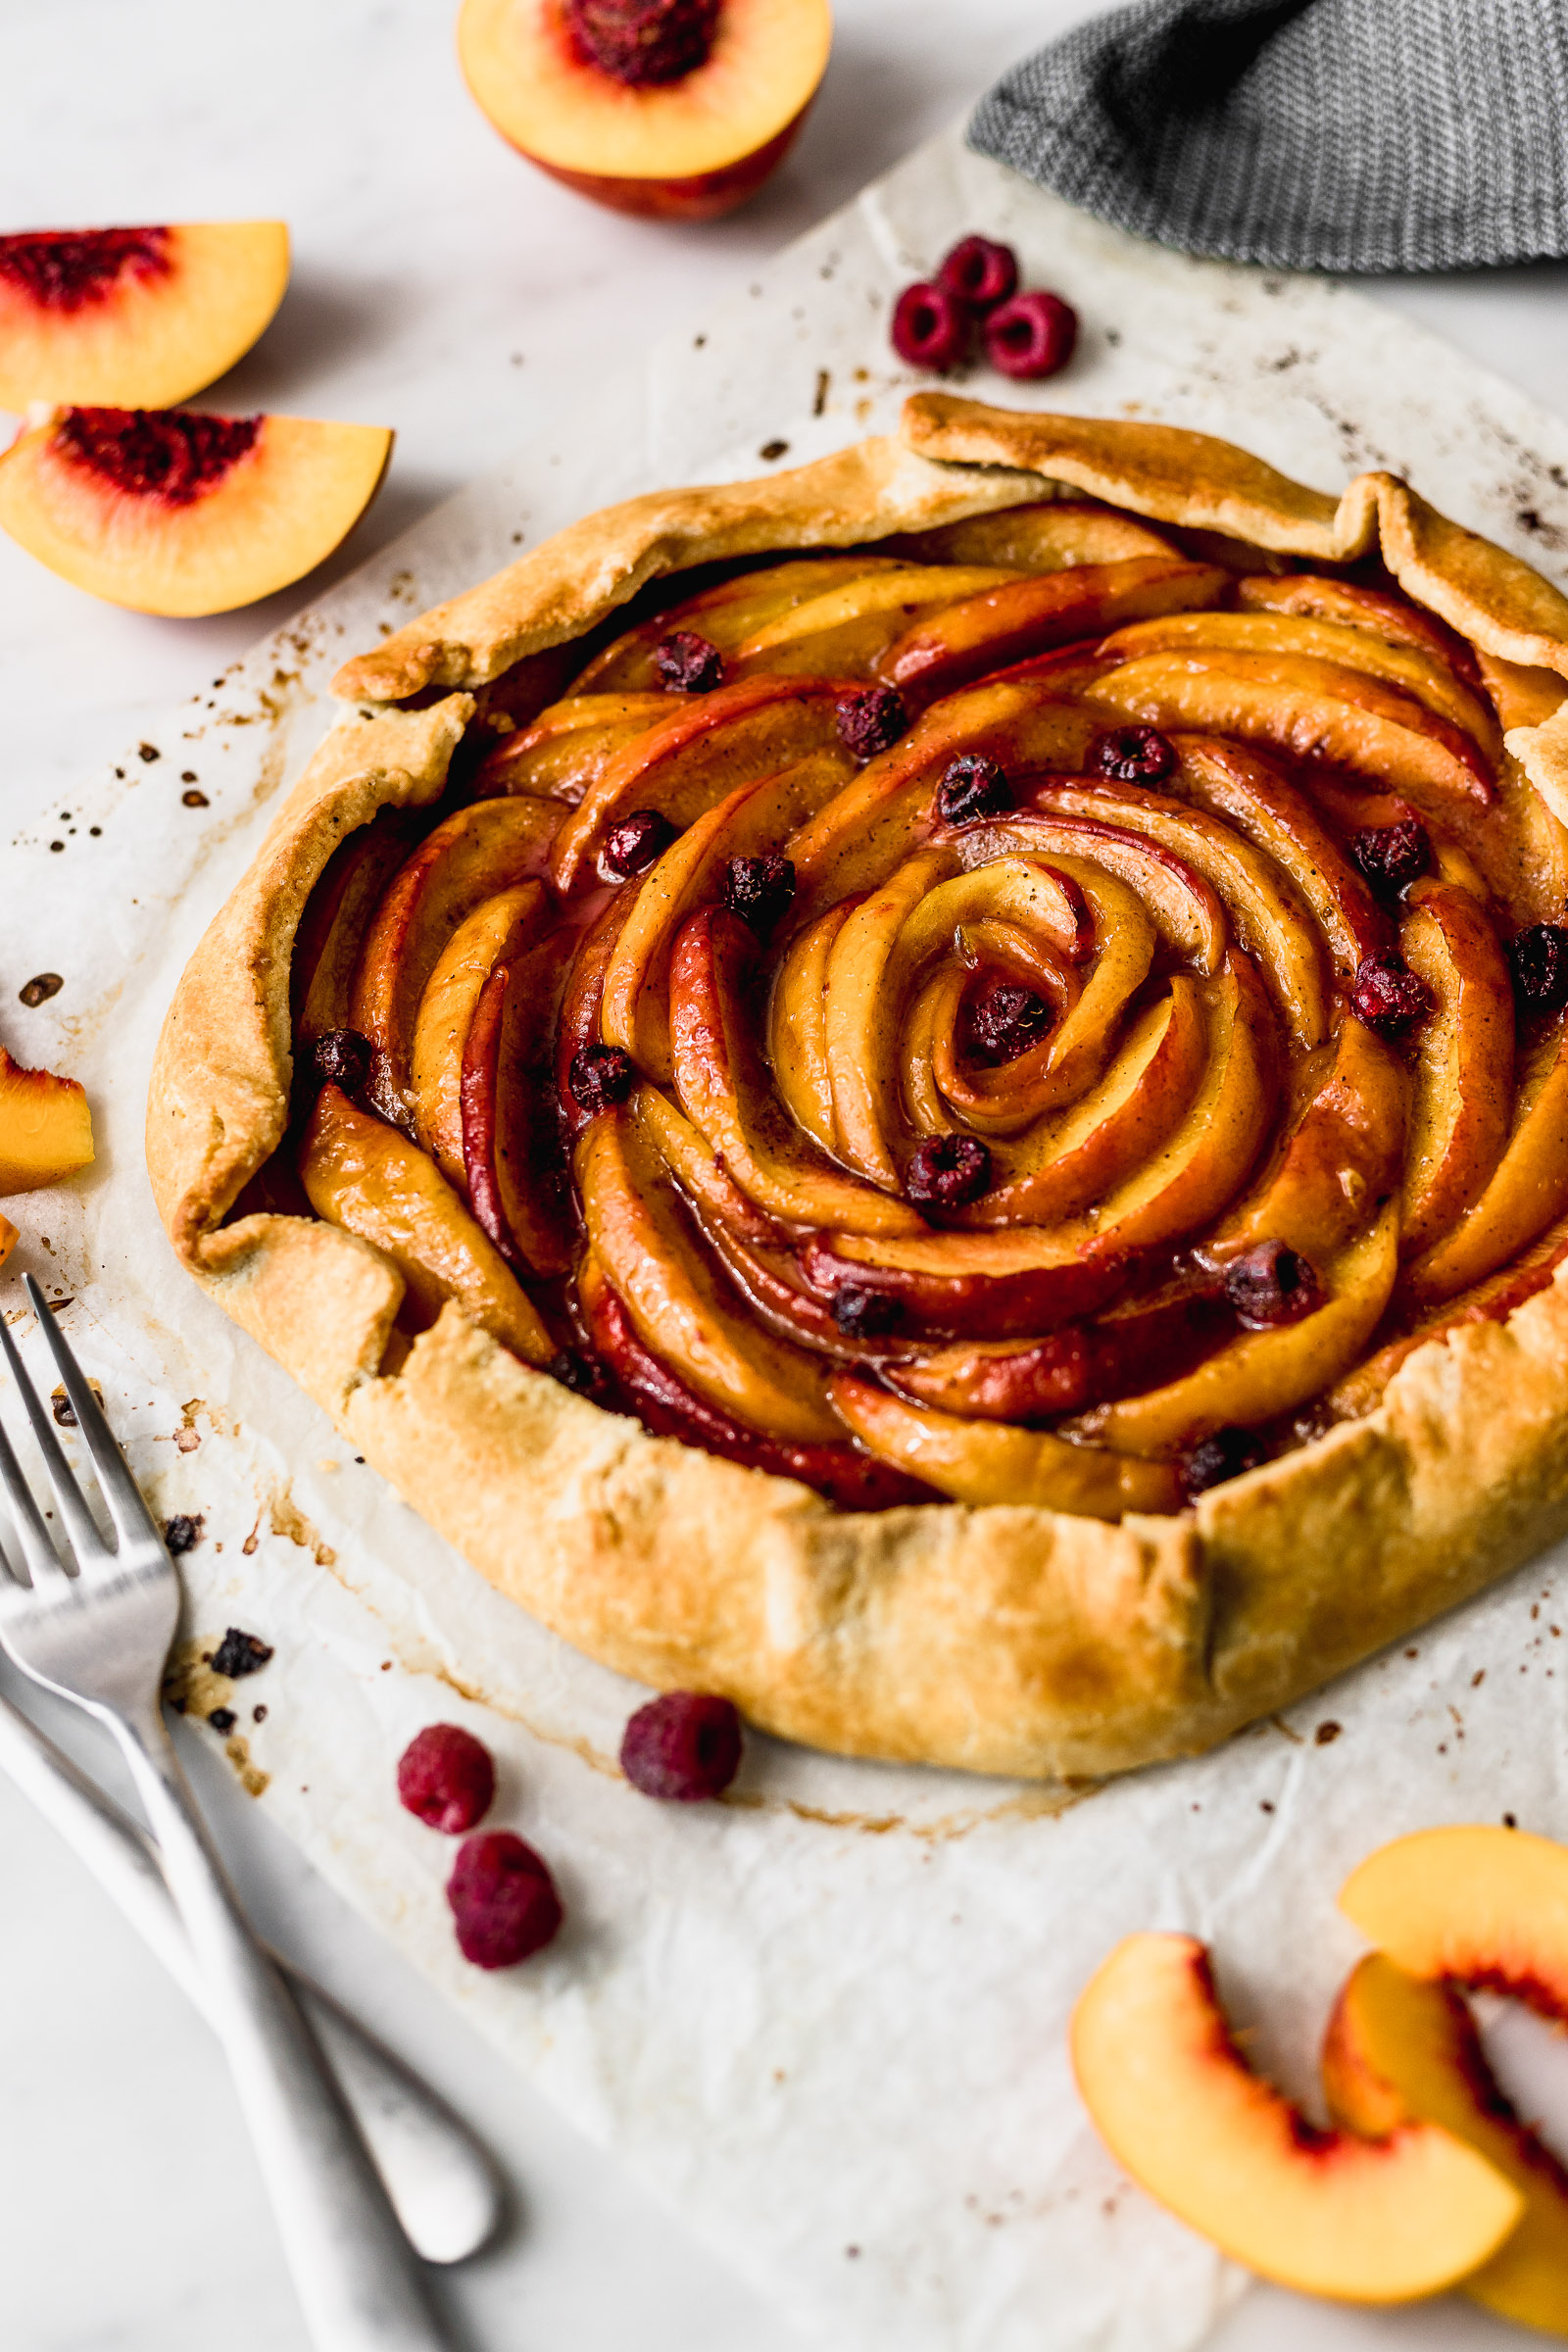
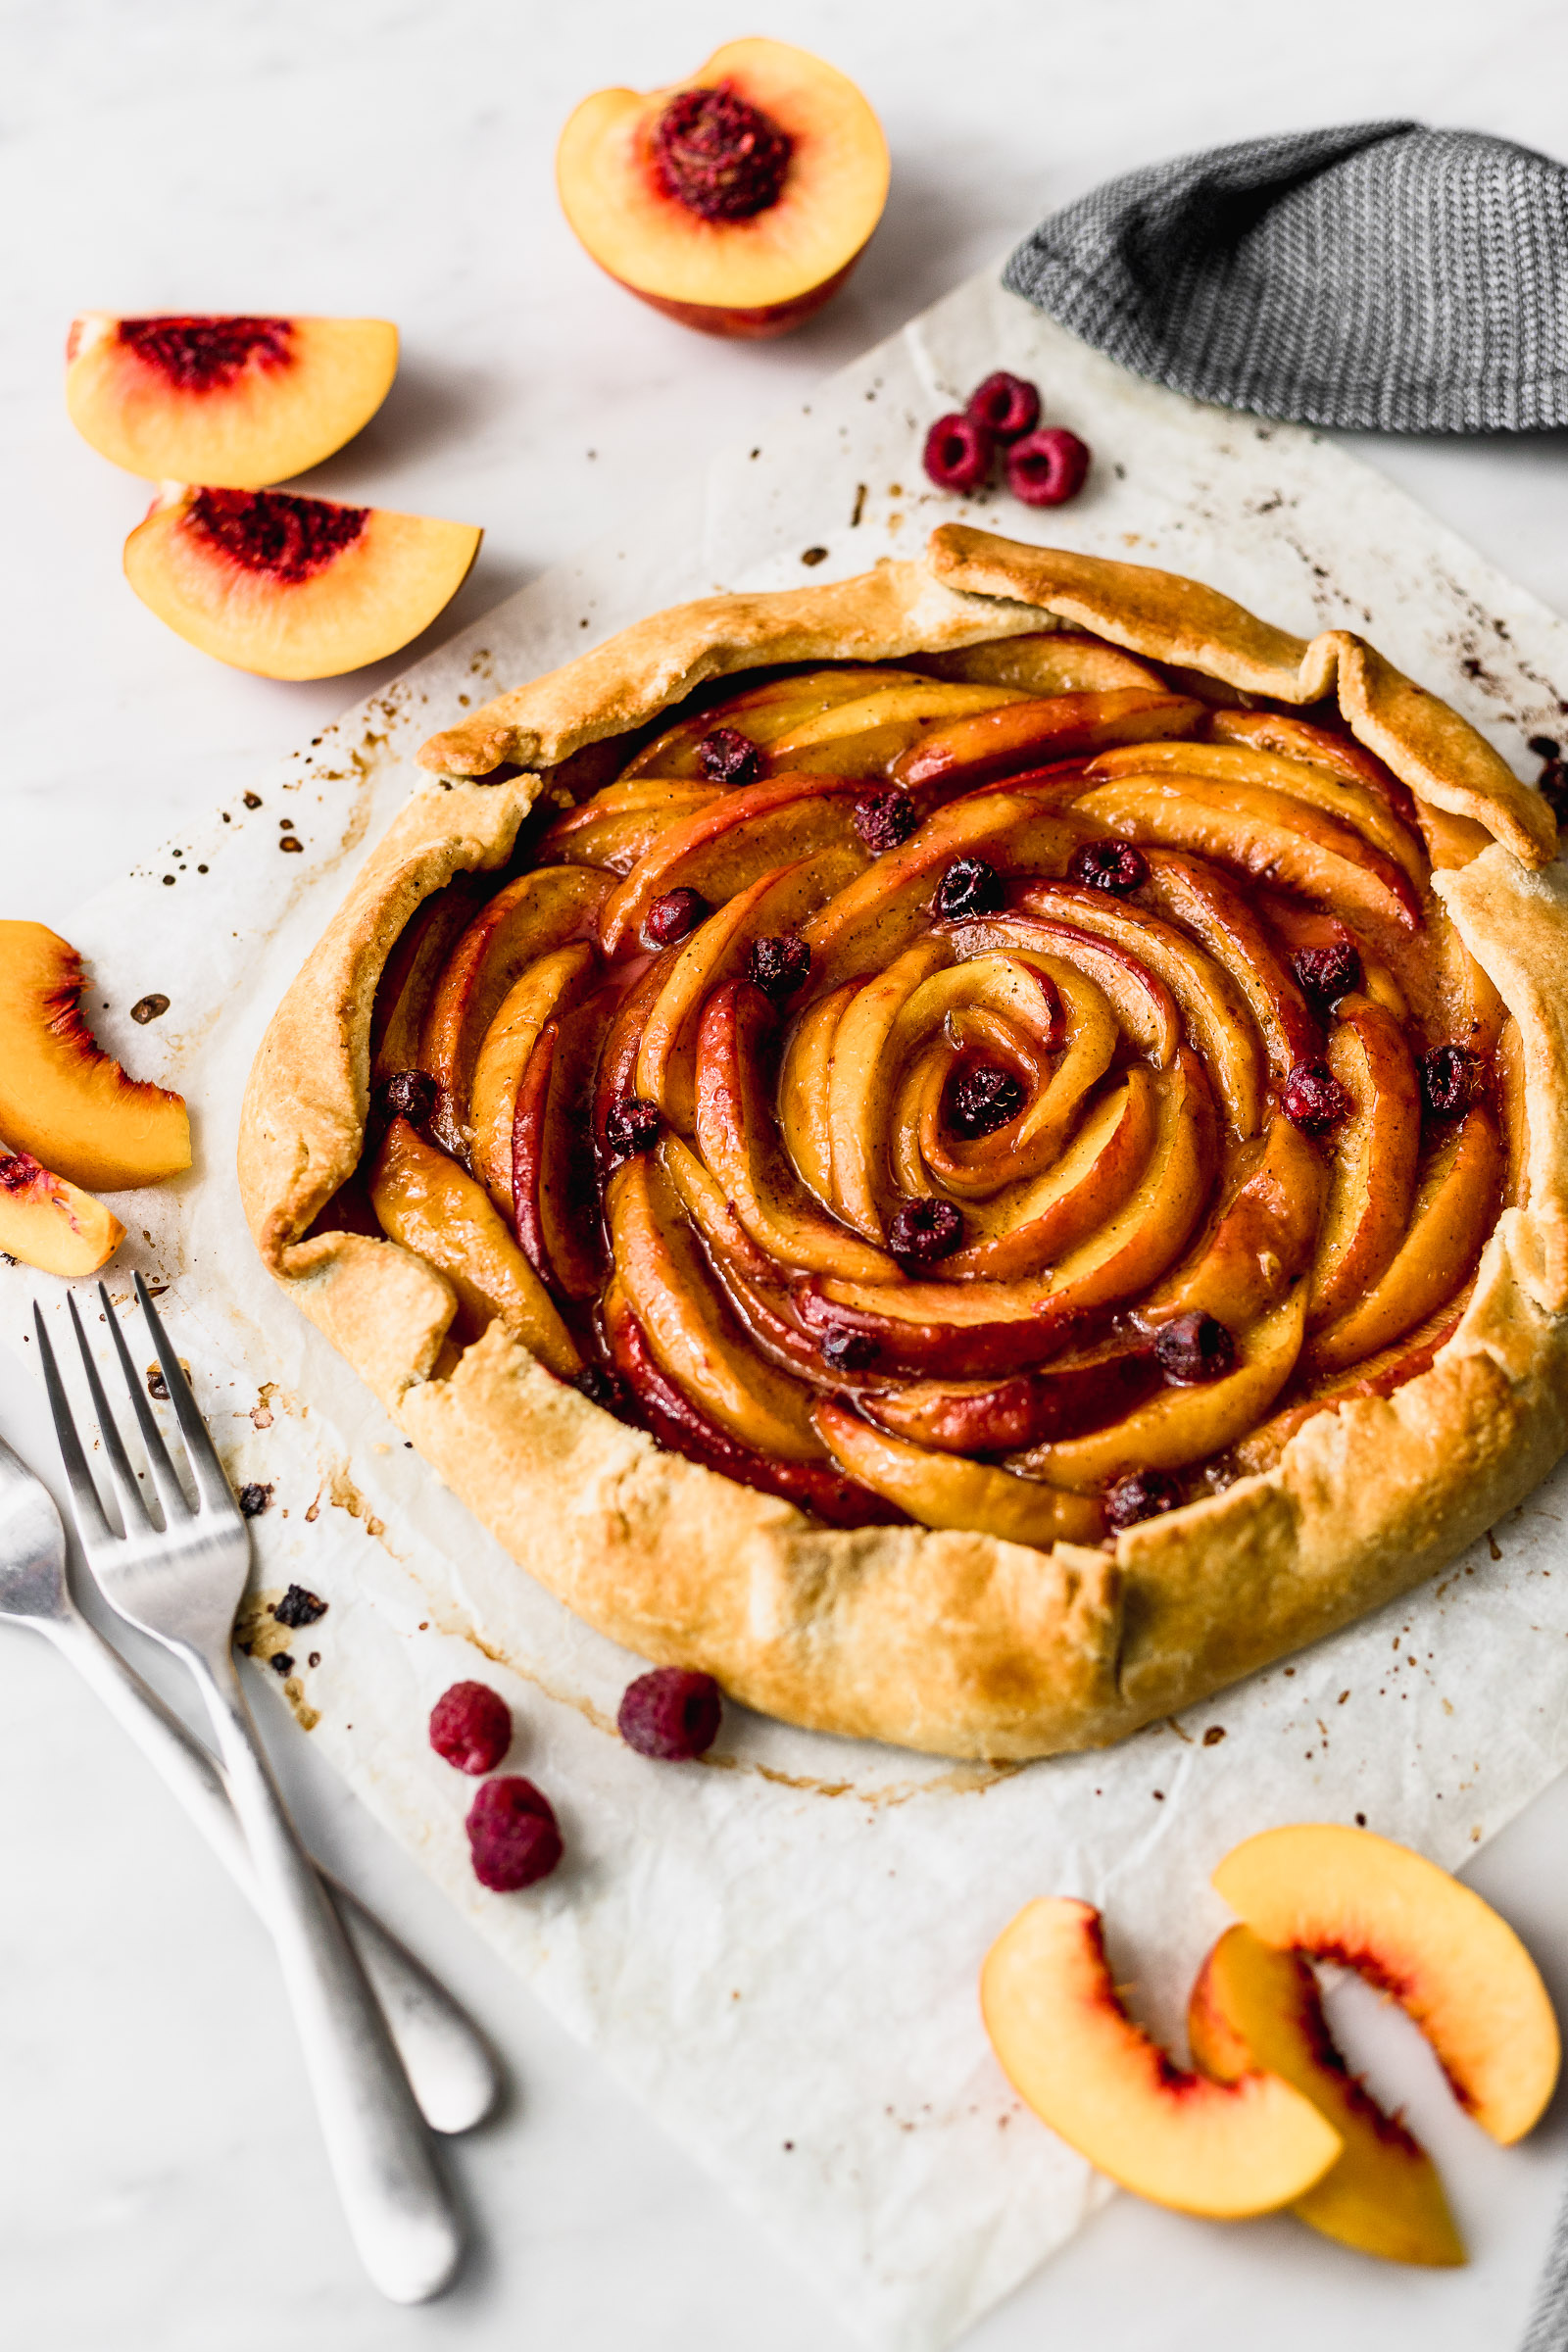
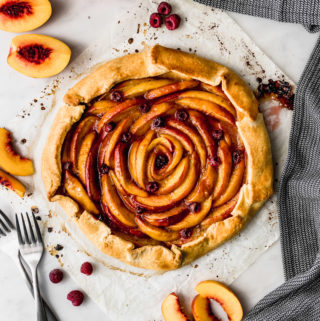
Here in Chile, we have very few weeks of peach season left, one of my favourite fruit! That’s why I decided to make this recipe for peach galette that is SO much easier than making a pie. If you’re not familiar with galettes, it’s like a thin pie that doesn’t need a pan to bake it in. It’s really pretty and attractive with the amazing peach colours.
Since a galette has less filling than a pie, it becomes more important that the dough tastes good. That’s why I recommend that you definitely make the dough yourselves. You can really feel the difference, I promise! If you have a food processor at home you’ll notice that it’s even easier. The dough is a flaky one just like the one you would use for a pie. To make it you first need to pinch the butter into the dry ingredients until you don’t have any more butter pieces left. Then you add the wet ingredients and the dough comes together.
If you’re going to make it in a food processor then you need to respect the order of the instructions as well and do the butter with the dry ingredients first and then the wet ones. Another thing that’s important is that you MUST NOT knead it! Just mix it a bit with your hands, enough to integrate all of the ingredients and then stop. If you knead it or manipulate it too much it will turn hard and will be difficult to roll out. Here’s a video for my raspberry and pomegranate galette so that you can see how the dough is made and how the galette is assembled:

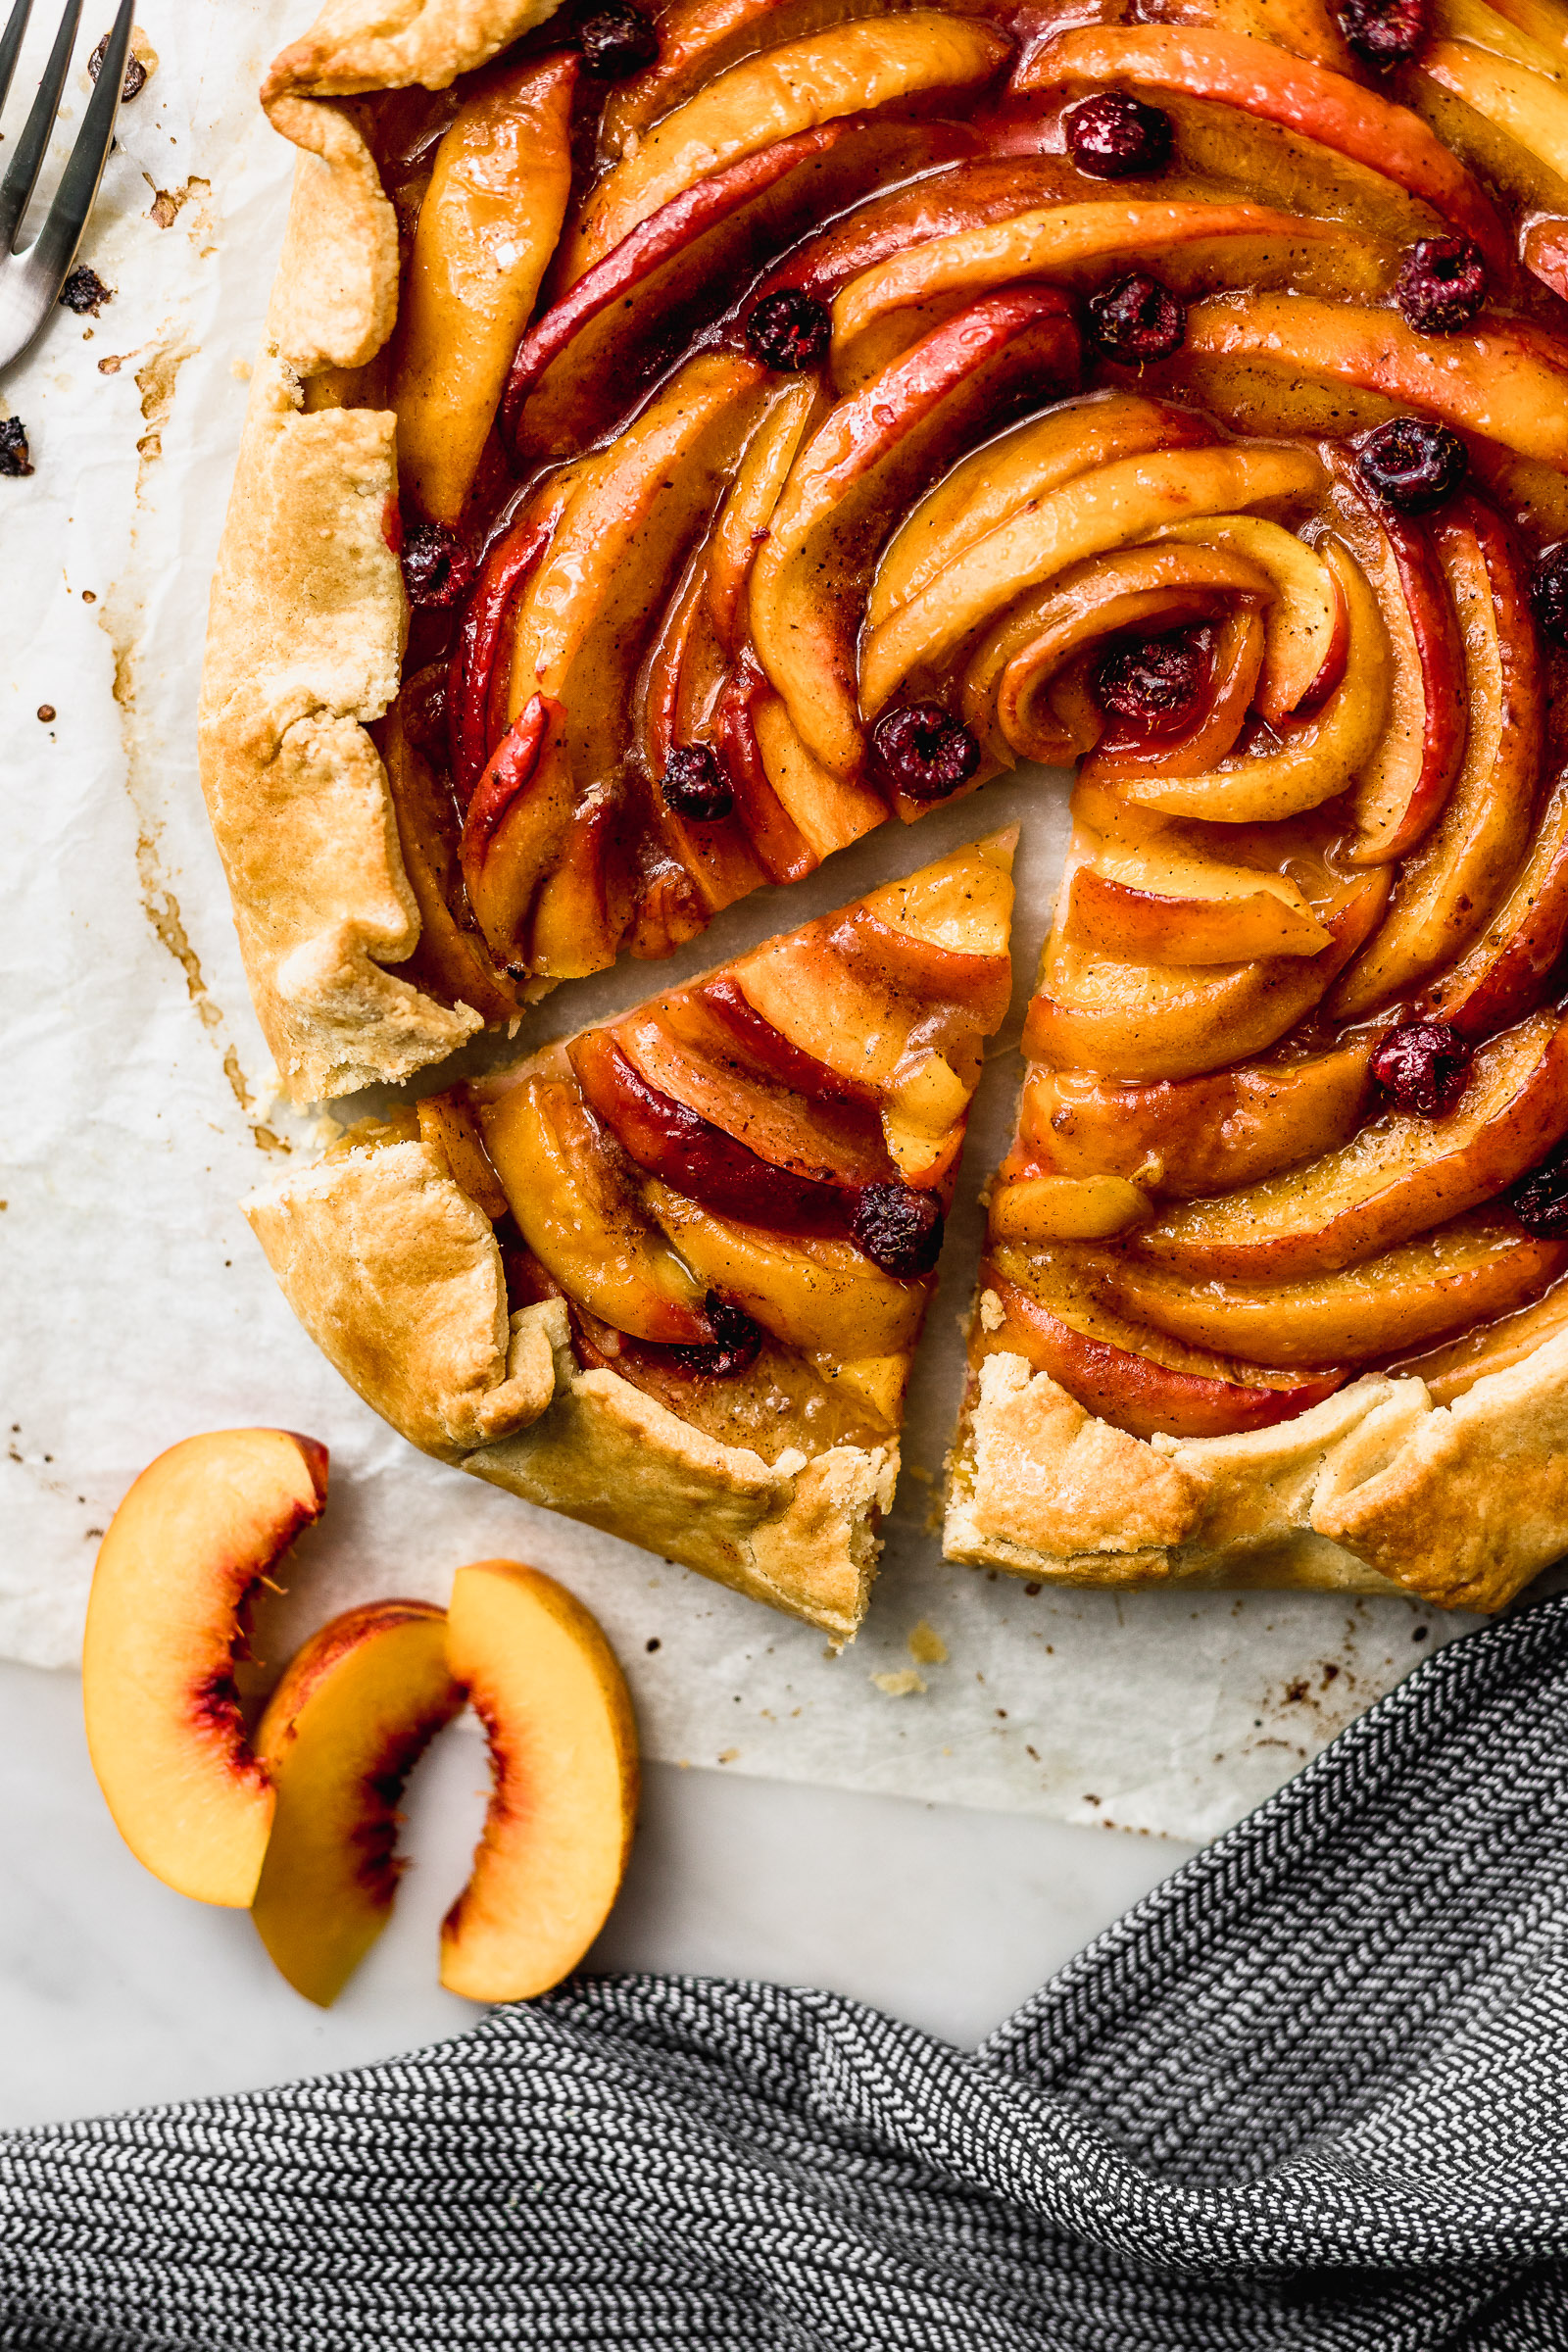
In this recipe, I added a few extra raspberries on top of my peach galette just because I had them laying around in my fridge. They’re definitely not compulsory to add or you could even swap them for any other berry you have lying around your own fridge. On the other hand, this galette can be made exactly the same but replacing the peaches with plums. It’s delicious, too 🙂
If you like galettes here are other galette recipes you might be interested in:
- Delicious with a tang: raspberry and pomegranate galette
- Classic yet still the best: cinnamon apple galette
- Sweet, tangy, perfect with vanilla ice cream: mixed berry galette
Also, if you like desserts with peaches in them, I recommend my peach pie recipe that’s in my ebook “My Sweet Side“.
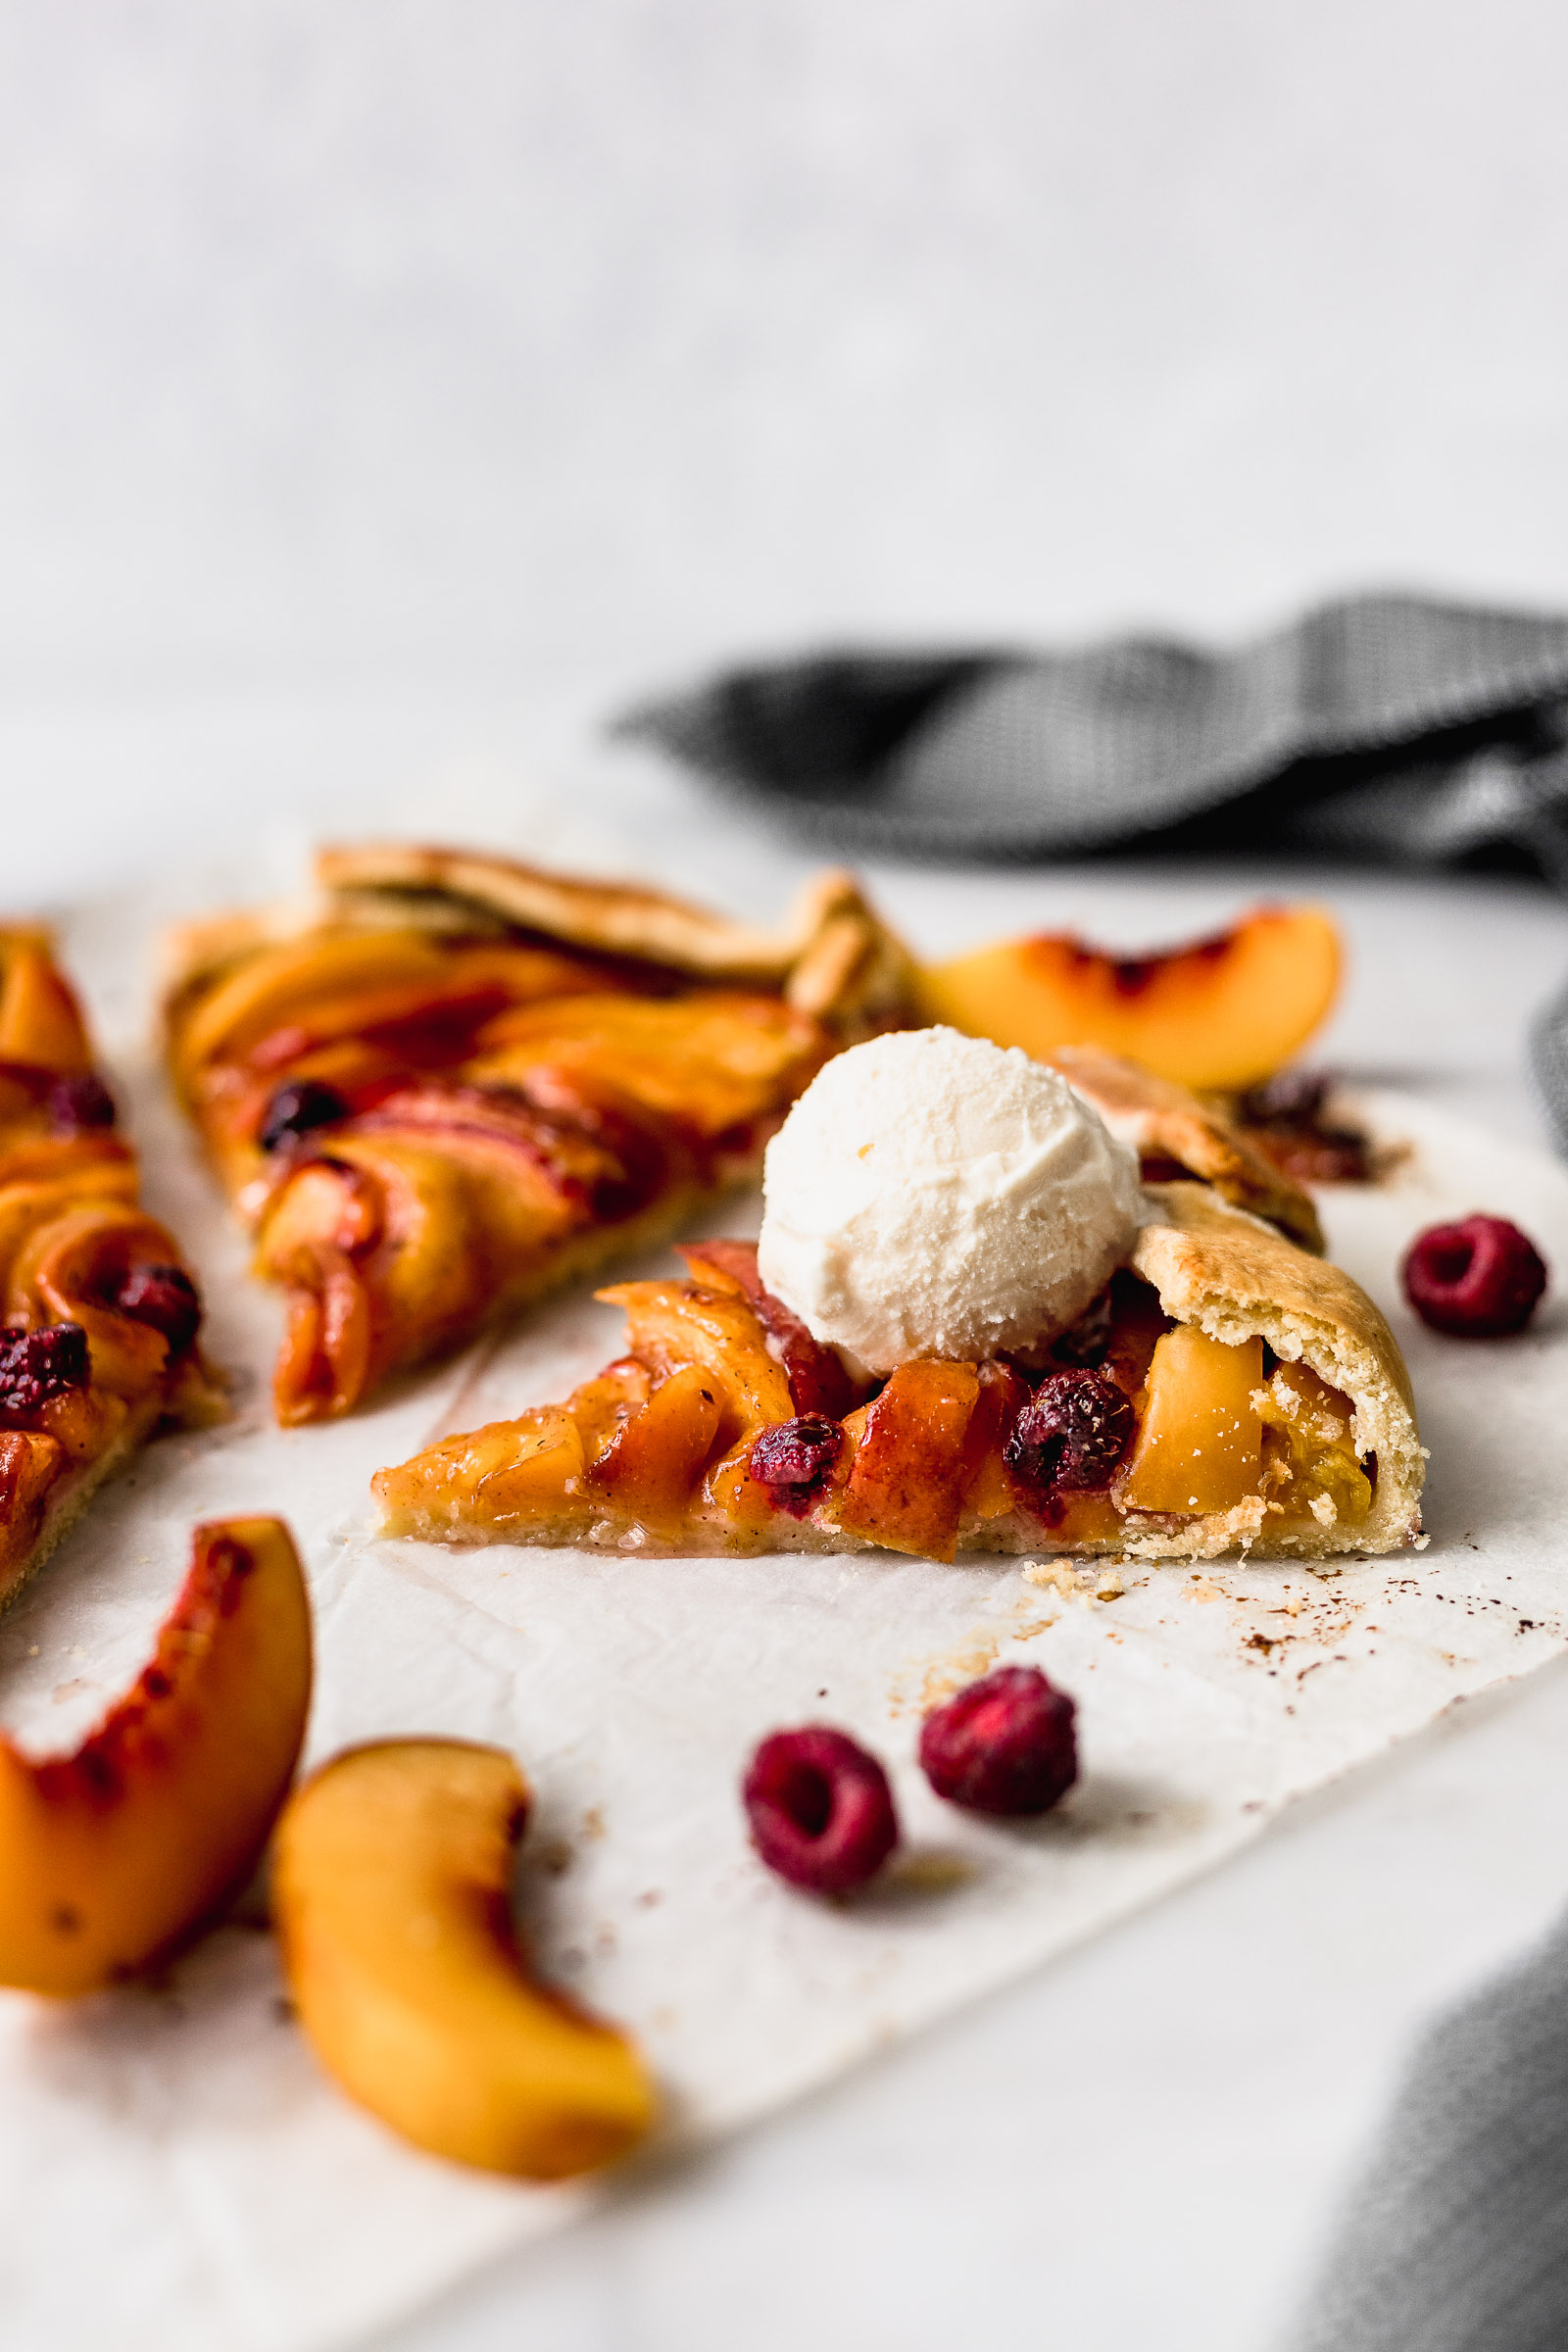
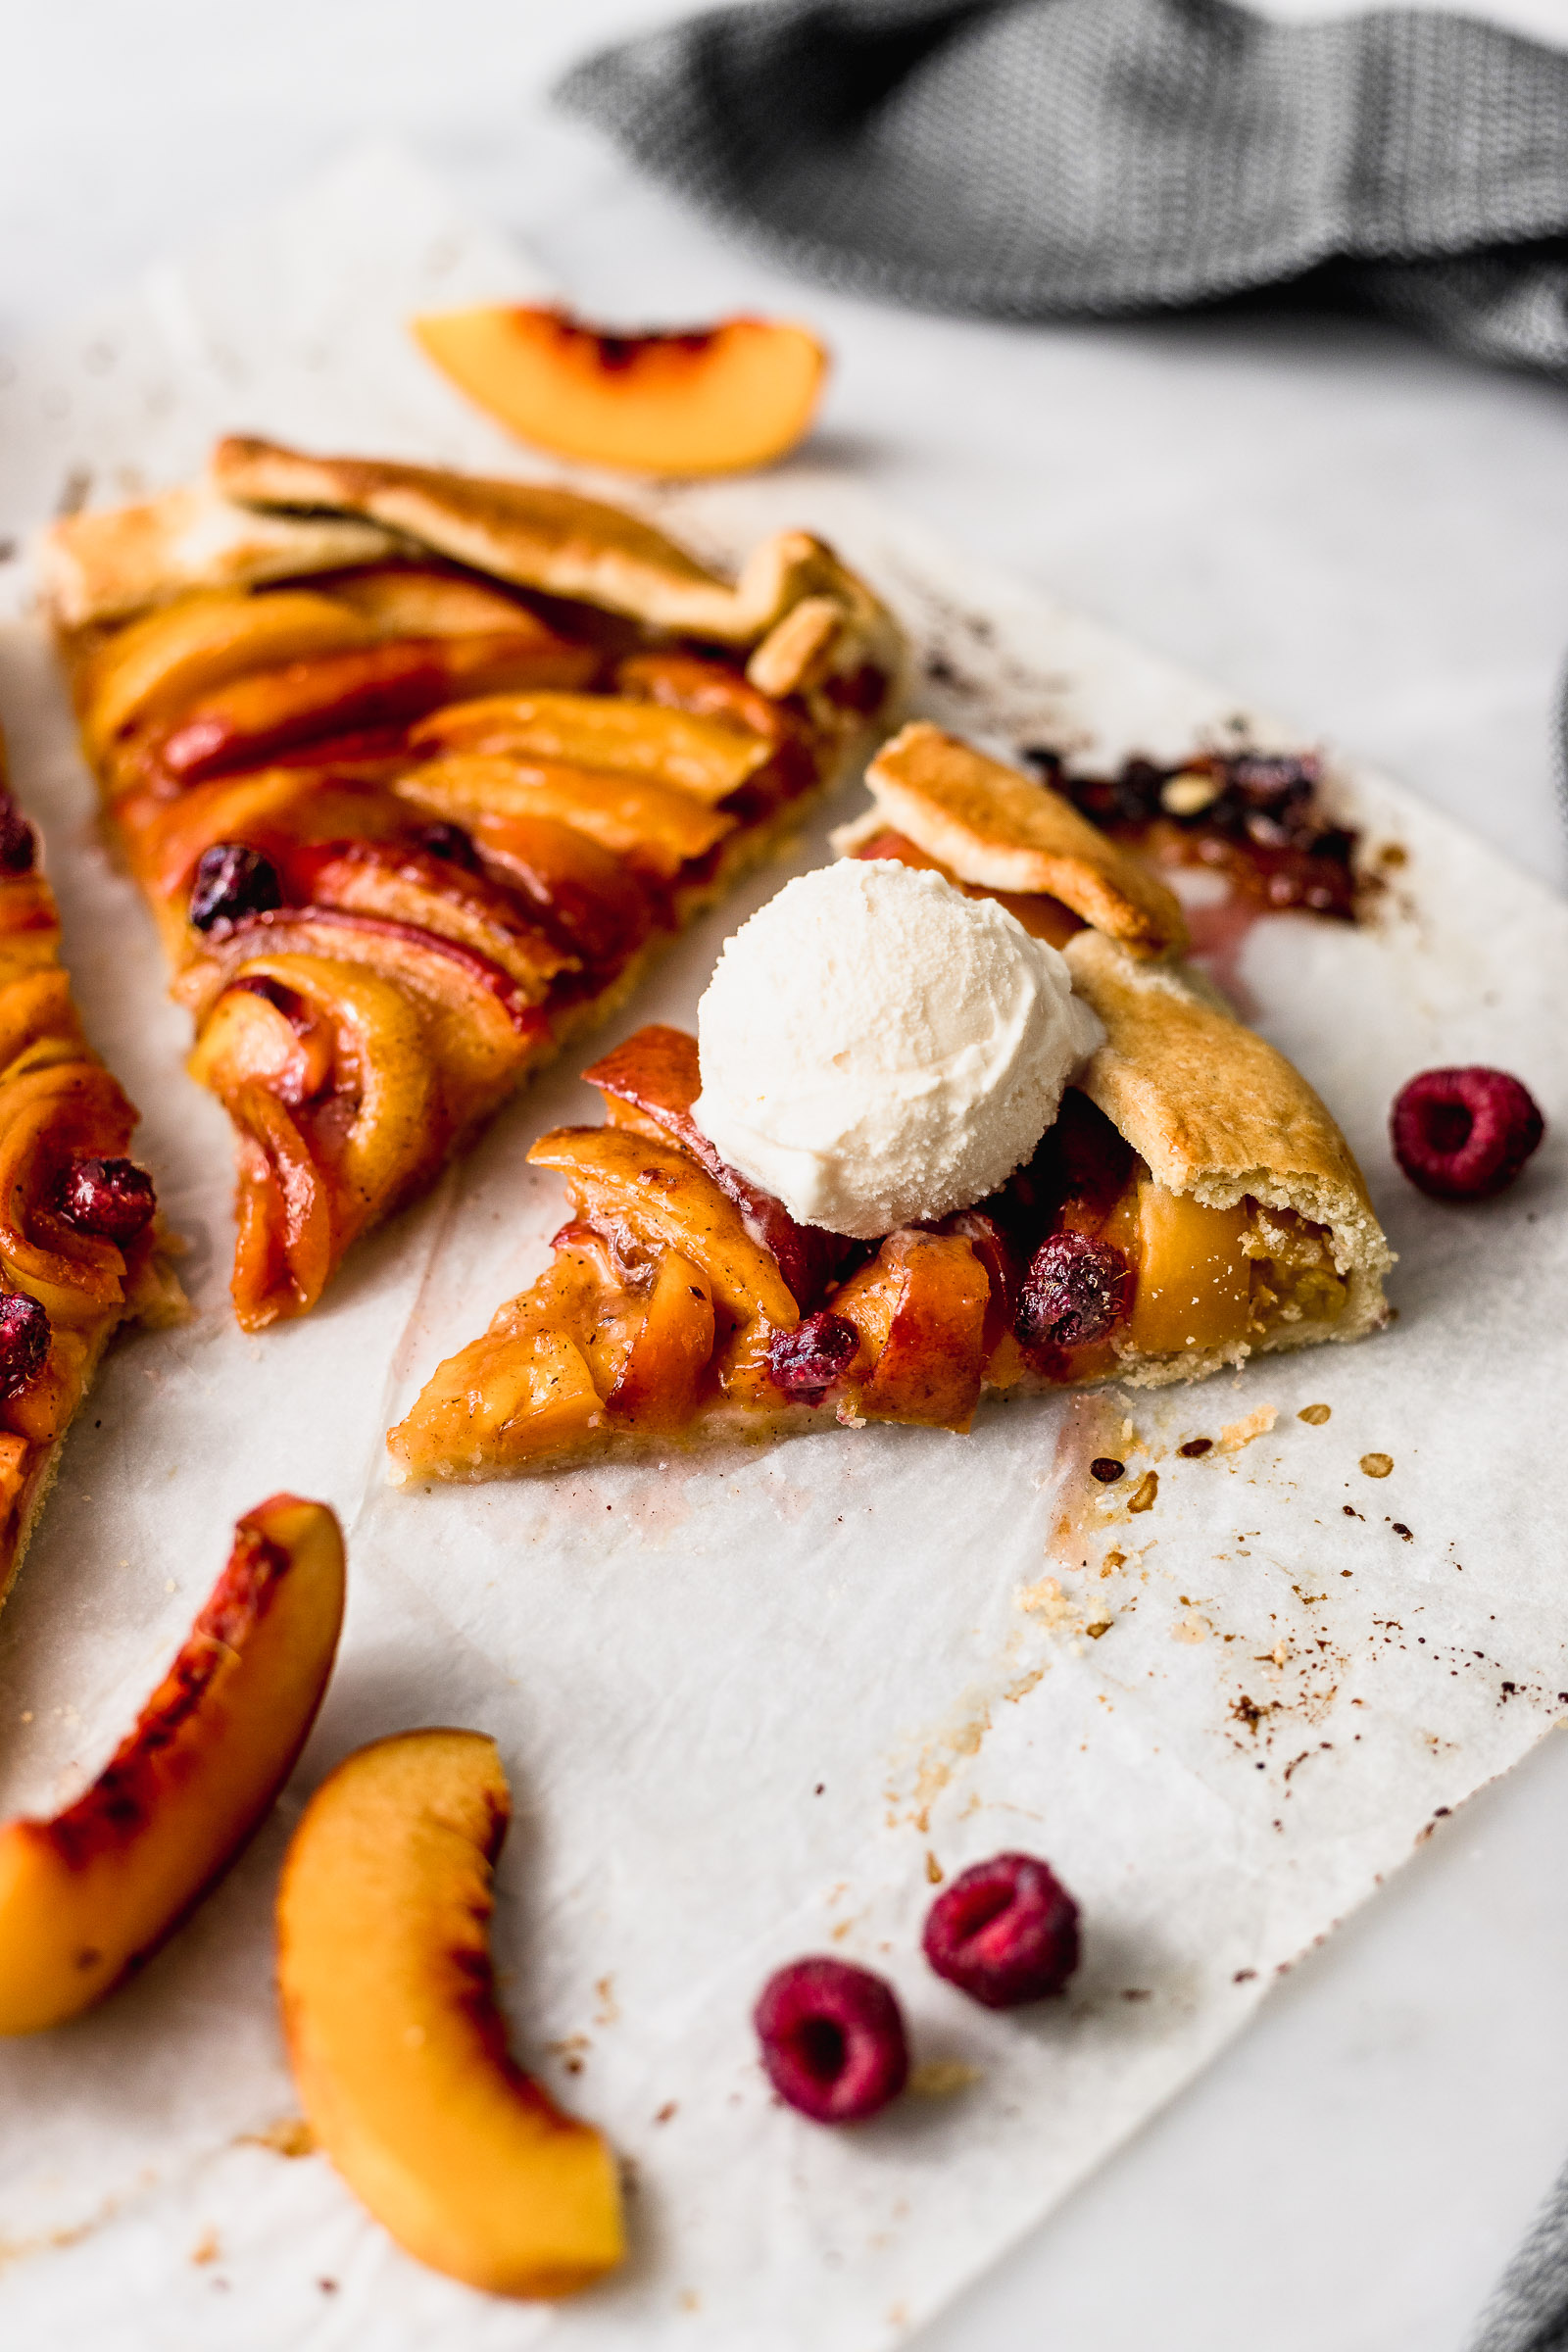
Esta galette de durazno se sirve súper bien tibia (no recién salida del horno porque se desarma) y con una bolita de helado de vainilla. Es un postre realmente perfecto. Es dulce, tiene ese acidito de los duraznos en época, y la masa es maravillosa y se deshace en la boca. Amo amo amo esta masa! En serio tómate los minutos extra para hacerla :).
Ingredients
For the dough
- 200 g all purpose flour
- 1 tsp salt
- 50 g granulated sugar
- 100 g unsalted butter cold and cut into small cubes
- 1 egg
- 1 tbsp cold water
For the filling
- 700 g fresh peaches 4-5 duraznos. I used nectarines but you can use the furry peaches as well :). Also, you can replace for plums.
- 8 tbsp sugar I used white granulated but if you want it more caramelly it can
- ½ tsp ground cinnamon
- 1 tbsp cornstarch / cornflour
- 1 tbsp melted unsalted butter cooled to room temperature
- raspberries optional, or another berry that you have in your fridge.
To paint the dough
- 2 tbsp milk
Instructions
For the dough
- Place the flour, sugar, salt and butter in a bowl.
- Use your fingers to pinch the butter with the rest of the ingredients until there are no large pieces of butter left and it looks like wet sand. You can also do this using a food processor.
- Add the egg and water at the center and mix with a spatula until it doesn't help anymore and then mix with your hands. Don't over-knead it because it will turn tough and hard to roll out after.
- Wrap the dough and let it rest in the fridge for at least 30min. If you leave it longer than that and it goes hard, then leave it outside of the fridge for a while until it becomes softer. If it's hard at the edges and soft at the centre you want to give it a mix with your hands on an un-floured surface.
- Dust a surface with flour and roll it out until it's 3mm thick. You don't want to roll it thinner than that because the juice could then break it in the oven. Make sure that the dough isn't sticking to the surface with each roll and add more flour if needed. Try to make a circular shape as you go. Alternatively, you can roll the dough between two baking paper sheets so the dough won't stick to the table.
- Place the dough on a baking tray lined with baking paper or a silpat. If you stretched the dough between baking paper sheets, then you just need to peel the top one off and transfer the dough with the bottom paper onto a tray.
- At this point, you can leave the dough as is with its rustic edges or use a large dish as a mould and cut around it with a knife. It's really important that the dough is on the baking tray before placing on the peach slices because once they're on top you won't be able to transfer it over.
For the filling
- Cut the peaches in 2-3mm thick slices. If you don't know how to cut peaches you can check out my story highlights on my instagram account. It goes like this: cut all around the peach following the natural line that you see at its top. Twist both halves which will result in one side detaching itself from the pit. Cut the half that's still attached in half and carefully pull apart one of them. You can cut around the pit for the quarter that's left on. Now you're ready to slice.
- Mix the peach strips with the other ingredients in a bowl (except the raspberries or the optional berry of your choice).
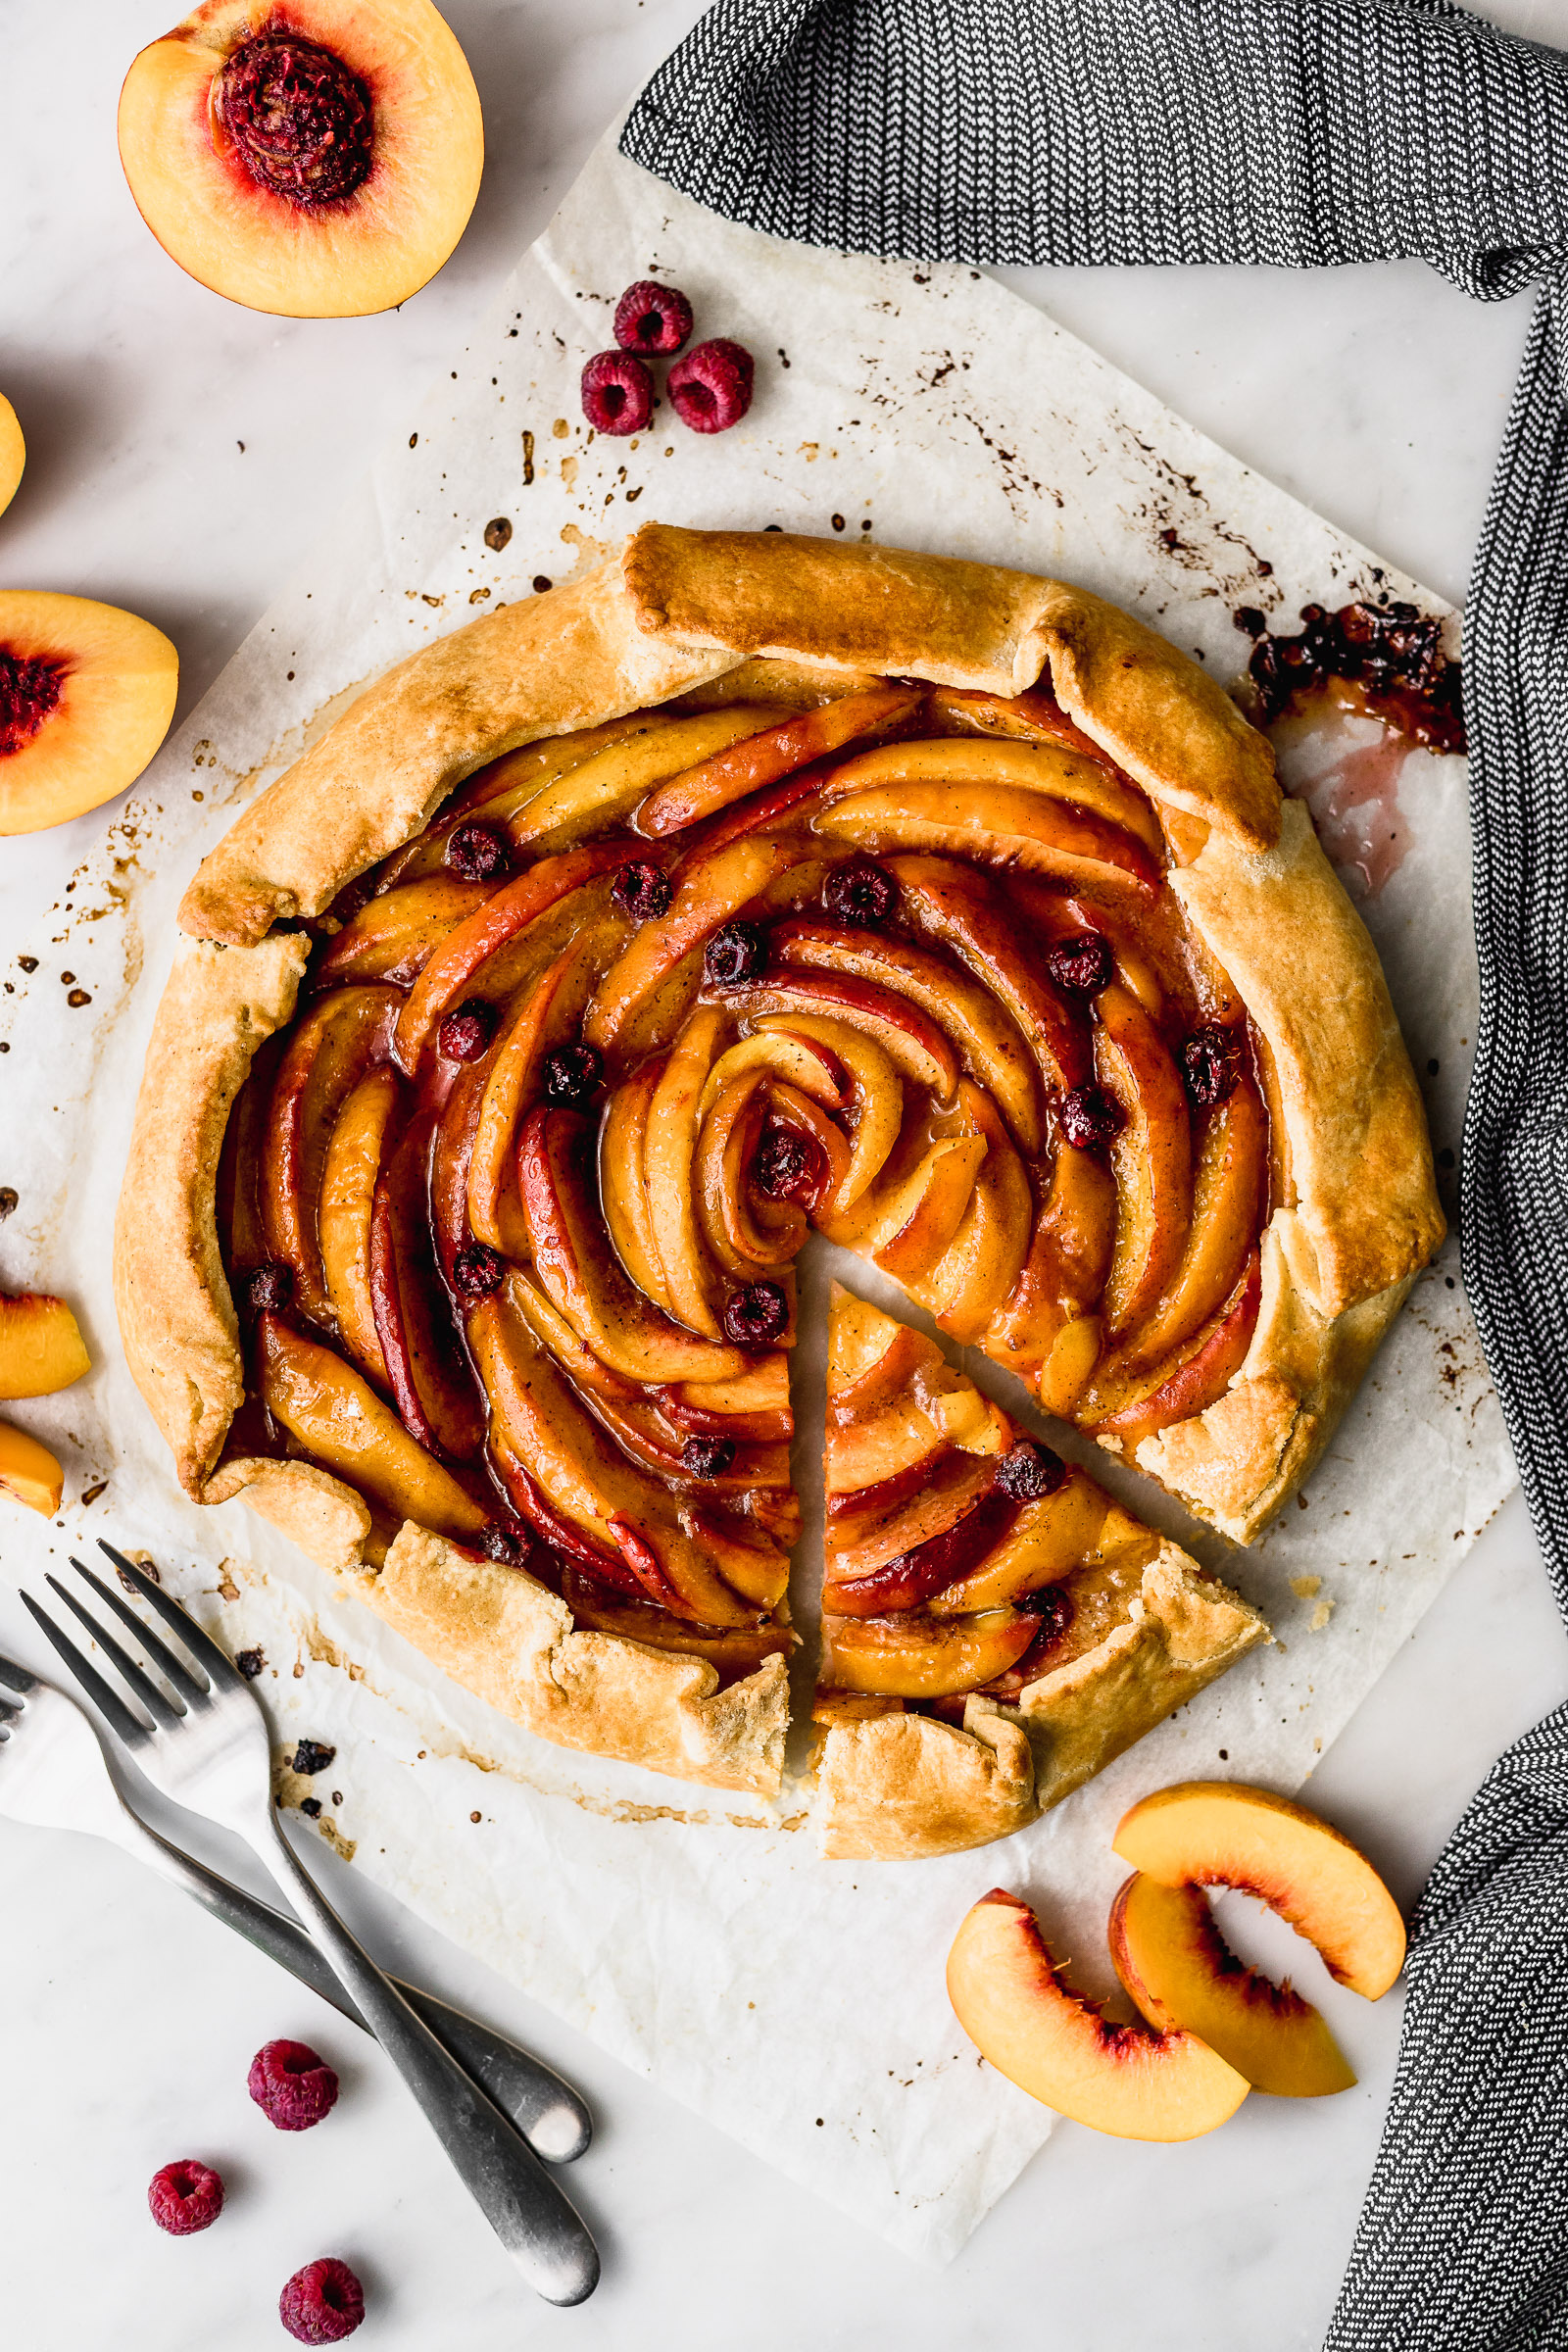
- Place the peach strips on the dough forming a circle and leaving about 5cm / 2in of edge. I placed them like a flower and for this you start on the outside and work around the edge and towards the centre. At the very centre you need thin slices so that you can bend them. On top of the peaches you can sprinkle the optional raspberries.
- Fold the edges of the dough towards the inside carefully. Paint it with milk.
- Bake the galette at 180°C/350°F for 30 minutes or until golden and the filling is bubbling. It's normal if some of the liquid seeps out.
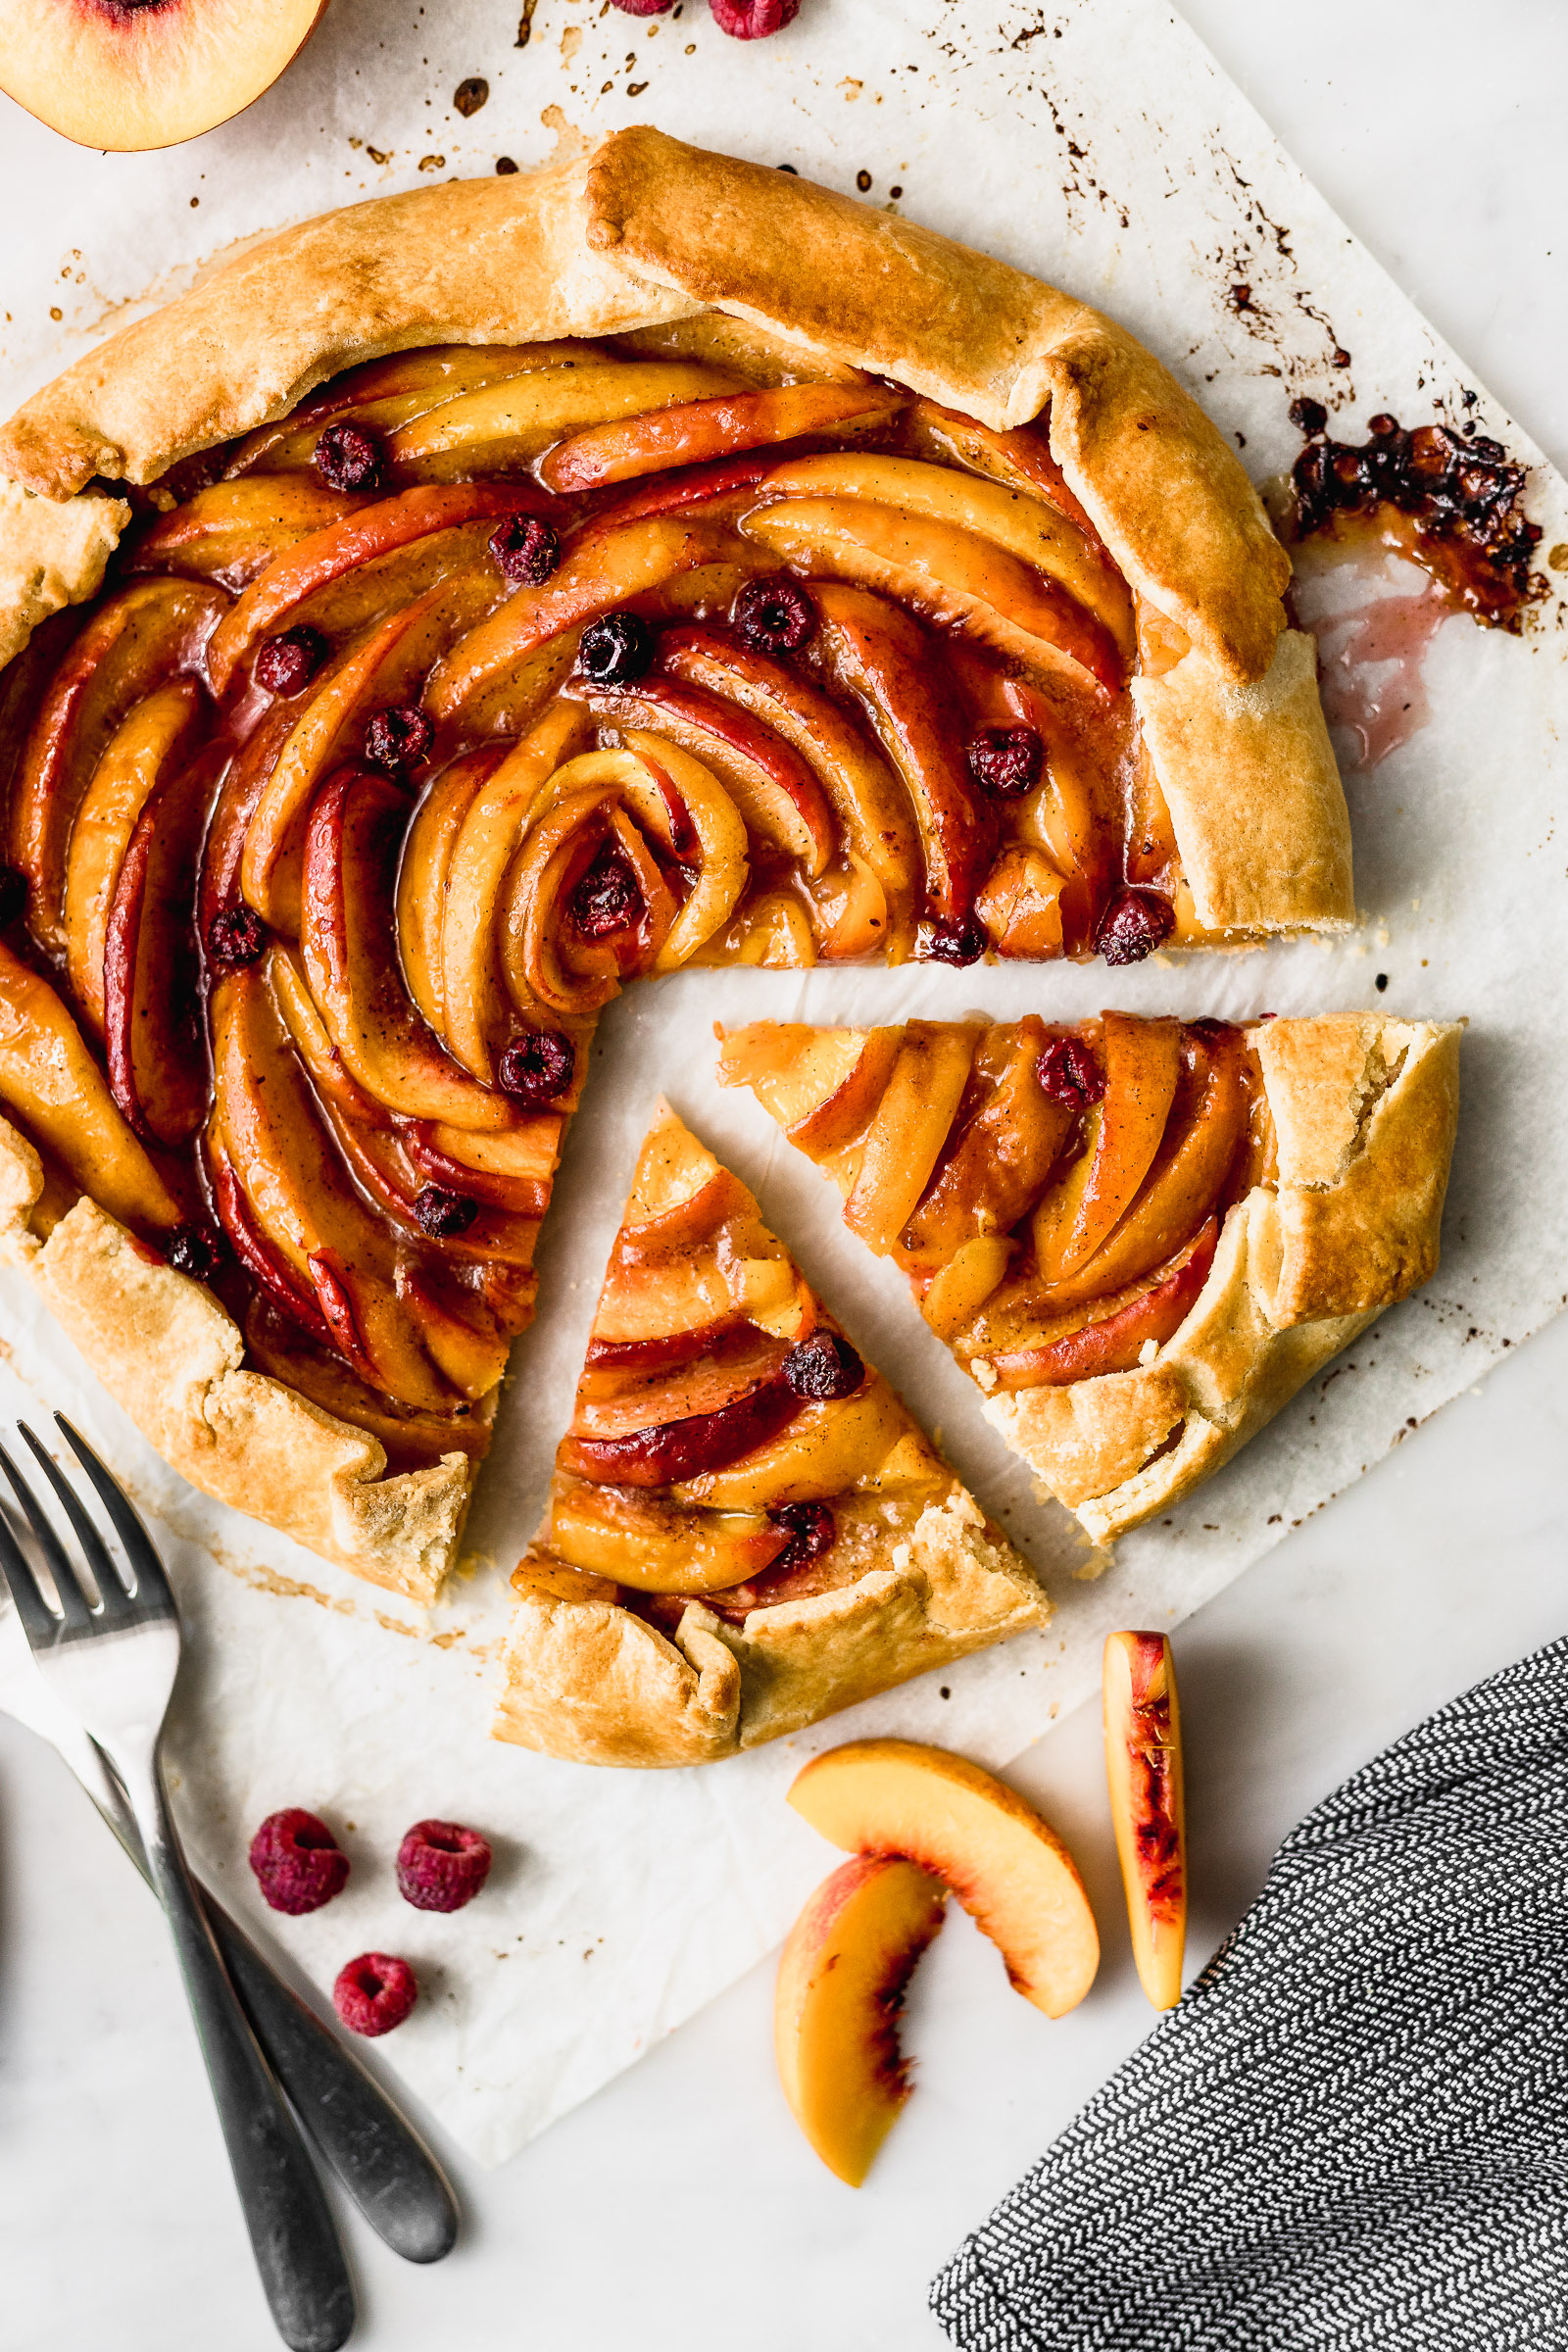
- Once it cools down you can cut and serve it. I recommend to serve it with a scoop of vanilla ice cream.