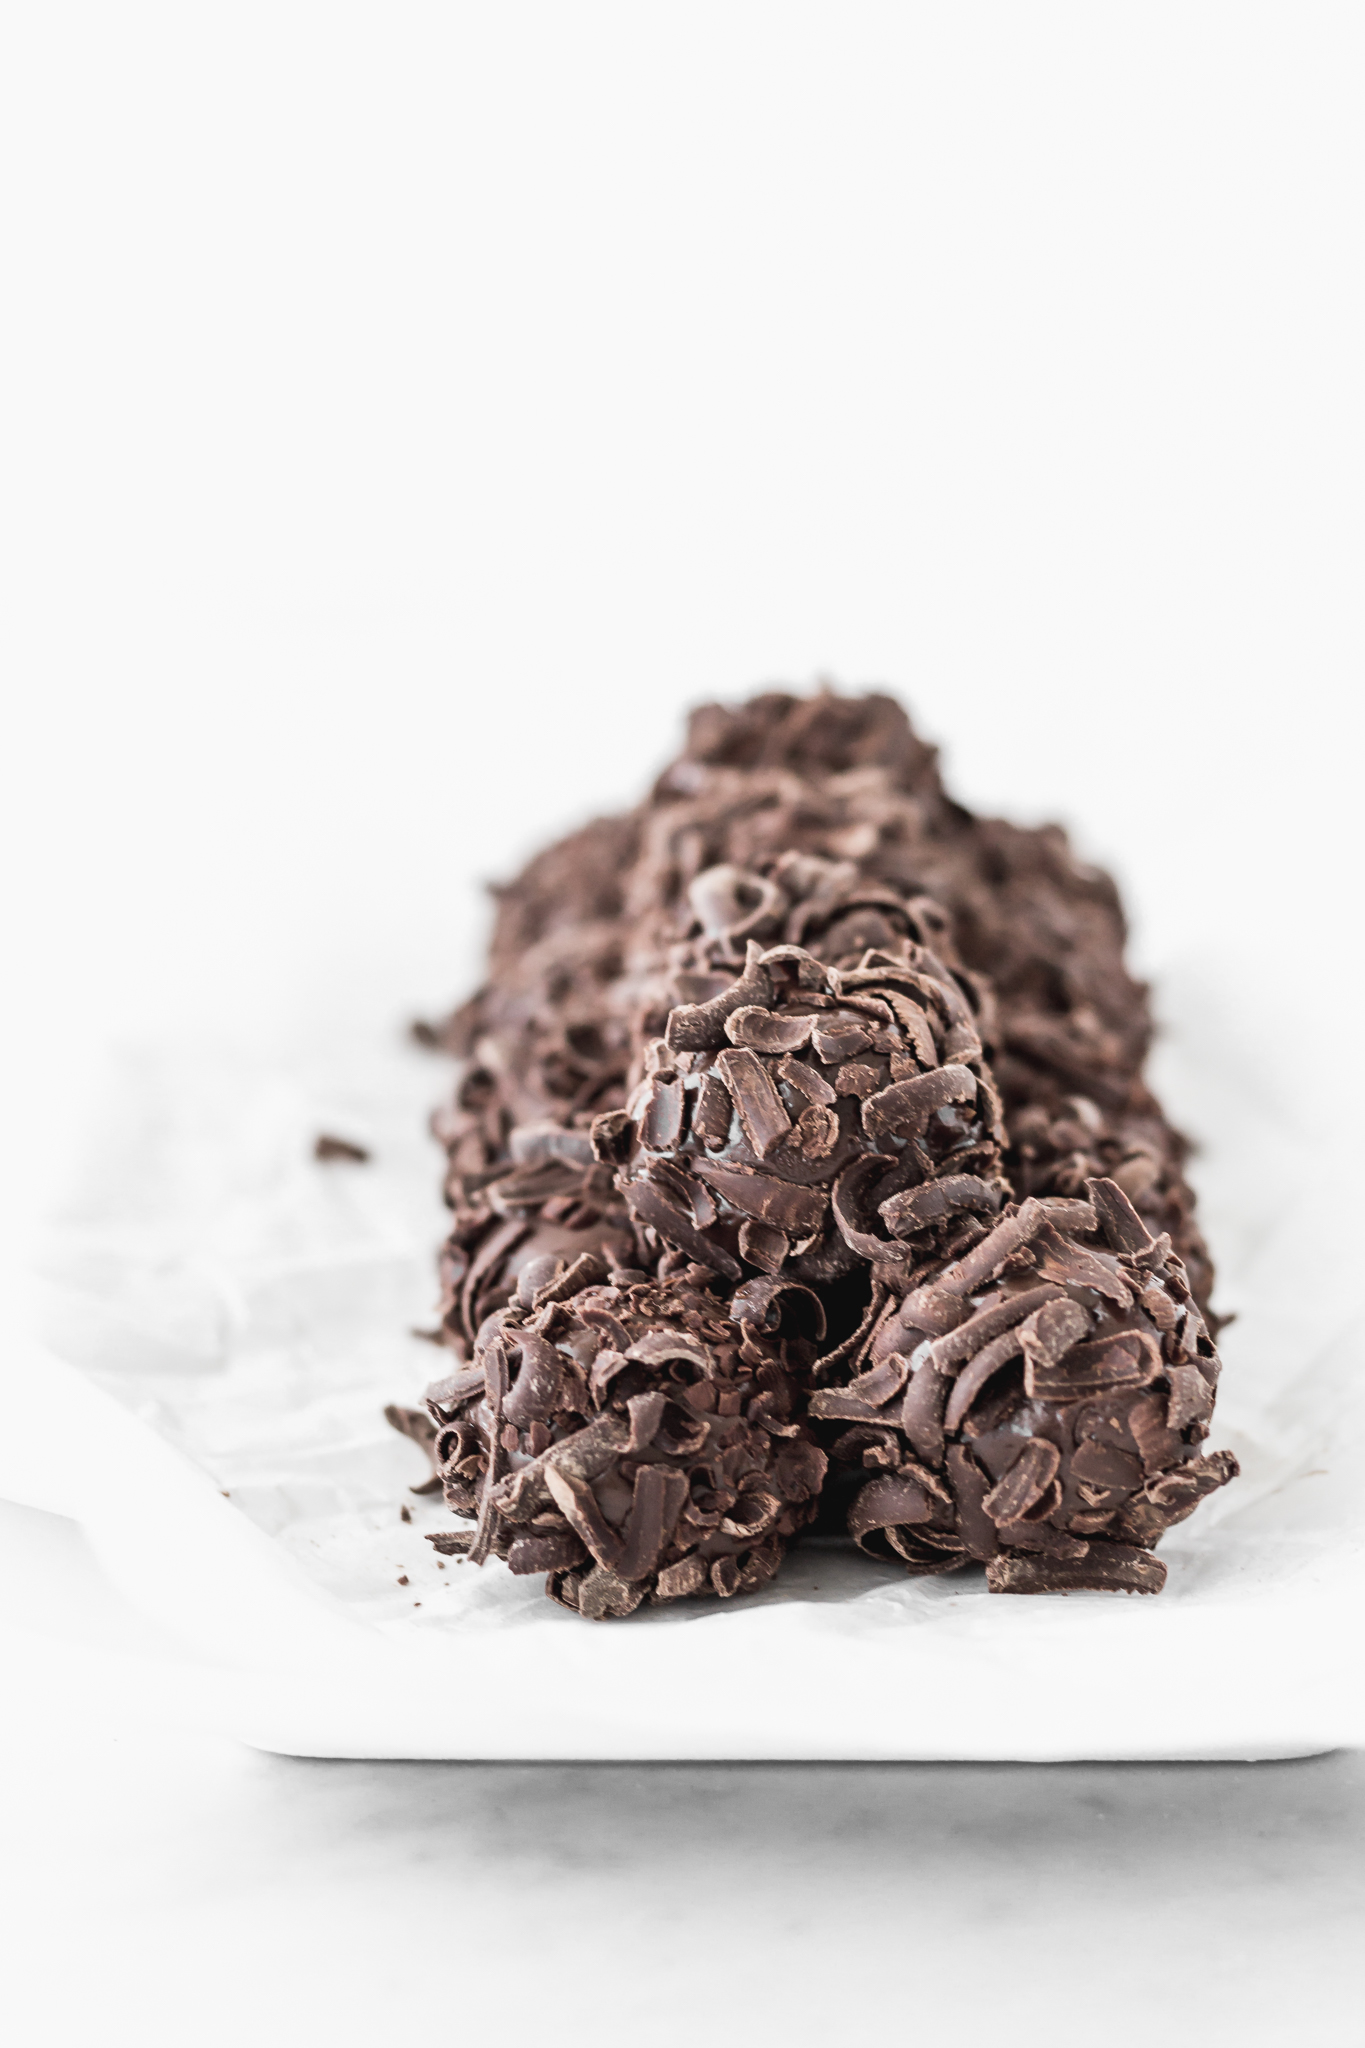
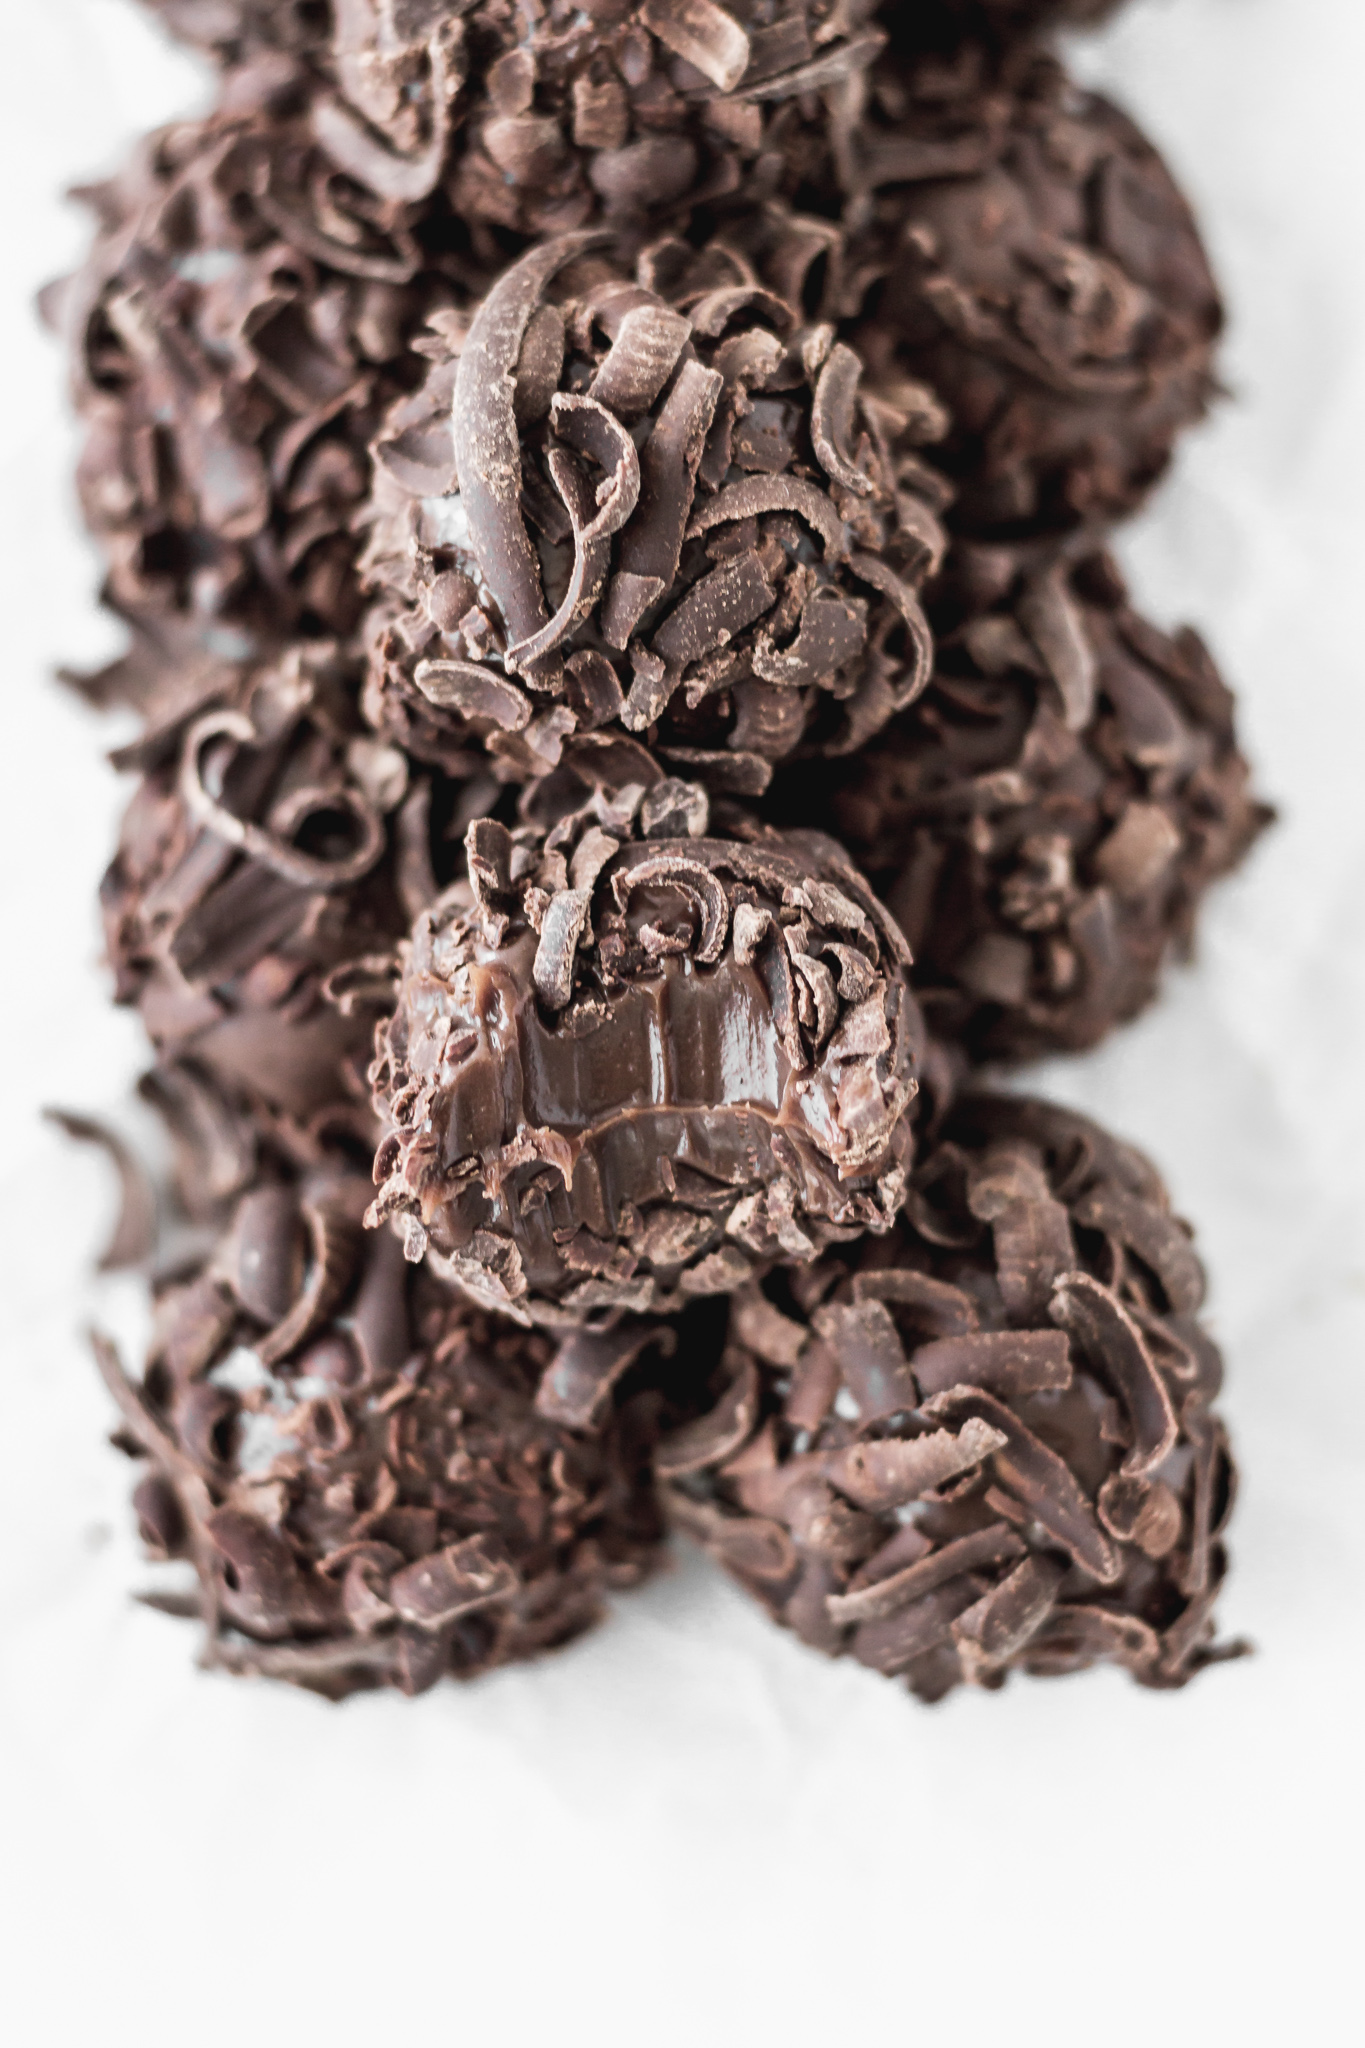
Peruvian chocolate truffles are YUM. They have a super smooth texture and you don’t need to know how to temper chocolate (the process that makes chocolate go “snap”) to make them. You just need to make a chocolate manjar blanco (the Peruvian dulce de leche) and cook it to a thicker stage to then cool it down and form the balls. A couple months ago I did them on my instagram stories and it was a huge success. You guys then asked me to make them for the blog and because I love to give you what you want, here they are :).
The texture of these truffles is totally addictive. They’re suuuuper smooth and you can feel them melt in your mouth. They’re similar to Brazil’s brigadeiros, only that these are a bit firmer and in my opinion also tastier.
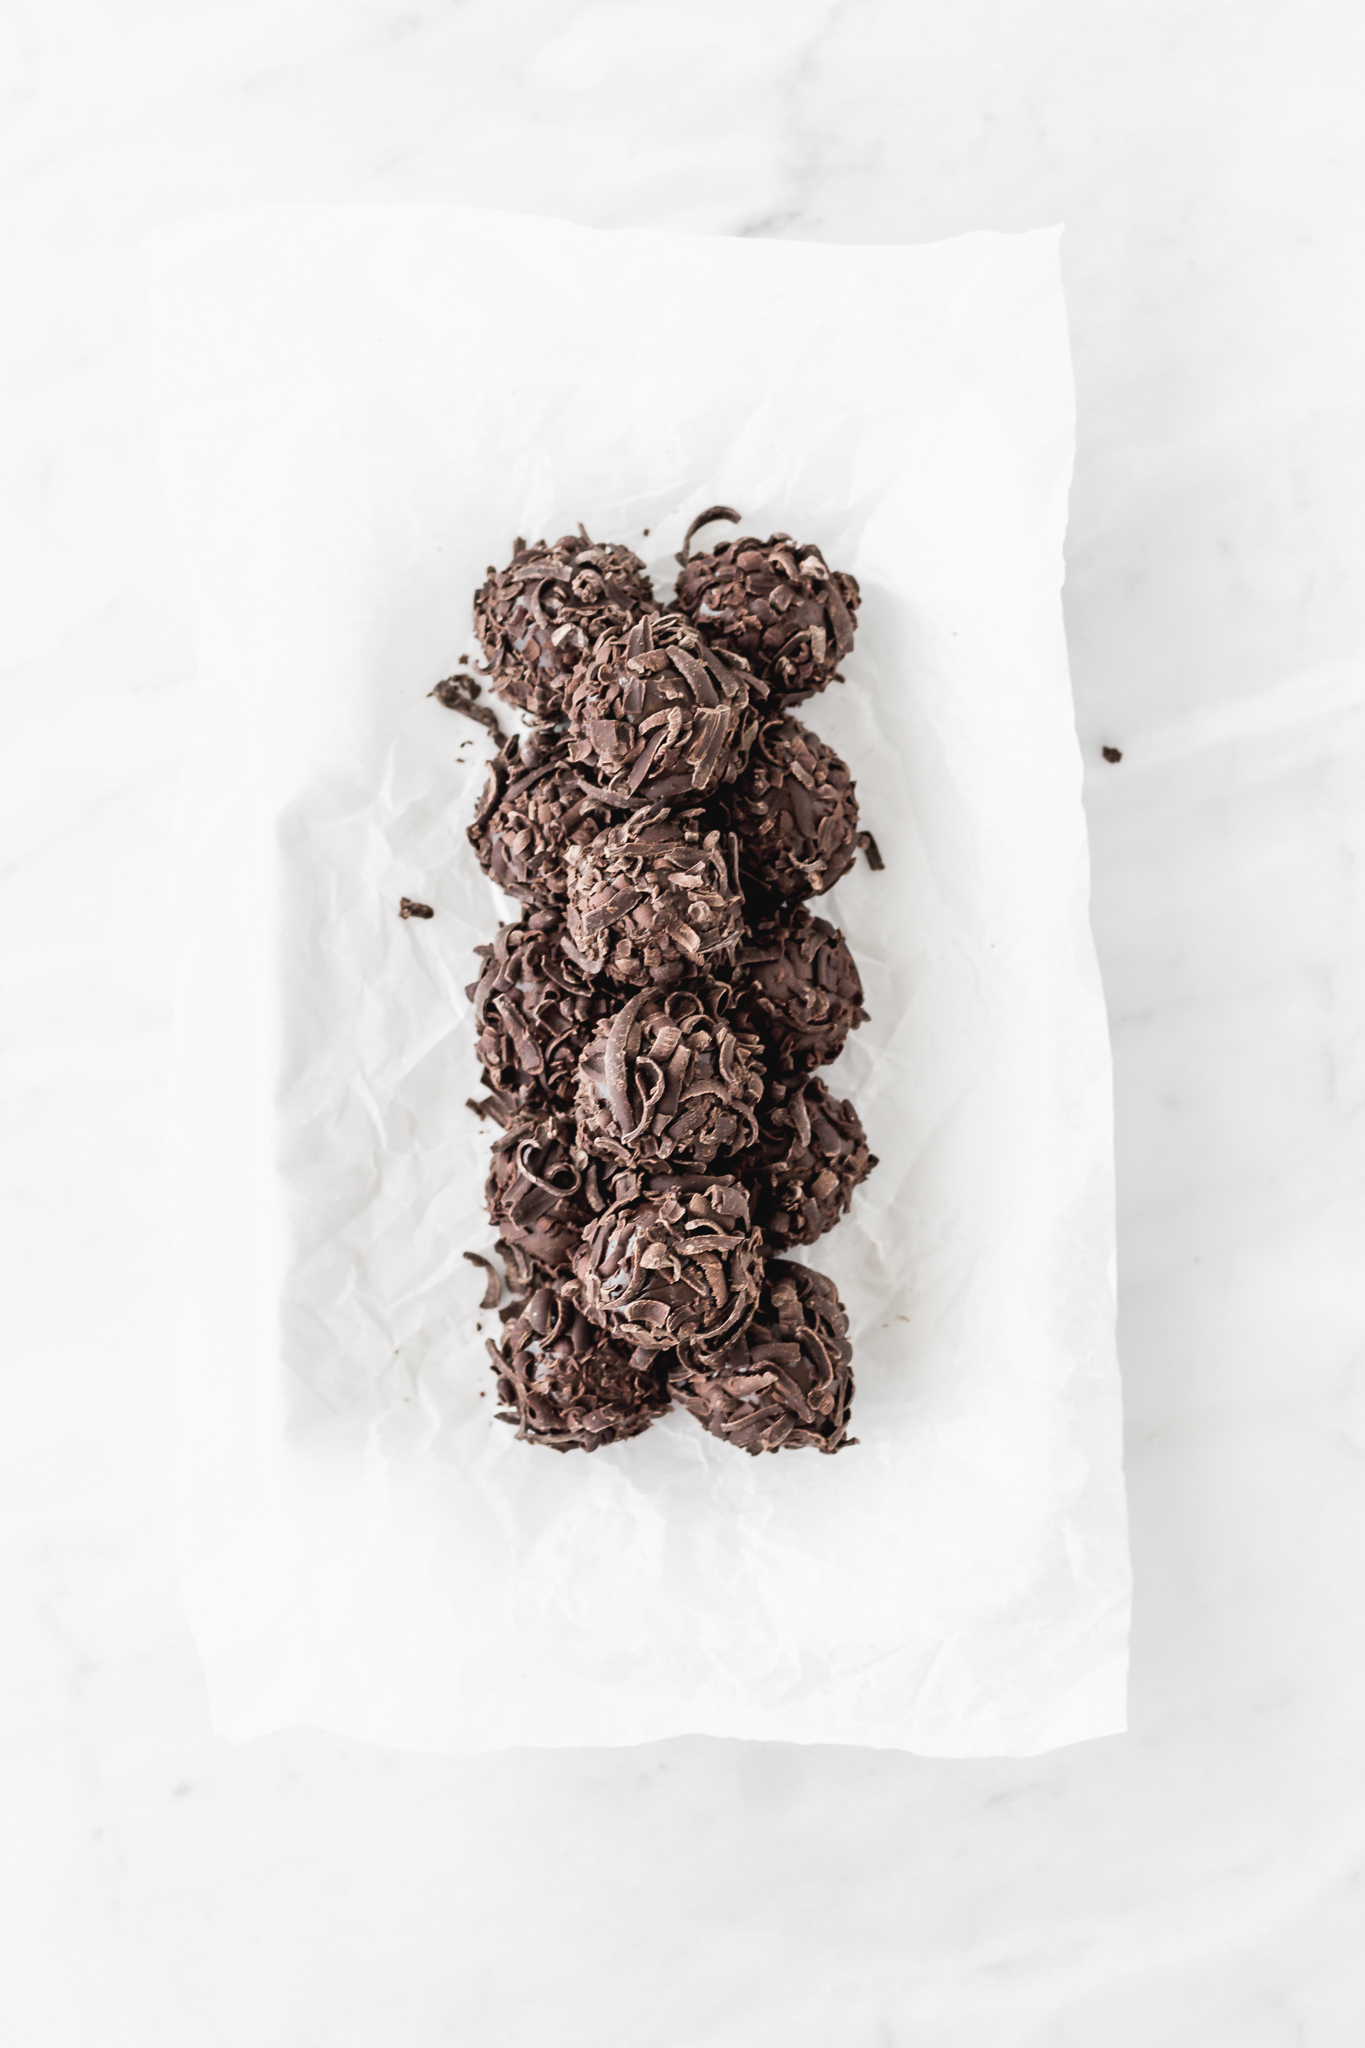
These truffles bring me lots of memories from Peru. You can find them in christenings, birthdays and celebrations in general where there are snacks. And they will definitely be the first to be finished at the table!
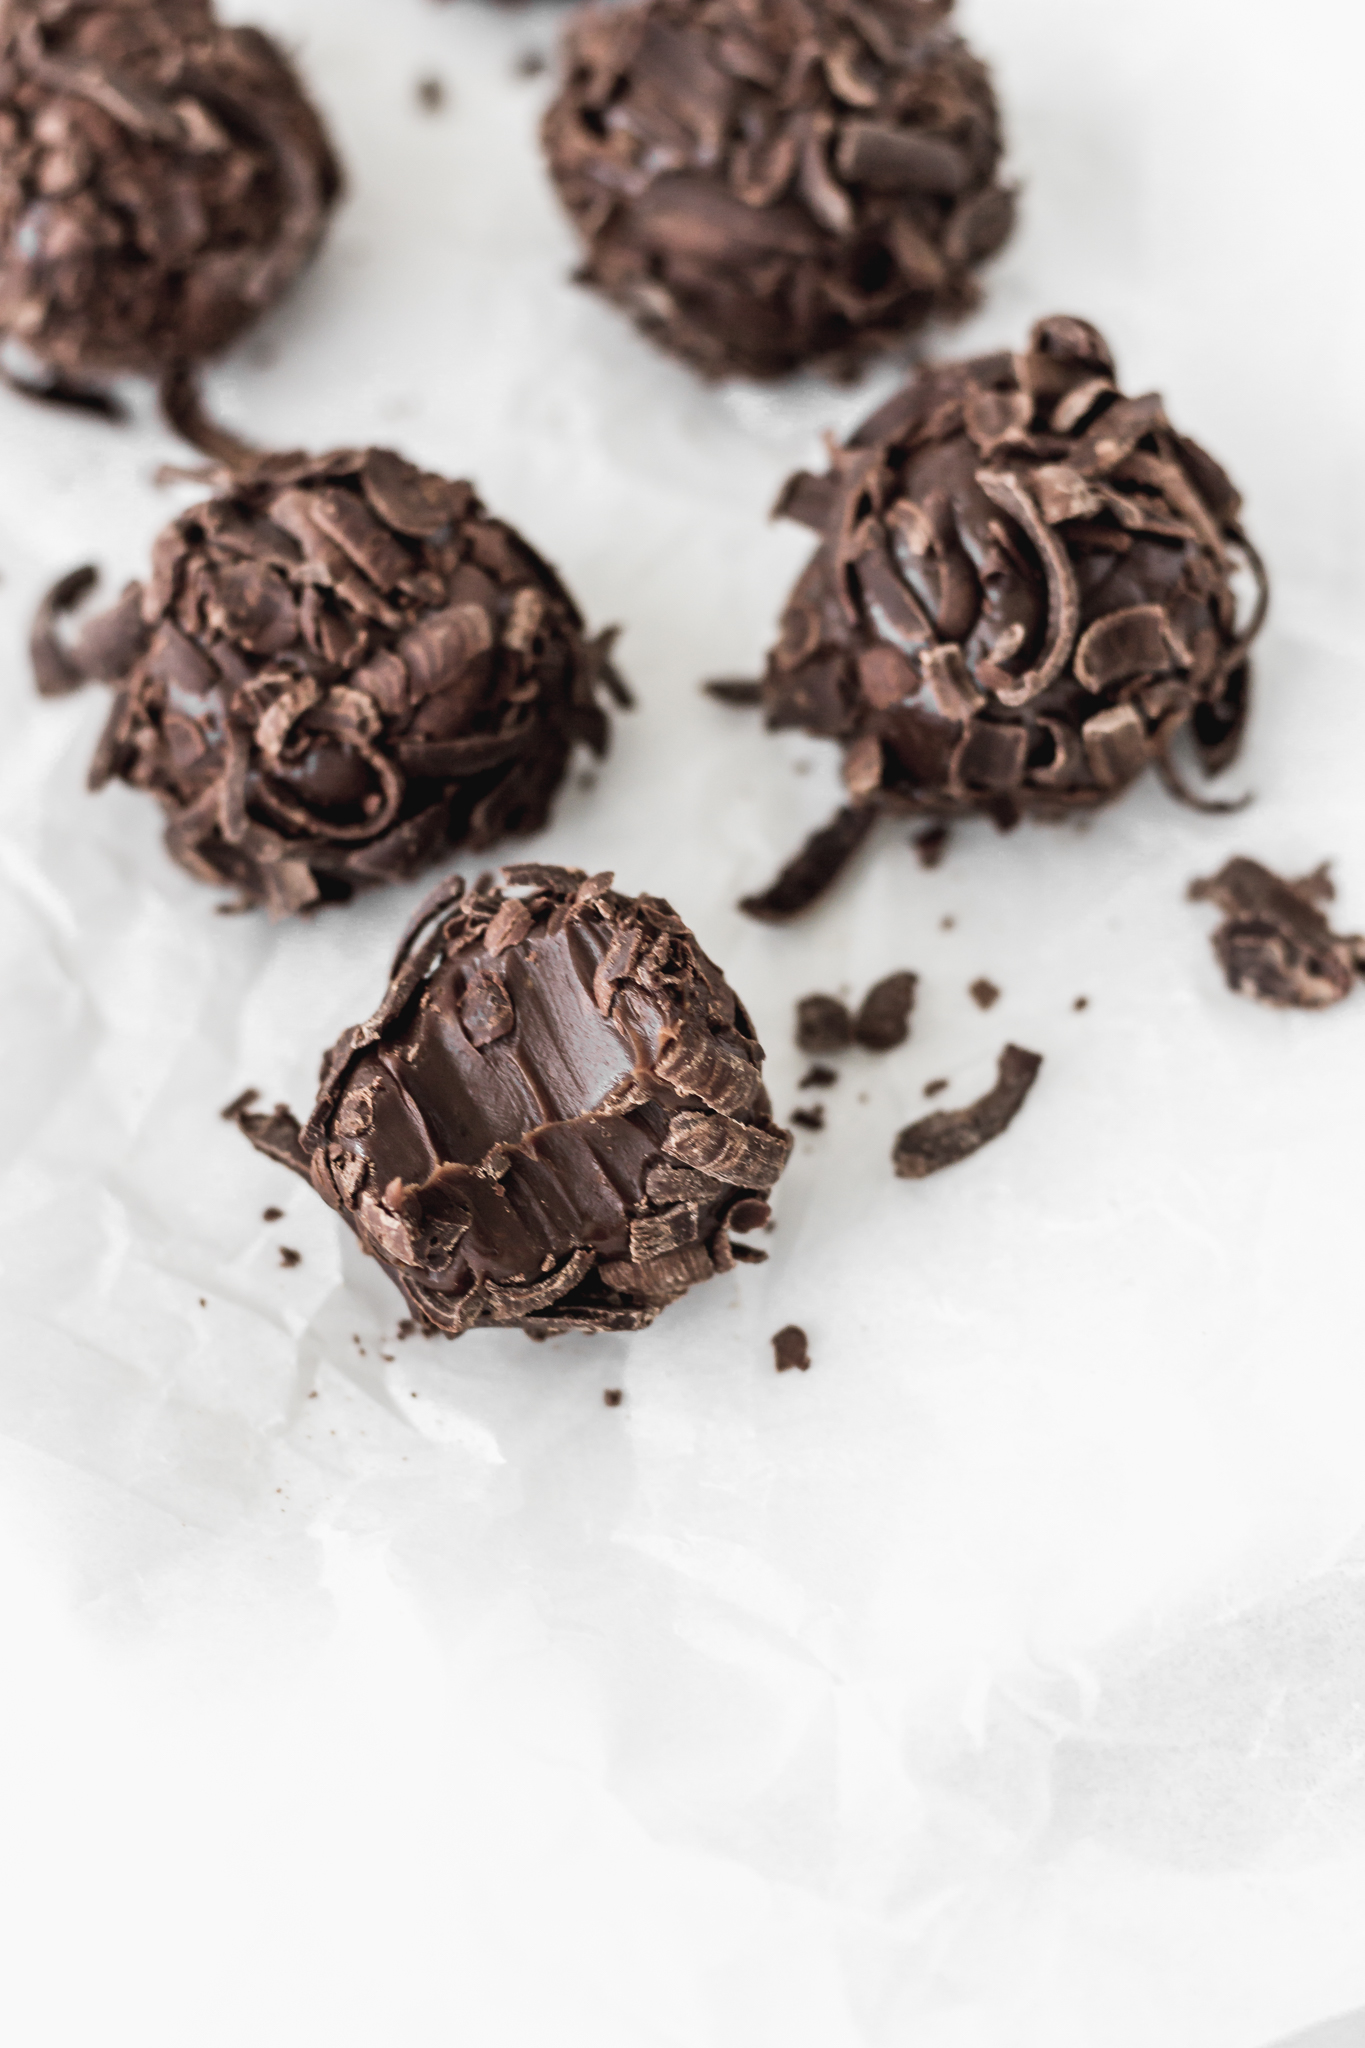
When you go buy your ingredients make sure to buy a nice dark chocolate of around 60% cacao. If you don’t find something like this at least go for a nice dark chocolate couverture making sure that it doesn’t have “chocolate flavour” or the texture will be really different.

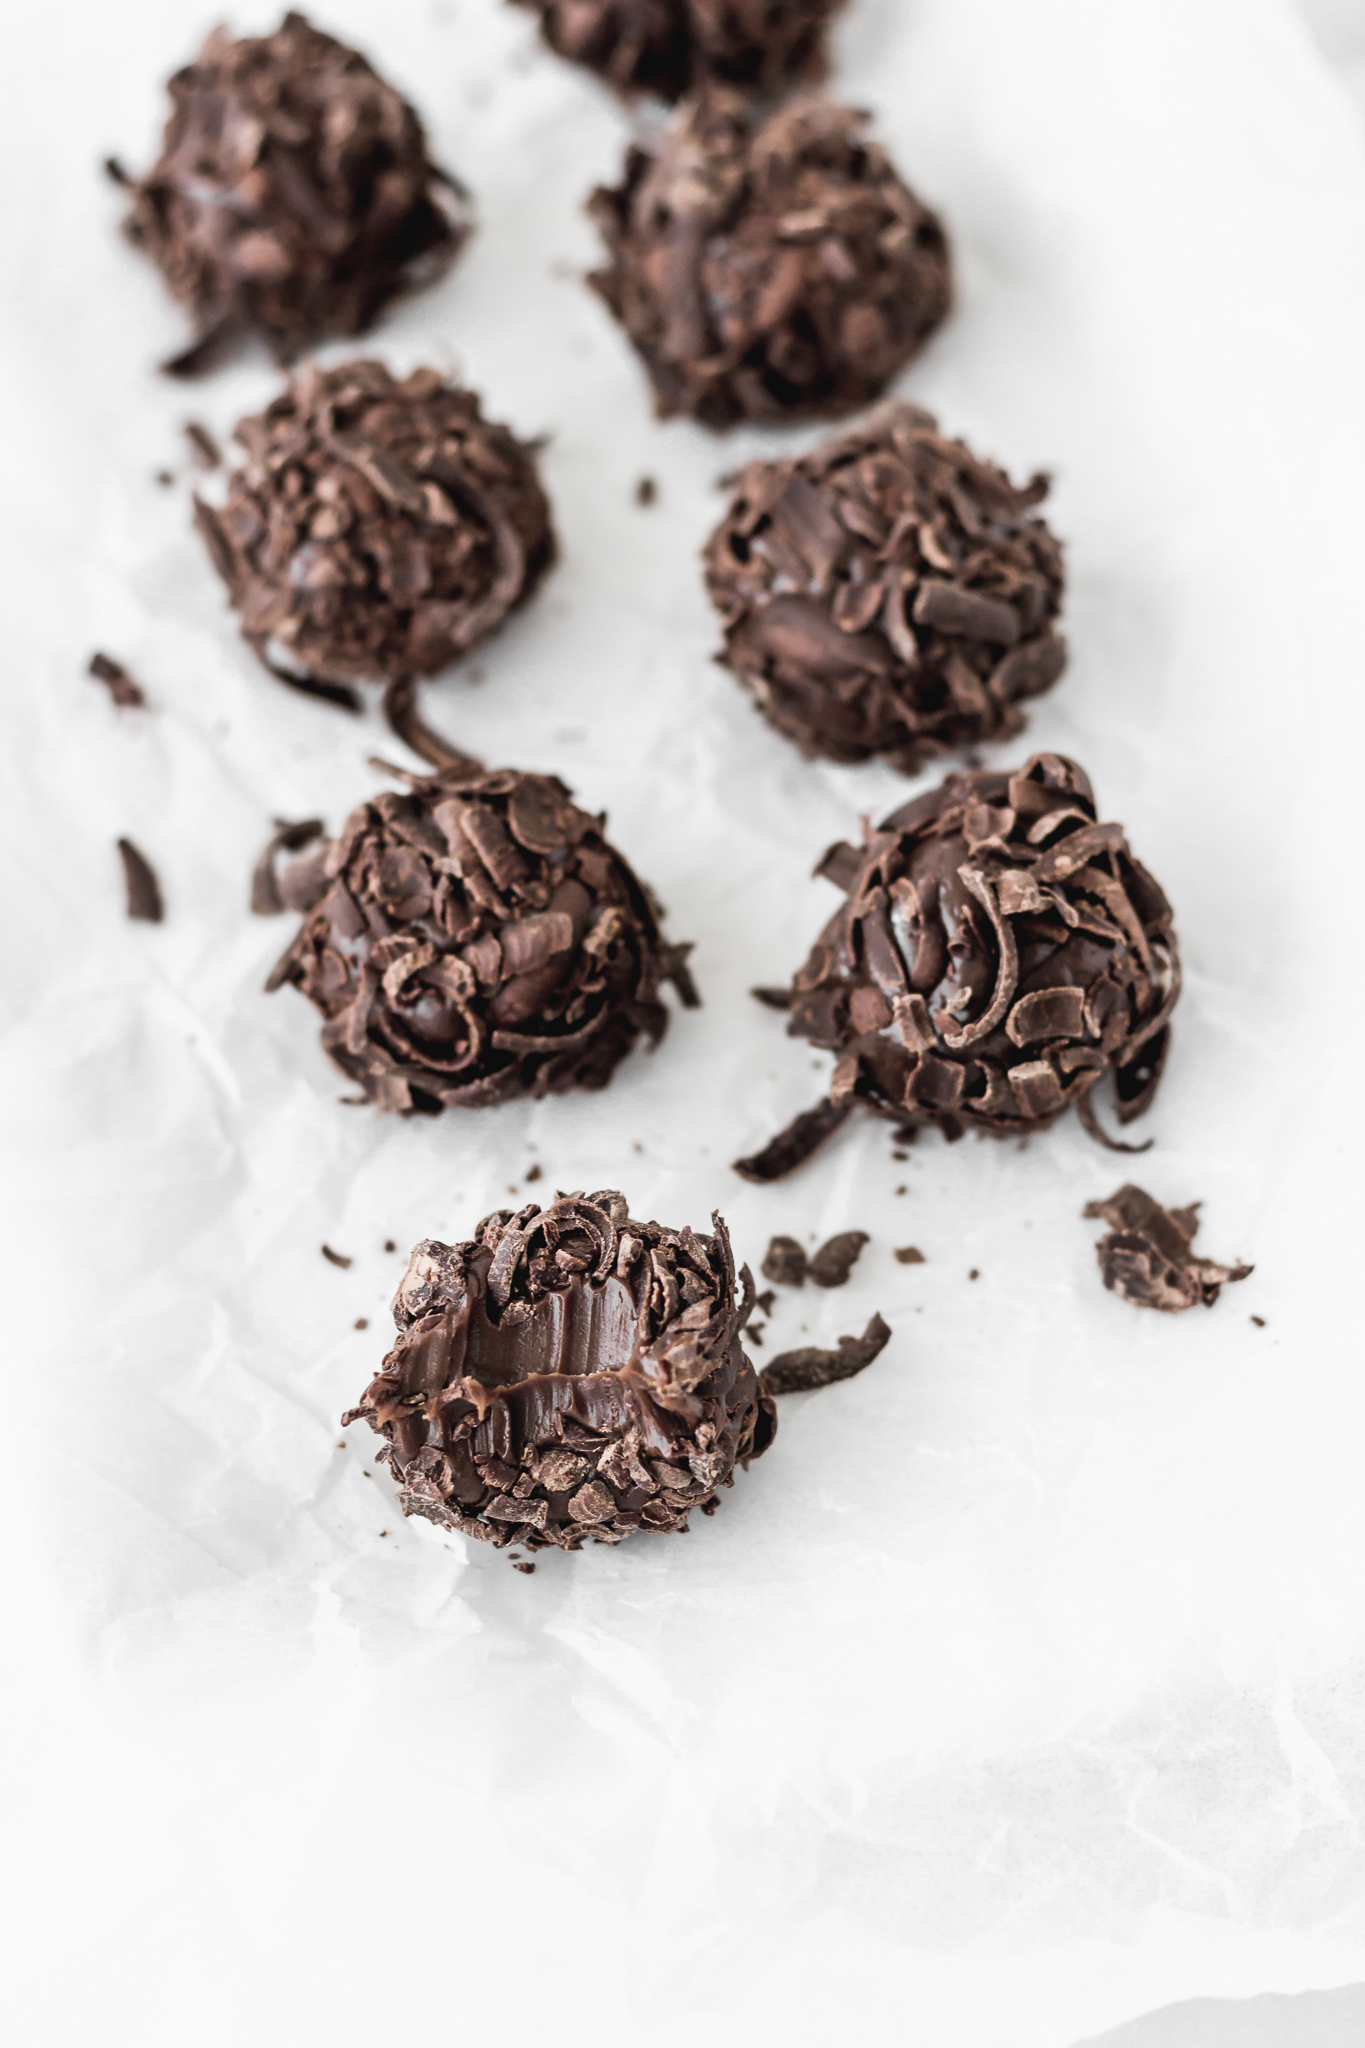
To cover these I used grated chocolate, but you could also use sprinkles or even unsweetened cocoa powder.
Ingredients
- 400 g evaporated milk
- 400 g condensed milk
- 200 g dark chocolate, 60% cacao + 200 extra to cover the truffles
- vegetable oil to form the truffles
Instructions
- Chop the chocolate and place it in a pot with the condensed milk and evaporated milk.
- Cook at low heat (it should not break into a boil) stirring constantly so it doesn't burn.
- Let it cook until you have a really thick mix: you'll be able to clearly see the base of the pot for a while before the mix covers it back again. For further reference see the video above.
- Transfer the mix into a freezer-friendly container. Try to use a large one so it cools down faster. Wait for it to cool down completely and then freeze covered at least 4 hours or a maximum of 3 weeks. It will no go hard as it has too much fat and sugar but it will go nice and hard so that you can form the truffles.
- While we wait for it to cool down we go on to making the grated chocolate swirls to cover them. Put the chocolate in the microwave in 5 second intervals until it's barely soft. You can try grating it in between heatings to see if it's soft enough so that you get swirls instead of small and hard chocolate chunks.
- Take them to the fridge for at least 30min or for as long as the truffles are in the freezer. The fact that they're cold will make them easier to work with.
- Spread a couple of drops of vegetable oil on the palm of your hands and on a teaspoon.
- Use the teaspoon to scoop some truffle mix and then shape it into a ball between your hands.
- Pass it through the grated chocolate swirls.
- Done! If it's too hot and you feel like it's starting to melt in your hands return the mix to the freezer for another 30min and then continue.
- Keep the truffles in the fridge, specially during summer.


7 comments
Whoa. Take me to Peru! These look absolutely irresistible! Definitely need to try.
They are crazy good!! Let me know when you make them 🙂
i’m in the process of making and i have stirred this mix for over 2 hours… no where in the video did it indicate it would take that long. I gave up and will see what happens tomorrow.
Hi Diane! It definitely shouldn’t take that long! It should take about 20-30min tops! IF you have doubts message me on Instagram.
I don’t have instagram… i gave up after 2 hours and 15 minutes. I kept it low to keep it from the boil to avoid burning.
Maybe it was a bit too low? You can increase the heat until just before you feel it sticking to the bottom of the pot. It will stick a bit before it burns and you will feel it as you stir.
I just made these and they are amazing! The video helped a lot while making the truffles. These are delicious! I rolled out half in the chocolate shavings and then the other half I crushed up hazelnuts and use them. Both came out so good.
Thanks for the recipe!