
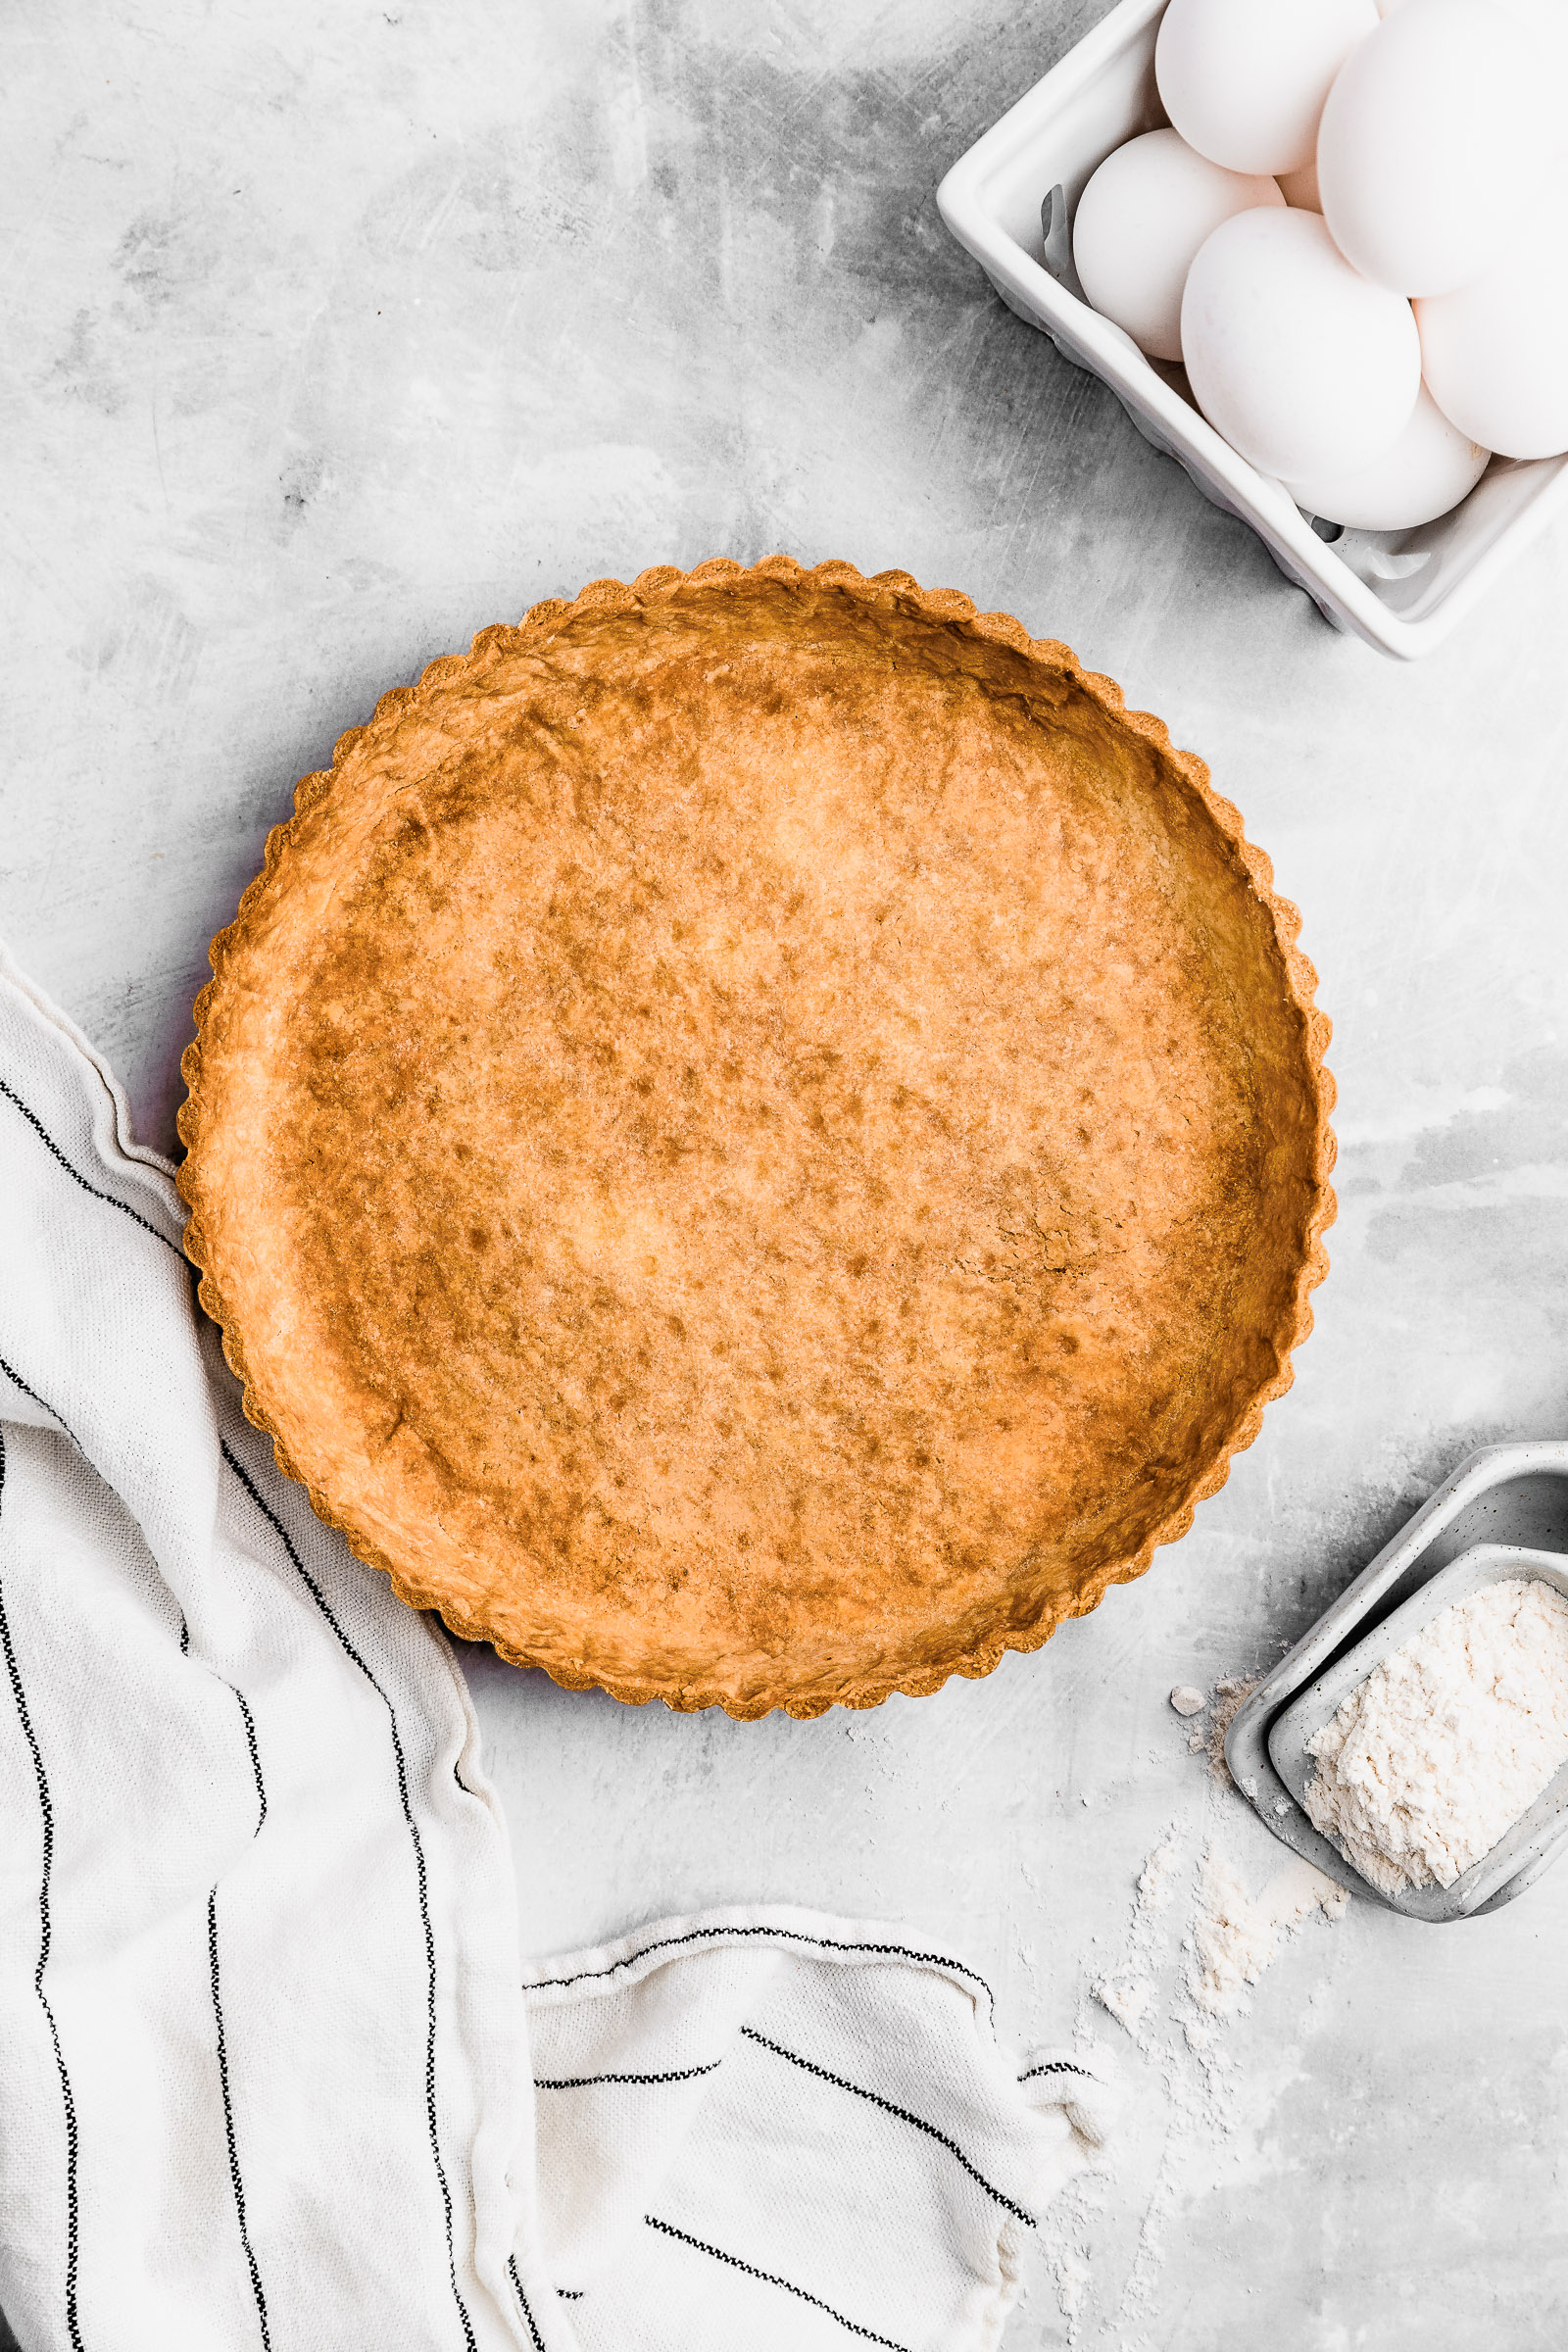
Making my quiche crust with brisée dough is the only way to make quiche for me. I love that you can distinguish between the creamy filling and the crispy, golden crust. It’s another level of delicious!
How to make a Quiche Crust (Brisée dough)
A quiche crust is typically a savoury brisée dough. It’s a dough that is known for being flaky, almost like a compacted puff pastry. It’s made by first pinching the cold butter cut into cubes with the dry ingredients until no large bits of butter remain. The final texture of this process is similar to wet sand. After this, we add water and an egg and bring everything together. You can also do both processes in a food processor.
Why is this dough flaky?
Pinching the butter with the dry ingredients coat the flour with fat. This makes the quiche crust flaky, with small layers of dough and air that make it so nice to eat. This is a characteristic classic of brisée dough. If your hands are too hot an you don’t own a food processor, you can cool your hands in a bit of ice water before making it. This will prevent you from melting the butter as you pinch it with the dry ingredients.

Freezing and refrigerating quiche crust (brisée dough)
Since it’s practical to make certain steps ahead of time, here I share with you how you can refrigerate and freeze a quiche crust or brisée dough.
- Refrigerating: the dough can be refrigerated for up to 2 days and wrapped in plastic. You can do it in a ball or already in the pan ready to go into the oven.
- Freezing: the dough can be frozen for up to a month and wrapped in plastic as well. It can be in a ball or already in the pan ready to go into the oven.
Blind baking
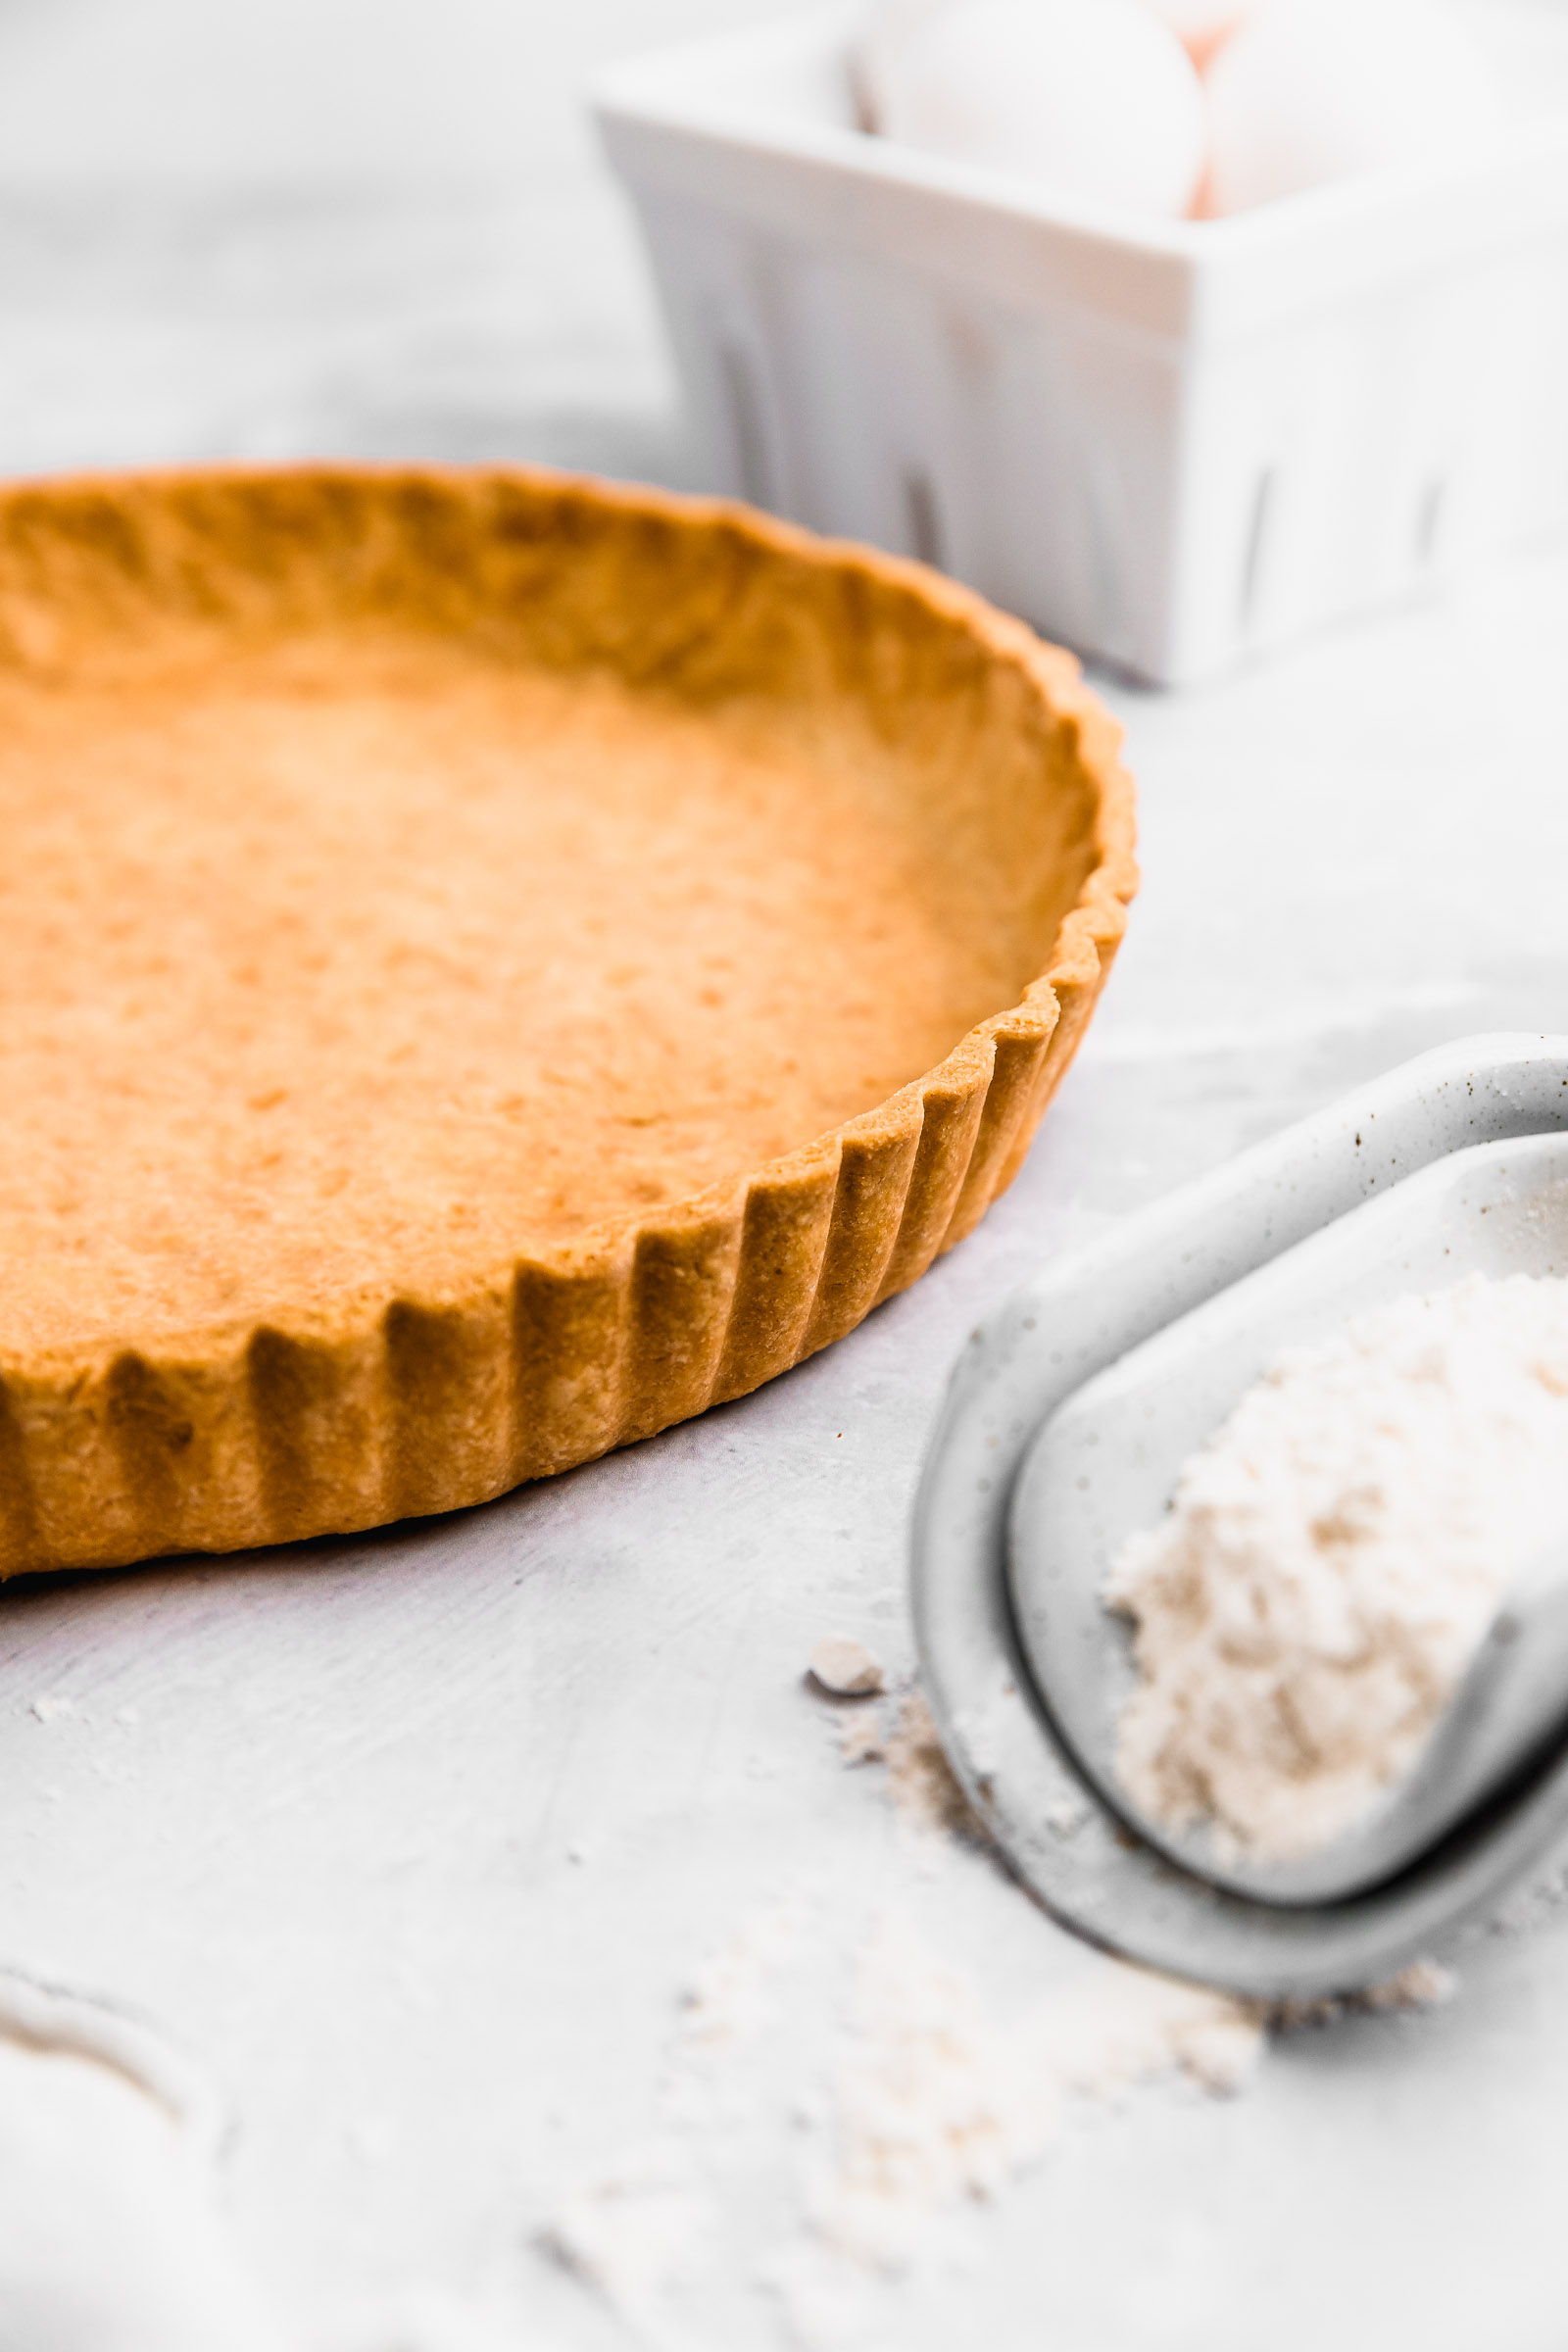
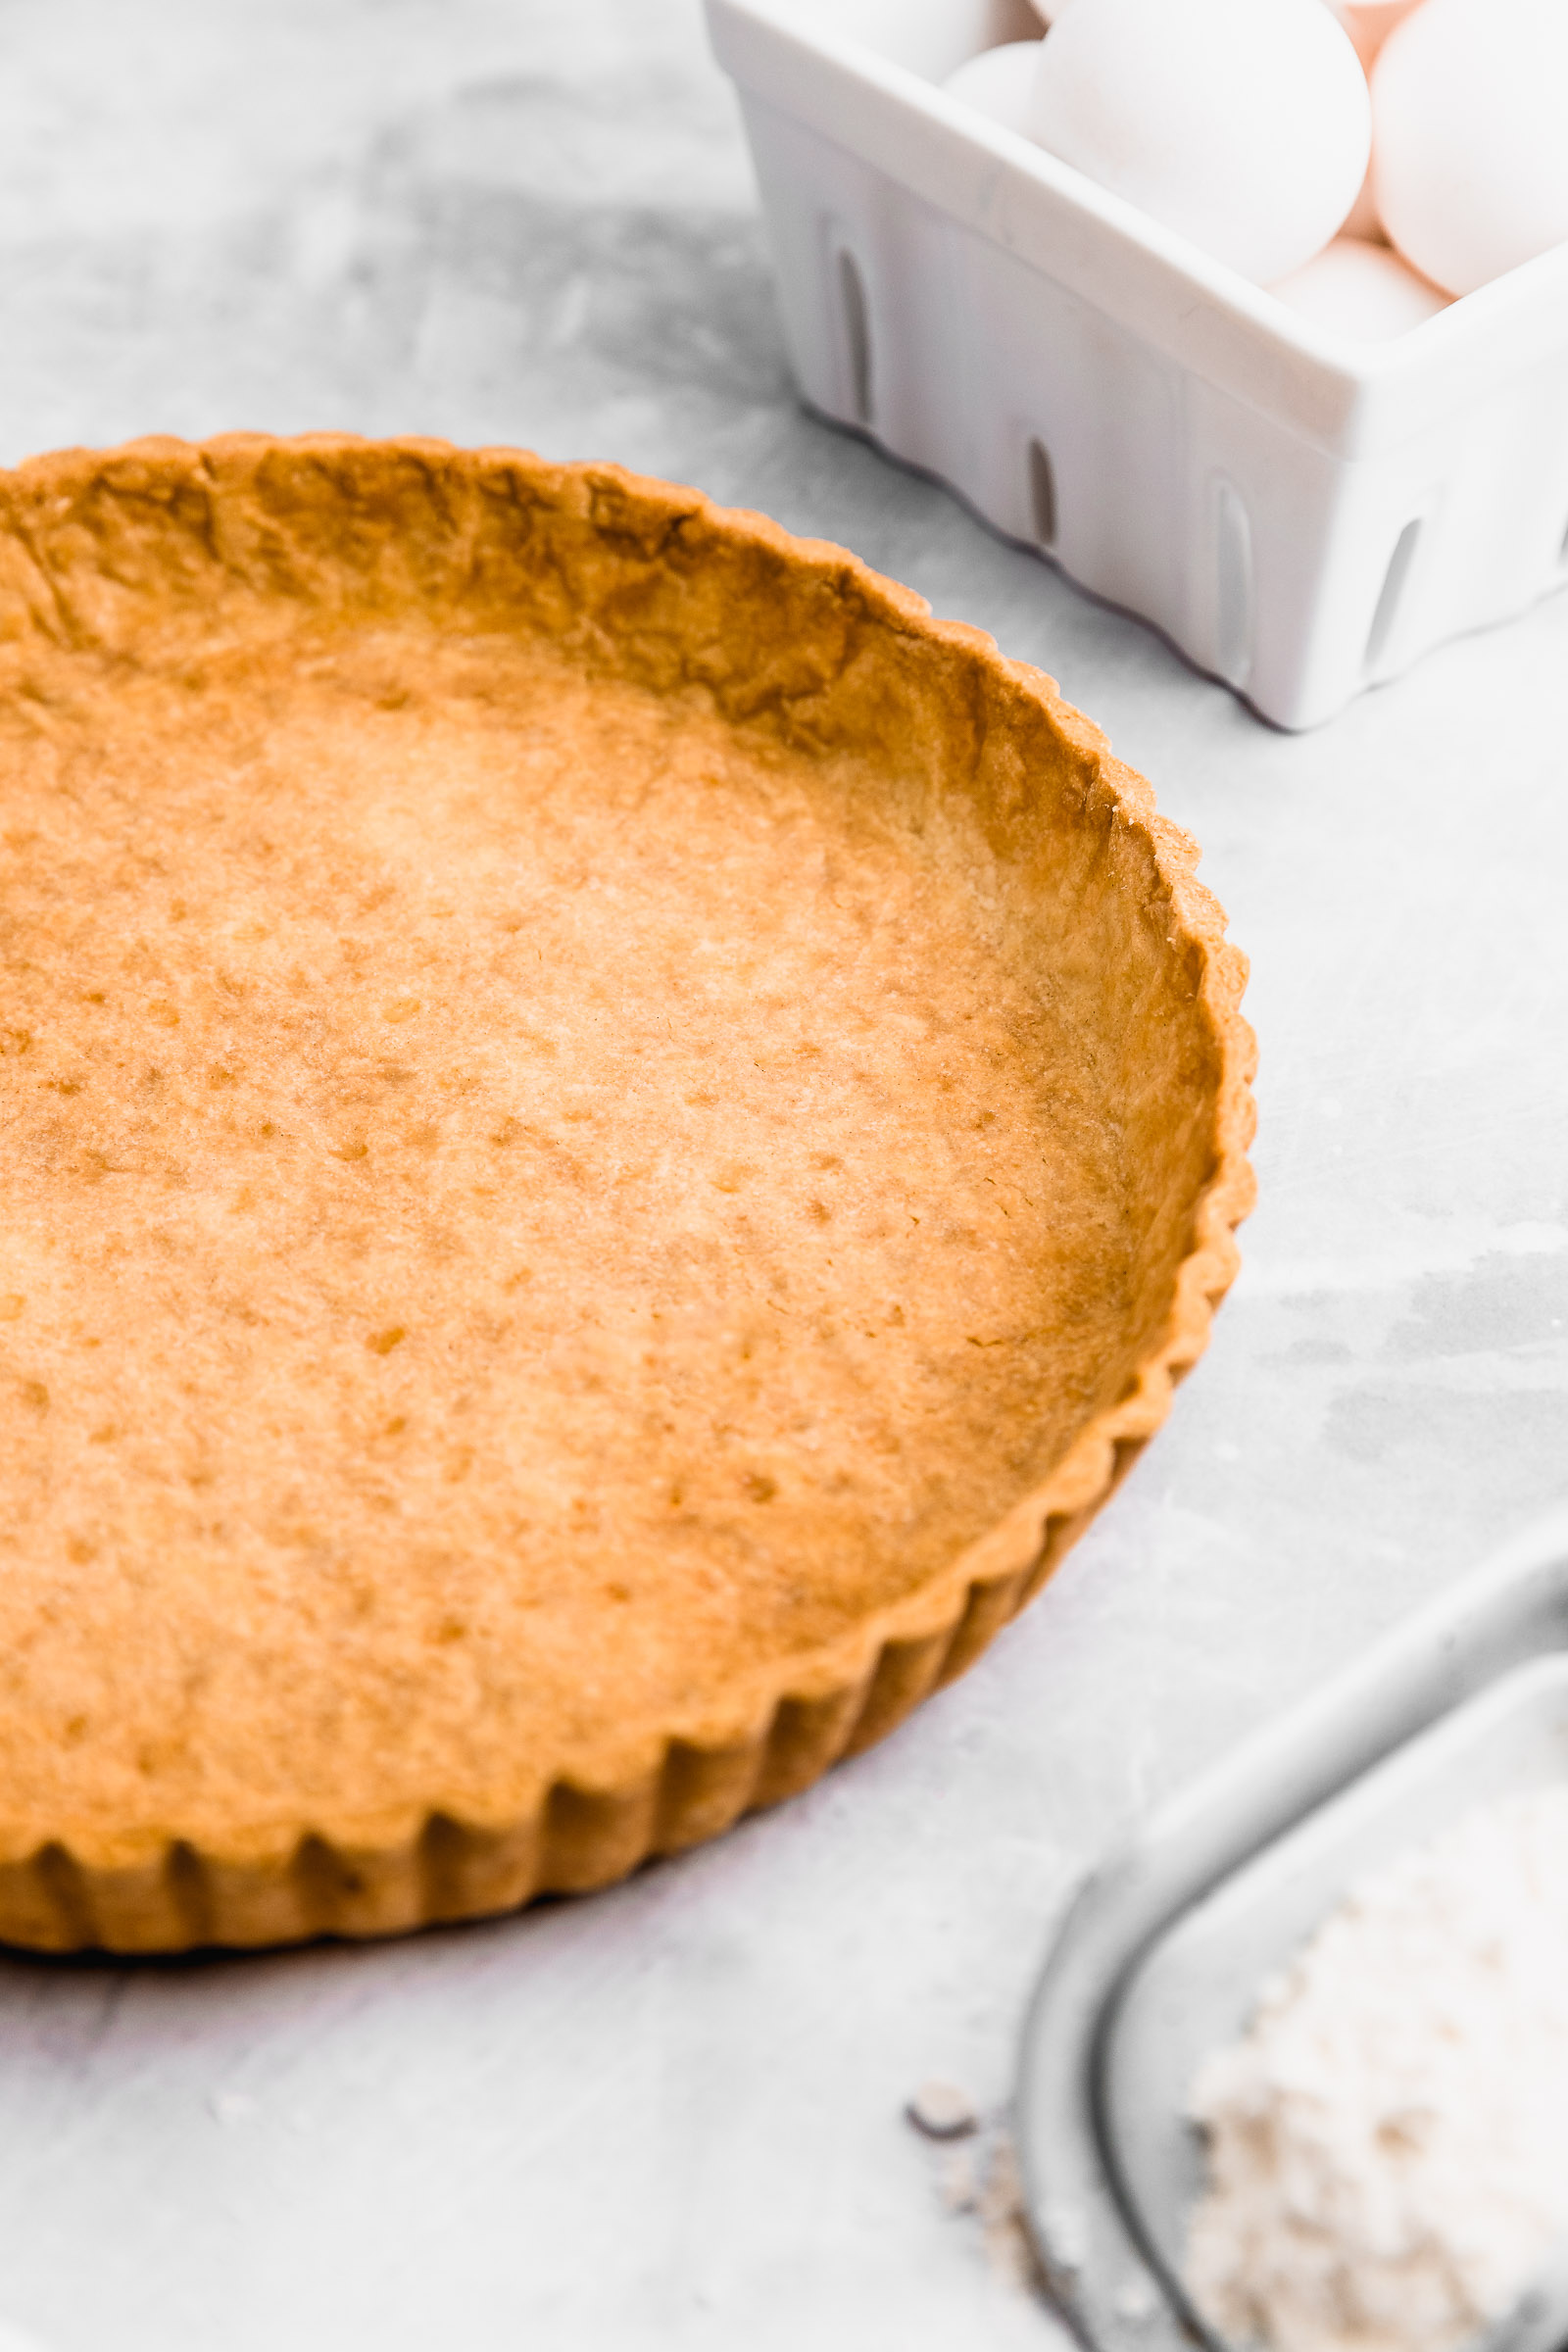
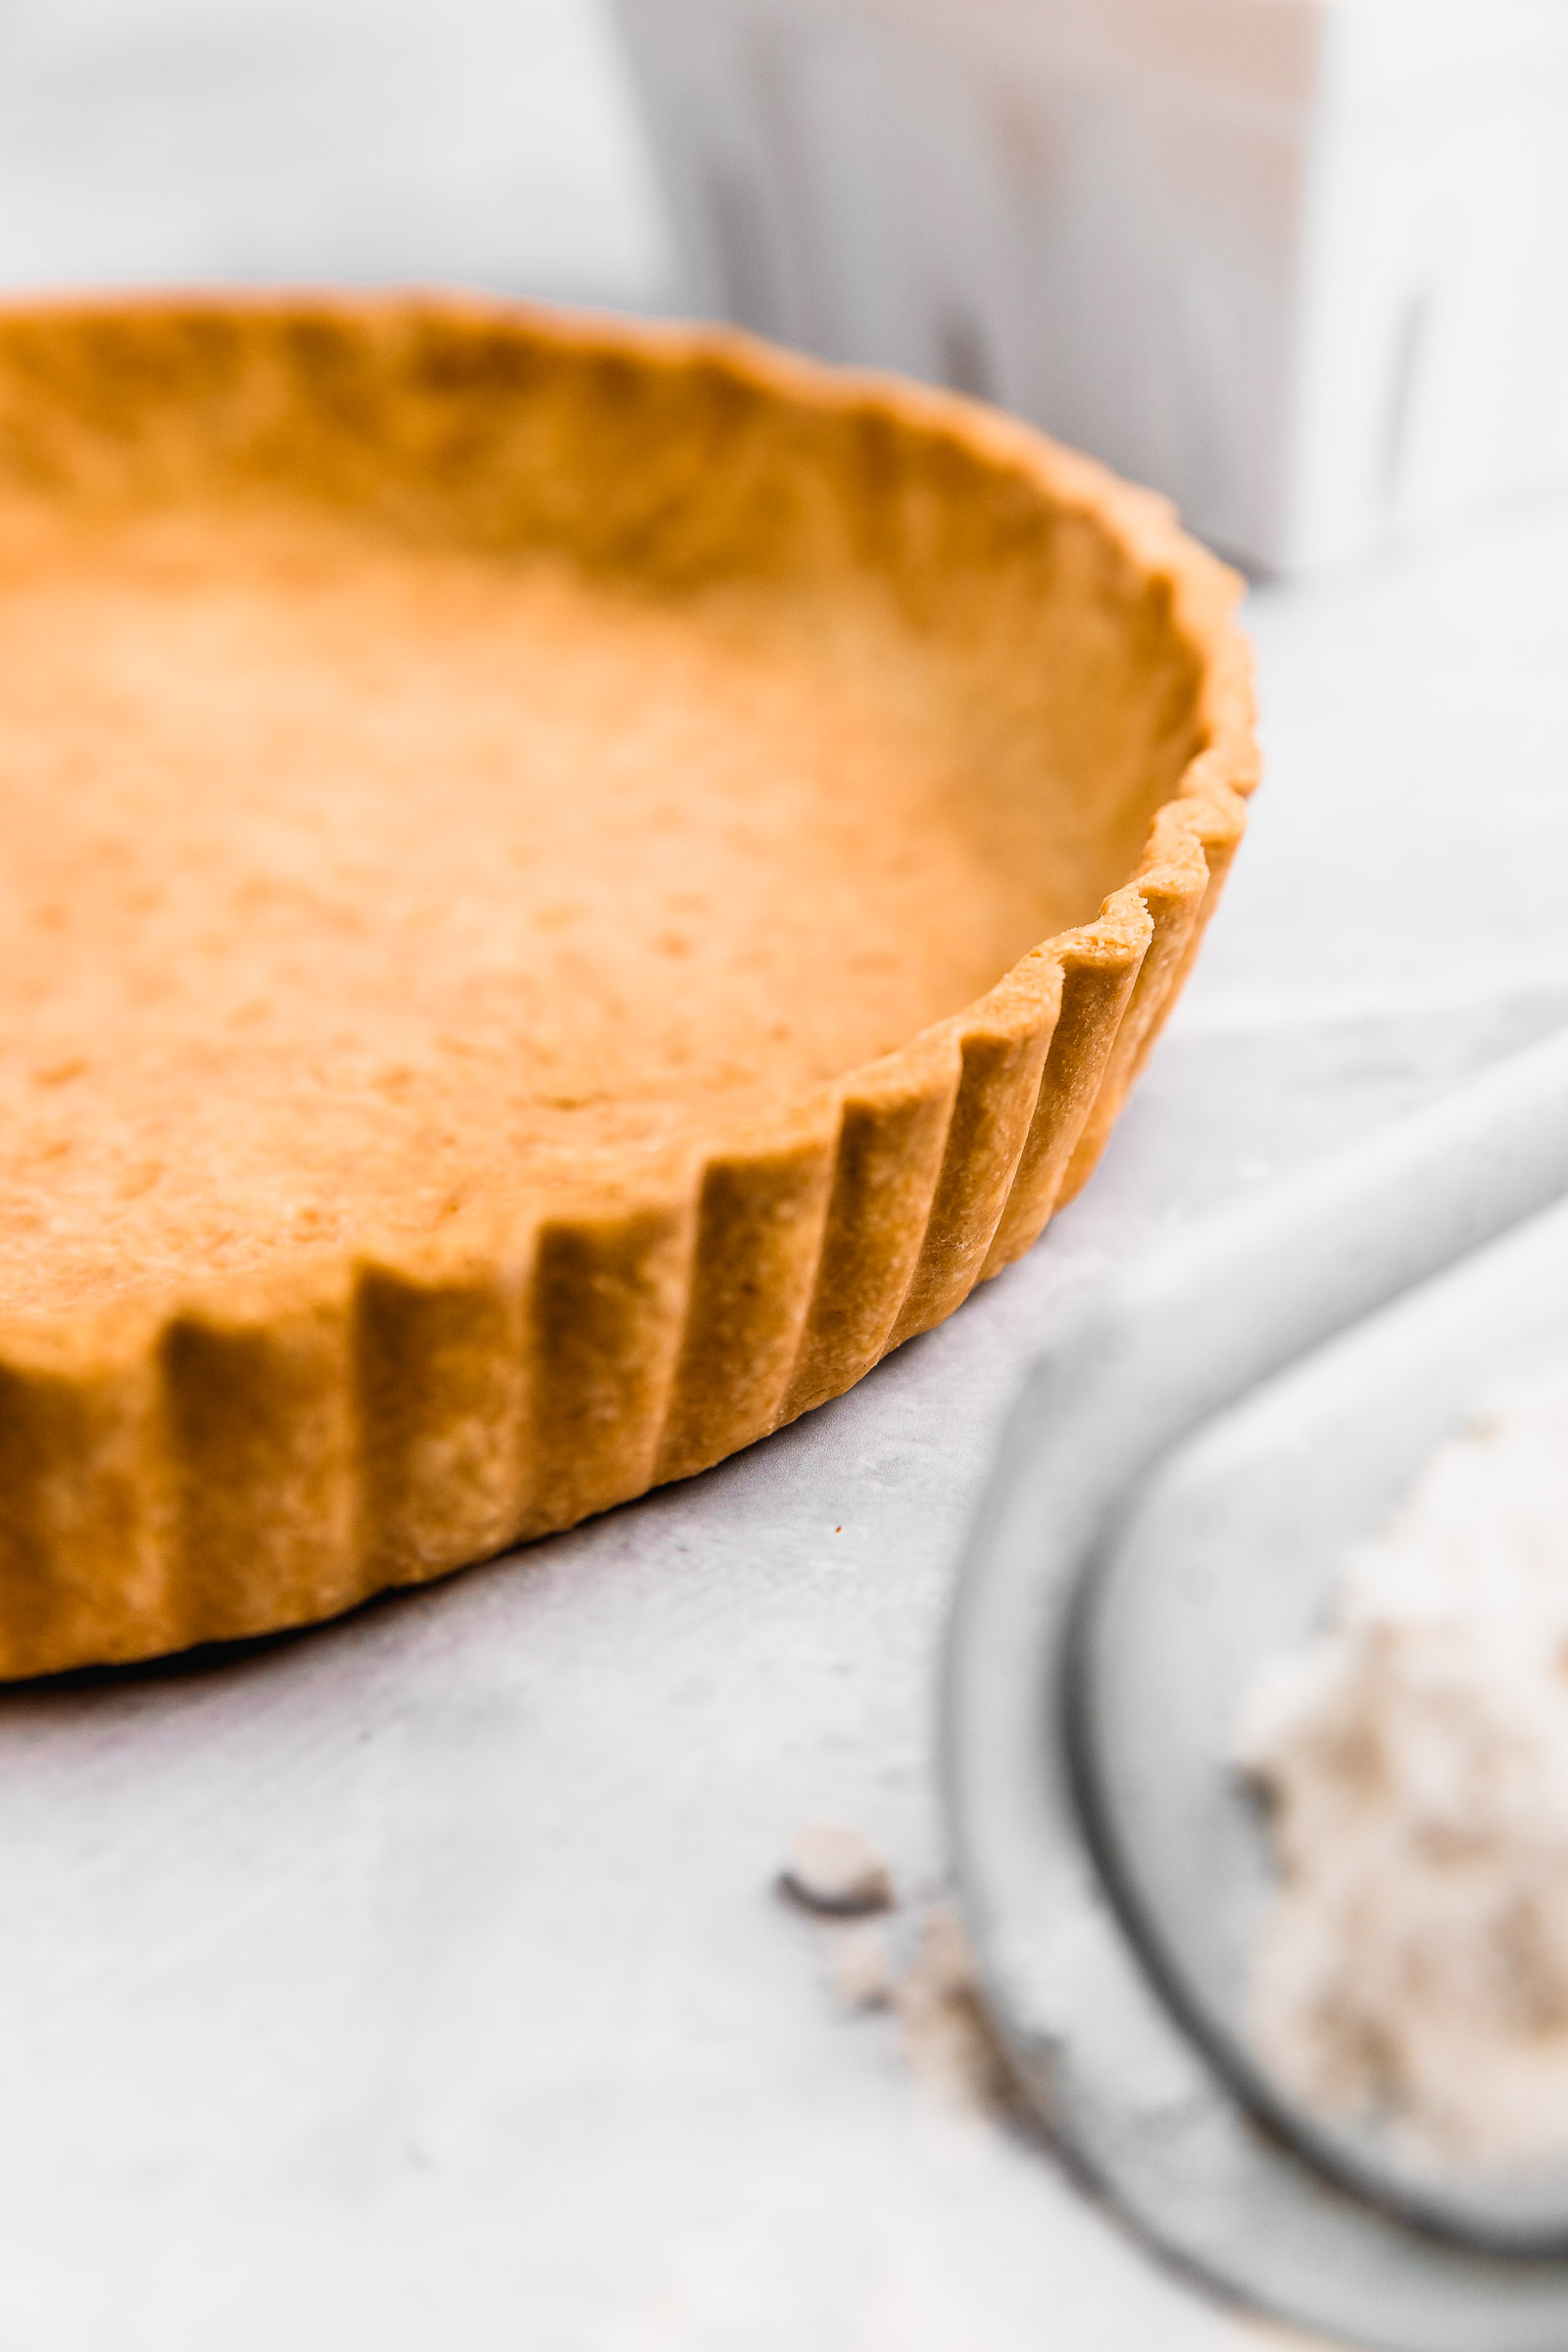
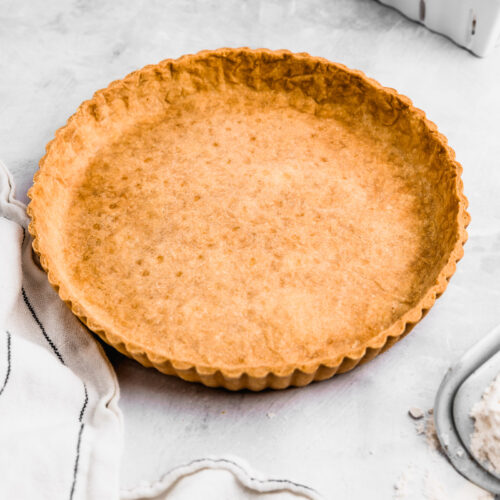
Blind baking is when we bake the dough without the filling first. This is necessary with a quiche crust (brisée dough) because with the filling it won’t cook enough. As a matter of fact, once you add the filling, the crust won’t cook any more. When you cannot tell where the filling ends and the crust begins, that means that the dough wasn’t blind-baked or wasn’t blind-baked for long enough. To blind bake, you must bake the crust without the filling and weight on top. The weight prevents the dough from shrinking. To add the weight, we wrinkle a piece of baking paper and then stretch it back out. Wrinkling the paper makes it less rigid so that it can go into the corners of the pan.
On the paper, we fill the pan with ceramic baking beads made for this purpose or use raw beans. I have a container that I’ve used for over 5 years now with a mix of ceramic beads and beans because you can’t eat those beans after. The quiche crust is blind-baked for 20-30 minutes with the weights on top or until the edges start to become golden. After that time we remove the weight with the help of the paper and return the crust to the oven to become golden for 5-10min. Before adding the filling, it’s important to let it cool down completely.

Variations and fillings
This quiche crust (brisée dough) is very versatile and you can easily add things to it such as chopped herbs, spices and finely grated parmesan cheese. On fillings, the options are endless. Here is a couple of recipes you can find here on the blog:


Quiche Crust (Brisée)
Ingredients
For the dough
- 200 g all purpose flour
- 1 tsp salt
- 100 g unsalted butter cold and cut in cubes
- 1 egg
- 1 tbsp water
Instructions
For the dough
- If you want to make the dough by hand, mix the flour salt and butter in a bowl. Pinch the butter with your fingers until no large bits of butter remain. The mix should look like wet sand. To make it in the food processor, add the flour, salt and butter and mix until you reach a sandy texture.
- Add the liquids and mix y hand or process again until you get a smooth dough. Rest for 30min in the fridge, covered.
- Roll it out to 2mm thick on a flour-dusted surface and put it inside your pan. Lift the edges and push down to make sure they reach the corners for a nice angle. Freeze the pan with the dough as it is for 15 minutes. After that time, use a knife to cut the dough to the edge of the pan.
- Wrinkle a piece of baking paper, stretch it out again and place it onto the dough. Fill it with baking beans (ceramic or actual beans) to the top and press down gently on them to make sure they go into the corners. Bake at 180°C/350℉ for 20-30min or until the edges are golden.
- Take out the baking beans carefully using the paper and place the crust back in the oven to make it evenly golden (about 5-10min more). Let cool down to room temperature before pouring the filling inside.
