
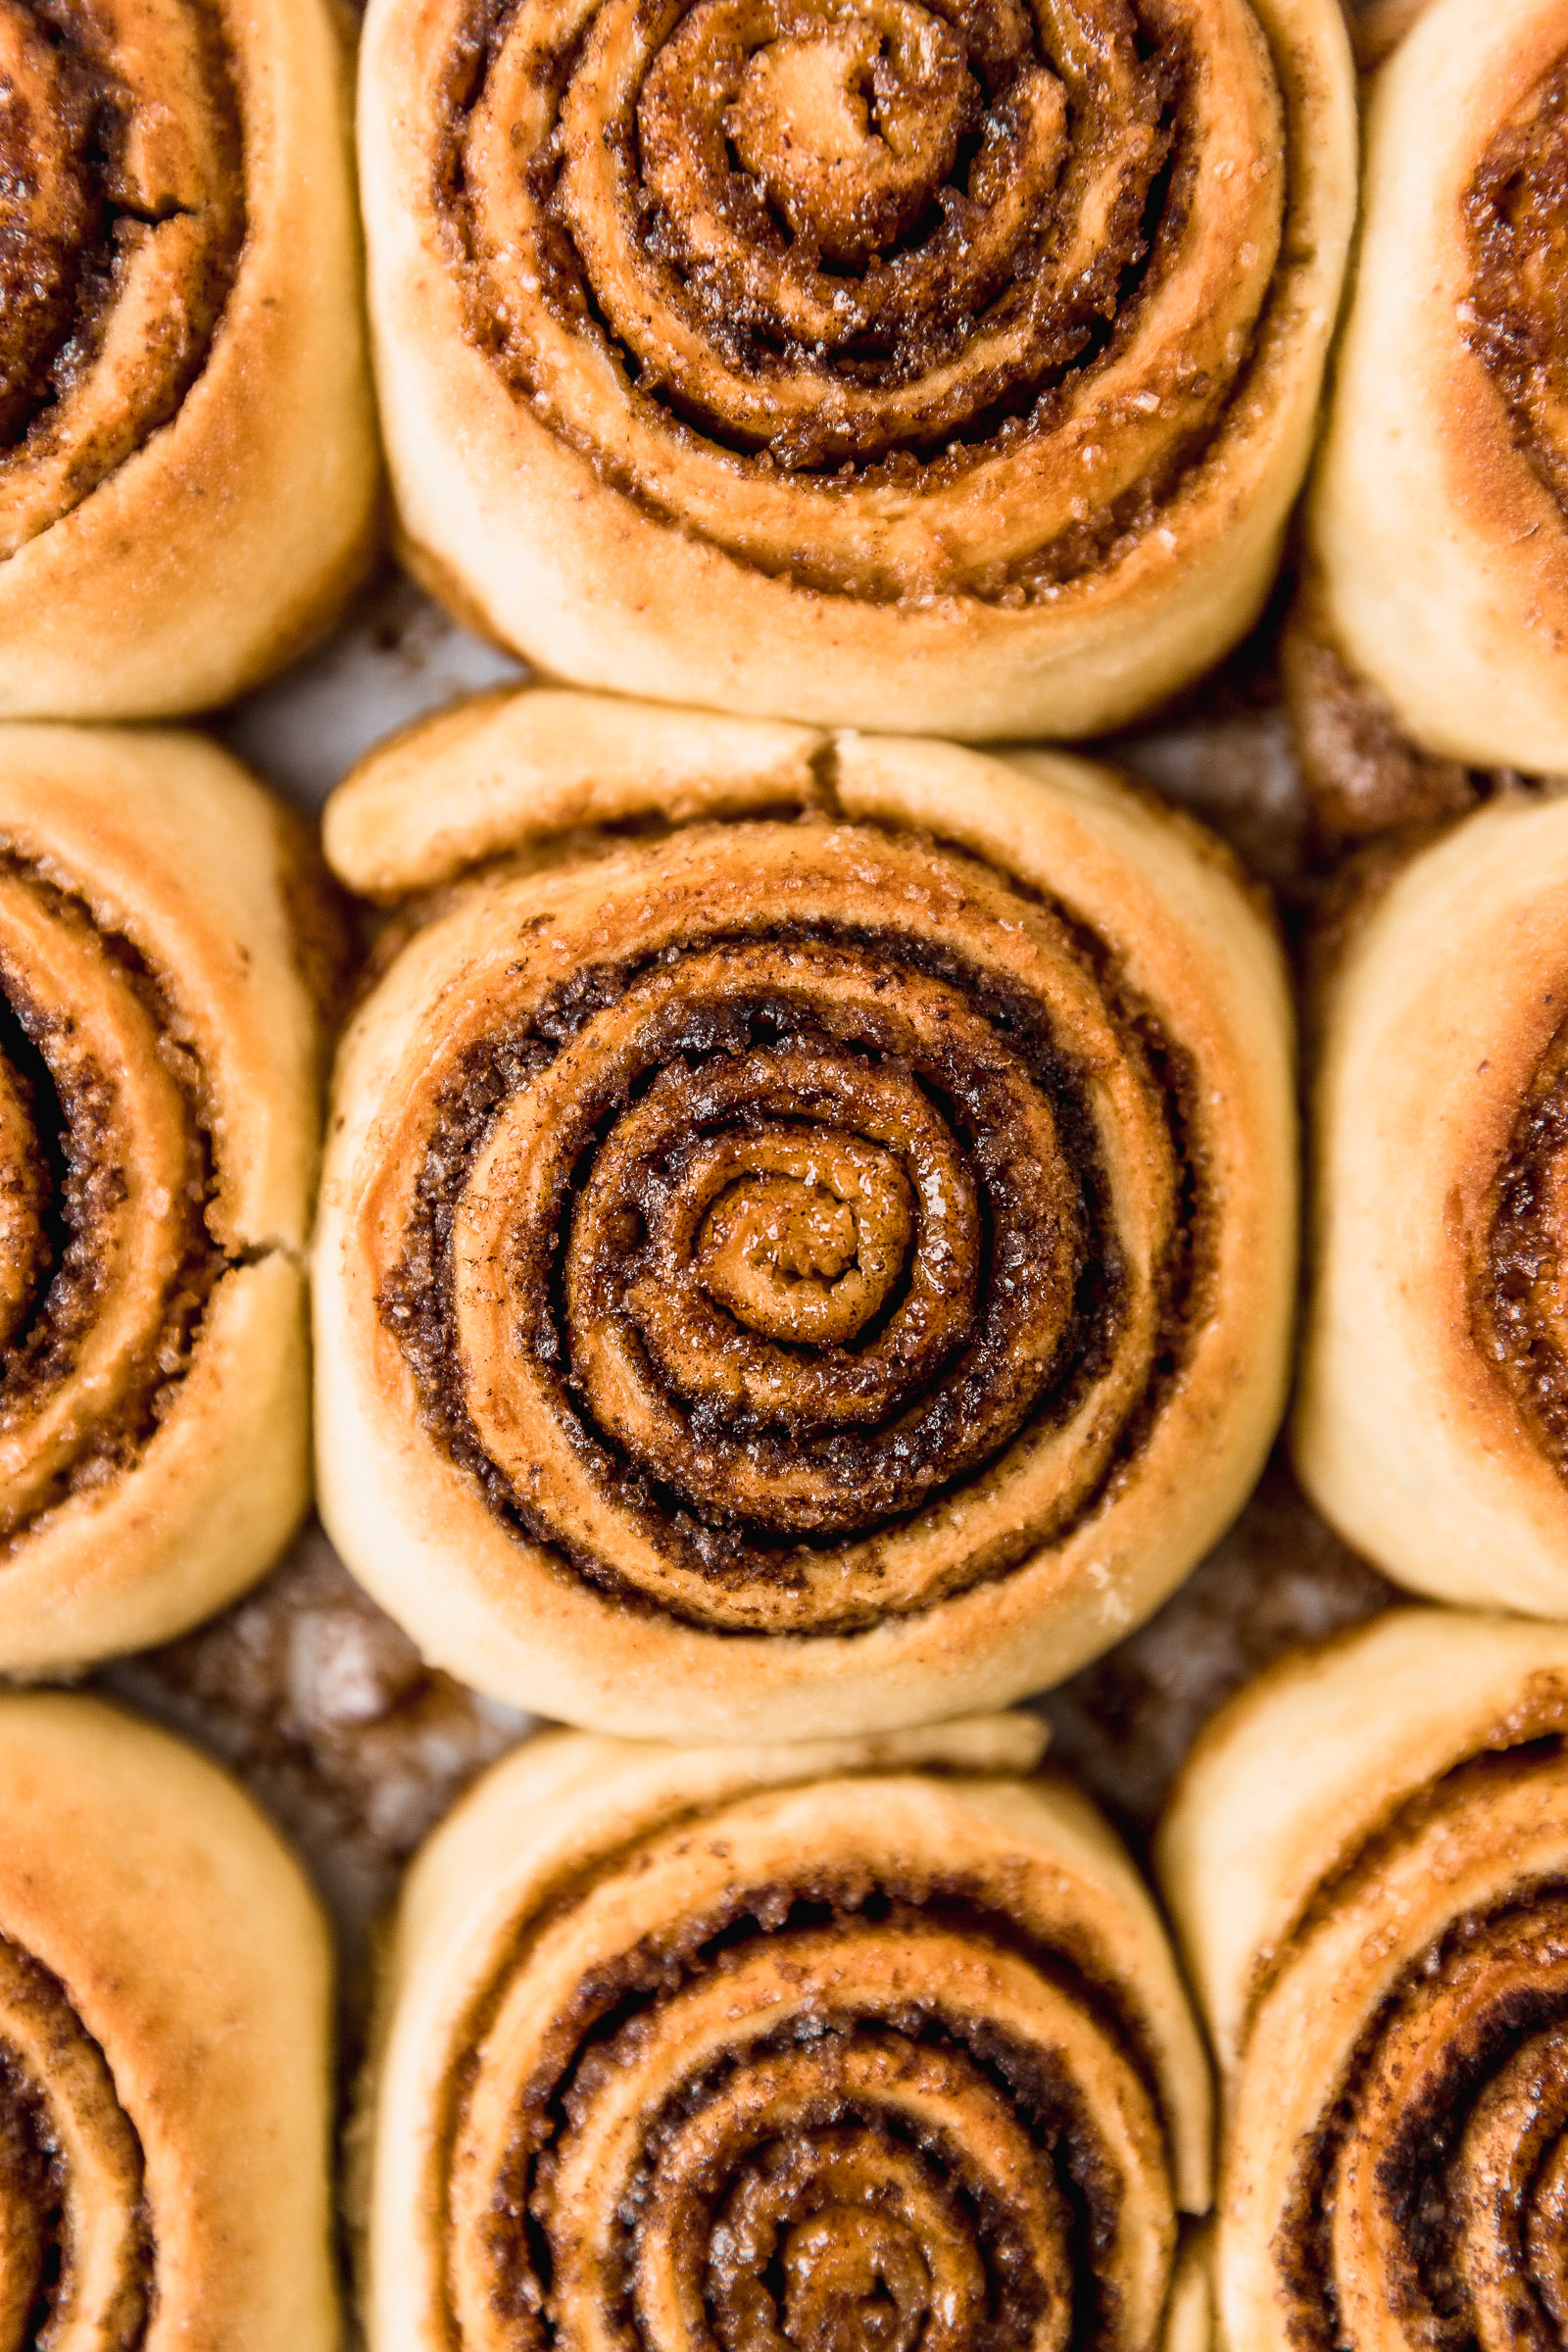
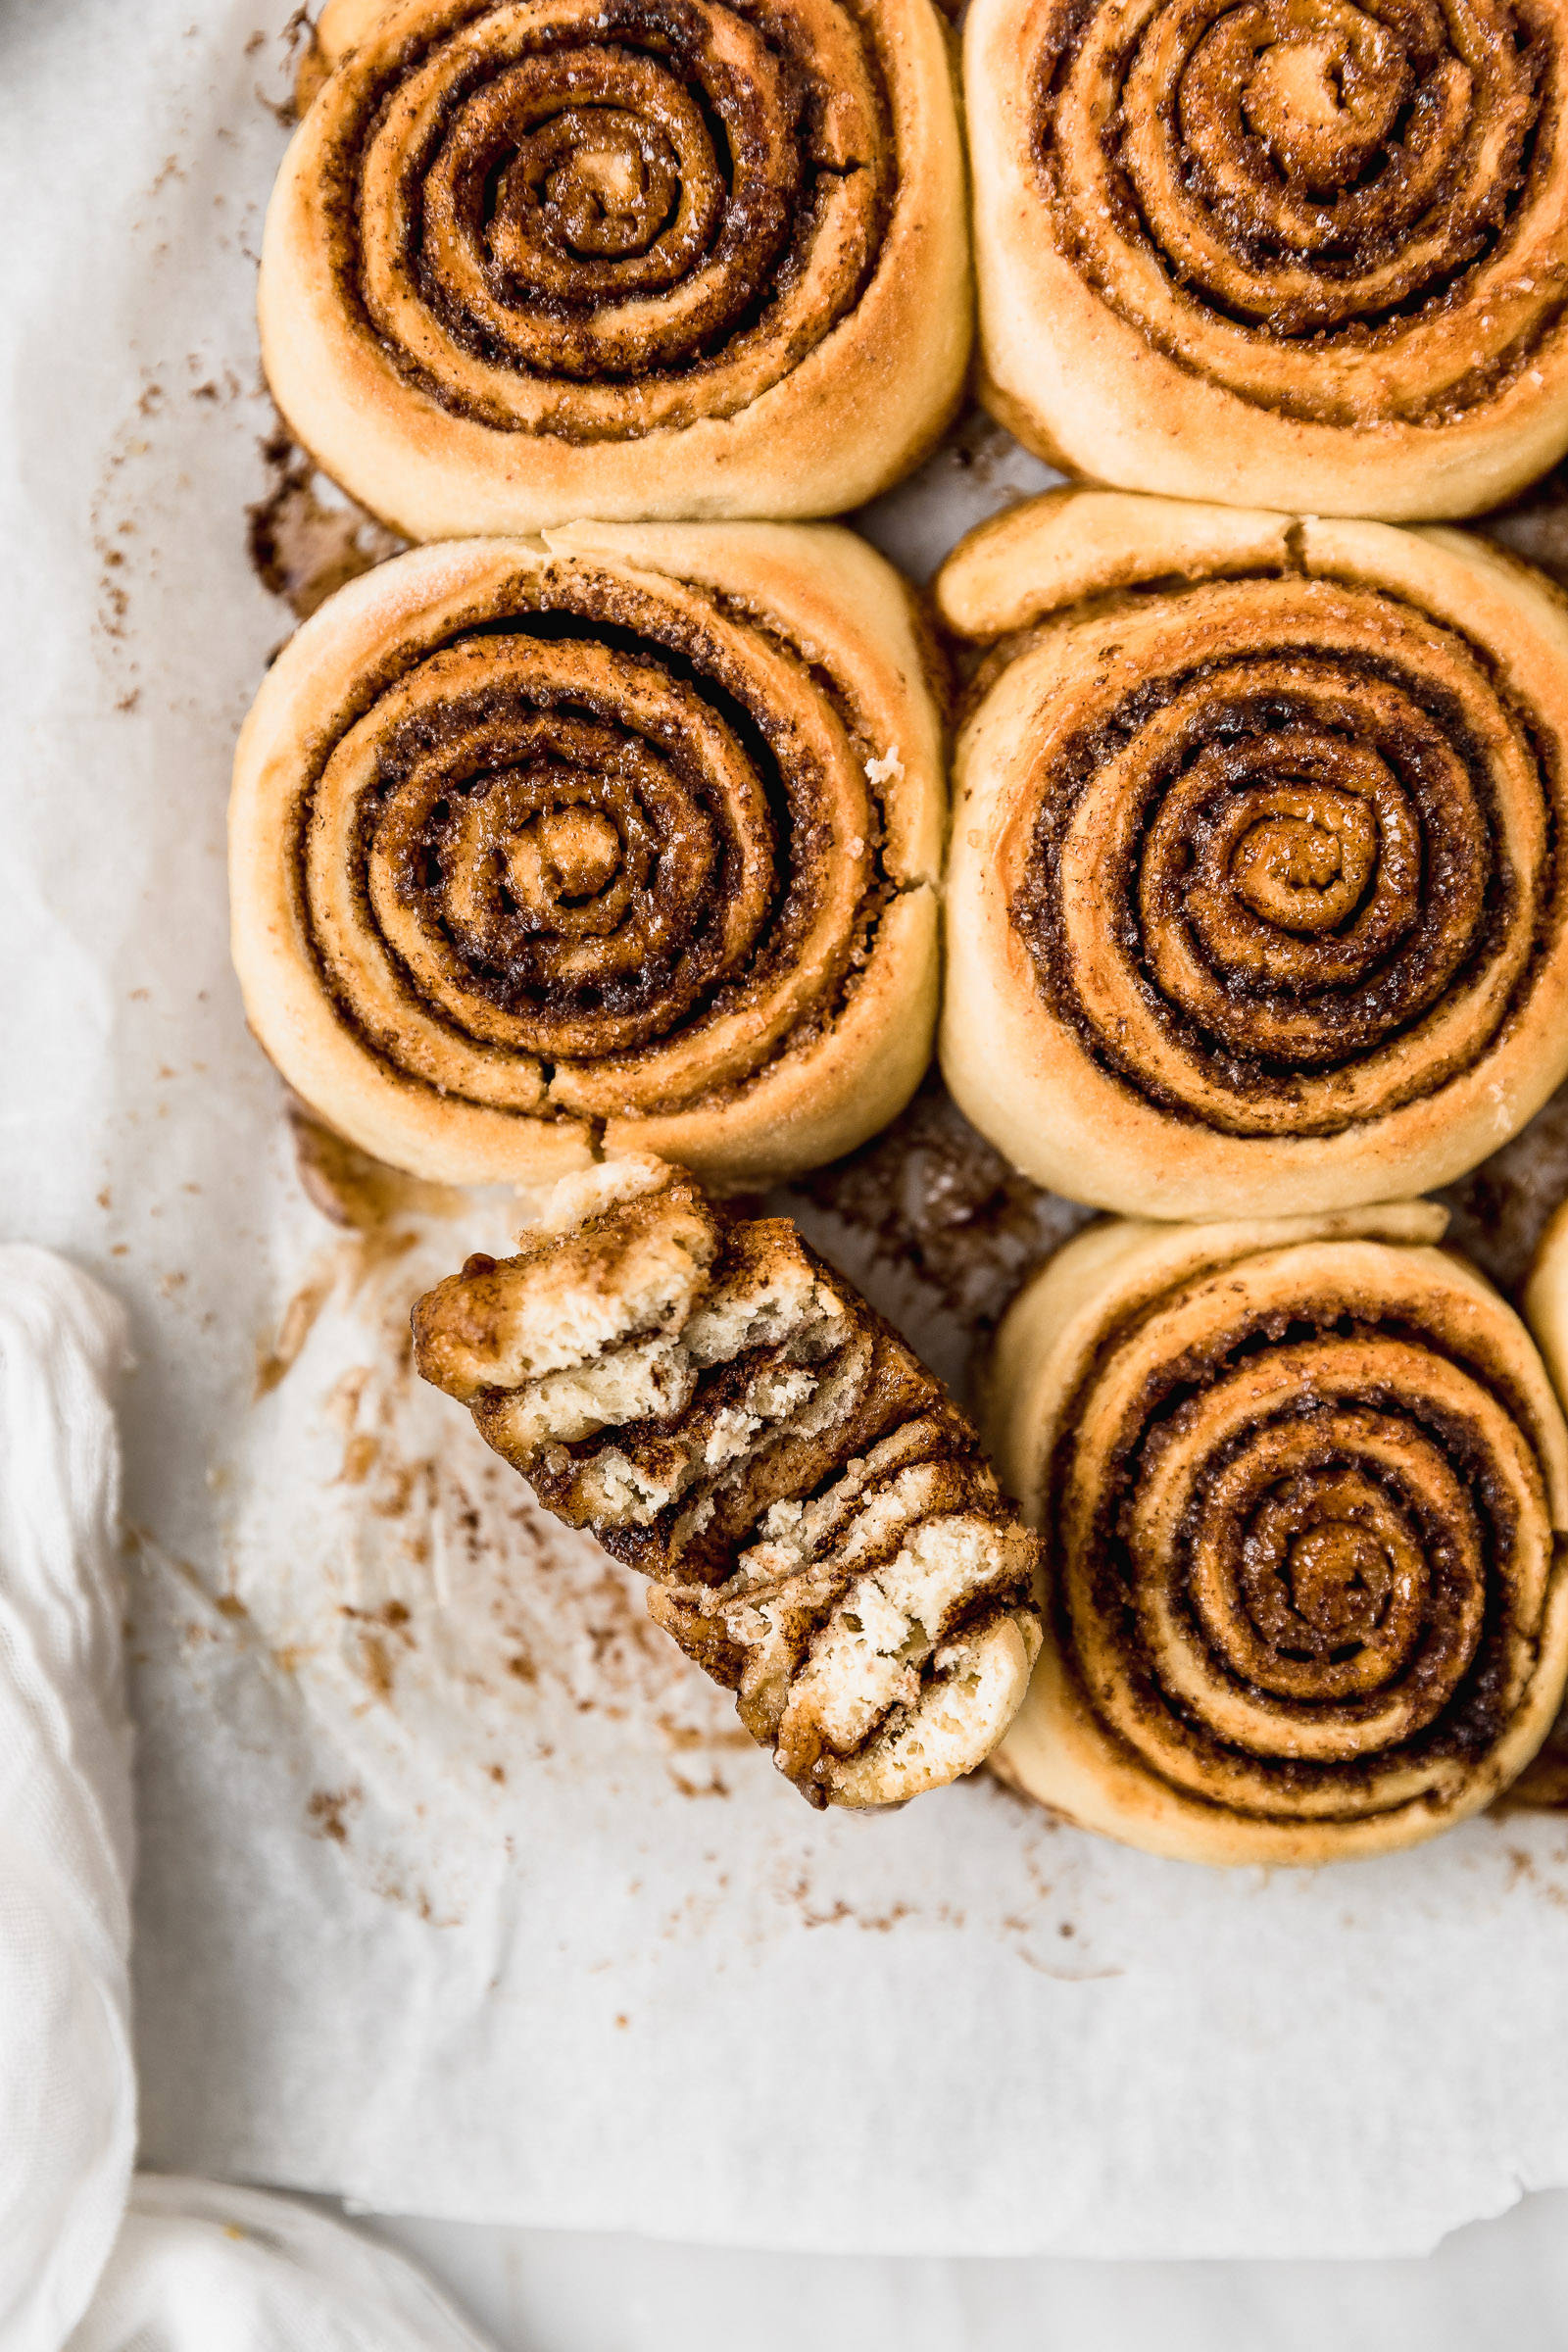
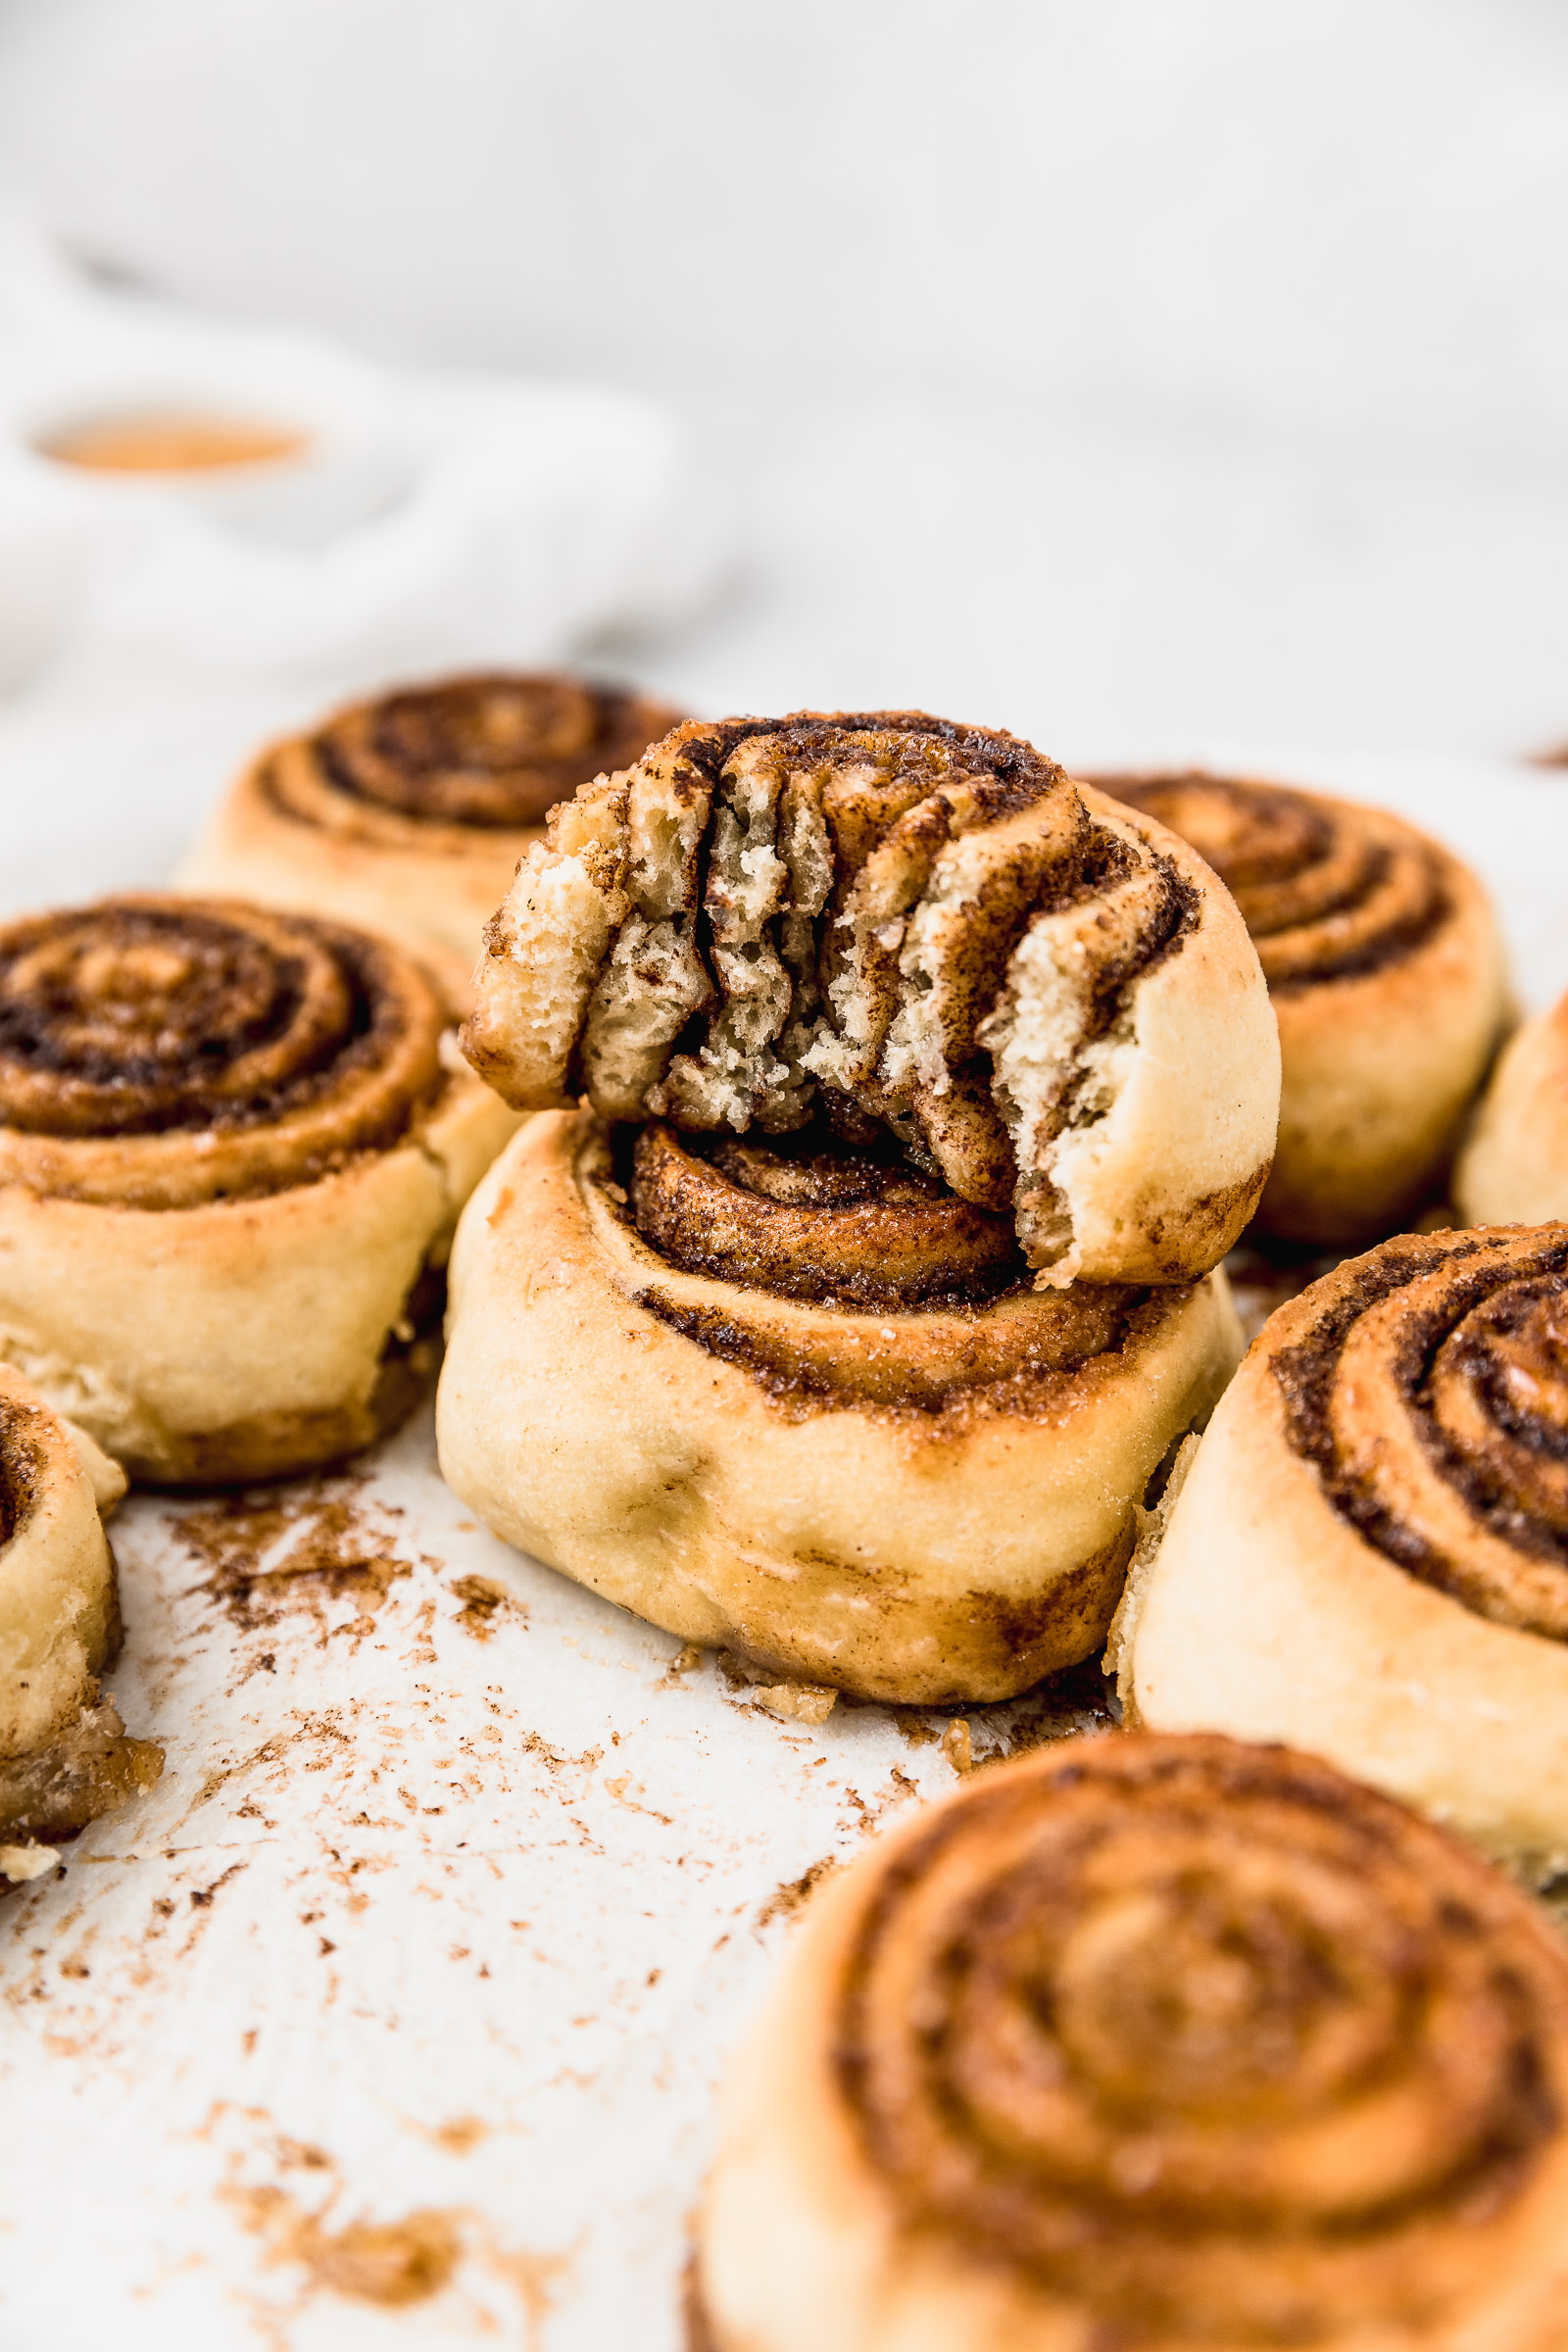
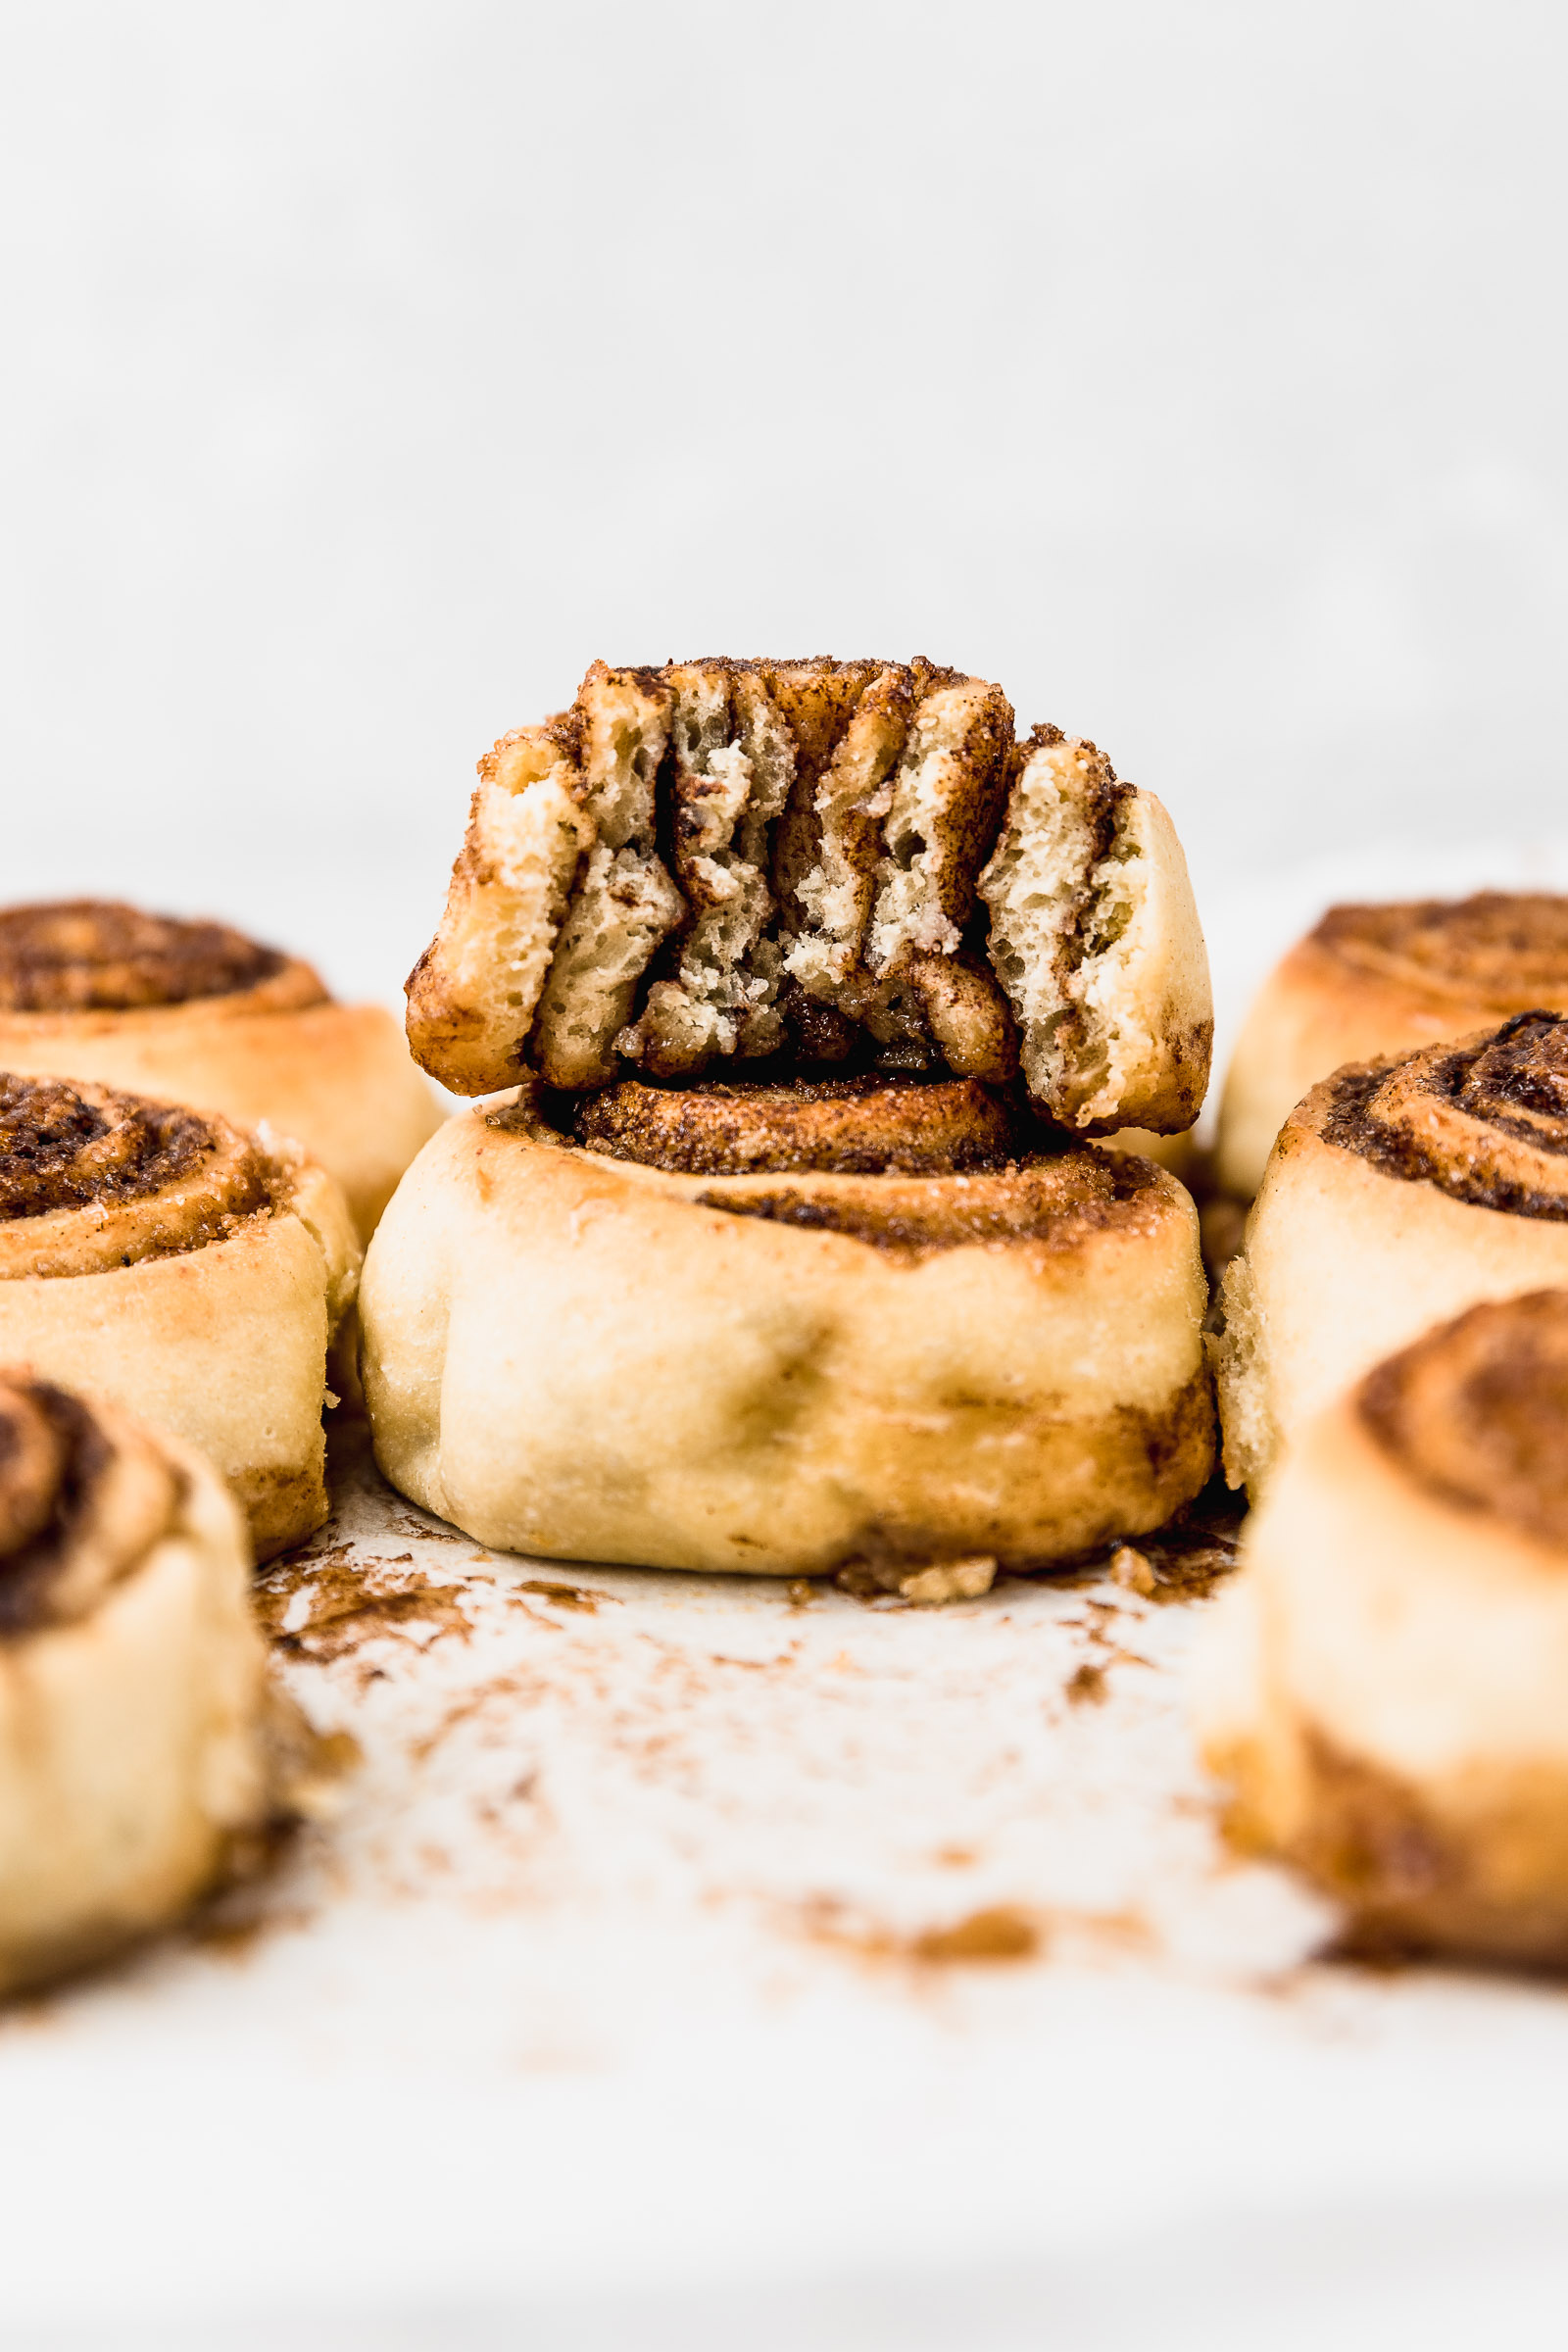
If there’s a sweet I cannot stop myself from eating it’s cinnamon rolls. That being said I’m also super picky about how I like them. I love them when they’re gooey and soft and you can pull the layers with your hands easily.

I actually eat these with my hands because somehow they taste better. Don’t judge me, okay? It’s just how I’ve always done it and love it ;). I made several attempts to get the perfect recipe and I loooove the result. This recipe dates back to September 2016 but I just wanted to reshoot them and also add a video because there are a few tips that are better explained visually. Oh and also, I highly recommend my apple cinnamon rolls and coffee cinnamon rolls as well :).
Whenever a few hours or even a few days pass you want to reheat them. Let’s be clear that cinnamon rolls are a thousand times better hot than cold. When the time comes, reheat them in the microwave (which is very weird for bread) for a few seconds because it brings back the gooeyness we love.
Ingredients
For the dough:
- 500 g all-purpose flour
- 1½ tsp salt
- 2¼ tsp instant dry yeast
- 120 g sugar
- 240 ml lukewarm milk
- 60 g unsalted melted butter cooled to room temperature
- 1 egg at room temperature
- ½ tsp vanilla esence
For the sugar filling:
- 220 g brown sugar
- 2 tbsp ground cinnamon
- 60 g melted unsalted butter cooled to room temperature
For the cream cheese frosting
- 110 g cream cheese at room temperature
- 3 tbsp icing sugar
- ½ tsp vanilla extract
- 30 g whipping cream
Instructions
For the dough
- Mix the lukewarm milk, eggs, vanilla essence and melted butter.
- Mix all the dry ingredients in a separate bowl and make a hole in the centre and add all the wet ingredients in the center.
- Mix everything until you have a uniform dough. It’s really sticky so don’t worry, that’s just the way this dough is 🙂 That makes them gooey at the end instead of bread-y and hard.
- Let the dough rest for 1 hour covered in cling film or until it doubles its size. If it’s too cold, turn on your oven until it’s warm (not hot) inside and let it puff up there.
Assembly
- Dust flour on a clean tabletop and roll the dough. Every couple of rolls make sure it’s not sticking and dust more flour underneath and on top. Roll it out to 2mm thick so that you get lots of rolls instead of just a couple thick ones. Try to keep it as rectangular as you can. At the very end make sure it’s not stuck and dust more flour if necessary so you can roll it with ease.
- Paint the melted butter on top evenly and reach every edge.
- Mix the sugar and cinnamon and spread it out as evenly as possible. Sprinkle it and then spread out any mountains of sugar by gently brushing them with your hand.
- Start rolling: first do it carefully so it’s nice and tight and once you have the first 2 complete rolls, you can just push it (still very tightly) so it rolls to the end.
- Cut the rolls (I did mine 4cm) and put them on a baking tray lined with baking paper at the bottom (this will help later so the sugar doesn’t stick, you’ll thank me!) and arrange them nicely. Keep a decent amount of space between them so that they can rise during proofing and after in the oven without becoming square.
- Let them sit for 30min*** (again, it helps if they’re in a warm environment) and then they go in the oven at 180°C/350°F for 20-30min or until they're golden on top.
For the cream cheese frosting
- Whip together the cream cheese, vanilla and icing sugar.
- Add the cream little by little, whipping it in.
- Spread the frosting onto the rolls.
Notes

2 comments
I made these last night and they are delicious! Definitely bakery quality! And I also love that every recipe post has a little intro but it’s not too long and I can easily scroll to the recipe itself. So happy I found your blog. Gonna try the Oreo cheesecake next for Christmas 🙂
Best wishes,
Nina
Thanks Nina!! Welcome 🙂