
These Decorated Christmas Cookies are made with a sugar cookie recipe to which I added many spices and decorated them with royal icing. This makes it extra special for the holiday season more than just a plain vanilla sugar cookie. In my opinion, these are the best Christmas cookies, even better than gingerbread cookies, and it’s the perfect time of the year to make them!

Ingredients for these Decorated Christmas Cookies
The sugar cookie dough for these Decorated Christmas Cookies is really easy to make and work with. It also uses common ingredients that we all usually have in the fridge or pantry. When it comes to the spices you can keep it simple with just vanilla or make them really Christmas Sugar Cookies by adding my spice mix. Here are the ingredients you will need to make them:
- Unsalted room temperature butter: Butter is one of the main flavour profiles in these delicious sugar cookies. It’s also the fat that will make them soft and moist instead of dry and crumbly.
- Granulated sugar: Of course, sugar cookies need sugar and these Decorated Christmas Cookies are no exception!
- Egg: The egg will help us bind together the ingredients and help make the cookies soft yet with a solid structure.
- Vanilla extract: Vanilla extract is always welcome in cookie recipes and here I used my homemade vanilla extract. You can also swap it for vanilla essence if you have to.
- Spice mix: For the spices in the cookies I used ground ginger, ground cinnamon and ground cloves. These three spices really smell of Christmas and make the cookies have a delicious flavour but also smell fantastic when baked.
- Salt: Salt is always needed even in sweet recipes to open your taste buds and balance out the sweetness.
- Baking Powder: Just a bit of baking powder helps the cookies stay soft. They still hold their shape really well!
- All-purpose flour: The flour will bring together the dough in the end and help us make the final dough.
How to make these Decorated Christmas Cookies
- Making the dough: The dough for these Decorated Christmas Cookies comes together really easily. You can make it in a regular mixing bowl using a whisk and a spatula or you can opt for a stand mixer with the whisk attachment instead. First, you will cream the butter with the sugar until it’s creamy and fluffy. Then, you will add the egg and whisk it together as well. Then you can add the vanilla extract, mix it in and finish with the dry ingredients. Remember that this dough needs to rest, covered in plastic wrap, in the refrigerator before the next step to firm it up.
- Cutting the cookies: Once your dough is cold from the fridge, it’s time to roll it out. Use a rolling pin to roll out the dough on a lightly floured surface until it’s 3mm thick. Then use cookie cutters on the rolled-out dough to cut the shapes of the cookies.
- Baking: Place the cut-out cookies on a baking sheet lined with baking paper or parchment paper. Don’t place them too close together to prevent them from sticking to each other while baking. Place the cookie sheet in a preheated oven at 180C/350F and bake for 10-12 minutes or until the edges of the cookies are only ever so slightly golden.
- Decorating: Once the cookies come out of the oven, let them cool down a bit before lifting them off and placing them on a wire rack to cool down completely. It’s very important that they have cooled all the way down before decorating or the icing will just melt.
How to make royal icing
Making royal icing is very simple and it’s a staple during the Christmas season. Traditionally, the recipe calls for raw egg whites, icing sugar and water. However, nowadays it’s more recommended to use pasteurized egg whites or meringue powder even if the chance of getting salmonella from the egg whites is pretty small. This mix creates a white frosting that’s ideal for these Decorated Christmas Cookies. You will adjust the texture by adding more water to thin it out or more icing sugar to thicken it. You want to have thicker icing, in general, to make it easier to make detailed decorations that won’t spread on the cookie. If you like, you can also swap the water for lemon juice.
Easy decoration ideas
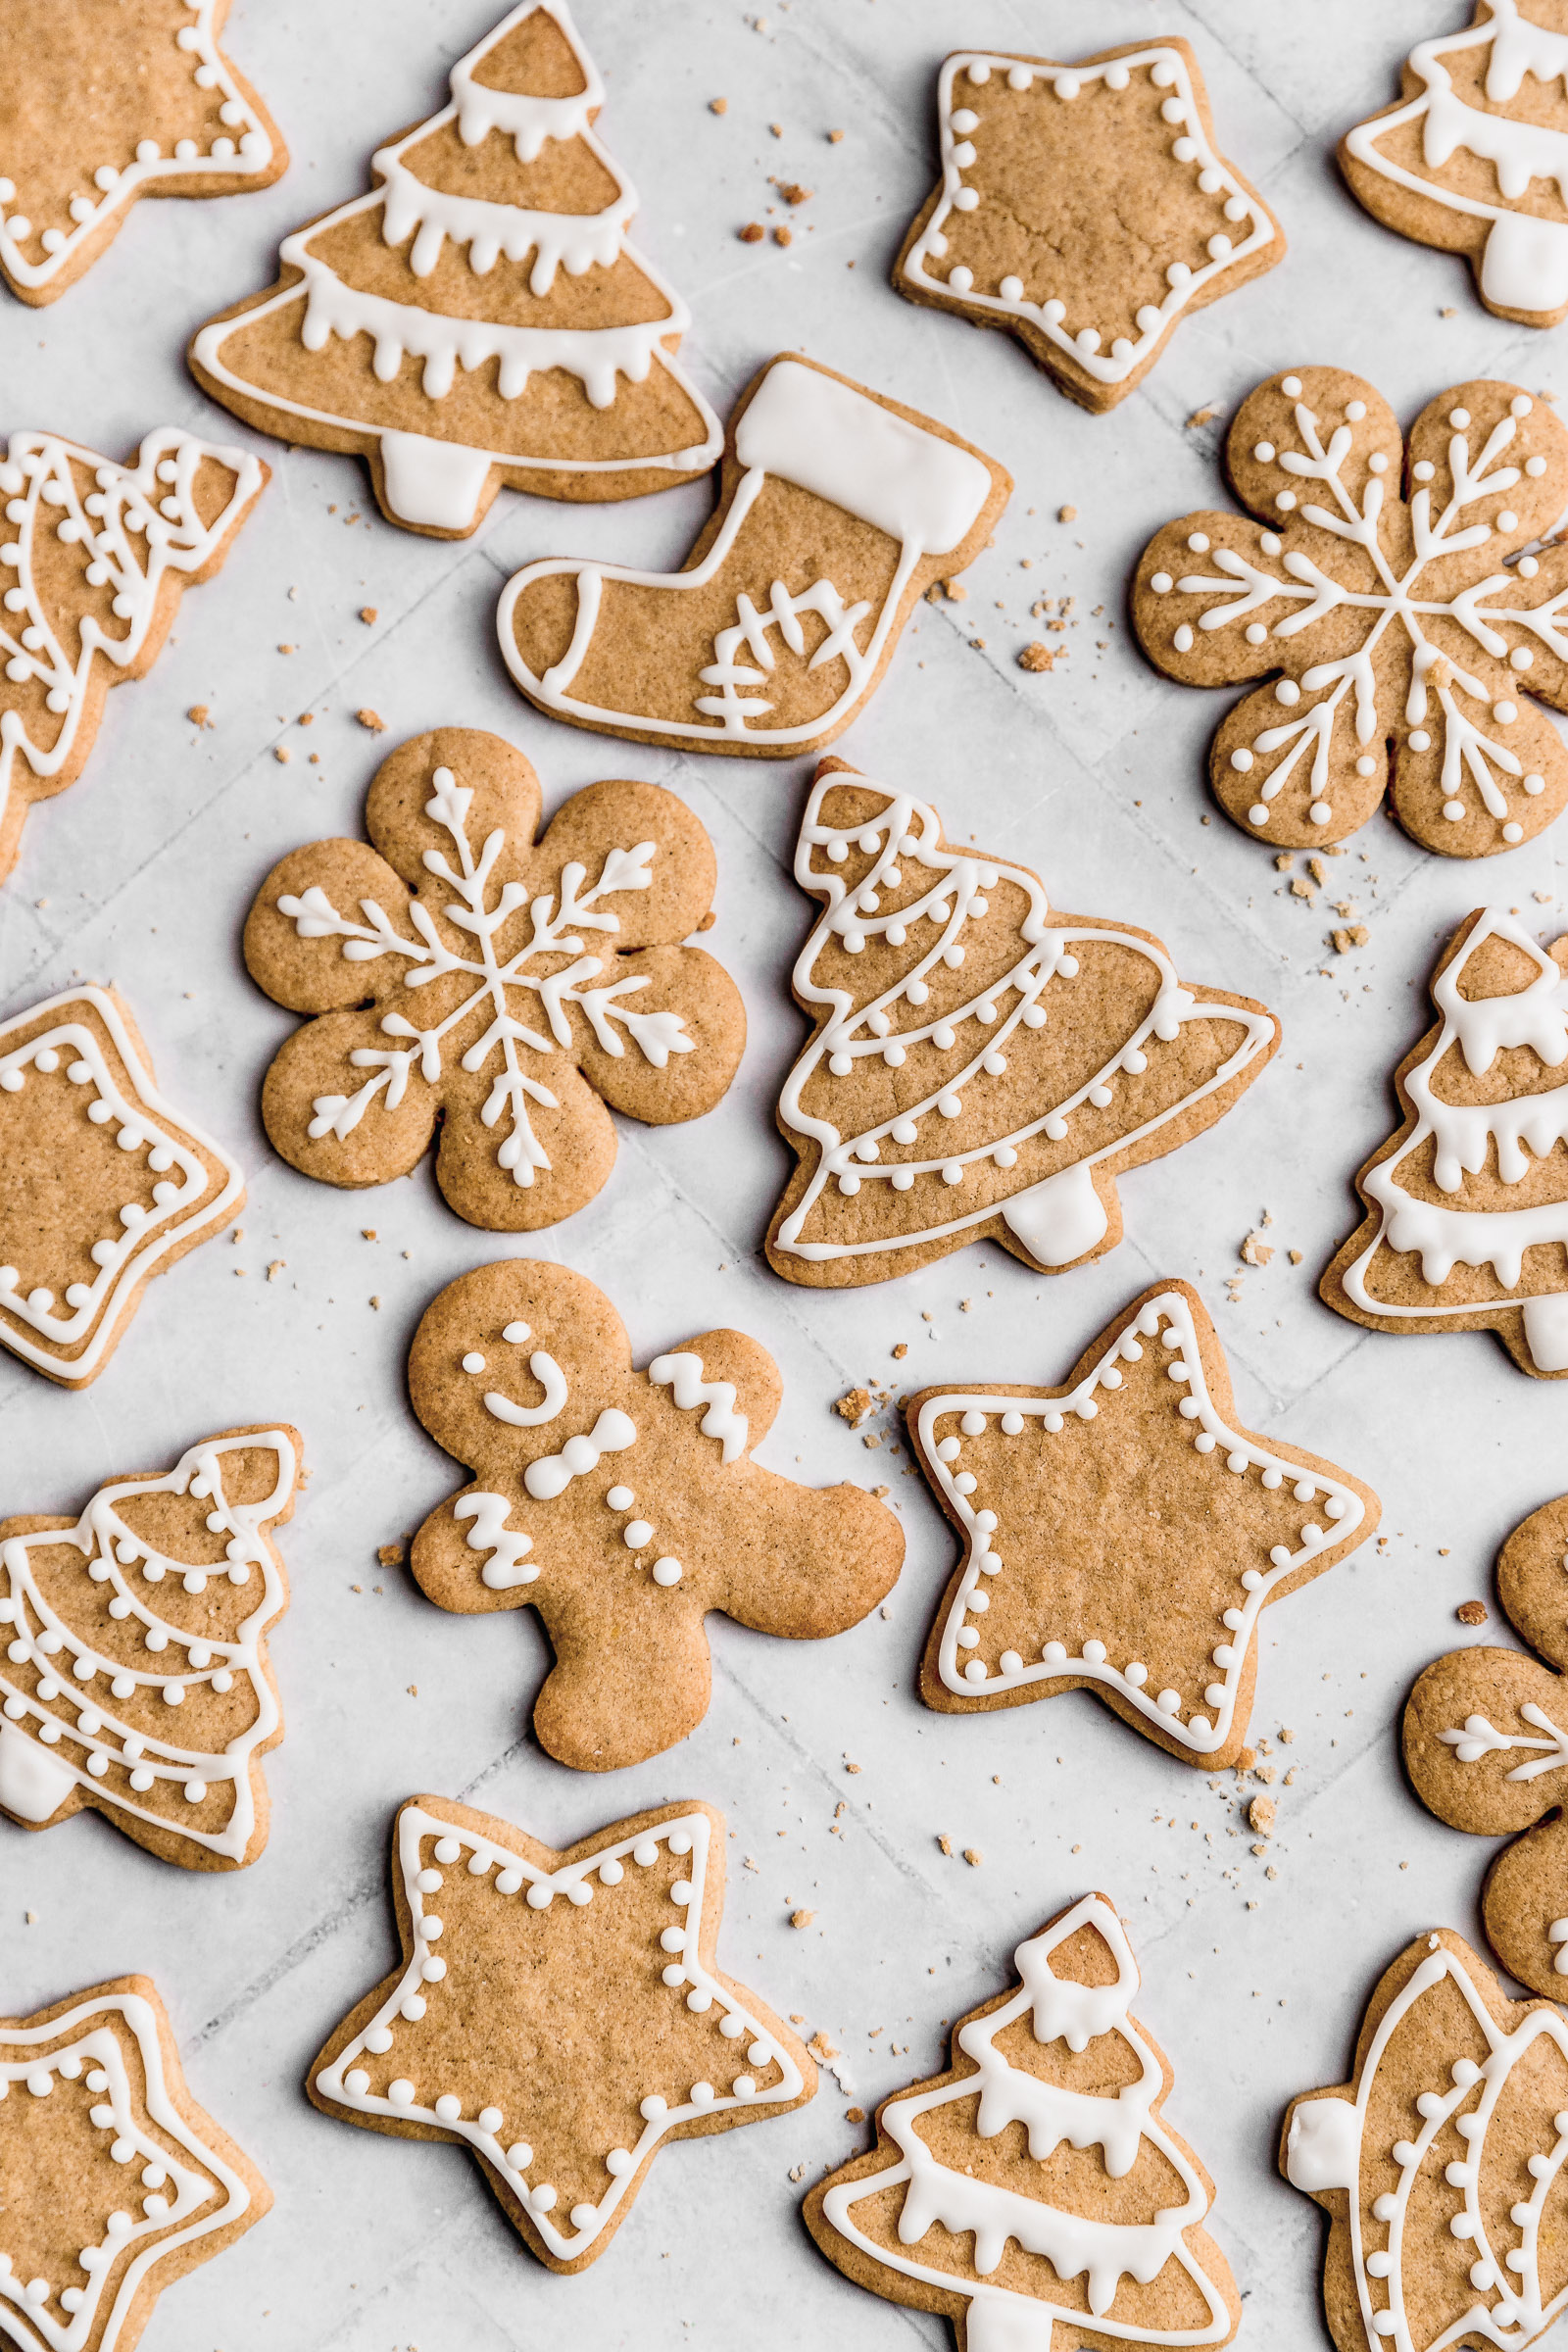
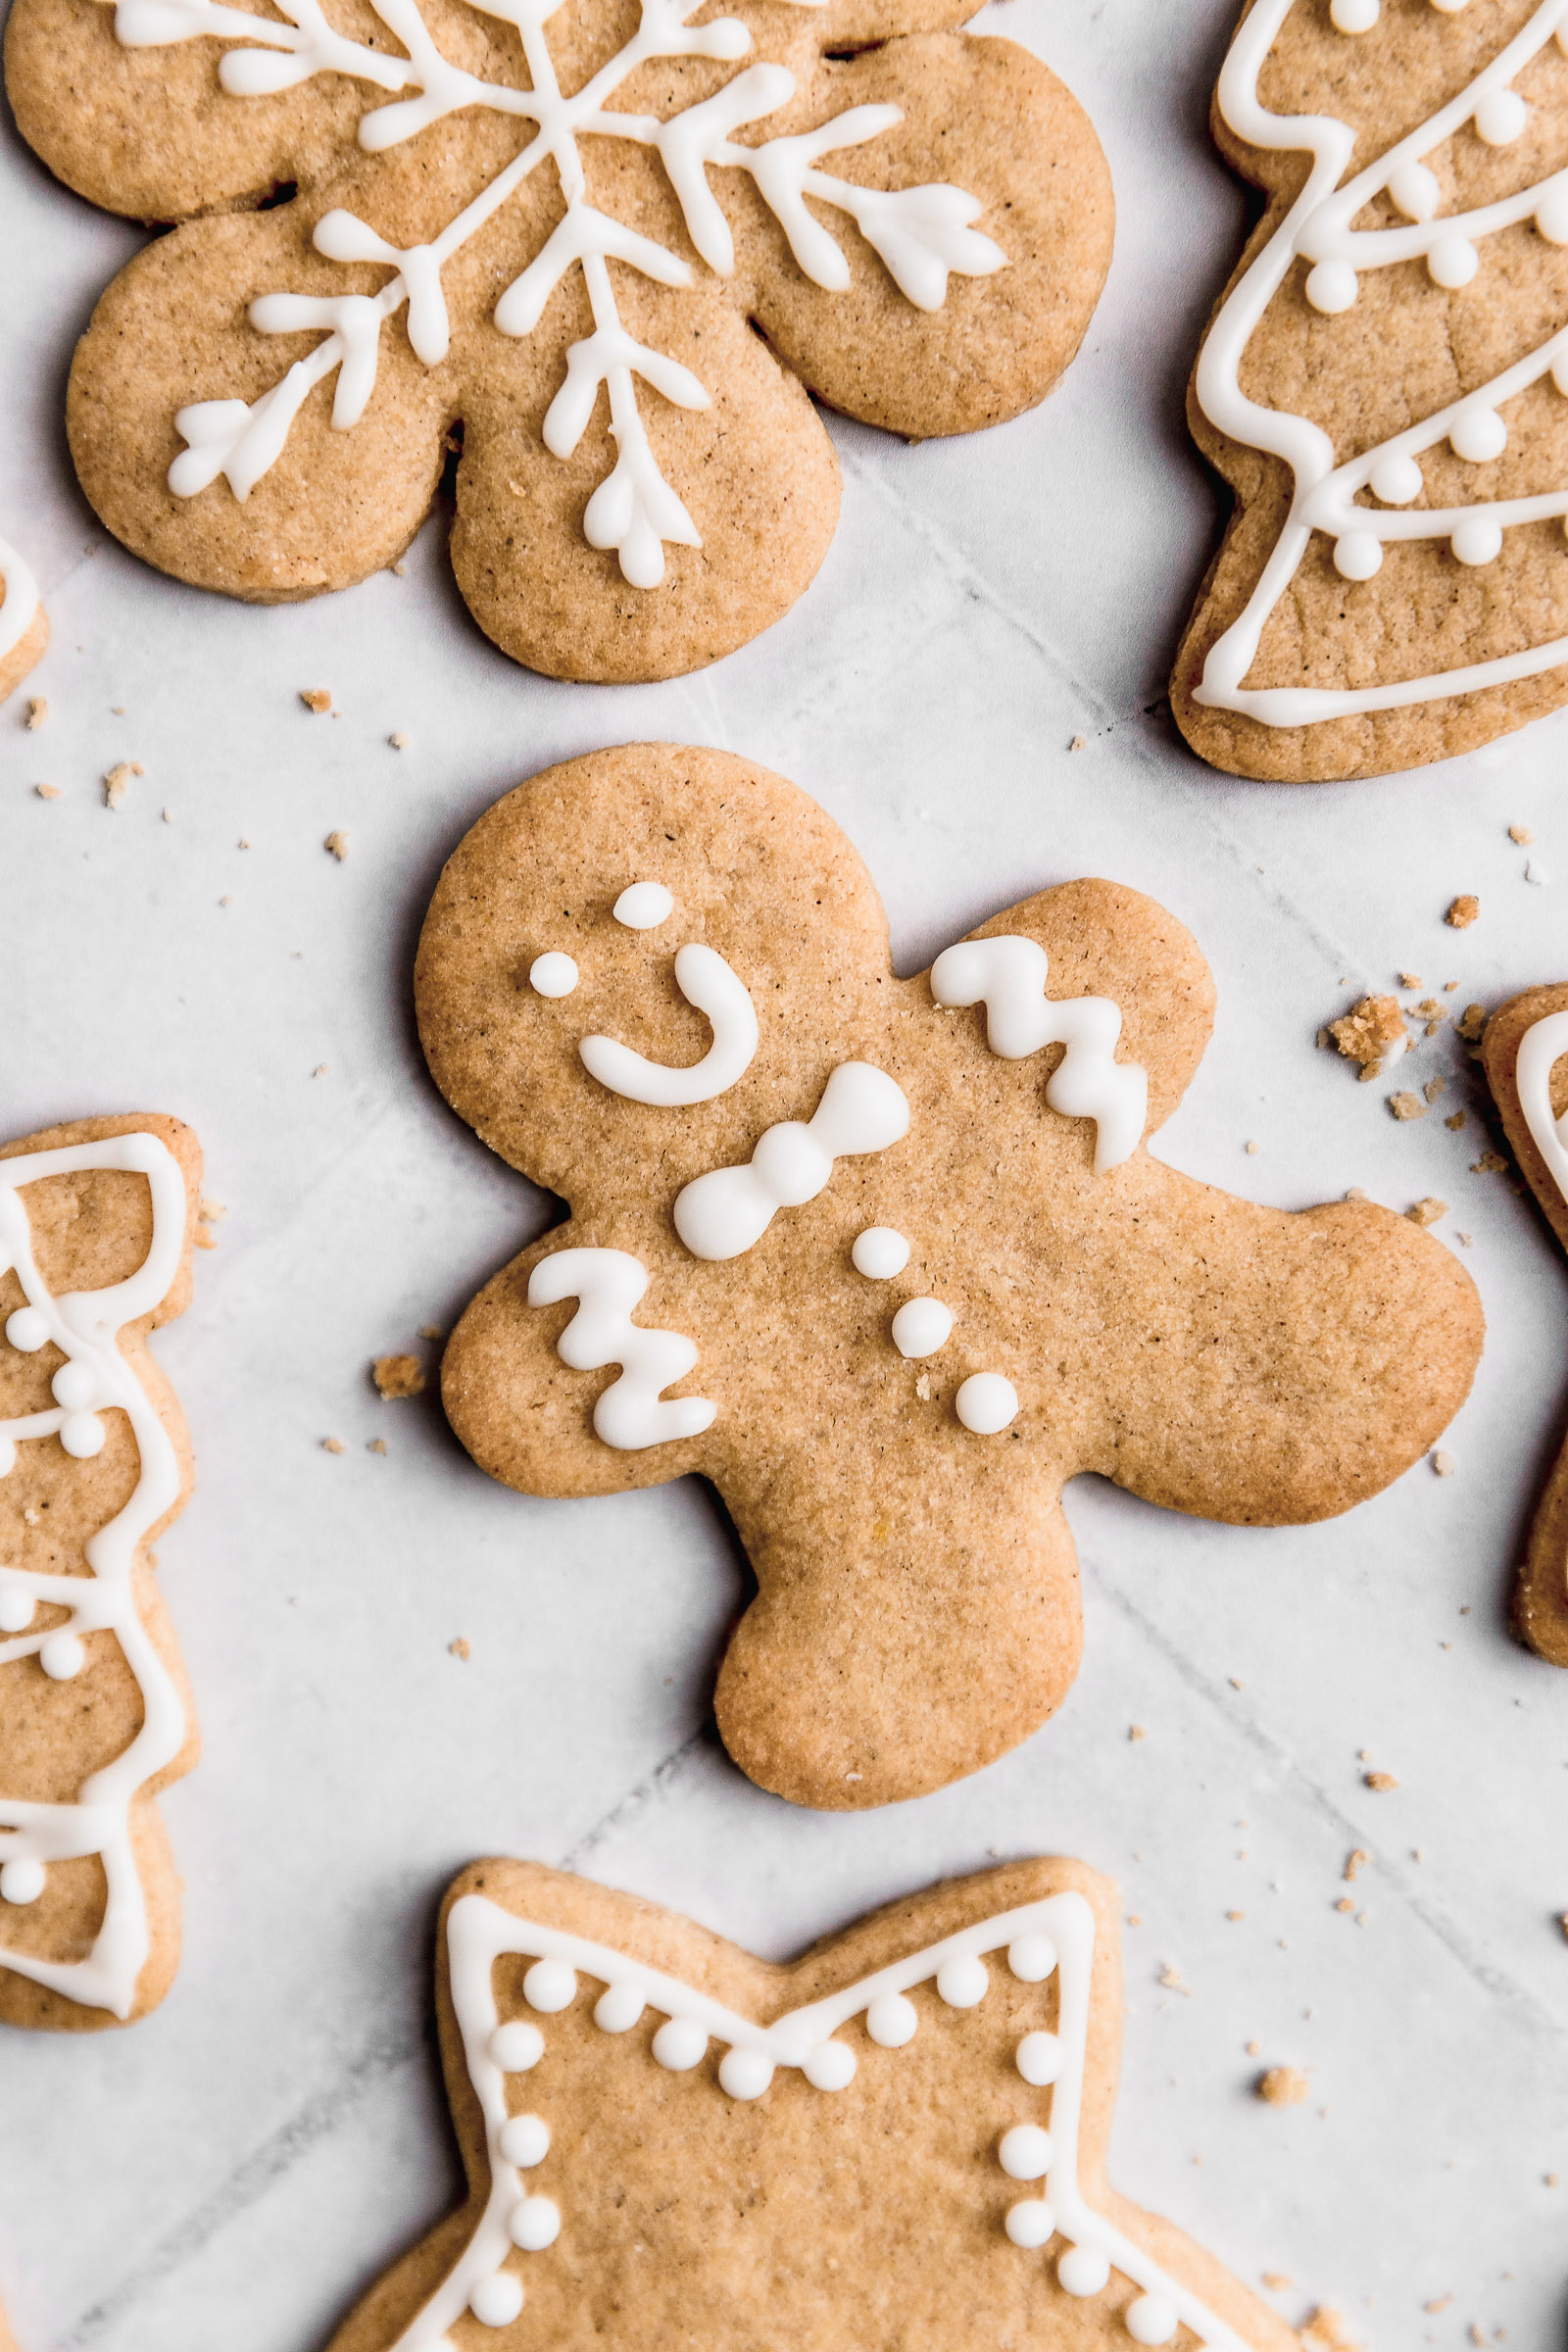
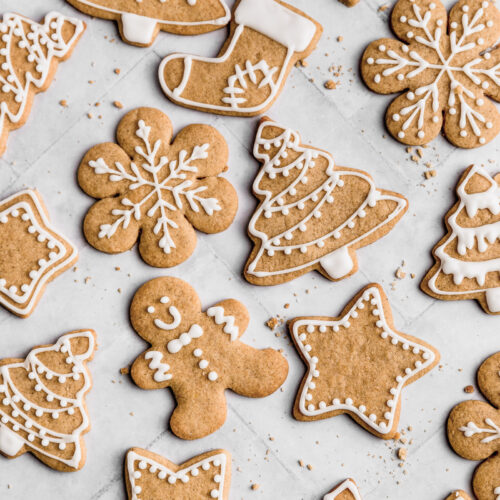
Decorating beautiful cookies can be a daunting experience. I personally don’t love to make Decorated Christmas Cookies. I mean, I do enjoy the first 5 cookies but then it’s just too much for me! So in my case, less is more. My first tip will be to use a piping bag with a round tip that has a very small opening (we’re talking 1mm thick). This will help control the icing better. I also like to use white royal icing only. Dying the icing is always messy and it just makes it more difficult to decorate overall! By keeping it all white we’re making more elegant-looking and equally pretty cookies. Here are a few cookie decorating ideas:
- Candy Cane: Since we’re only using white, opt for just painting in half the lines and keeping the others see-through. This also reduces the amount of sugar on top of the cookie and makes for a much more pleasant bite.
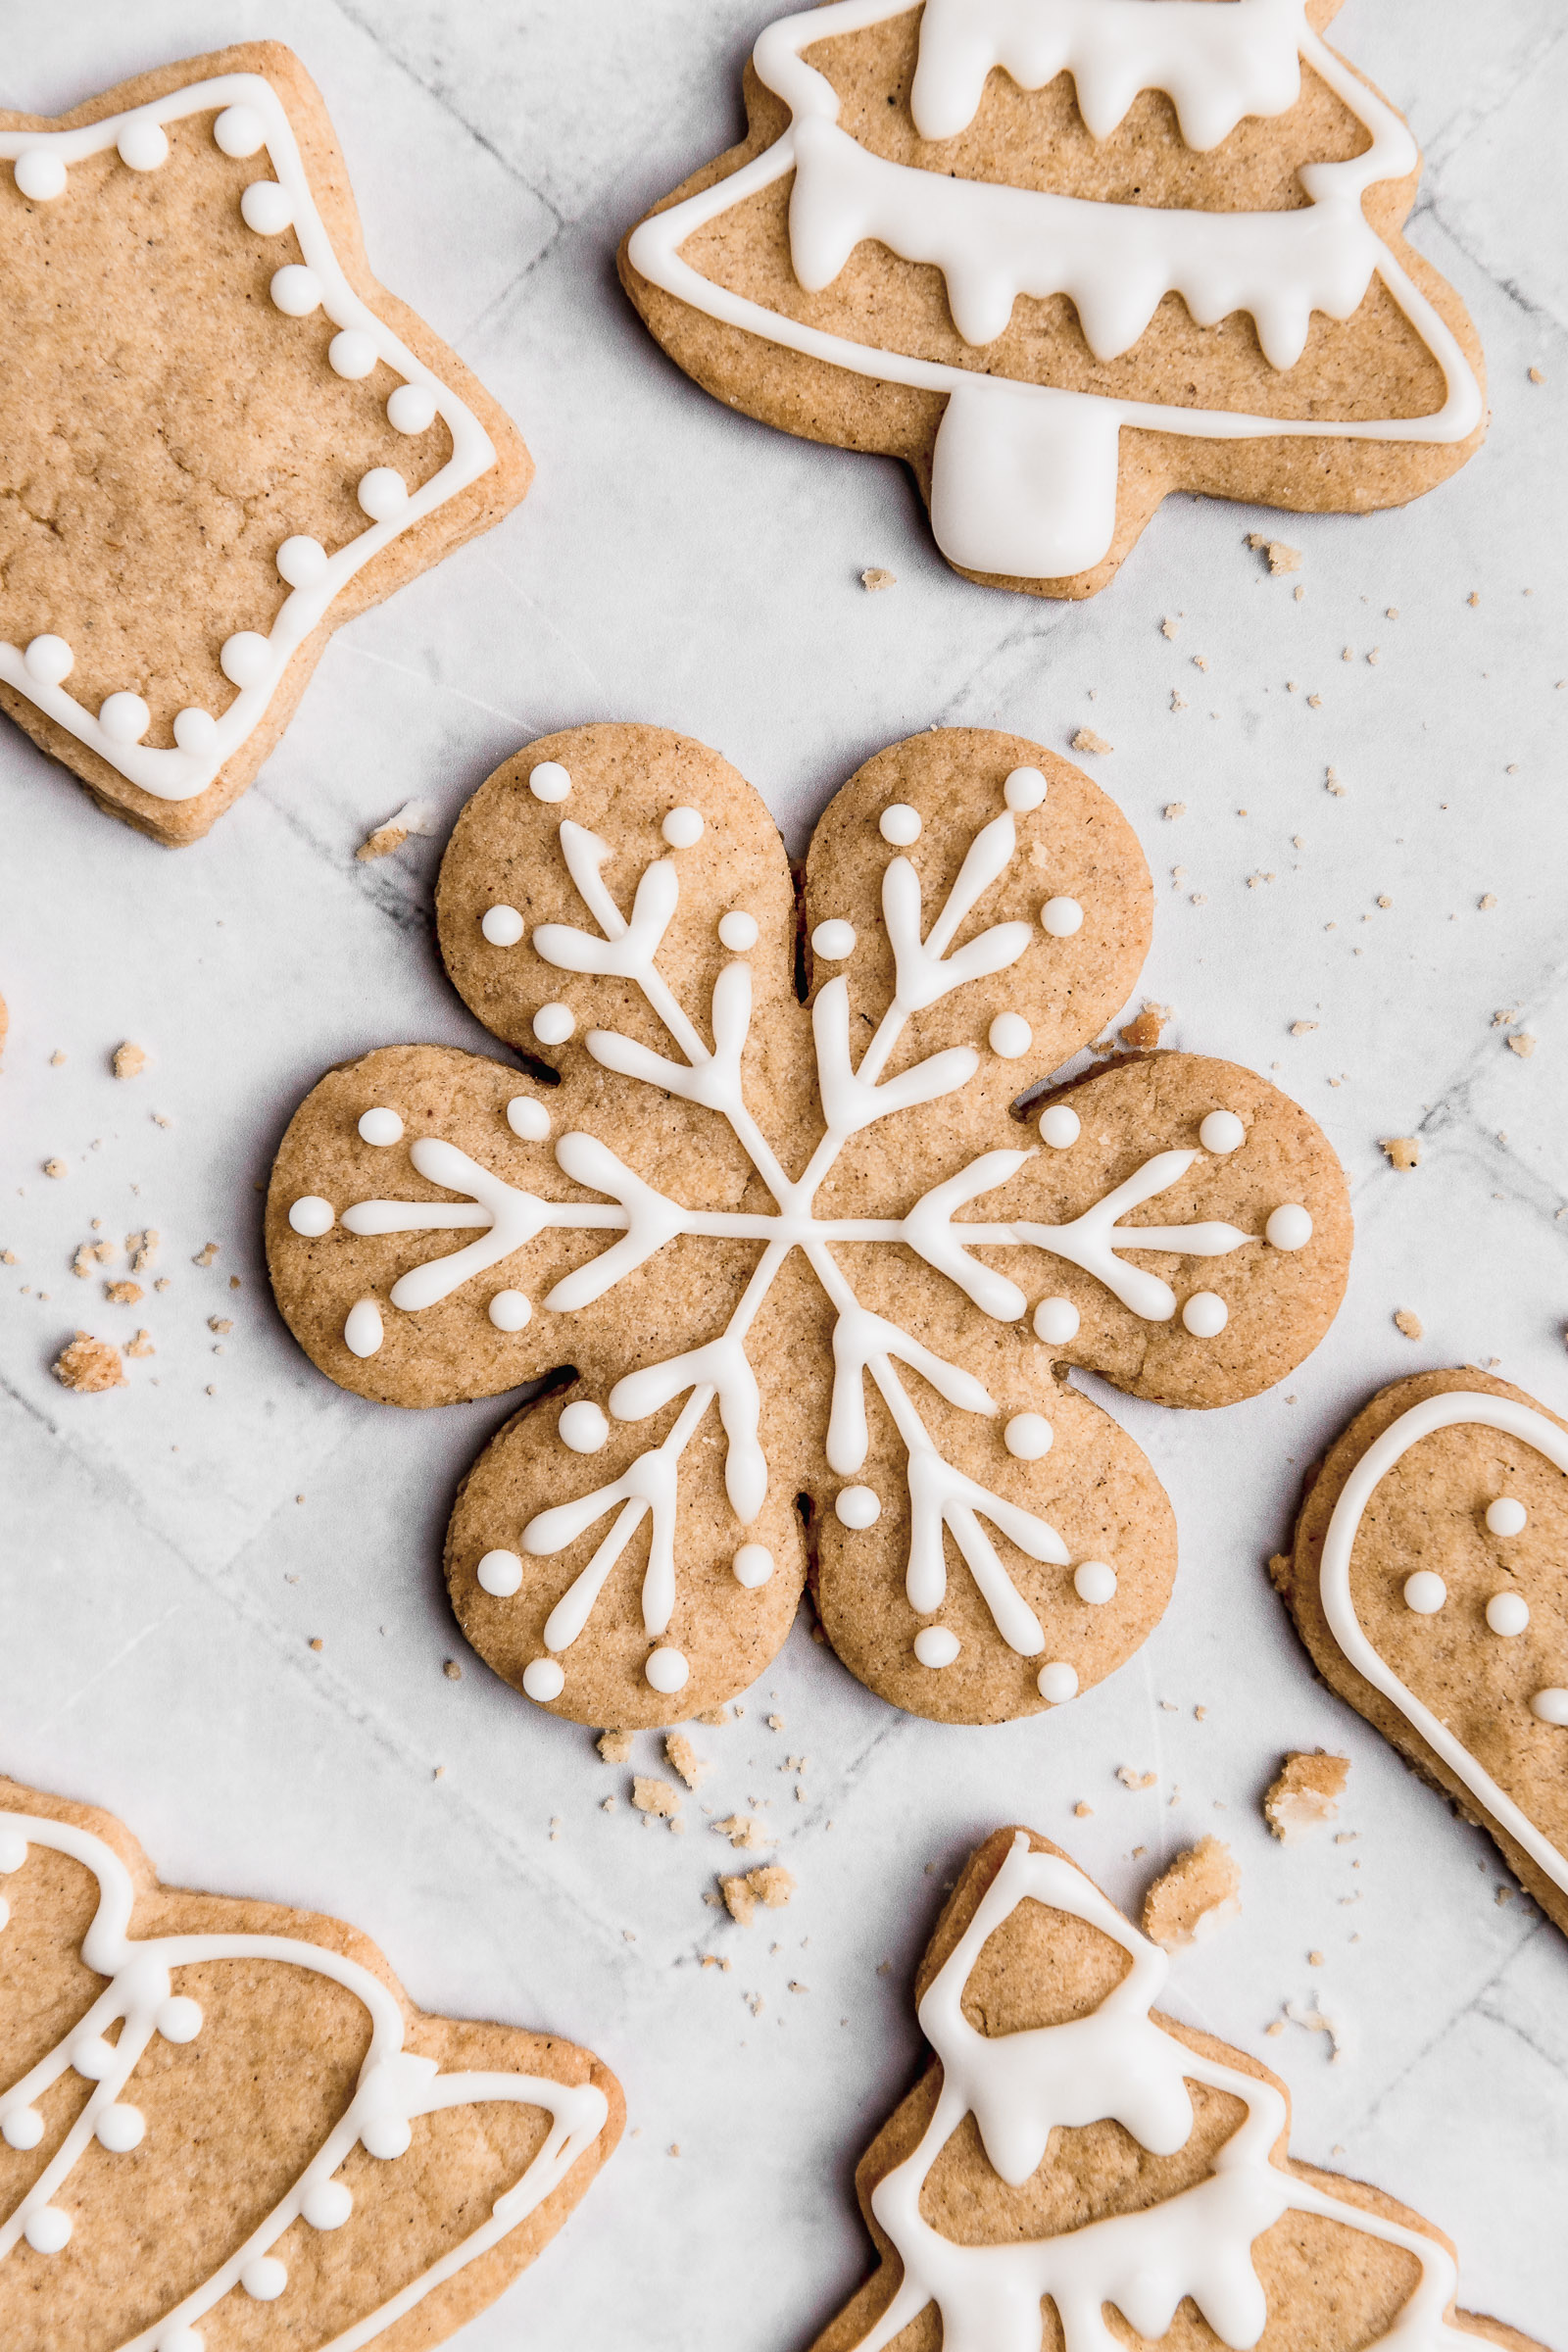
- Christmas trees: I love to add a garland to my trees or decorate them as though snow has landed on the leaves. The background keeps the colour of the cookie instead of adding green icing.
- Snowflakes: To make the prettiest snowflakes I have found that a flour cookie cutter comes in handy. You can pipe the likes of the snowflake onto the petals and it fits really well!
- Christmas stockings: These are my favourite Decorated Christmas Cookies; always very easy to make for any skill level. Just paint the top white and add stitching for extra detail.


More Christmas cookies
If you like these Decorated Christmas Cookies and are looking for more cookies to make for gifting, making a cookie box with different cookies or even for a cookie exchange, here are more cookie recipes you can try. I love these holiday cookies for Christmas Eve or just any end-of-the-year gathering.


Decorated Christmas Cookies
Ingredients
For the cookies
- 110 g unsalted butter soft, at room temperature
- 150 g granulated sugar
- 1 egg
- 1 tsp vanilla extract
- 1 tsp ginger powder
- ½ tsp ground cinnamon
- 1/8 tsp ground cloves
- 1 tsp salt
- 1 1/2 tsp baking powder
- 250 g all-purpose flour + more to dust the surface for rolling
For the royal icing (option 1)
- 1 egg white or 30g pasteurized egg whites
- 400 g icing sugar + more to adjust the consistency
- Water
- liquid or gel food colouring
For the royal icing (option 2)
- 150 g icing sugar
- 1 tbsp meringue powder
- Water
Instructions
For the cookies
- Use a whisk to beat the butter, sugar and salt together until you have a creamy consistency.
- Add the egg and mix it in until fully incorporated.
- Add the vanilla and spices and mix once again.
- Add the flour and baking powder and mix using a spatula. Once the spatula isn't helping anymore, knead slightly with your hands.
- Cover the dough and place in the fridge for 30 minutes.
- If your dough has been in the fridge for more than 30 minutes, it's possible that you will have to wait a few minutes for it to come back to room temperature before rolling it out to prevent it from breaking. Roll out the dough on a floured surface until it's 2-3mm thick. Use cookie cutters to cut the dough into shapes.
- Use a thin metal spatula to lift out the cookies from the surface.
- Place the cookies on a non-stick baking tray. If your tray is not non-stick, line it with baking paper or silpat first.
- Bake the cookies in a preheated oven at 180°C / 350°F for 8-12 minutes or until slightly golden.
- Let them cool down completely before decorating or the royal icing will melt.
For the royal icing (option 1)
- Place the egg whites in a bowl and add the icing sugar through a sieve or colander.
- Beat them until they come together, then adjust the texture. To see if it's at a good texture, make a line or dot on a dish or piece of paper. It shouldn't spread out but also, it should be easy to use. If you see that your icing is too hard, you can add a bit of water or lemon juice at a time. If it's too hard, you can add more icing sugar, always through a sieve or colander.
For the royal icing (option 2)
- Add the icing sugar to a bowl through a sieve or colander. Add the meringue powder and mix. Add water little by little until a paste forms.
- To see if it's at a good texture, make a line or dot on a dish or piece of paper. It shouldn't spread out but also, it should be easy to use. If you see that your icing is too hard, you can add a bit of water or lemon juice at a time. If it's too hard, you can add more icing sugar, always through a sieve or colander.
For decorating
- If you're not going to use the icing sugar immediately, place 2 layers of wet kitchen paper on top of it, touching the surface of the royal icing.
- Once you're ready to use it, assess the thickness once again and adjust if needed. Remember that if you're using food colouring, these will thin out the icing.
- Place your royal icing in a piping bag fitted with a small nozzle (it works a lot better than just cutting off the tip of a piping bag).
- To decorate, squeeze on the piping bag slowly but at the same rate and let the string of icing drop onto the cookie. The tip of the nozzle should be around 3mm above the cookie so that you place the string of icing as it falls. I only make the nozzle come closer to the cookie whenever I'm done with a stroke or need it to stick to another line I made. You can correct and smooth out lines and textures using a toothpick.
- Everything that you draw while the icing is fresh, it will stick to itself when they meet. Thus, you want to give it 5-10 minutes sometimes to dry out before you make a second round of decorations to prevent them from sticking together. The same goes if you want your cookies to have a solid colour background. In this case, you draw the outline, fill it in with more icing and then let it dry. Once dry, you can add more details on top.

2 comments
Easy to follow. Easy to do.
Delicious recipe!