
I think that the sourdough adventure is truly magical. We actually deal with a living being that we need to feed and in exchange it bakes the best bread. Today I’m going to tell you what a sourdough starter is, what are its uses and how to make one from scratch.
*** Please read this post until the end even if it’s your first day. I might solve the doubt that you could have along the way. ***
What’s in a sourdough starter
A sourdough starter is a naturally sourced yeast that is used to make bread as well as many other preparations. Yeast, whether commercial or natural, it a microscopic type of fungi. These fungi live all around us on surfaces, air and in our flour, too. What we do to create a starter is mix the flour (which naturally contains these fungi) with water (the medium where they will live).
Yeast proliferates because it consumes the flour and digest it (they produce carbon dioxide in this process) and reproduce. That’s why we talk about feeding (or refreshing) our sourdough starter daily because you’re feeding this yeast that makes such delicious bread. Your starter not only has yeast in it but also bacteria that it gets from the air surrounding us. The cone we’re particularly interested in is lactobacilli which digest the sugar in the flour giving out lactic and acetic acid. It’s this acid that kills off any negative bacteria in the fermentation process and gives sourdough bread its iconic sour taste.
The last interesting thing I’ll tell you about this is that depending on where the starter lives it will take on different species of yeast and bacteria according to what’s present on its surroundings. That, in turn, means that the bread’s texture and taste will change and that’s why there are famous sourdoughs produced in Vermont, San Francisco, Italy, France, New Zealand and Egypt to name a few.
Uses for sourdough starter
A starter can be used for anything where you would find yeast: bread (obviously), pizza, pancakes, waffles, muffins, etc! I’m just starting this adventure but moving forward I will definitely share more recipes like this with you because I LOVE making bread.
Benefits of sourdough bread
Sourdough bread is much better than store-bought and I’ll tell you why.
- First of all we don’t use any preservatives in our sourdough bread process and from that point we’re already a huge step ahead from commercial bread. And because this bread has a nice acidity to it it’s less prone to fungi developing on its surface.
- We don’t use sugar in most bread recipes which is another giant point to sourdough bread. Commercial yeast typically needs that sugar push to increase activity and generate the gas that the dough needs to grow.
- Sourdough bread contains lactic acid which inhibits the amount of phytic acid. Phytic acid interferes with our absorption of nutrients and its amount increases up to 100% in non-sourdough breads. This makes it easier for us to digest sourdough bread, have you noticed this?
- Because of its long fermentation period sourdough bread is higher in antioxidants.
- There are many more benefits listed everywhere but truth be told there’s still a lot more research to be done! For now though it seems sourdough is winning over commercial yeast by a long distance.
- Everything in excess is wrong: all of this doesn’t mean that sourdough bread is miraculous. It’s still bread!
What I need to make sourdough starter
To make a starter you will need:
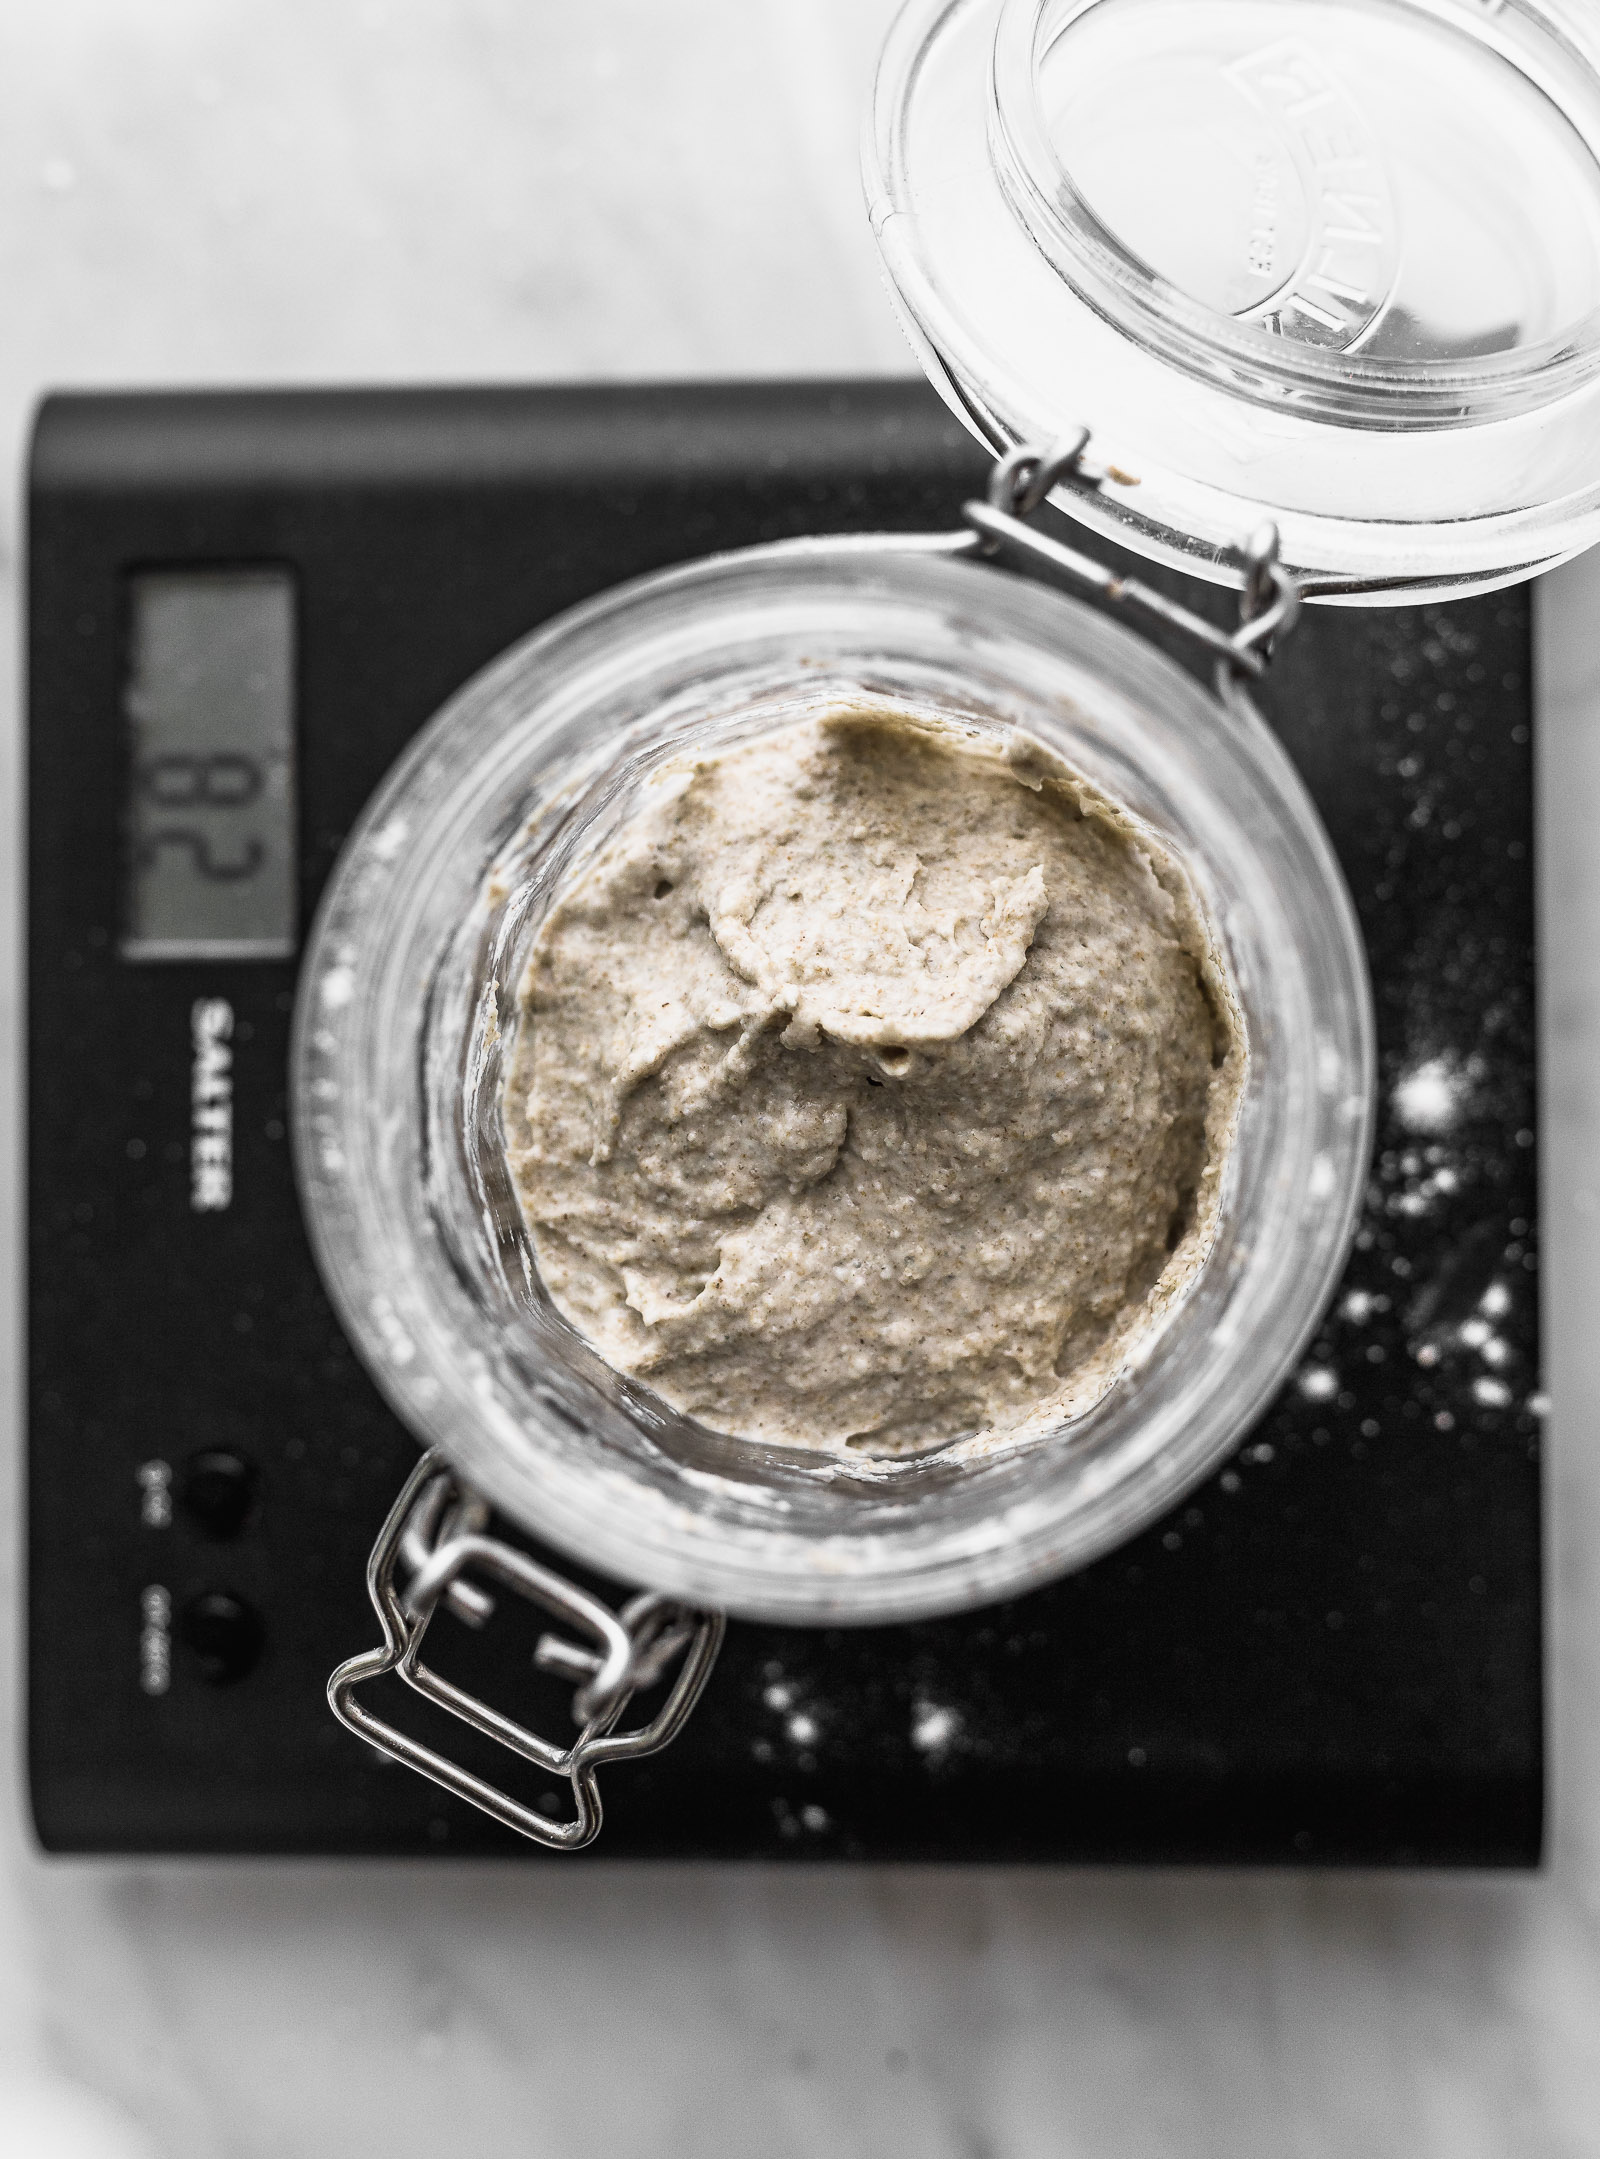
- A digital scale: you really need this. You have to be extremely precise with your measurements. There are small amounts that just cannot be adapted to cups or tablespoons and a small difference in grams will change the outcome.
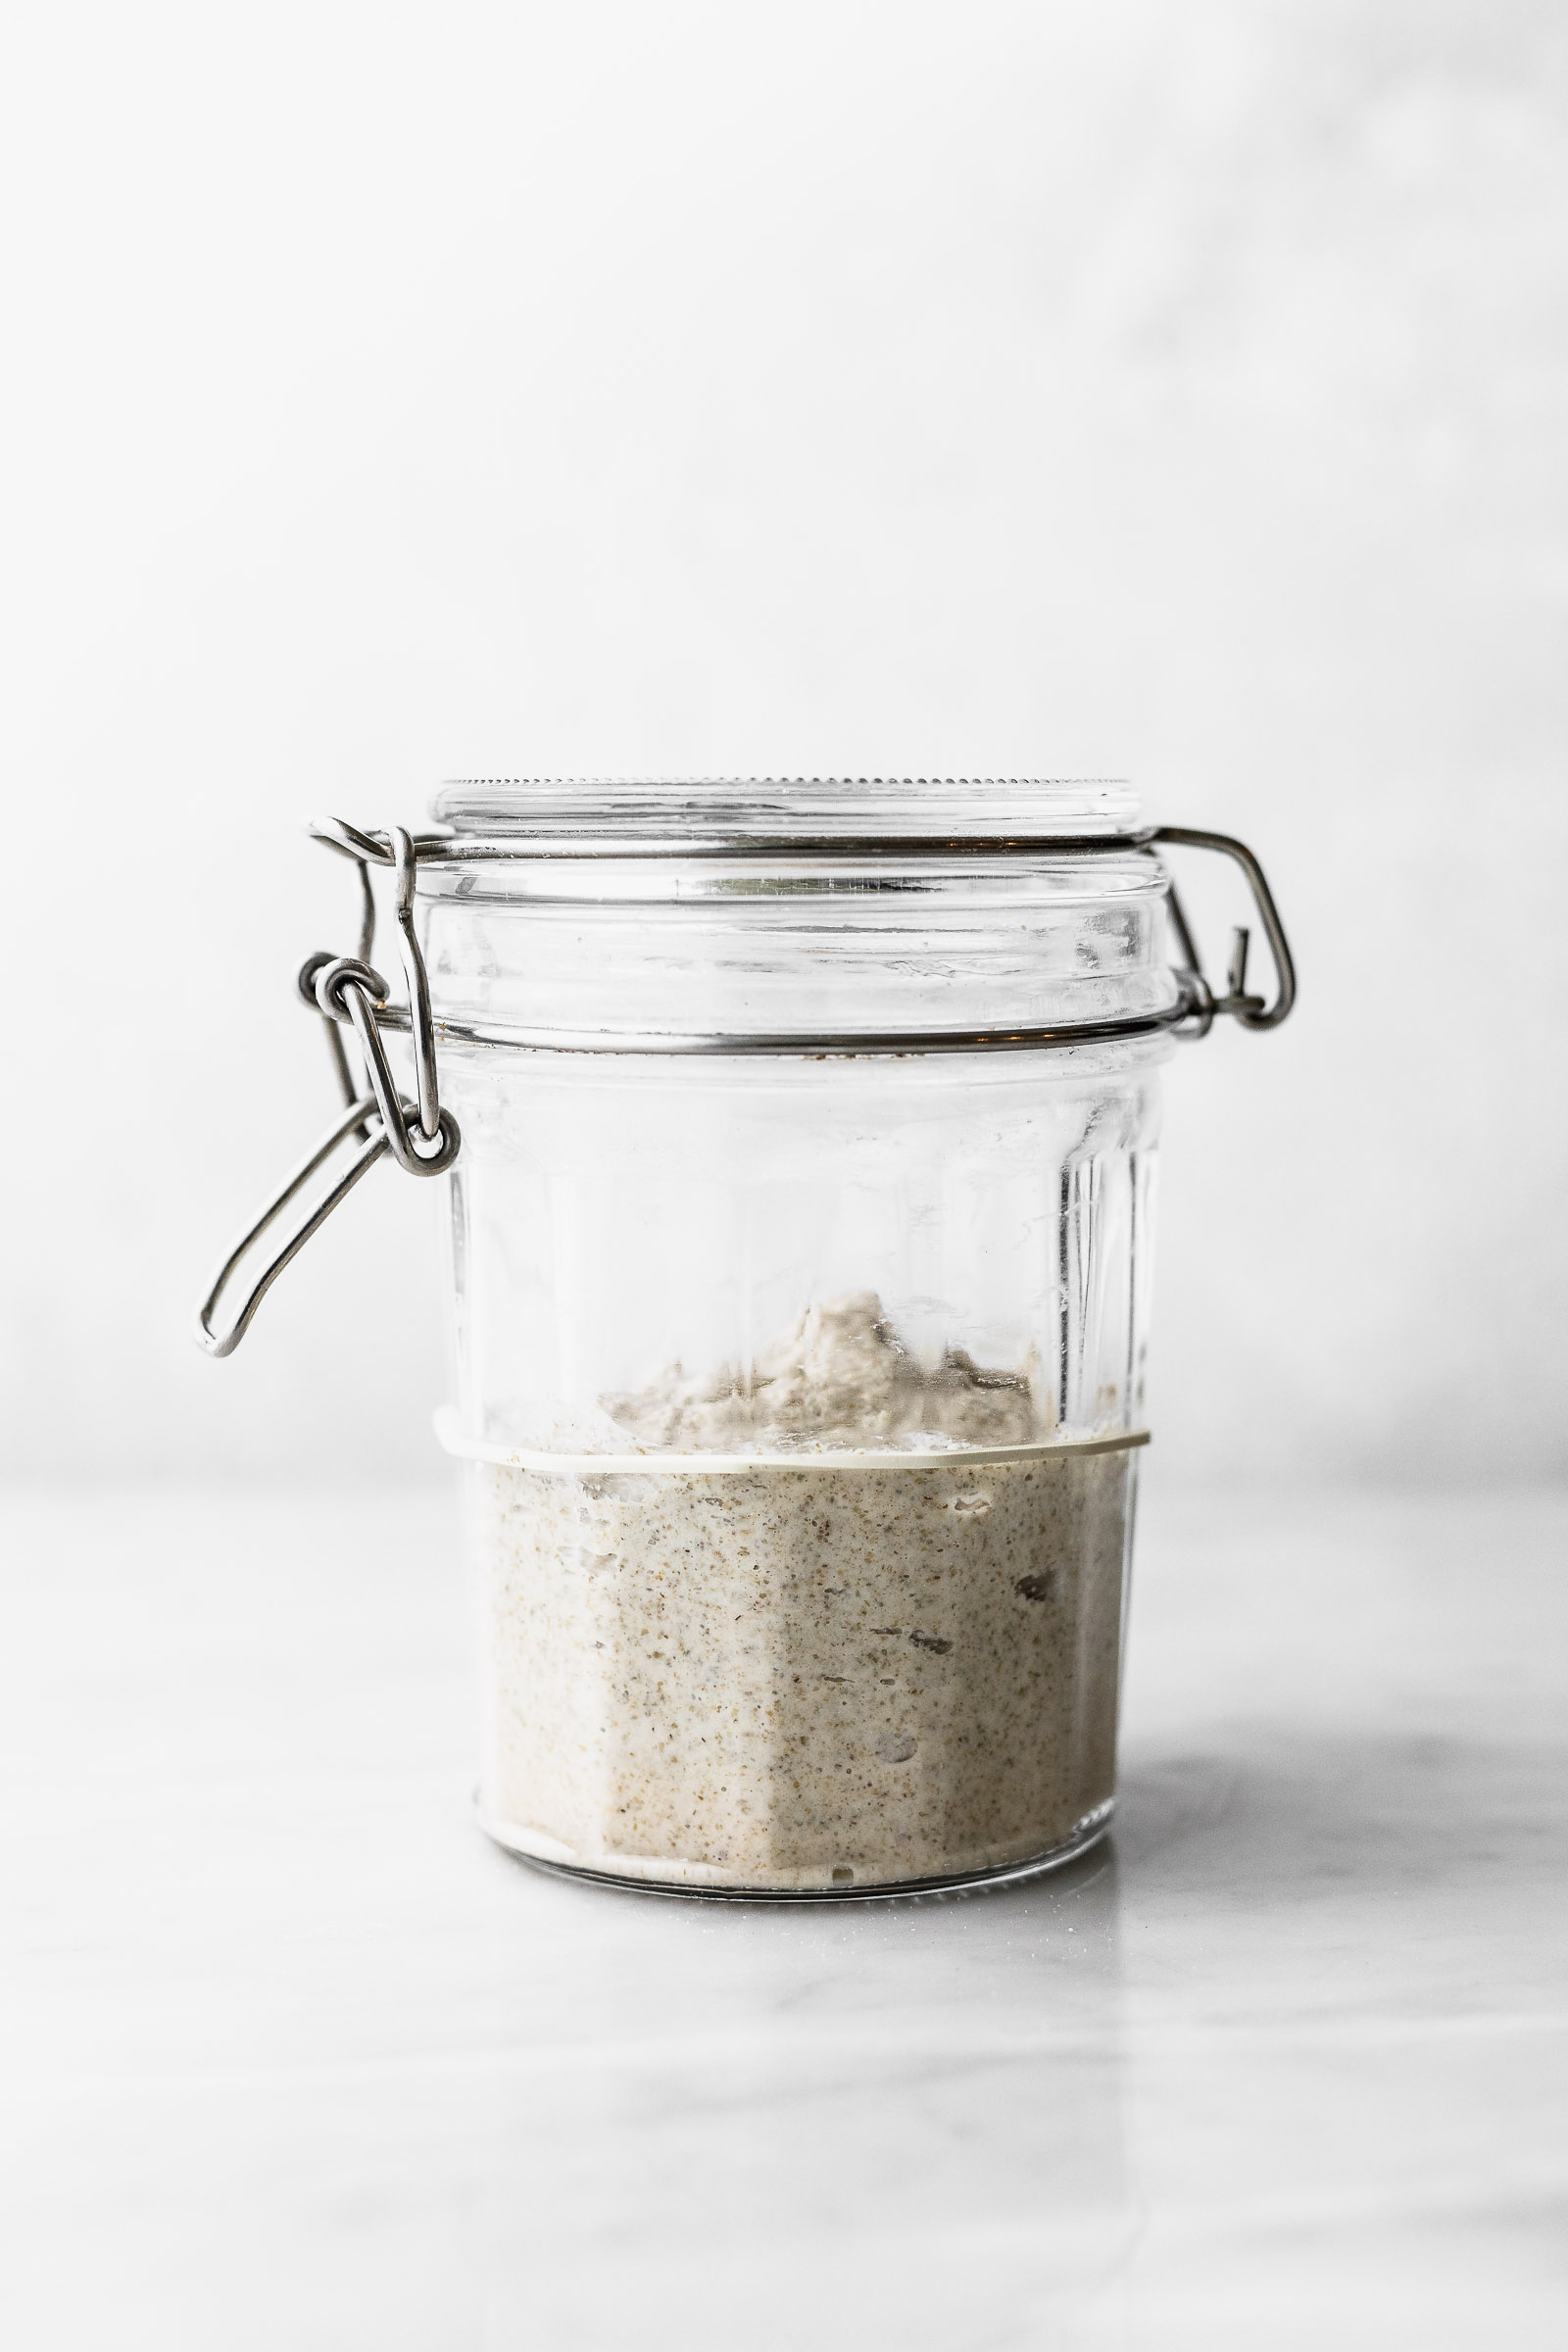
- A container: ideally use one that’s see-through so you can see the evolution of the starter as its activity increases. It’s also ideal if its sides are straight so you can easily mix in the ingredients from your feedings or refreshings. If it’s a container with a screw top, just place it on top of the container, don’t close it. If it’s a clip lid like mine, remove the rubber that makes it air-tight; your starter needs to breathe!
- A note on flour: I use half rye flour and have all-purpose flour to feed my starter. You do not have to use rye but it does make it easier to maintain as it has more nutrients than wheat flour and it also has a nicer smell. If you can’t get rye you can use whole wheat to replace it or if none of these is possible, go for only all-purpose flour. Making a sourdough starter with only all-purpose flour can be tough because sometimes, in the refining process, they kill some of the bacteria we need.
How to make a sourdough starter
For this process I’m using the method described by Maurizio from The Perfect Loaf. I love what he does with his starter and we met in November of last year so I could write if I had any doubts. His method worked PERFECTLY for me and didn’t even have to bother him at all haha. It takes about a week to get to the point where you can use the starter to bake. Still read all the way to the end when I tell you how to tell if your starter is ready.
Day 1 – flour and water
On day 1 we mix flour and water for the first time (let the adventure begin!). I used only rye flour for this as recommended by Maurizio but it could also be all purpose flour. I recommend that you feed your starter during the morning. Breakfast for you, breakfast for your starter.
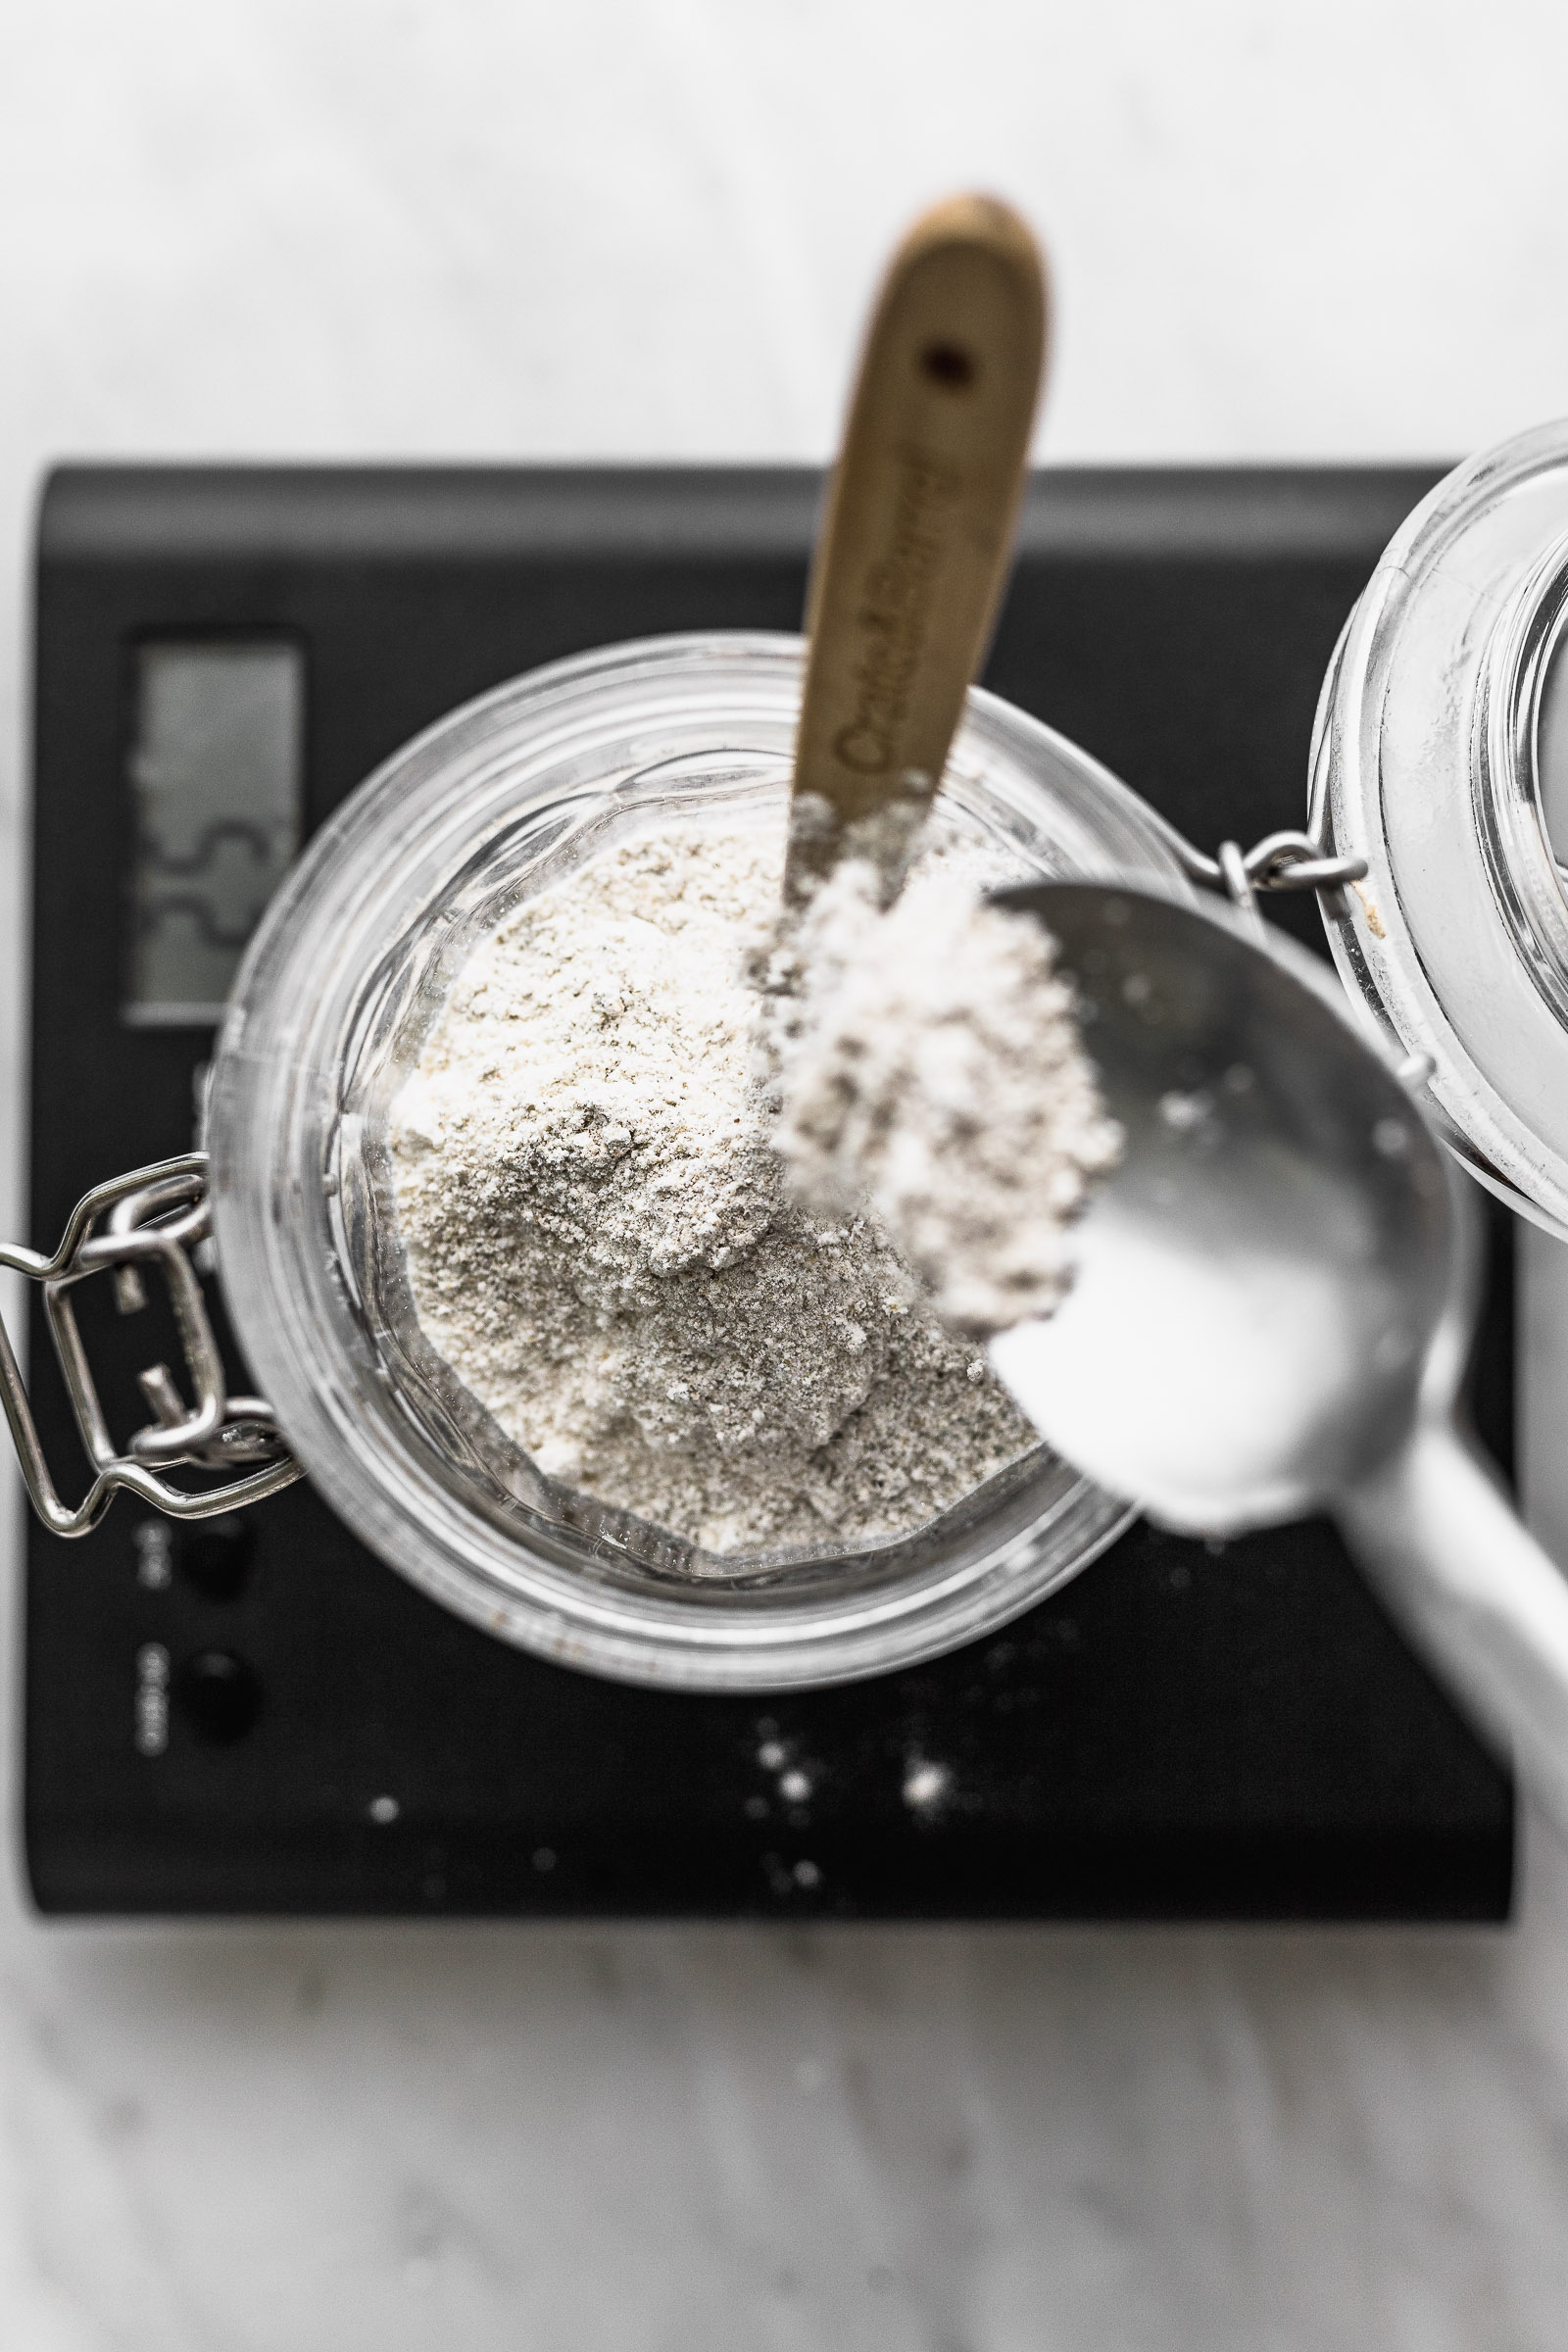
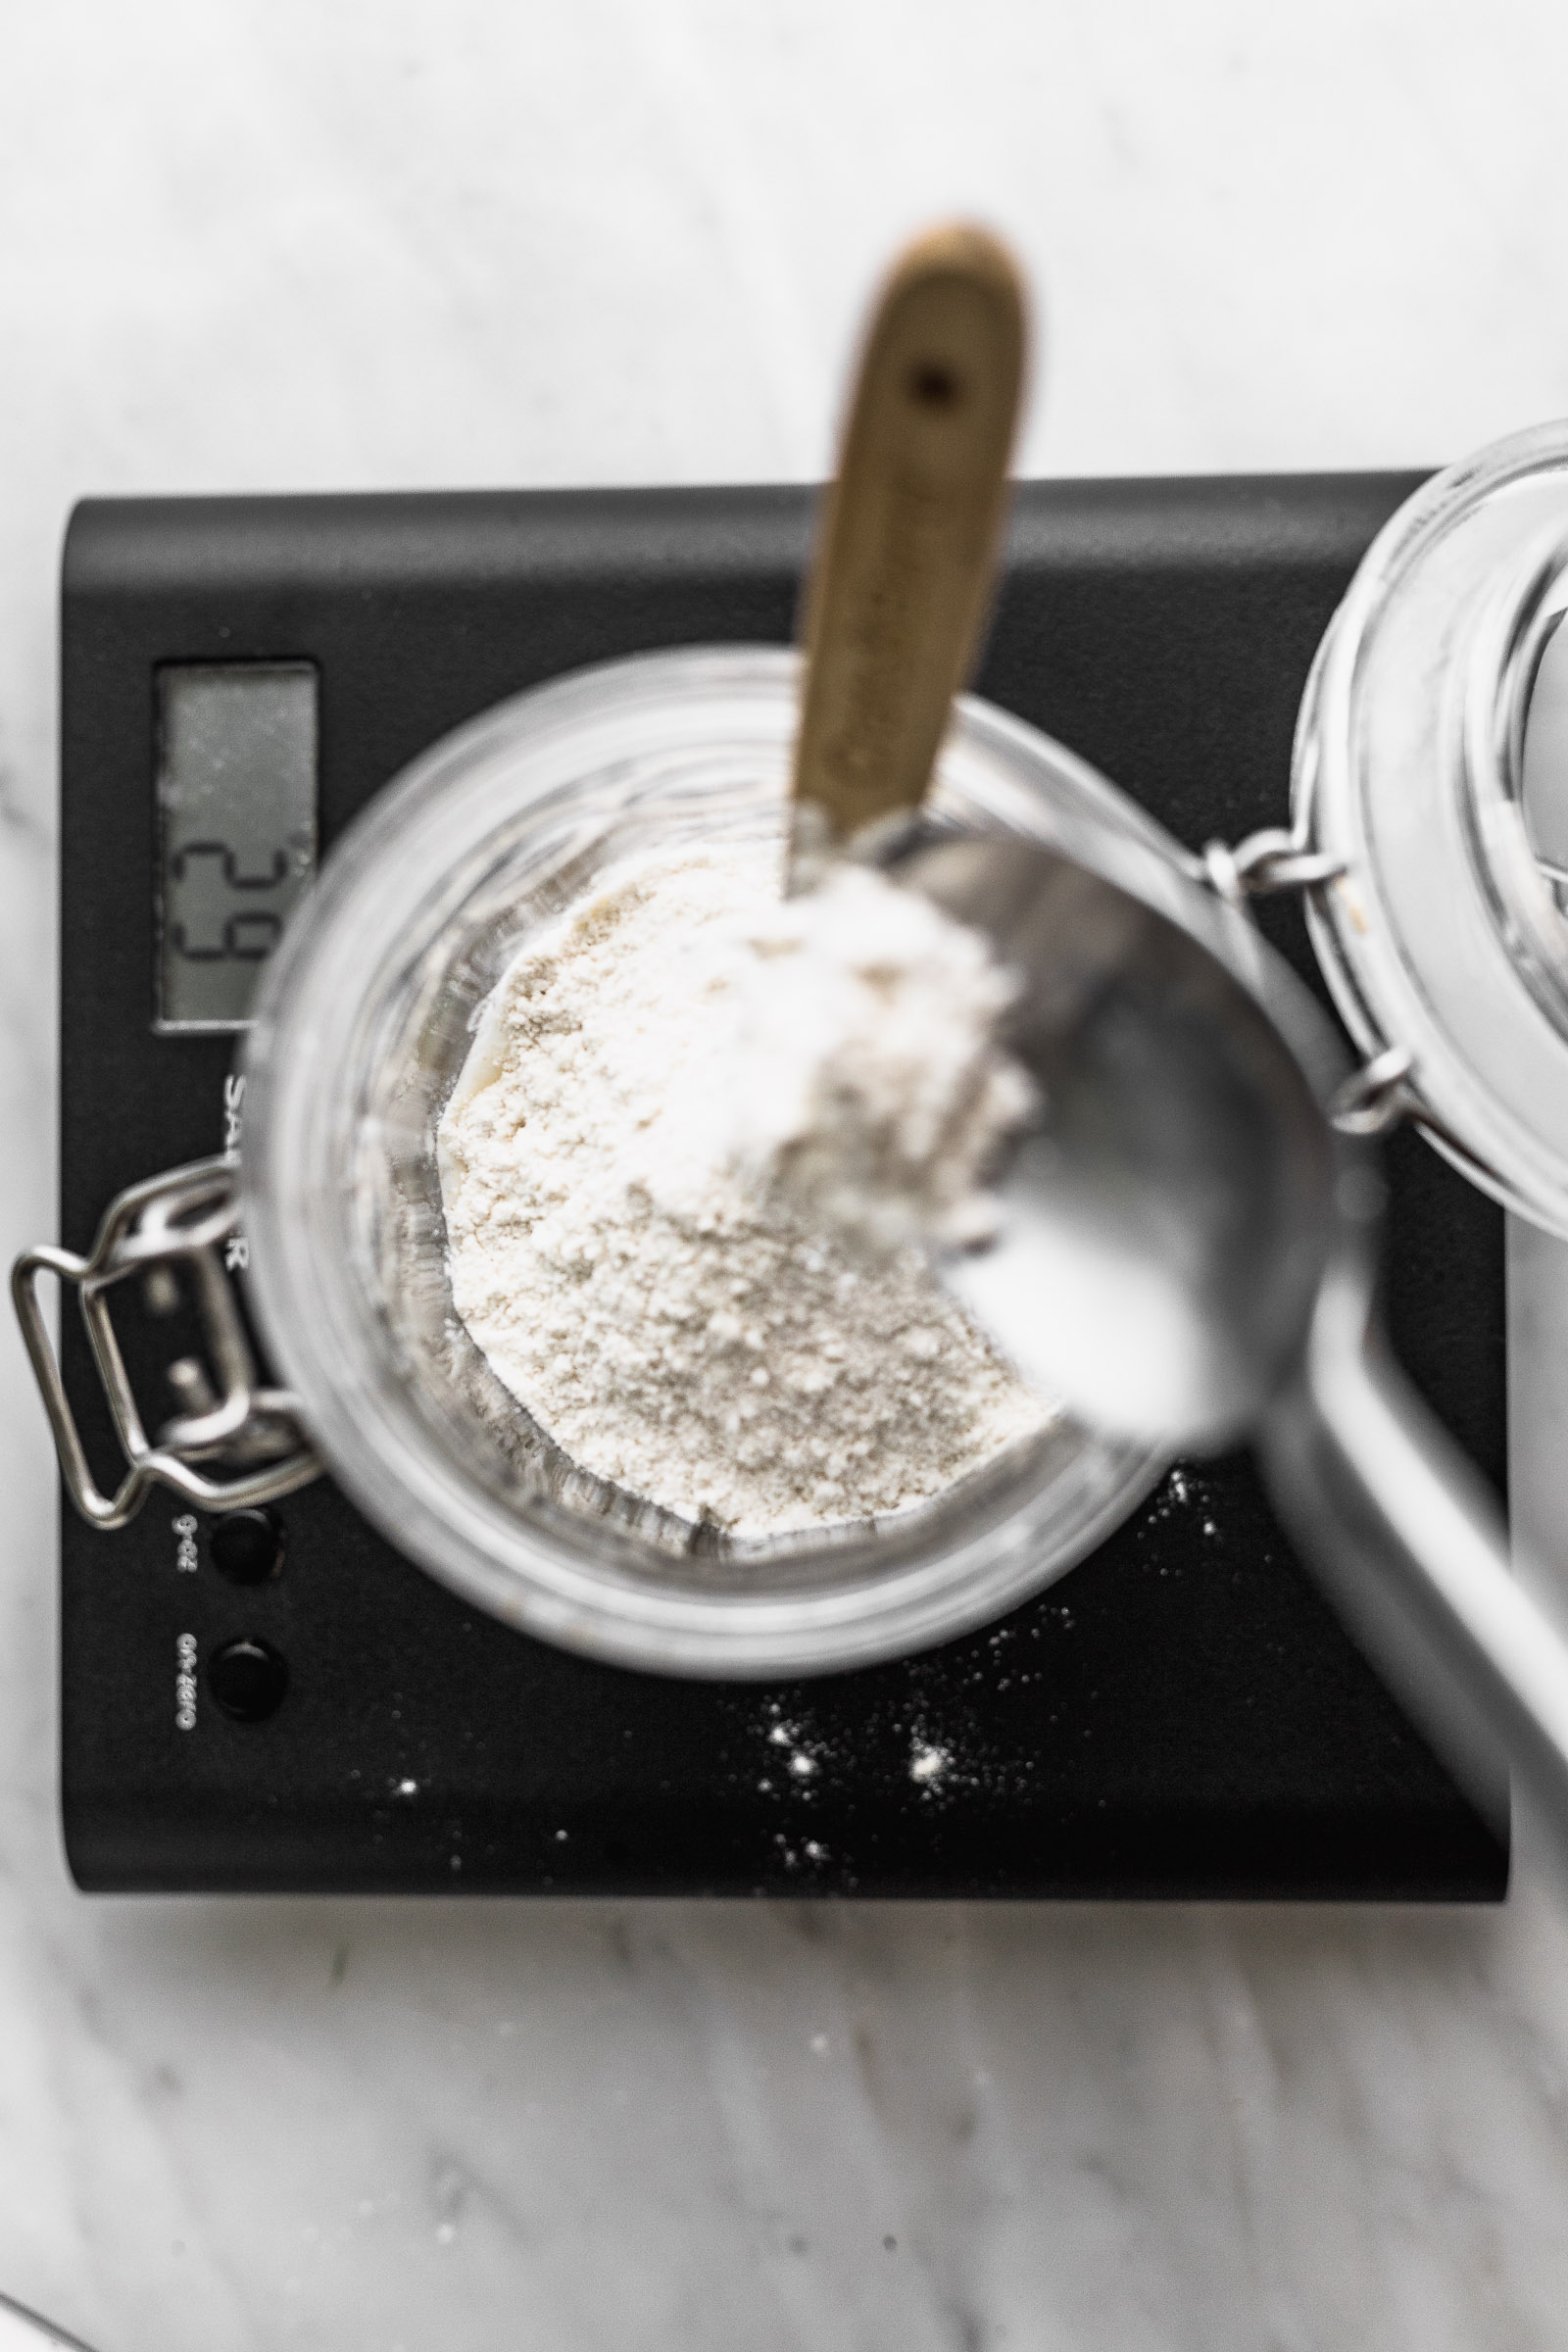
- Place the container on the scale and hit “Tare”, “Zero” or whatever button your scale has to reset it to zero with the weight from the container on top.
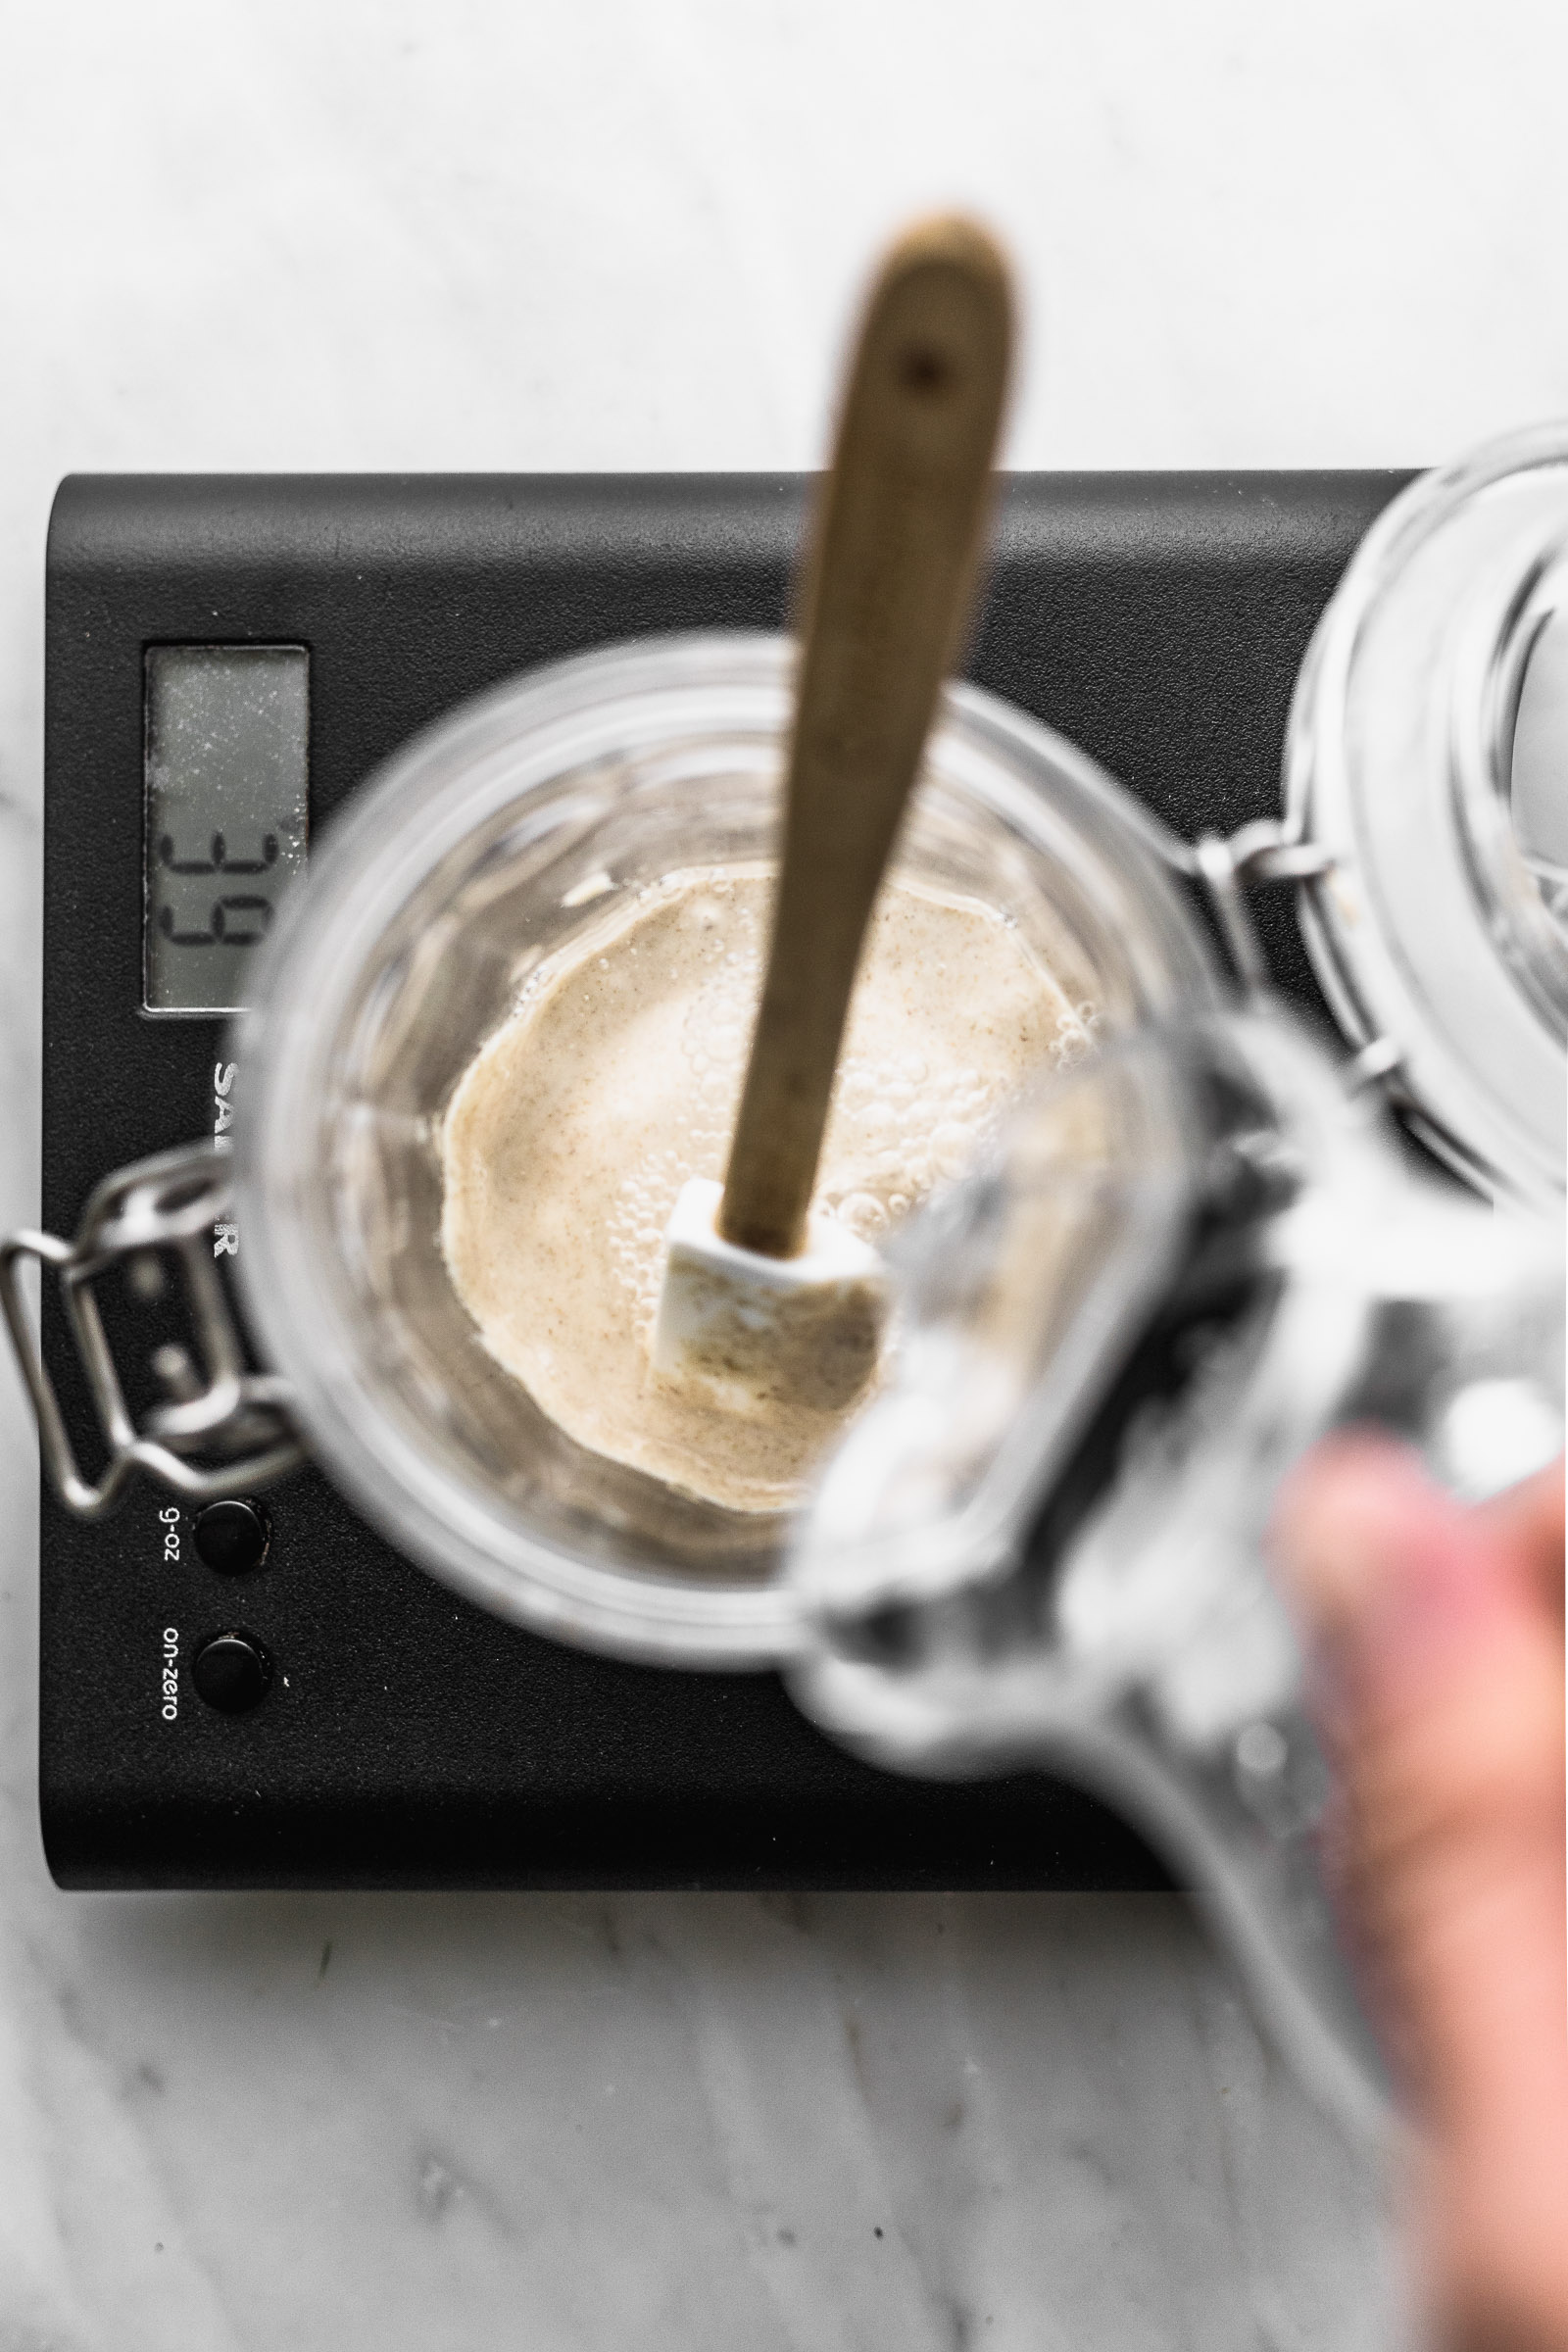
- Place 100g of rye flour inside (or all-purpose flour) and 150g of water. If the water is freezing because it’s winter then stir in some warm water into it first. It should be cool to the touch but not cold and definitely not hot. Mix.
- Close the lid and place in a bowl. The bowl will help by trapping any starter that oozes out making it easier to clean. It remains like this until the next day at the same time. Leave it in a place that’s not too cold and definitely not under direct sunlight. This last note is good for forever with your starter. Don’t place it in the fridge yet, you’re going to be able to do it later but for now, we need it at its highest activity possible.
Day 2 – is there anyone there?
24 hours later you may or may not see any activity. It may grow a lot, a bit or nothing at all. I got nothing at all. On day two you’ll be using half the amount of rye flour and half of the all-purpose flour or otherwise all wheat flour. Scoop out 75g of the mix from the day before and compost or discard the rest. Mix the 75g in with 50g rye flour, 50g wheat all-purpose flour and 125g water. Remember that it helps if the water is lukewarm, especially in cold months. Mix, put the lid on and done.
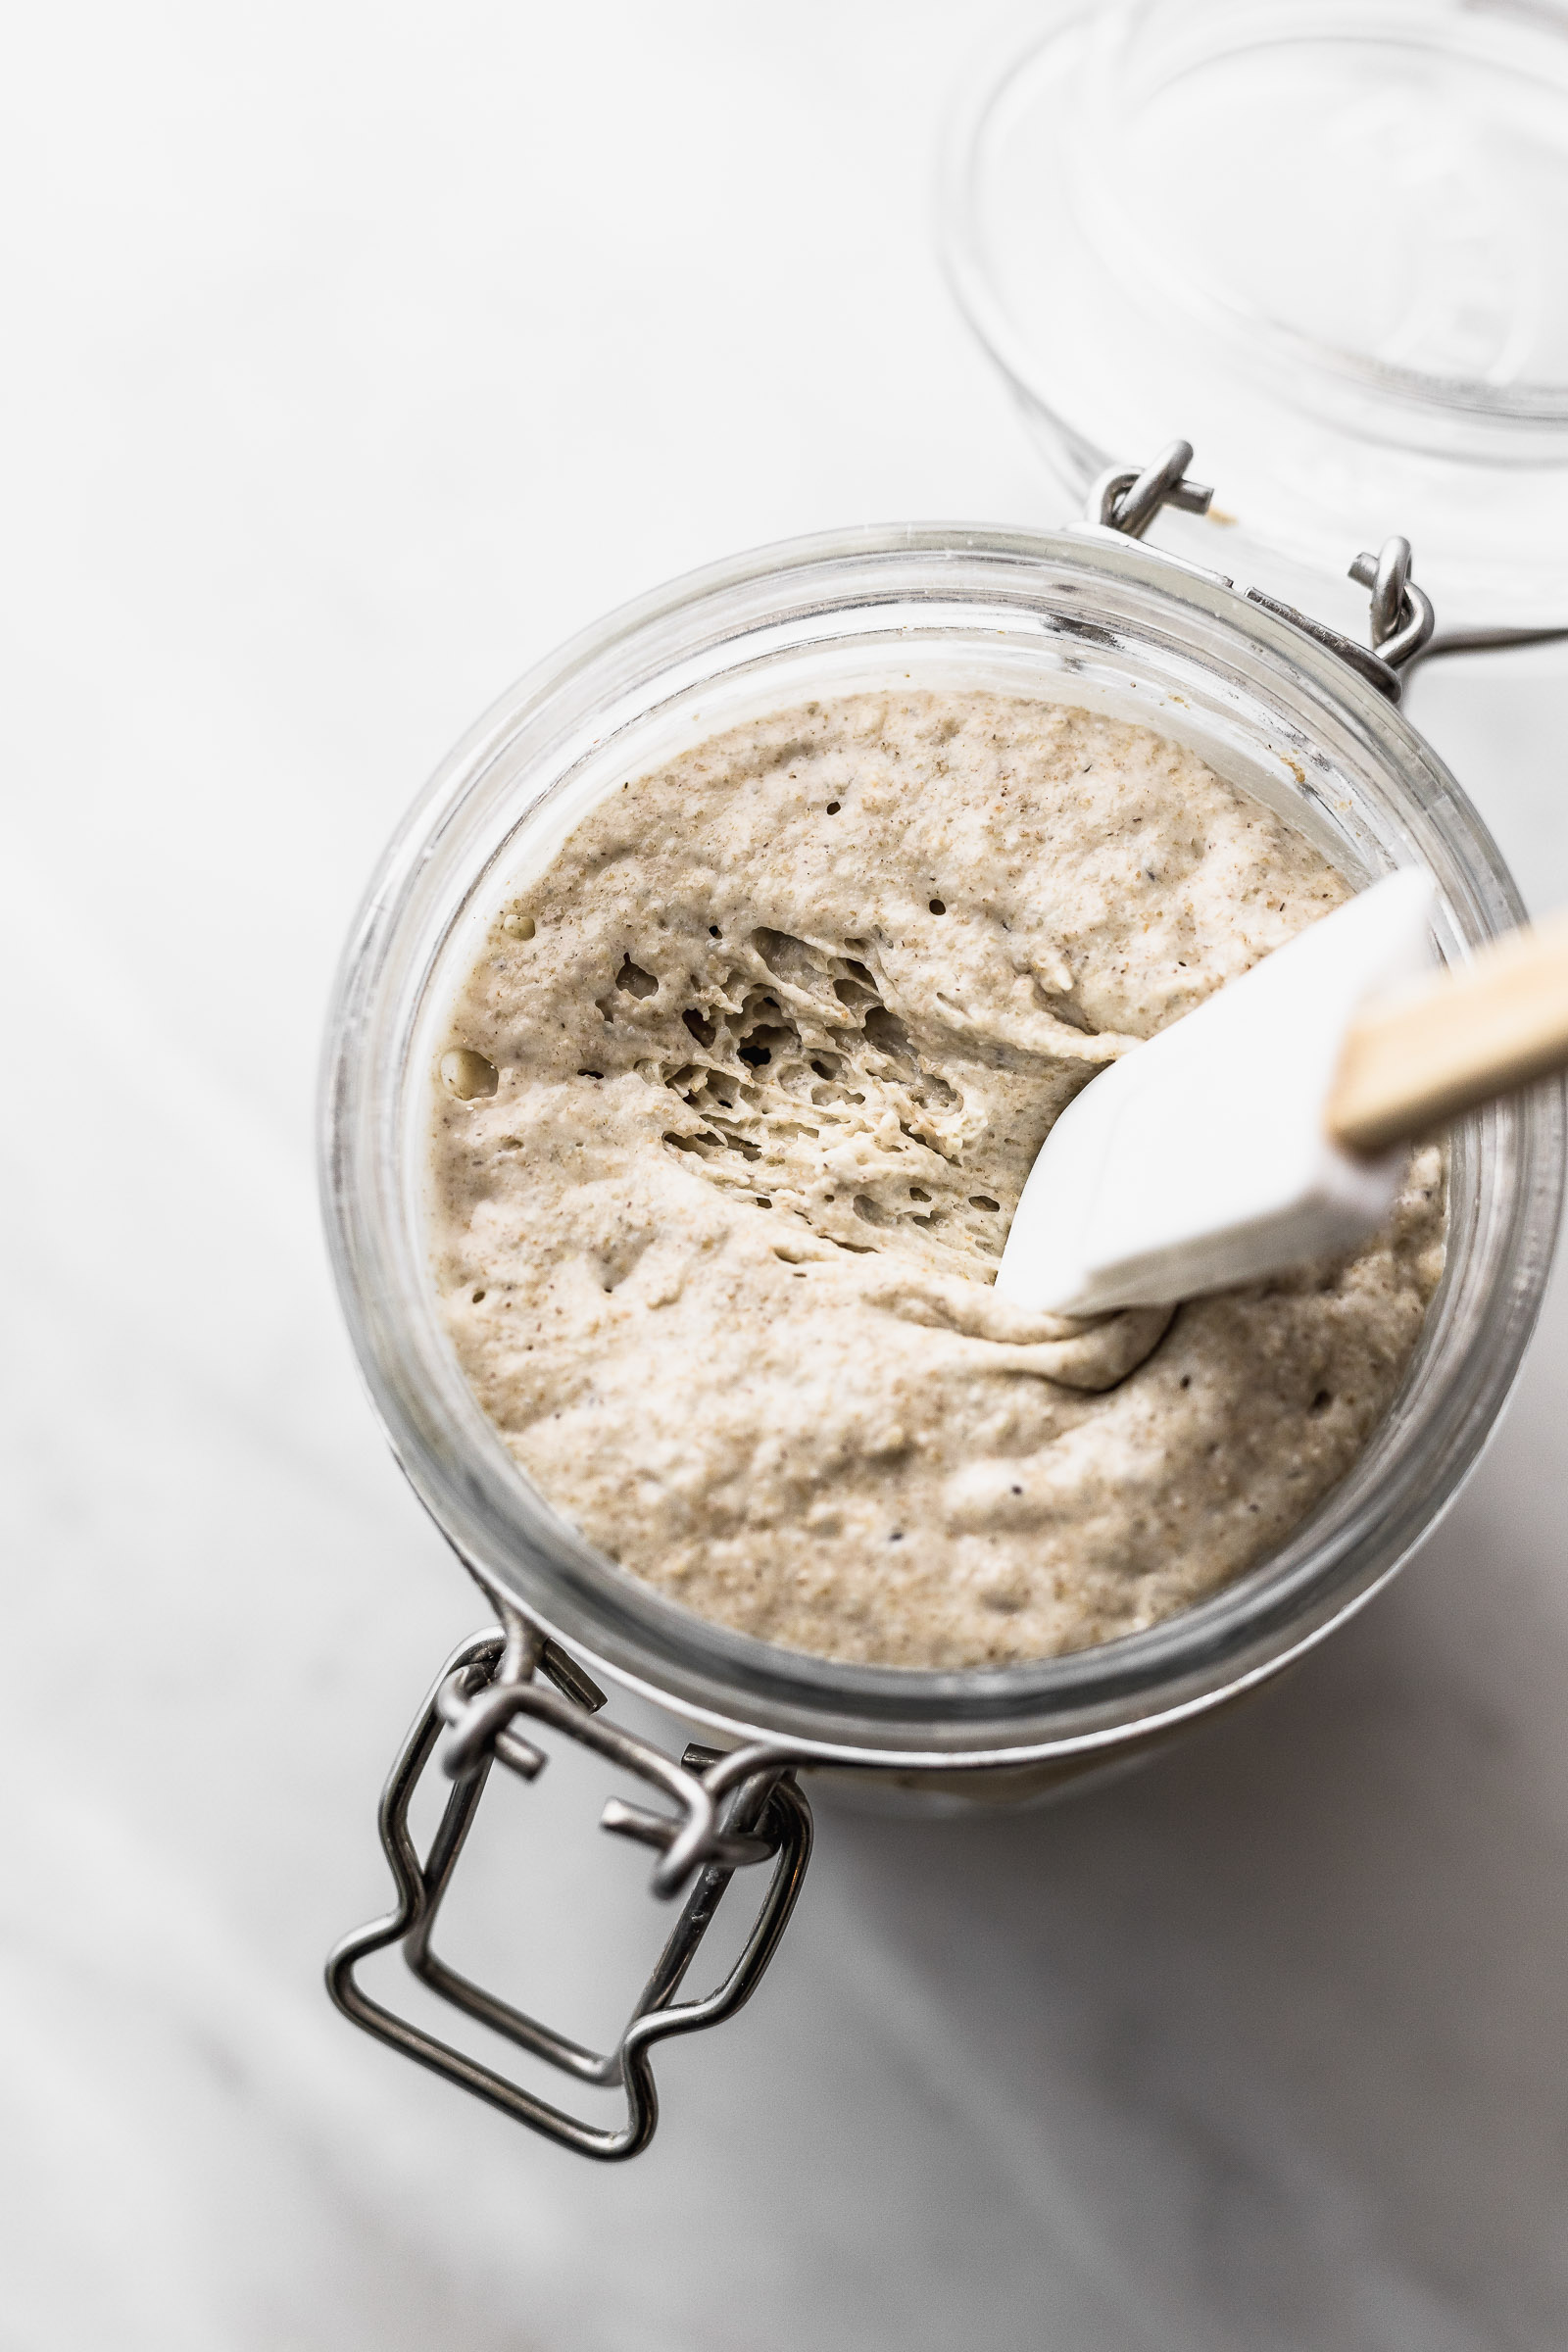
Day 3 – ¡hey! someone might actually be in there
24 hours later you might see a few bubbles or maybe you’ll get what I got and have the starter overflowing from all the activity. Again you scoop out 75g of the mix from the day before (compost or discard the rest) and add 50g flour, 50g all-purpose flour (or 100g all-purpose flour) and 125g of water.
Days 4, 5 and 6 – I get now that you’re a bit needy
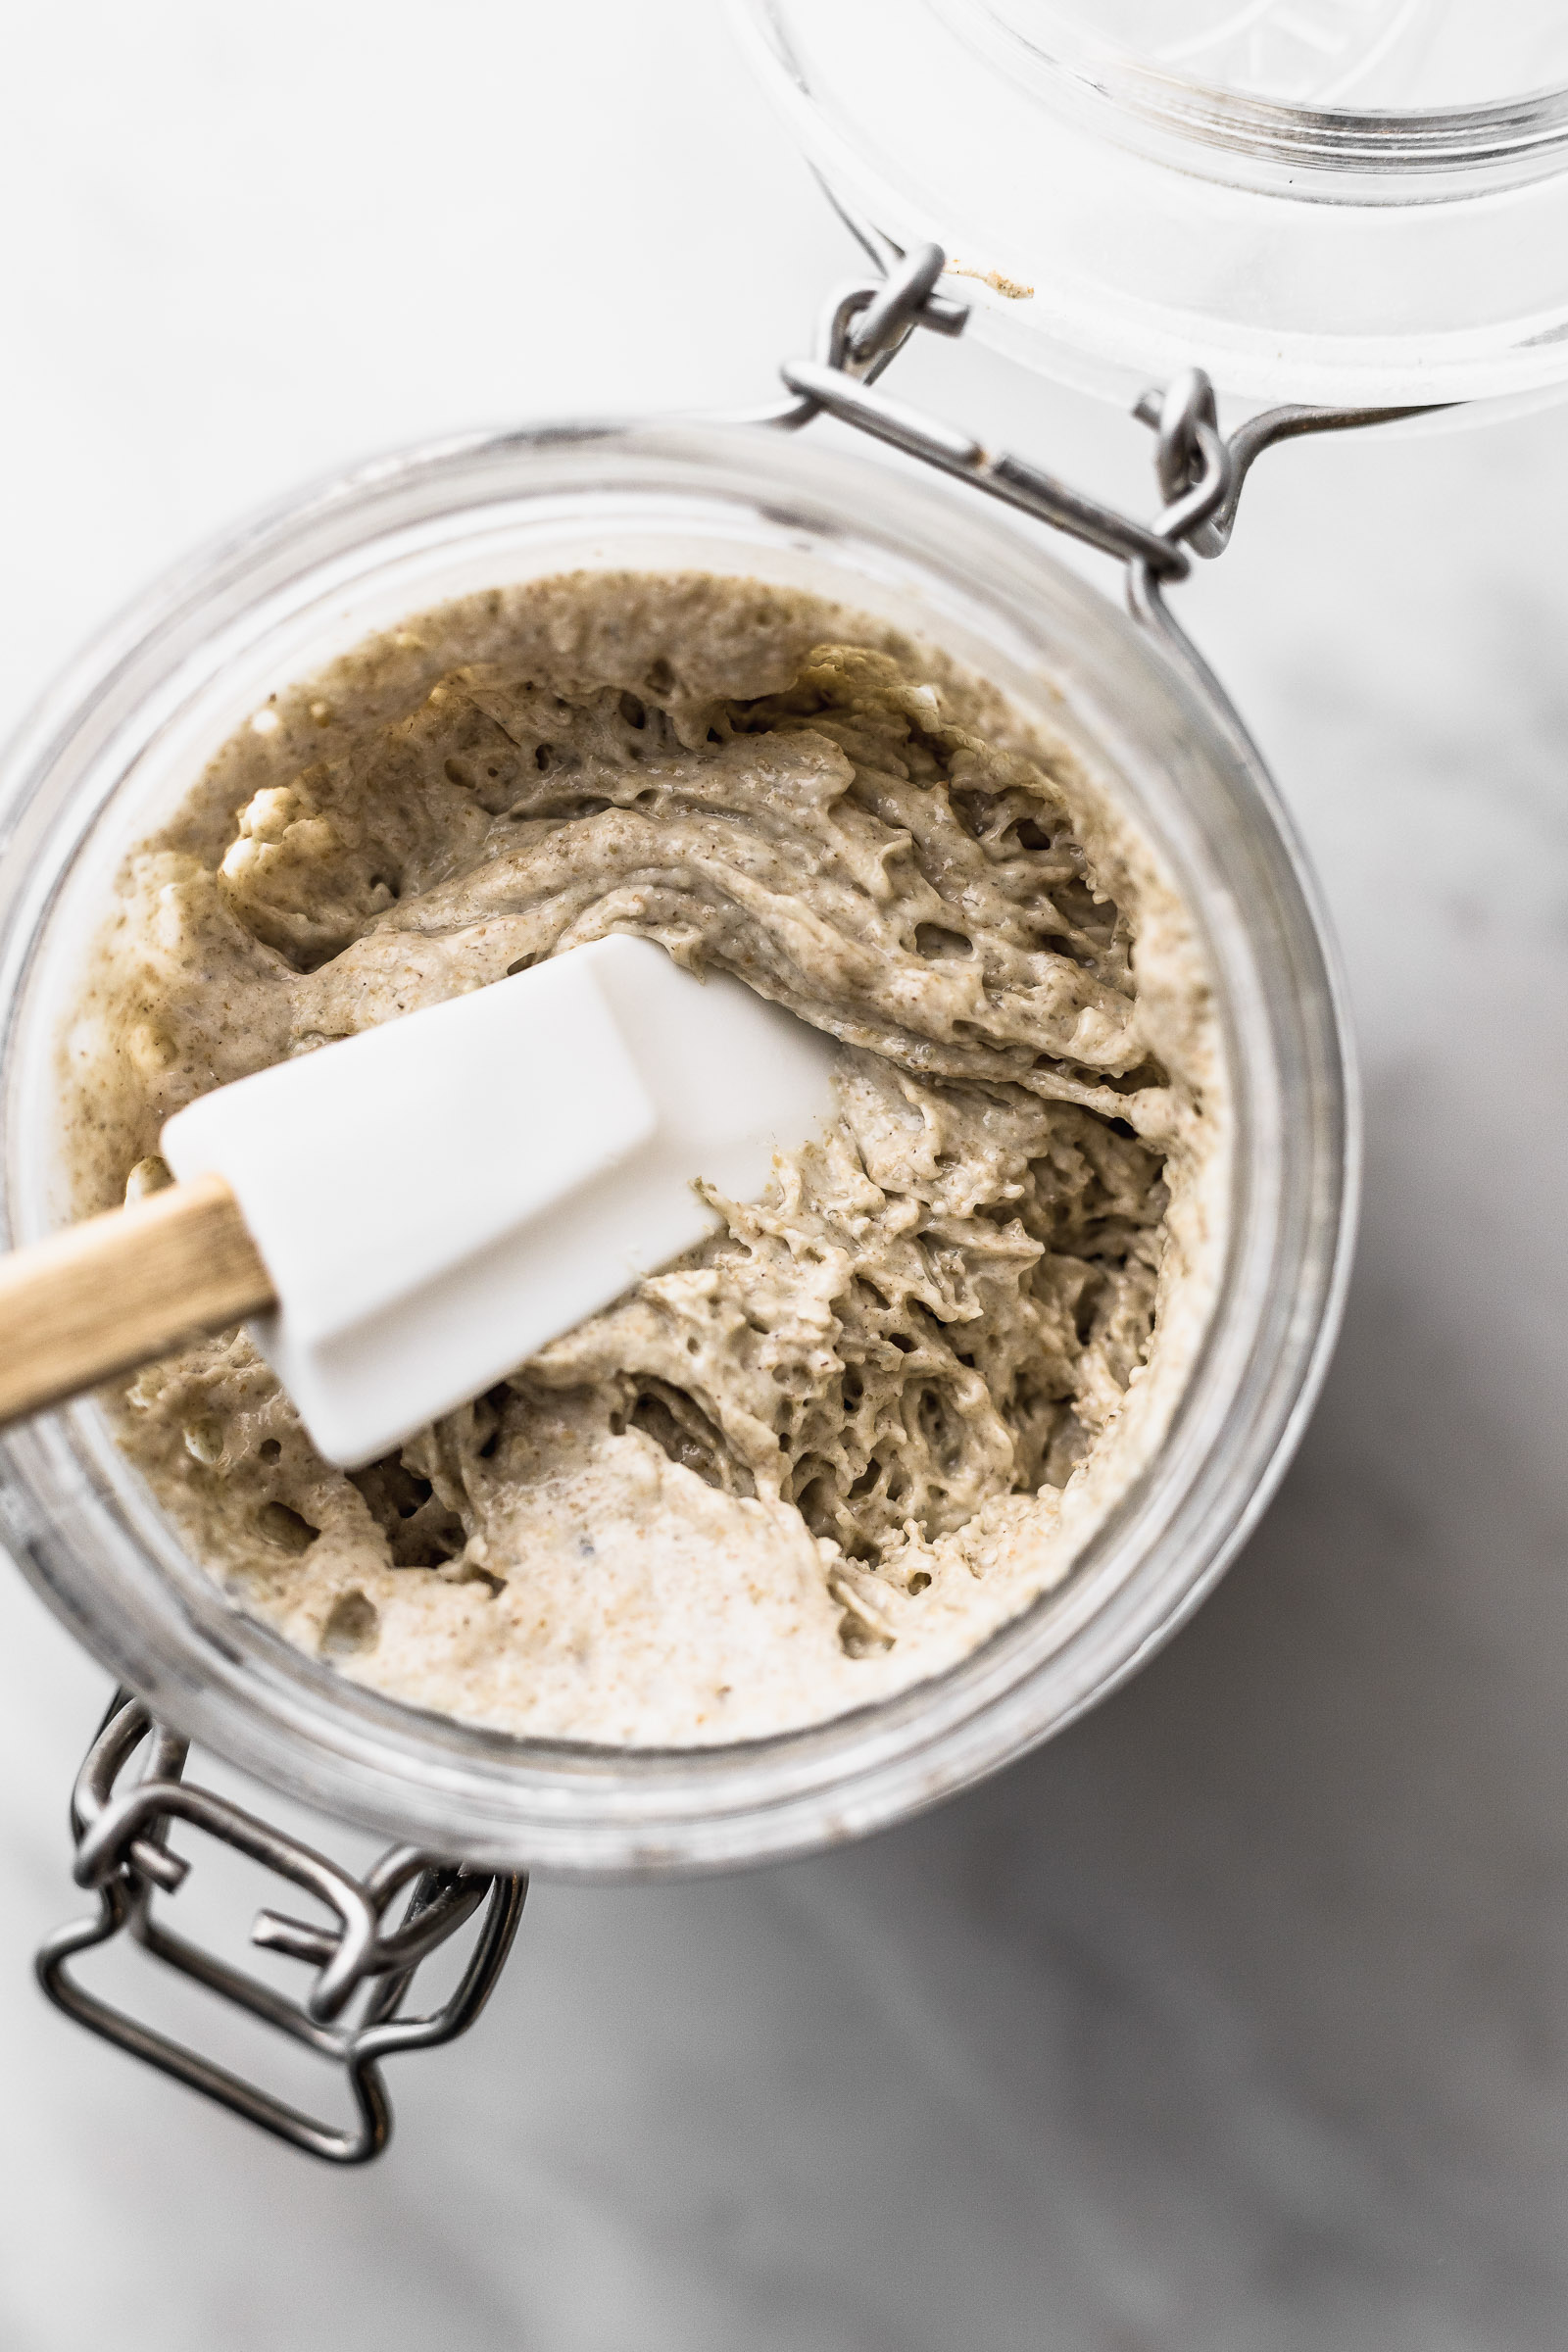
Today we start to feed our starter (by now it should have a name – mine’s called Joe) twice a day. I know that seems like a lot. In the morning you should see some activity and you’re doing the same thing we did on day 3: 75g of the mix from the day before with 50g flour, 50g all purpose flour (or 100g all purpose flour) and 125g of water. Repeat the same process 12 hours later. At this stage the smell coming off the starter will be varied: alcohol, fermentation, acidic, etc. It’s not very nice but I want you to know that it gets better and it ends up smelling similar to beer.
Day 7 and forever – I got this
From day 7 and onward we do the same thing but using less of the starter in the feedings. Go with 50g starter, 50g rye, 50g all purpose flour (or 100g all purpose flour) and 100g water. Repeat this every 12 hours.
Lorena, tell me already when I can bake some bread
OK, OK. I recommend that you listen to me on this one because it was Maurizio’s recommendation too and I didn’t listen and the bread didn’t come out right. The moment you can bake bread using your starter is when the activity increases at a predictable pace after each feeding. That means that it will reach its peak activity at the same time . As you can see in the picture it helps to mark the container to the height it was when you first fed it so you can notice the growth in volume. Once you see the starter expand every day at the same time then you’re good to go.
Once you’re ready to bake go ahead and check out my Sourdough Bread for Beginners post.
Starter upkeep
Once you’re done with the process you NEED a good maintenance routine. For that reason, I encourage you to reed my sourdough starter maintenance post.
FAQ
I’m going to keep this updated with your questions so please leave them below on the comment section.
- There’s a layer of liquid on top / at the middle of my starter, is it normal? Yes, it is. That liquid is alcohol and it means your starter is hungry. Never mix it in; discard it before feeding, don’t mix it in.
- My starter doesn’t have any activity. Is it dead? Go back to feeding it once a day if you were feeding it twice a day previously. Evaluate the following factors. 1. Am I closing the lid of the container fully? If you are, you shouldn’t! Your starter needs to breathe. If you’re using a container with screw-top, just place the lid on top, don’t screw it in. If it’s a clip top like mine, remove the rubber that makes it airtight. 2. Is the water or the place I’m leaving my starter in is too cold? If it is, you can try by adding warm water when you feed it and changing it to a warmer spot. 3. Another factor could be the quality of the water you’re feeding the starter. Some cities add Chlorine to the water which could prevent the starter from developing. Try boiling the water previously.
- I forgot to feed it, is it dead? When you open the container you’ll notice it will not have a very nice smell. It will smell more alcohol-y because with that much digestion the percentage of ethanol would have increased. The starter could even split and you’ll see liquid on the op. It will also smell more acidic than usual. But fear not, it’s still alive. Feed it normally again.
- I forgot to feed it and there are now hairy fungi on top, is it dead? No. You can still bring it back to life. Remove the top part with the fungi and scoop out a tablespoon from the bottom. After several feedings, you’ll see it will be back and the bad bacterias die out in this process.
2 comments
My starter is finally alive and well but it’s peak is in the middle of the night. How can I change it from 3 am/pm to 7am/pm?
Hi! By decreasing the amount you leave in your jar before refreshing 🙂