This lemon curd cheesecake dessert is delicious, soft, and crispy. It also has an incredible punch of lemon flavour. I love making individual desserts because it makes the people eating them feel special. And since the filling in this lemon curd, layered dessert is a no-bake cheesecake, it removes the complexity factor from the recipe.
The layers in this Lemon Curd Cheesecake Dessert
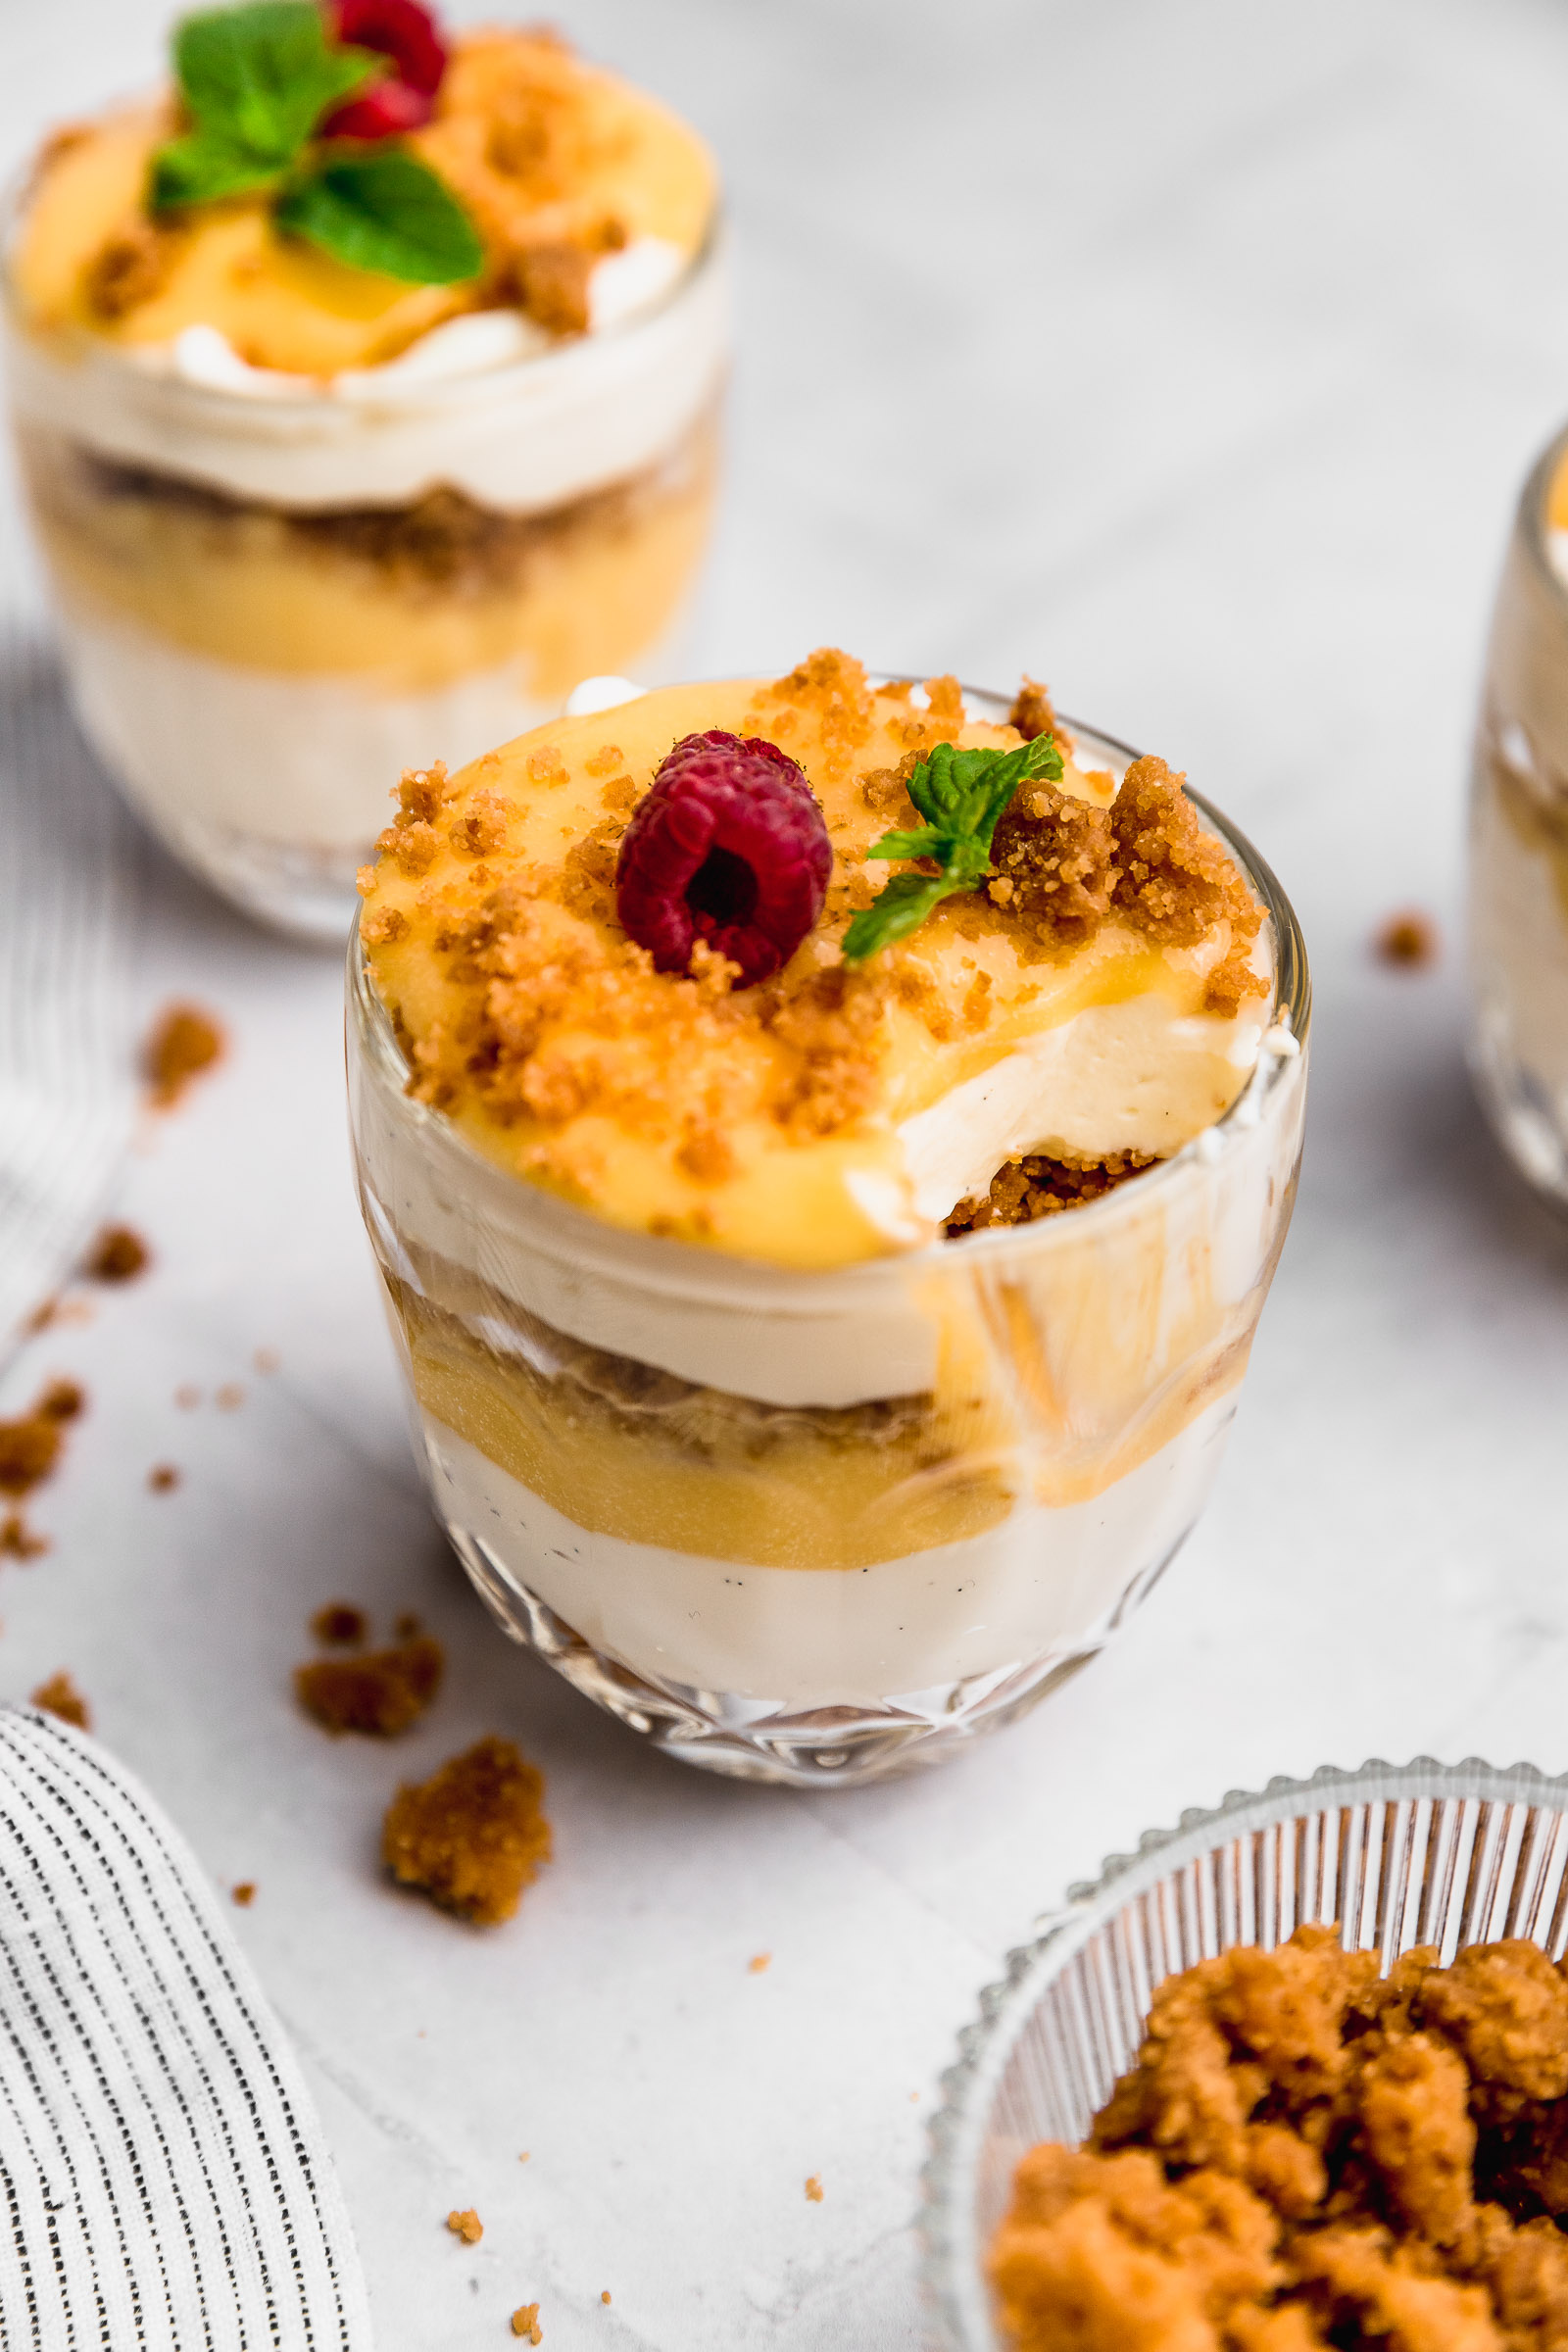
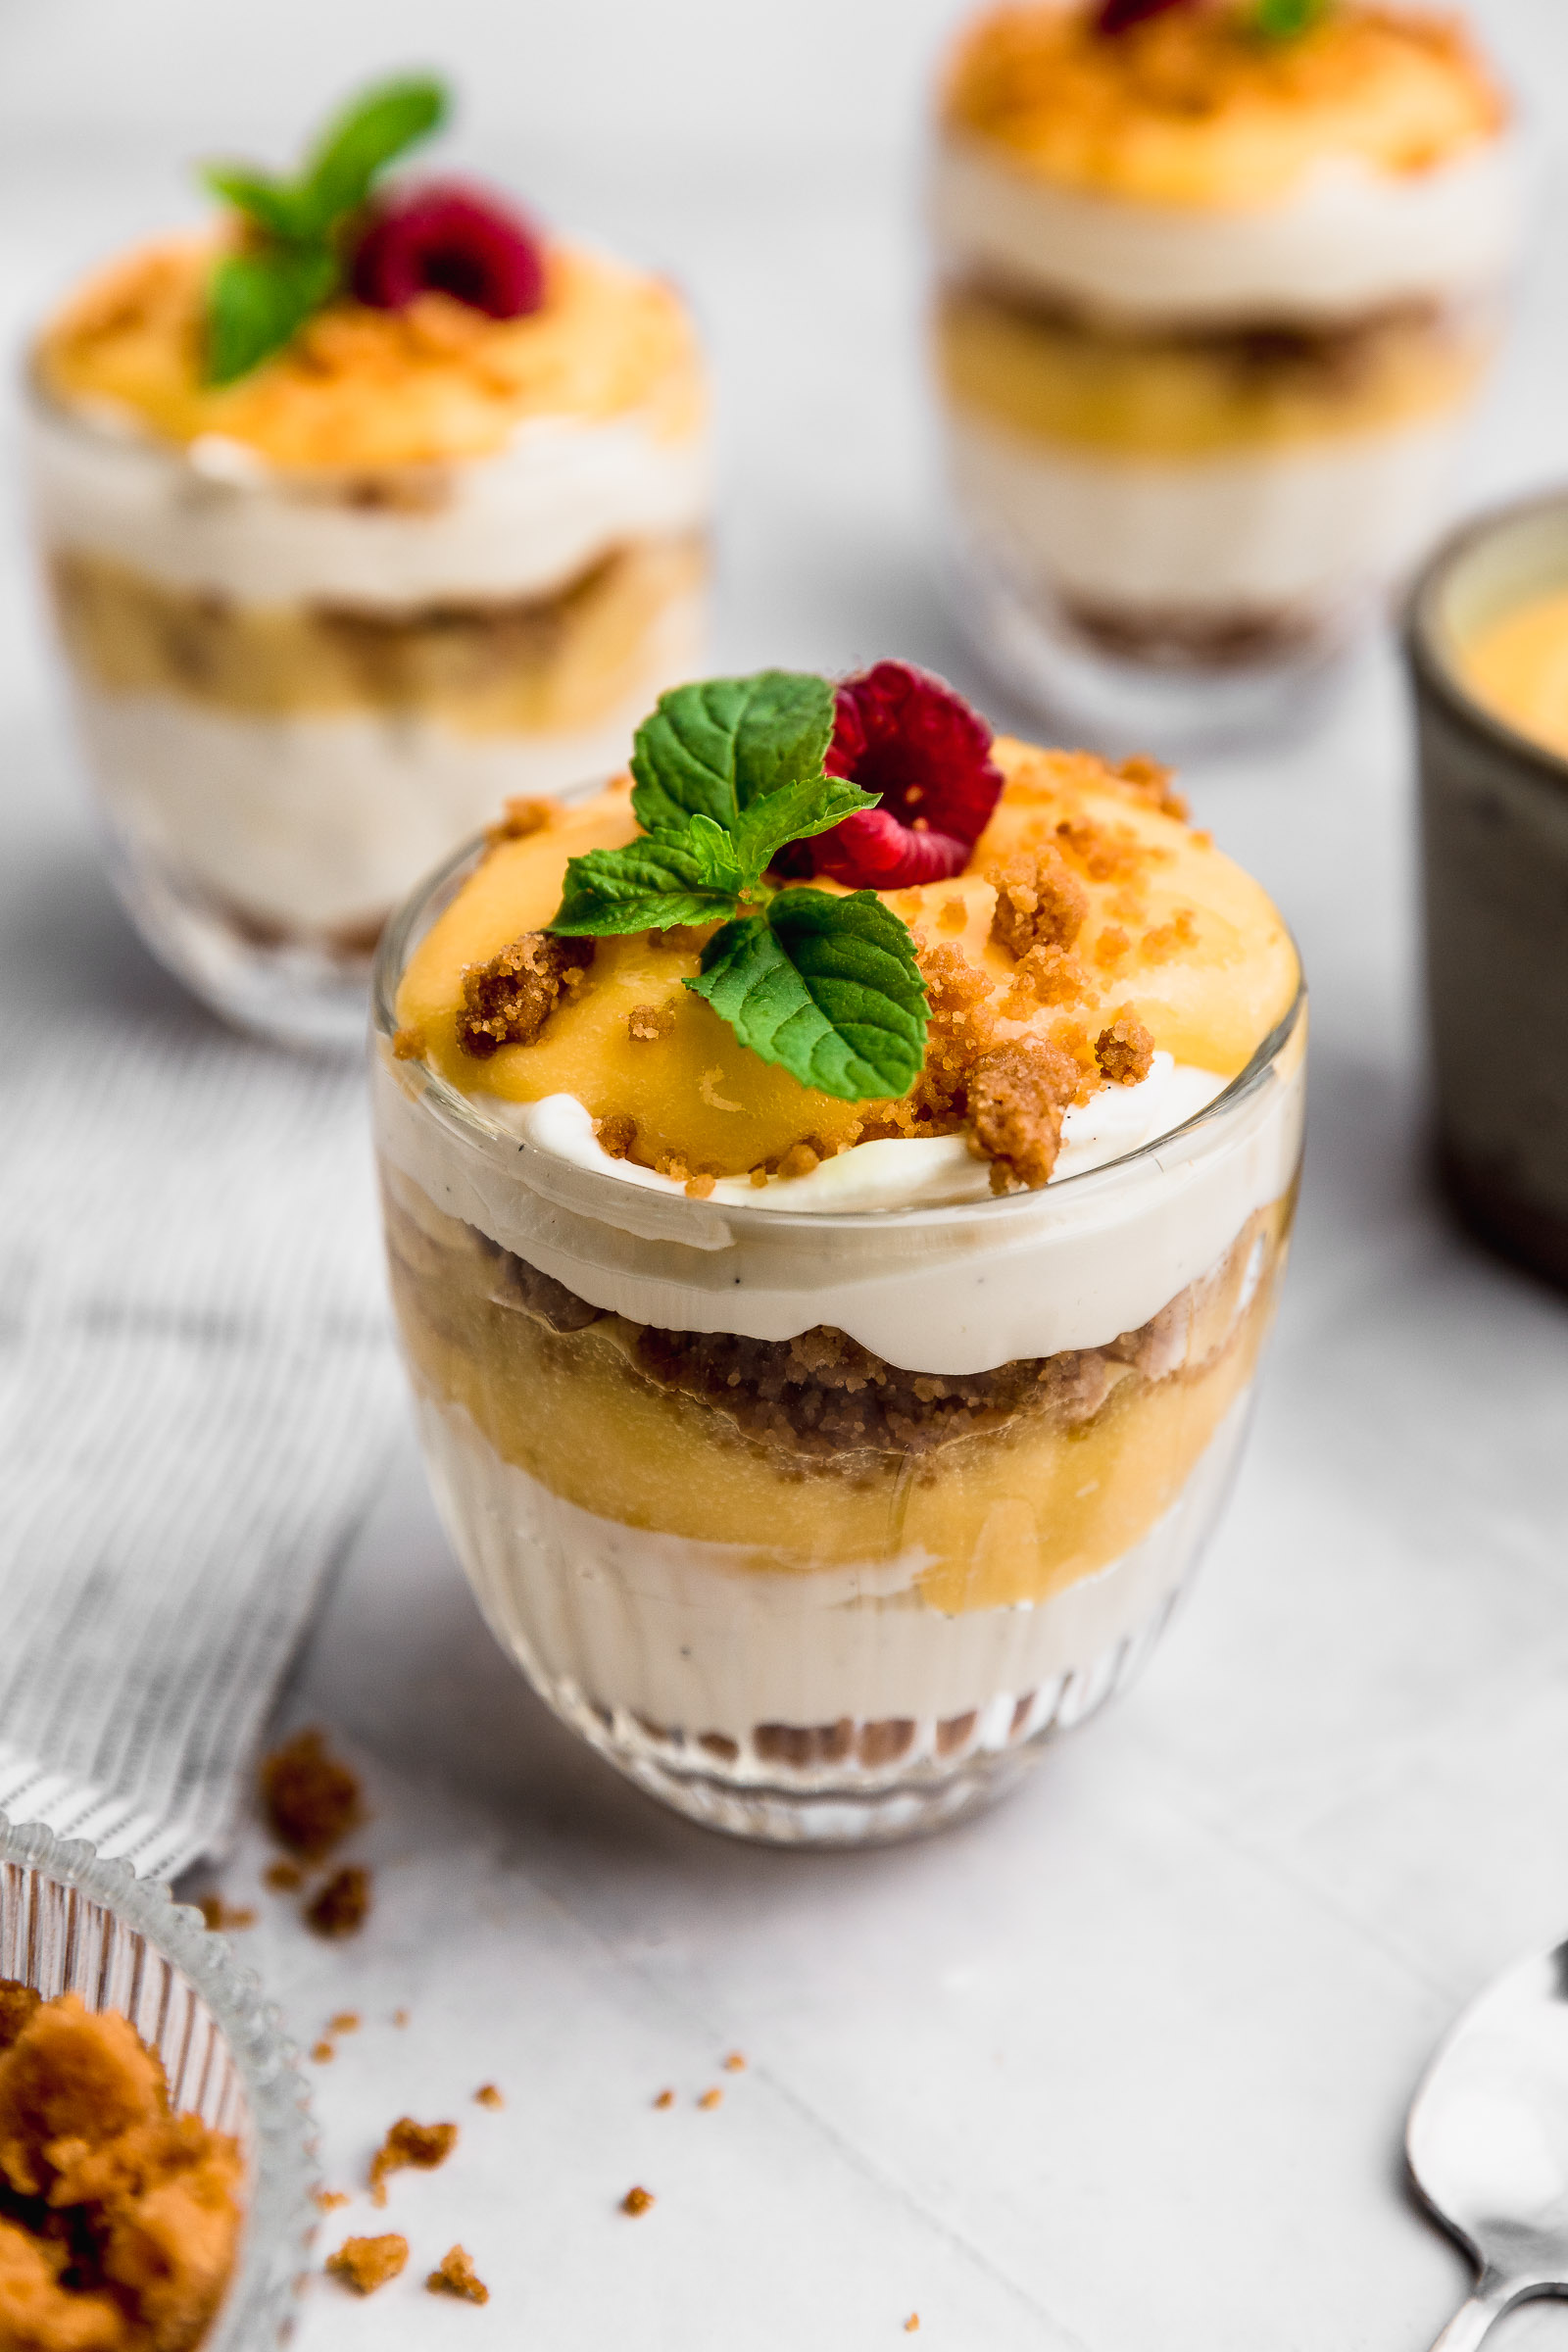
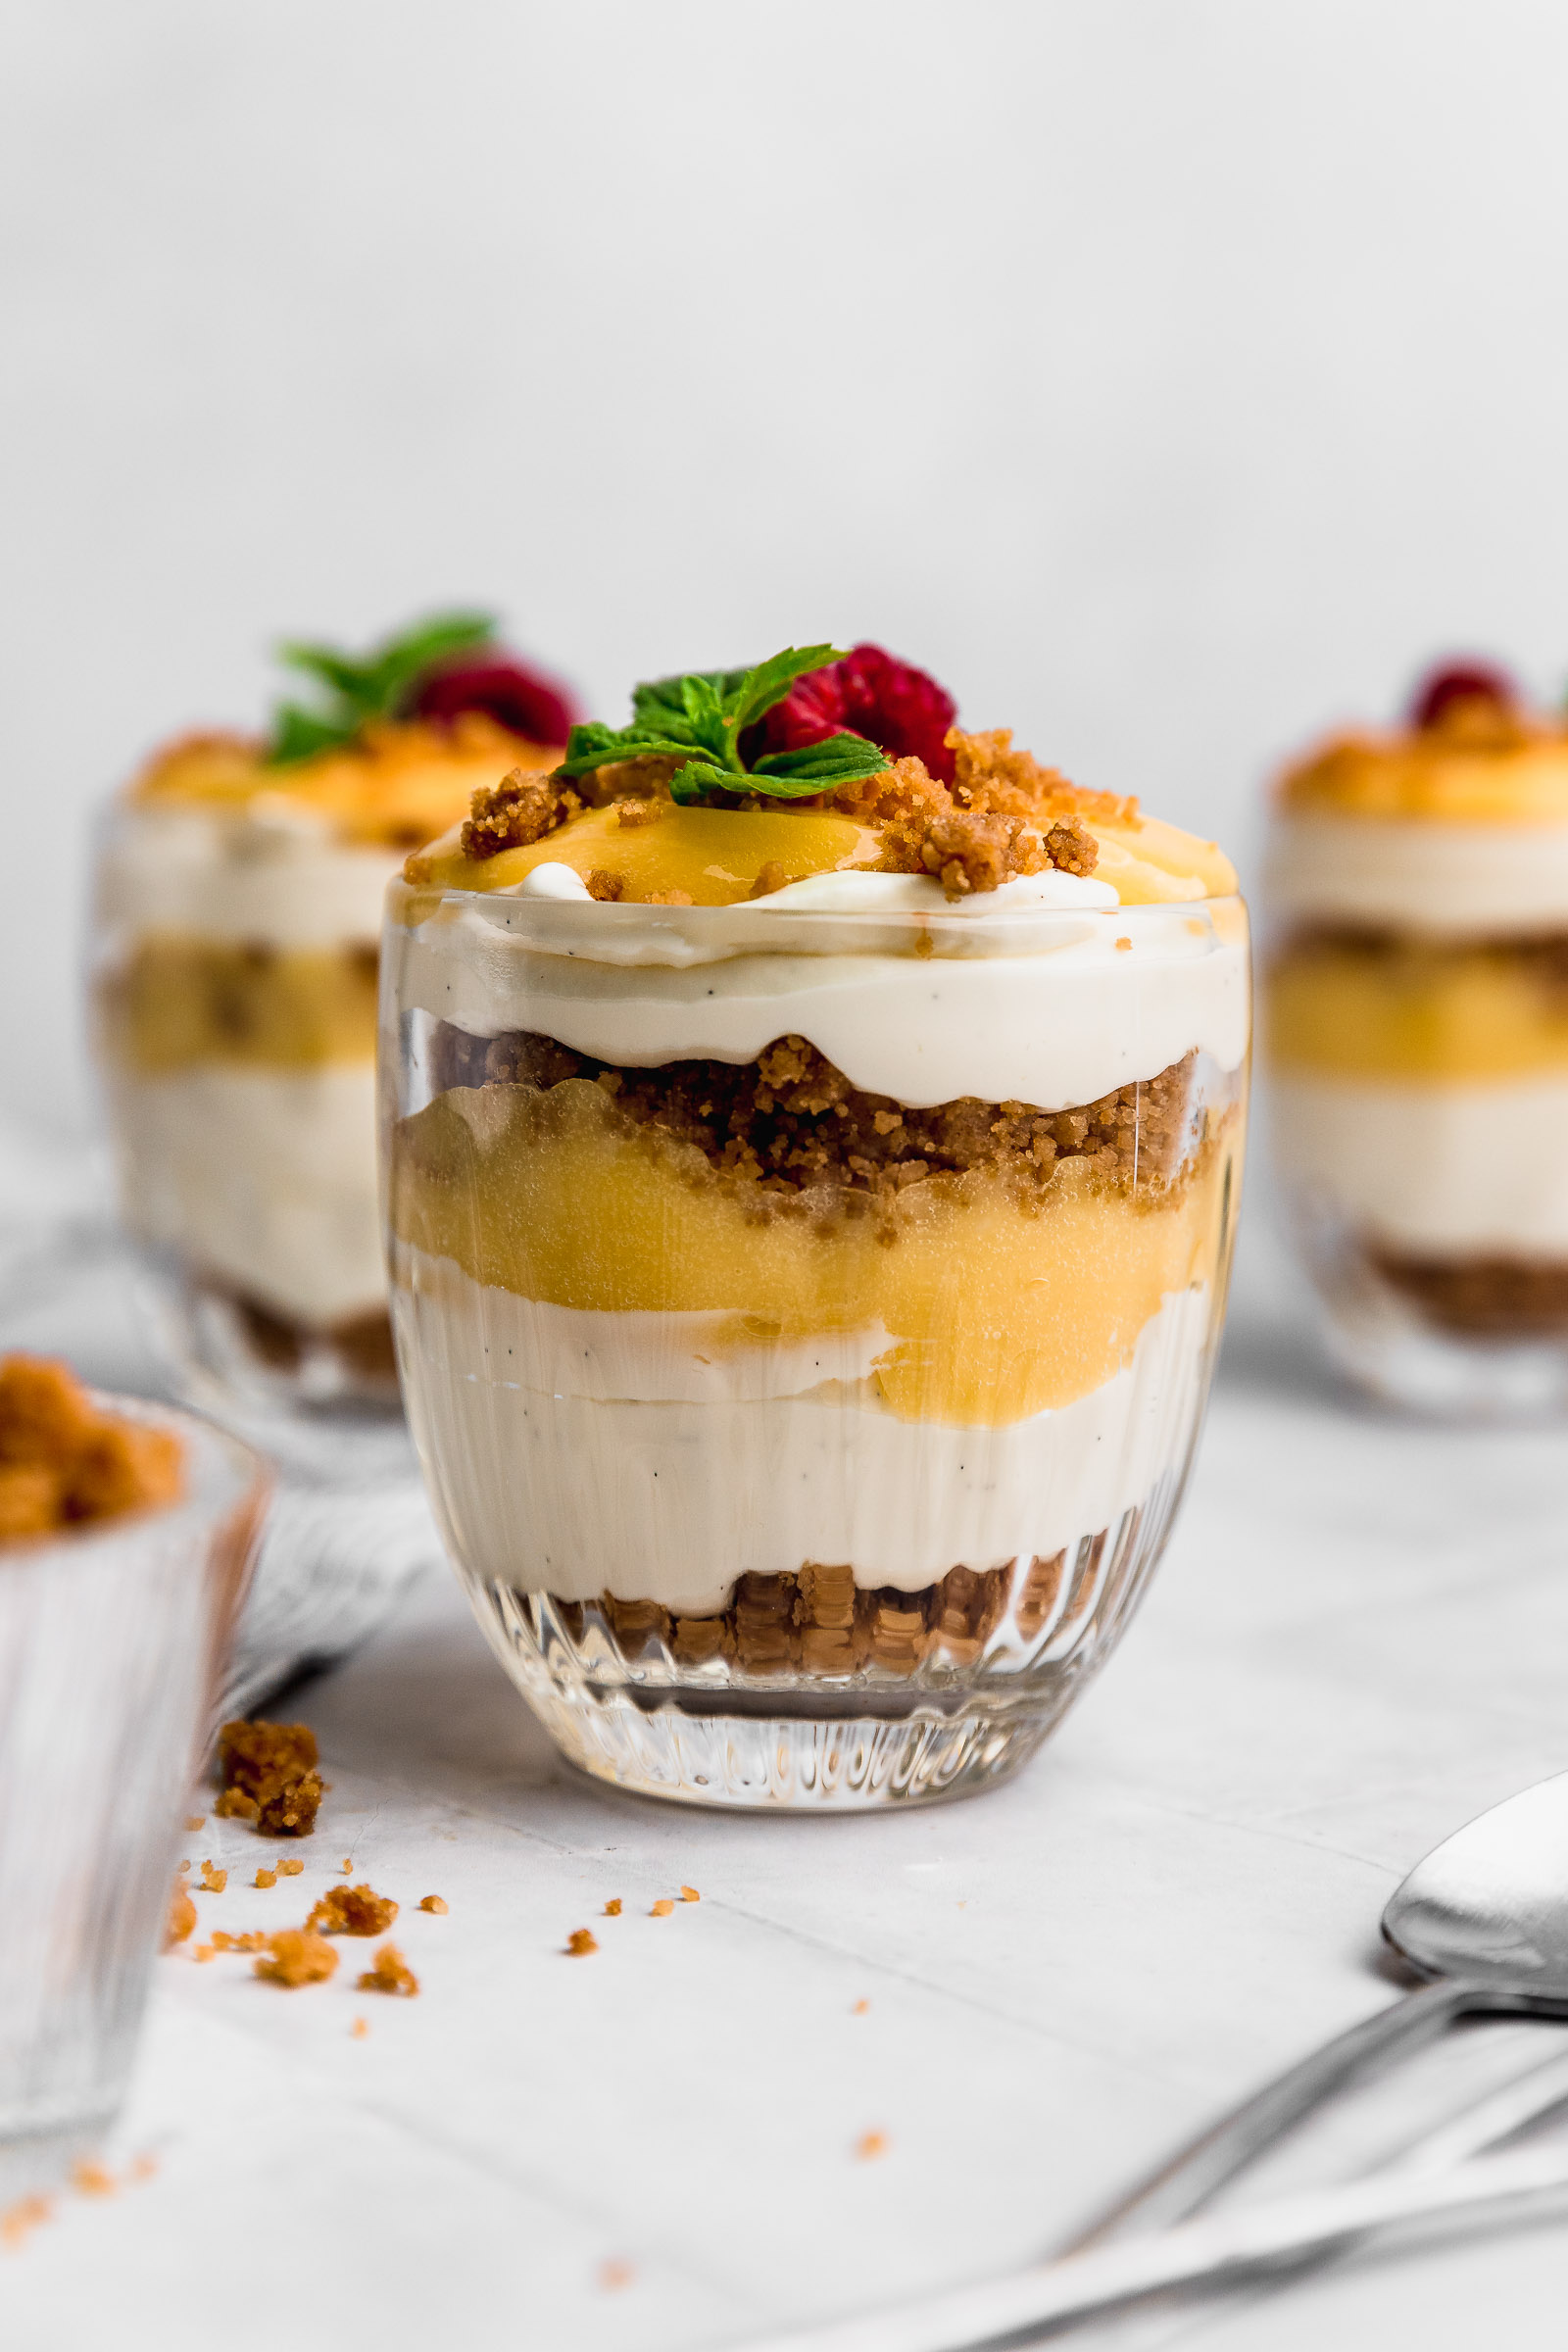
This Lemon Curd Cheesecake Dessert works because the layers in it have different textures and flavours. This makes it a really fun dessert to eat. Each bite is different and interesting.
- Crumble: First, we make a base of crumble, similar to the topping of a pecan apple crumble. In this case, we bake it separately and then crumble it apart for the layer.
- No-bake cheesecake: Then, we make a no-bake cheesecake layer that’s really easy to make, with a touch of vanilla.
- Lemon curd: Finally, we add a layer of creamy and silky lemon curd. The taste is sweet and intense, which makes this Lemon Curd Cheesecake Dessert impossible to stop eating.
No-bake cheesecake
There are many ways to make a no-bake cheesecake and this version of the Lemon Curd Cheesecake Dessert is extremely simple. It doesn’t have enough firmness to make a whole cake out of it so I don’t recommend it for that purpose, but it’s perfect for this layered dessert in glasses. The no-bake cheesecake layer is made by whipping cream cheese with icing sugar and whipping cream. The result is soft and silly, ideally to eat with a spoon. If you like cheesecake like me, check out all my cheesecake recipes.
About the lemon curd
If you’re not familiar with lemon curd, it’s a sauce that’s made with lemon, egg and sugar and it’s similar in texture to pastry cream. It’s really intense in flavour and ideal for layered desserts like this one. It’s made over a bain-marie or double boiler so that it thickens without splitting. Then it’s refrigerated to firm it up a bit more. I uploaded this recipe a few days ago and you wanted me to prepare something with it. When I asked you over Instagram stories what you wanted me to make, a dessert served in glasses was by far the winner. That brings us to this incredible recipe.

Make your Lemon Curd Layered dessert ahead of time
This Lemon Curd Cheesecake in a glass is perfect to make ahead of time. You can even spread out the recipe in a couple of days. For example, you can make the lemon curd and the crumb on one day and then make the filling and assemble it the next day. In this way, the crumble can cool down completely and the lemon curd has enough time in the fridge. After assembling the dessert it just needs a couple of hours in the fridge before serving and can stay there for up to 2 days in really good condition. After that time it starts to full flavours from the other food in your fridge.
Glasses or Trifle bowl?
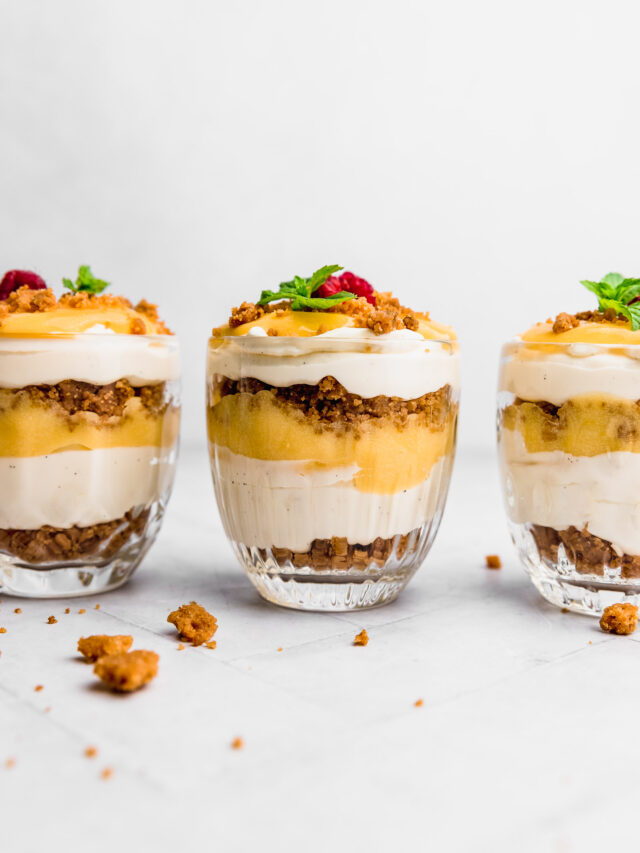
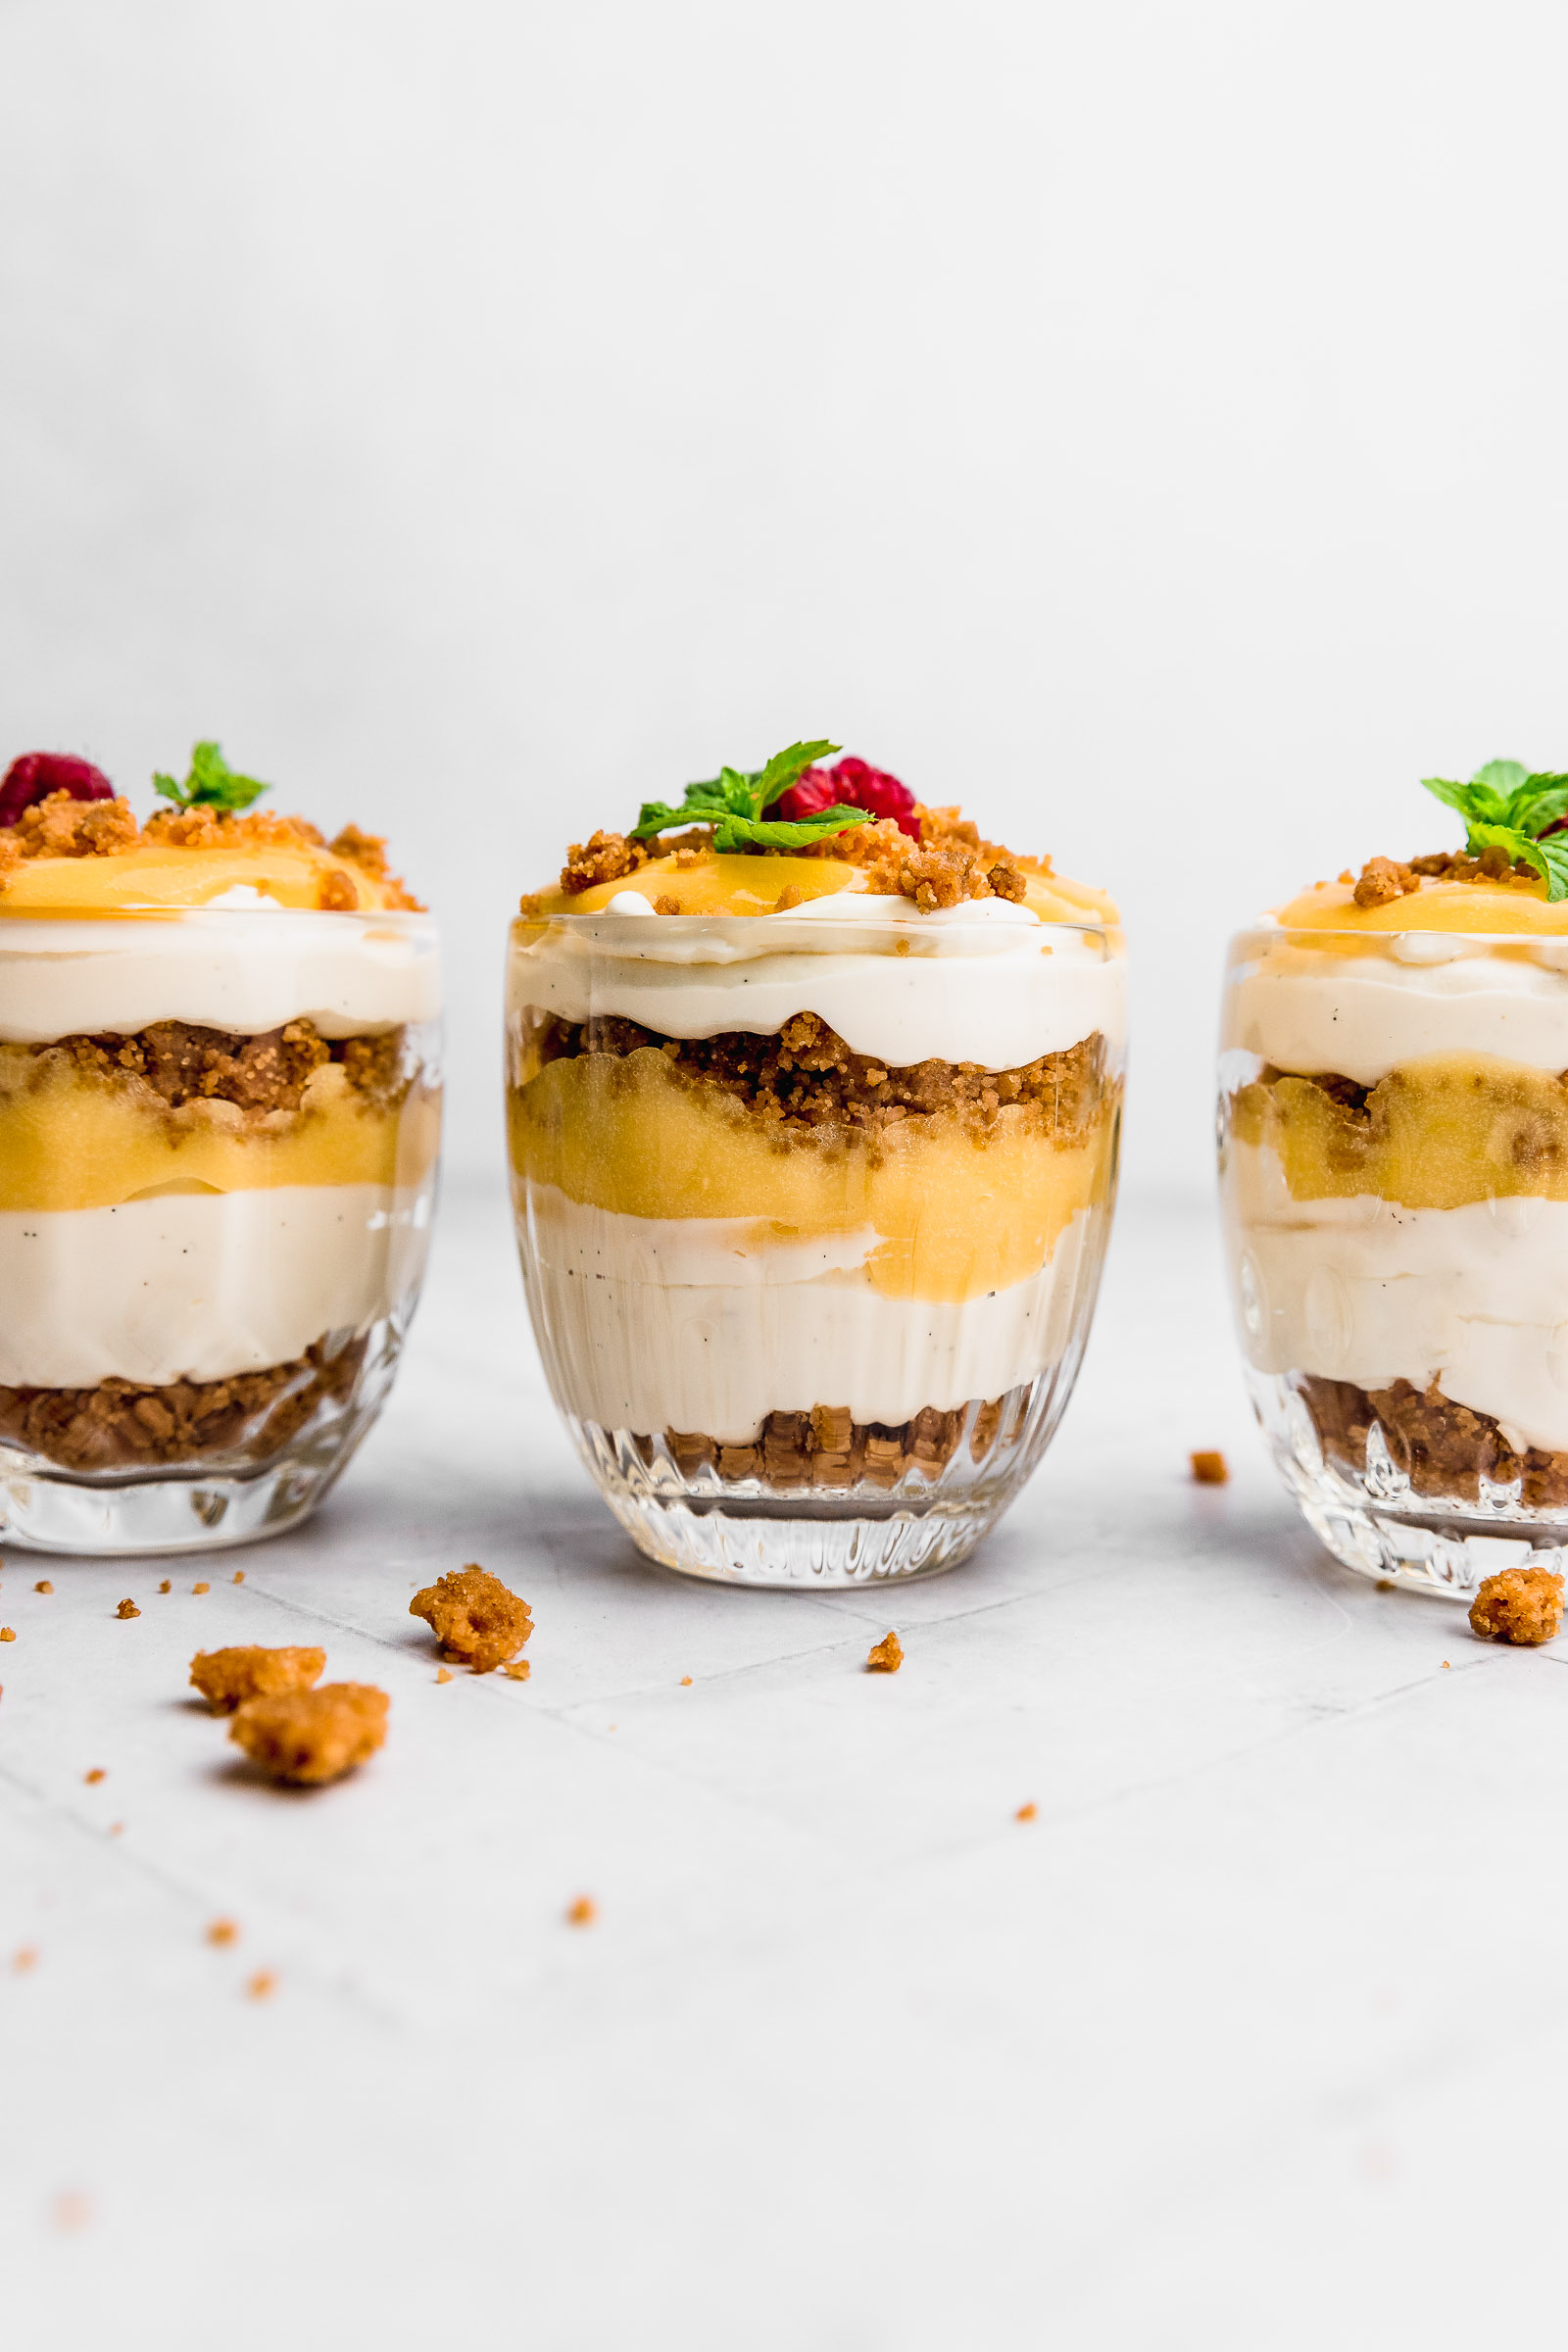
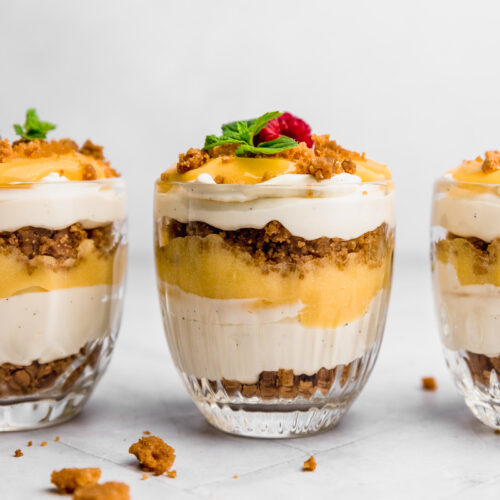
You can serve this Lemon Curd Cheesecake in glasses like in these photos or you can also assemble it in a trifle bowl. If you decide on a trifle bowl, you can make the same amount of layers I suggest here or rather do more. Then, you use a serving spoon to serve each person in individual bowls. The advantage of this option is that you can serve each person the exact amount they want to eat. With the glasses, it sometimes happens that someone wants less and you have to throw out what they leave behind in the glass.
Lemon Curd Cheesecake Dessert
Ingredients
For the lemon curd
- 4 tsp lemon zest from approx 2 lemons
- 120 ml lemon juice 4-5 lemons
- 220 g granulated sugar
- 6 eggs
- 50 g unsalted butter cold and cut into cubes
For the crumble
- 100 g all-purpose flour
- 150 g unsalted butter cold and cut into cubes
- 180 g brown sugar
- ¾ tsp salt
For the no-bake cheesecake
- 400 g cream cheese straight from the fridge
- 180 g icing sugar
- 400 ml whipping cream straight from the fridge
- 1 vanilla pod, only seeds or 1 tbsp vanilla paste or 1 tsp vanilla extract or essence
Instructions
For the Lemon Curd
- Place a pot with water over medium heat. Once it starts to boil reduce the heat until you see only a slight simmer and place a bowl on top. Make sure that the base of the bowl isn't touching the water in the pot.
- Add the lemon juice, zest, eggs and sugar to the bowl. Whisk everything together. Mix every couple of minutes with a spatula until the curd cooks. It's ready when you can see it's more gelatinous. Also, if you draw a shape with the mix on its surface it will stay there. This will take 15-25min. You want to avoid overcooking the curd or it could curdle.
- Remove from the heat and transfer to another bowl through a sieve or colander. The colander will catch large pieces of zest and also any egg that cooked funny. Changing it to another bowl will also stop the cooking process. Add the butter and mix until fully melted and incorporated.
- Let cool completely to room temperature and then refrigerate overnight before using.
For the crumble
- Put everything in a bowl and mix. Pinch the butter cubes with your fingers along with the other ingredients until there are no large bits of butter left.
- Spread the mix on a baking sheet lined with baking paper and bake at 180°C/350°F for 10-15min or until lightly golden.
- Remove the crumble from the baking sheet and break it into small pieces while it's still warm to make it easier for you. You can also use a food processor or place it in a bag and use a rolling pin to break it.
For the no-bake cheesecake
- Whip the cream cheese with the sugar. Start on low speed so that the sugar doesn't go flying everywhere and then on high speed until very very smooth. If you're using a stand mixer, remember to stop mixing every once in a while to scrape down the sides and bottom with a spatula.
- Add the cream a little at a time on medium speed so that it gets incorporated slowly. Once you've added all of the cream, whip on high speed until it looks like a firm whipped cream.
- Fill a piping bag with the filling and reserve.
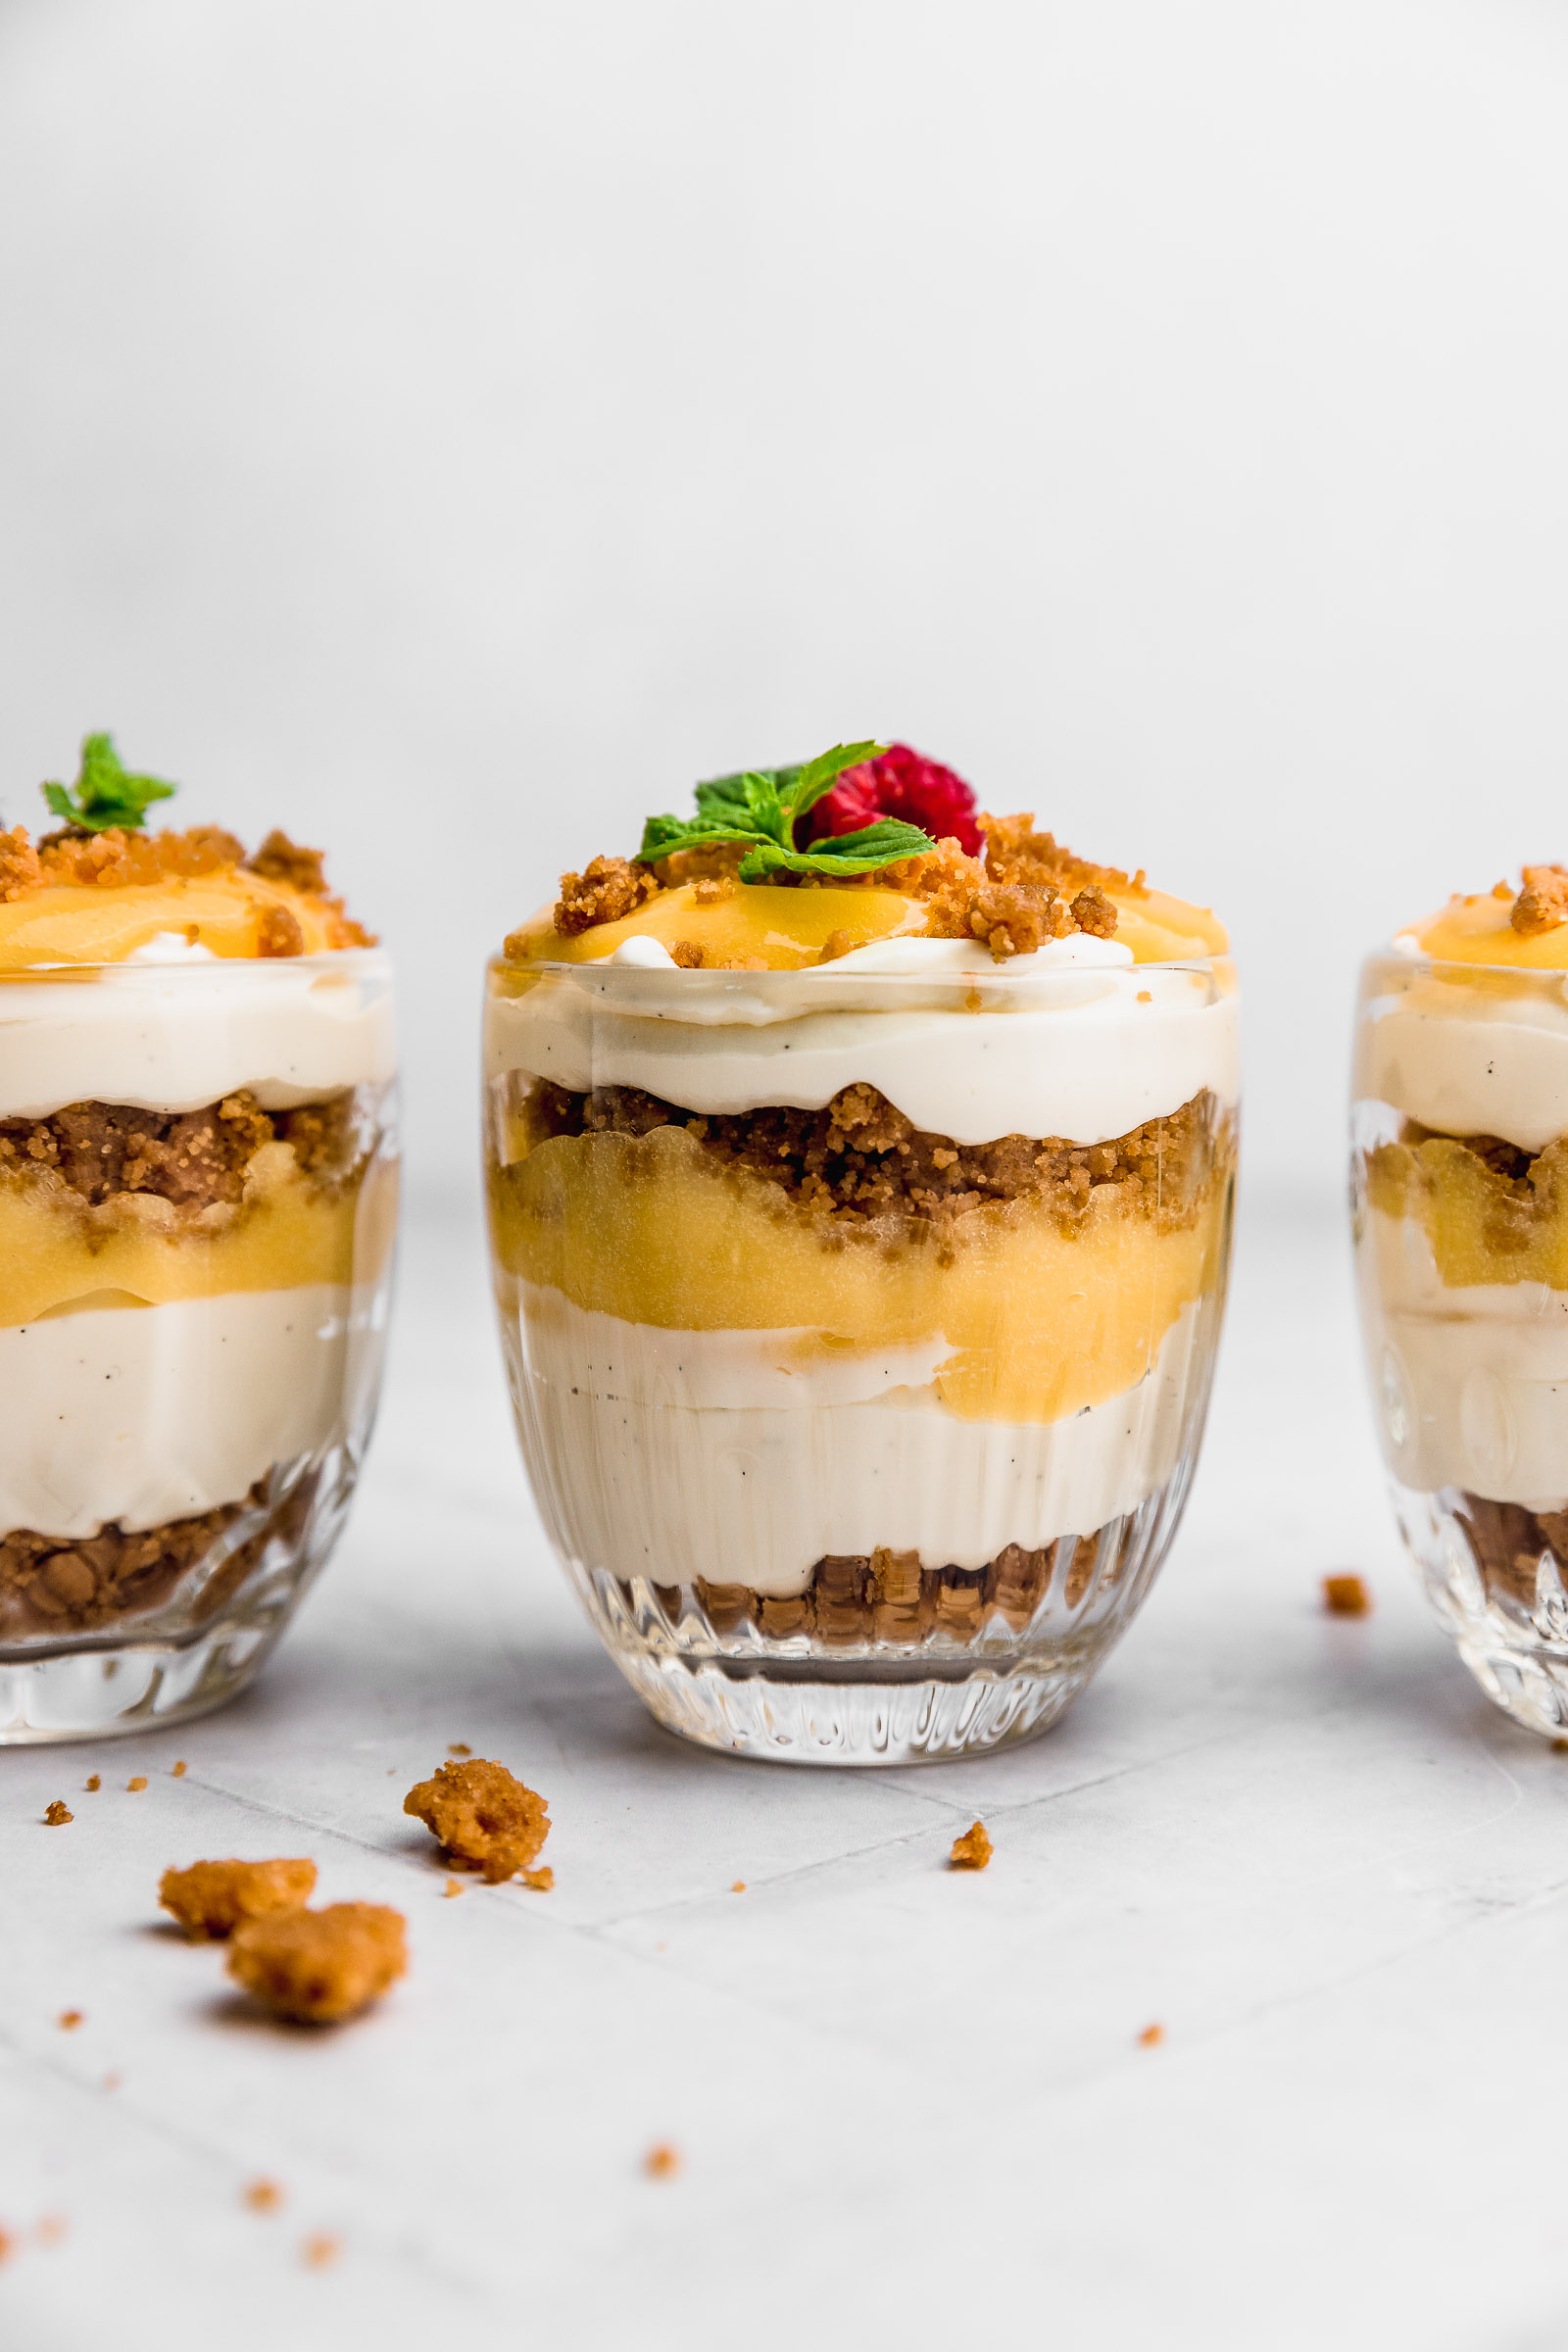
To assemble
- You can assemble this dessert in glasses or use a trifle bowl.
- Start with a crumble layer, then a cheesecake layer and lemon curd on top. Repeat these layers once again.
- Refrigerate for 2 hours before serving.