
Making rough puff pastry at home is a great DIY project. The taste of a homemade puff pastry is much better than store-bought puff pastry and even with its quicker method, the dough bakes beautifully in the oven. Nothing beats the taste and smell of buttery dough and you can use it for both savoury and sweet recipes. It really is worth it to make this French pastry at home!
Traditional Puff Pastry vs Rough Puff Pastry
Traditional puff pastry is made by folding a thin block of butter into dough, generating layers. This is similar to how a croissant is made except that it has yeast in it. Rough puff pastry skips on the intricacy of forming the block of butter and working it into the dough. Instead, you add the cold butter to the dry ingredients cut into cubes and pinch them to incorporate them. Once the dough has come together, you then do the folding process. Even the folding process is easier because it’s tricky to handle the temperature of solid layers of butter in the traditional version. It’s a lot less effort to work with bits of butter spread throughout the dough. Rough puff pastry also achieves lamination layers but they won’t be as precise or even as the one in the traditional version. Having said that, it’s still a great alternative for many preparations and its taste is wonderful, too.
Uses for rough puff pastry
Rough puff pastry is great for preparations where you don’t need such a perfect lamination. I would stick to classic puff pastry for something like a Mille Feuille for example where you want to see those even lines of layers. Other recipes, though are fine with this version. Also, this recipe is perfect for both savoury and sweet recipes even if it doesn’t have any sugar in it.
- Tarte Tatin: Rough puff pastry is great for tarte tatin. Since this dish is flipped after baked, the layers still collapse a little so there’s no point in going through the effort of making perfect layers.
- Sausage rolls: Sausage rolls and other types of rolls, even Beef Wellington, also work really well with rough puff pastry.
- Pie crust: My recipe for pie dough which I use to make apple pie actually follows a very similar method to achieve that flaky pastry result. You can definitely use this recipe for that and get the most crispy and buttery crust.
- Palmiers: I just love palmiers. It’s true that you can see the perfect layers using the full puff pastry recipe but it’s still very notorious using the Rough Puff Pastry.
- Galettes: Galettes are easy tarts that don’t require a baking dish or baking pan. They can be sweet or savoury and are always a lovely dish at the table. They’re very easy and equally delicious.


Ingredients for Rough Puff Pastry
Rough puff pastry requires very few ingredients. It’s 4 in total and 2 of them are salt and water. That’s great because it means that when you’re in a hurry for homemade pastry you can always run to this recipe. Here are the ingredients you will need:
- All-purpose flour: The flour along with the water is what makes the base for this dough.
- Salt: Salt will add the flavour to our Rough Puff Pastry. It doesn’t matter if you will use the dough for a savoury recipe or for a sweet recipe, salt applies to both.
- Unsalted butter: The butter (cold butter, actually) will bring us that flakiness. As it heats up in the oven, the milk in the butter will release steam, separating those layers of dough in the oven. It’s the soul of a good puff pastry recipe to try to use a nice quality butter and hopefully one that’s fresh and hasn’t been sitting in your fridge for too long. That’s because butter tends to absorb other smells easily and that will transfer to your final pastry.
- Water: The water will bind the dough making it… well, a dough. You can have it at room temperature or switch to cold water if it’s too hot in your kitchen.

Directions
Even though making rough puff pastry can sound daunting, it’s really simple once you understand the procedure. Here are the steps that you need to follow and if you need more assistance, you can find step-by-step photos in the recipe card.
- In a large bowl place the flour, salt and butter. Mix.
- Use your fingers to pinch the butter along with the flour to split the pieces up. We don’t want to completely lose the butter but rather leave a few medium, pieces in there. That’s very important to get that puffiness we’re looking for.
- Add the water and incorporate the dough with your hands, kneading only enough to bring it together and then stop to prevent the butter chunks from mixing too much. The end result will be a shaggy dough.
- Flatten out the dough a bit with your hands, wrap it in plastic wrap and refrigerate it for 1 hour or up to 2 days.
- If you’re refrigerating for more than an hour, let it come to room temperature before trying to roll it out. Use a rolling pin to roll out the dough on a lightly floured surface into a long triangle. It should be about 4-5mm thick. Use a dry pastry brush to brush off the excess flour and fold it in three.
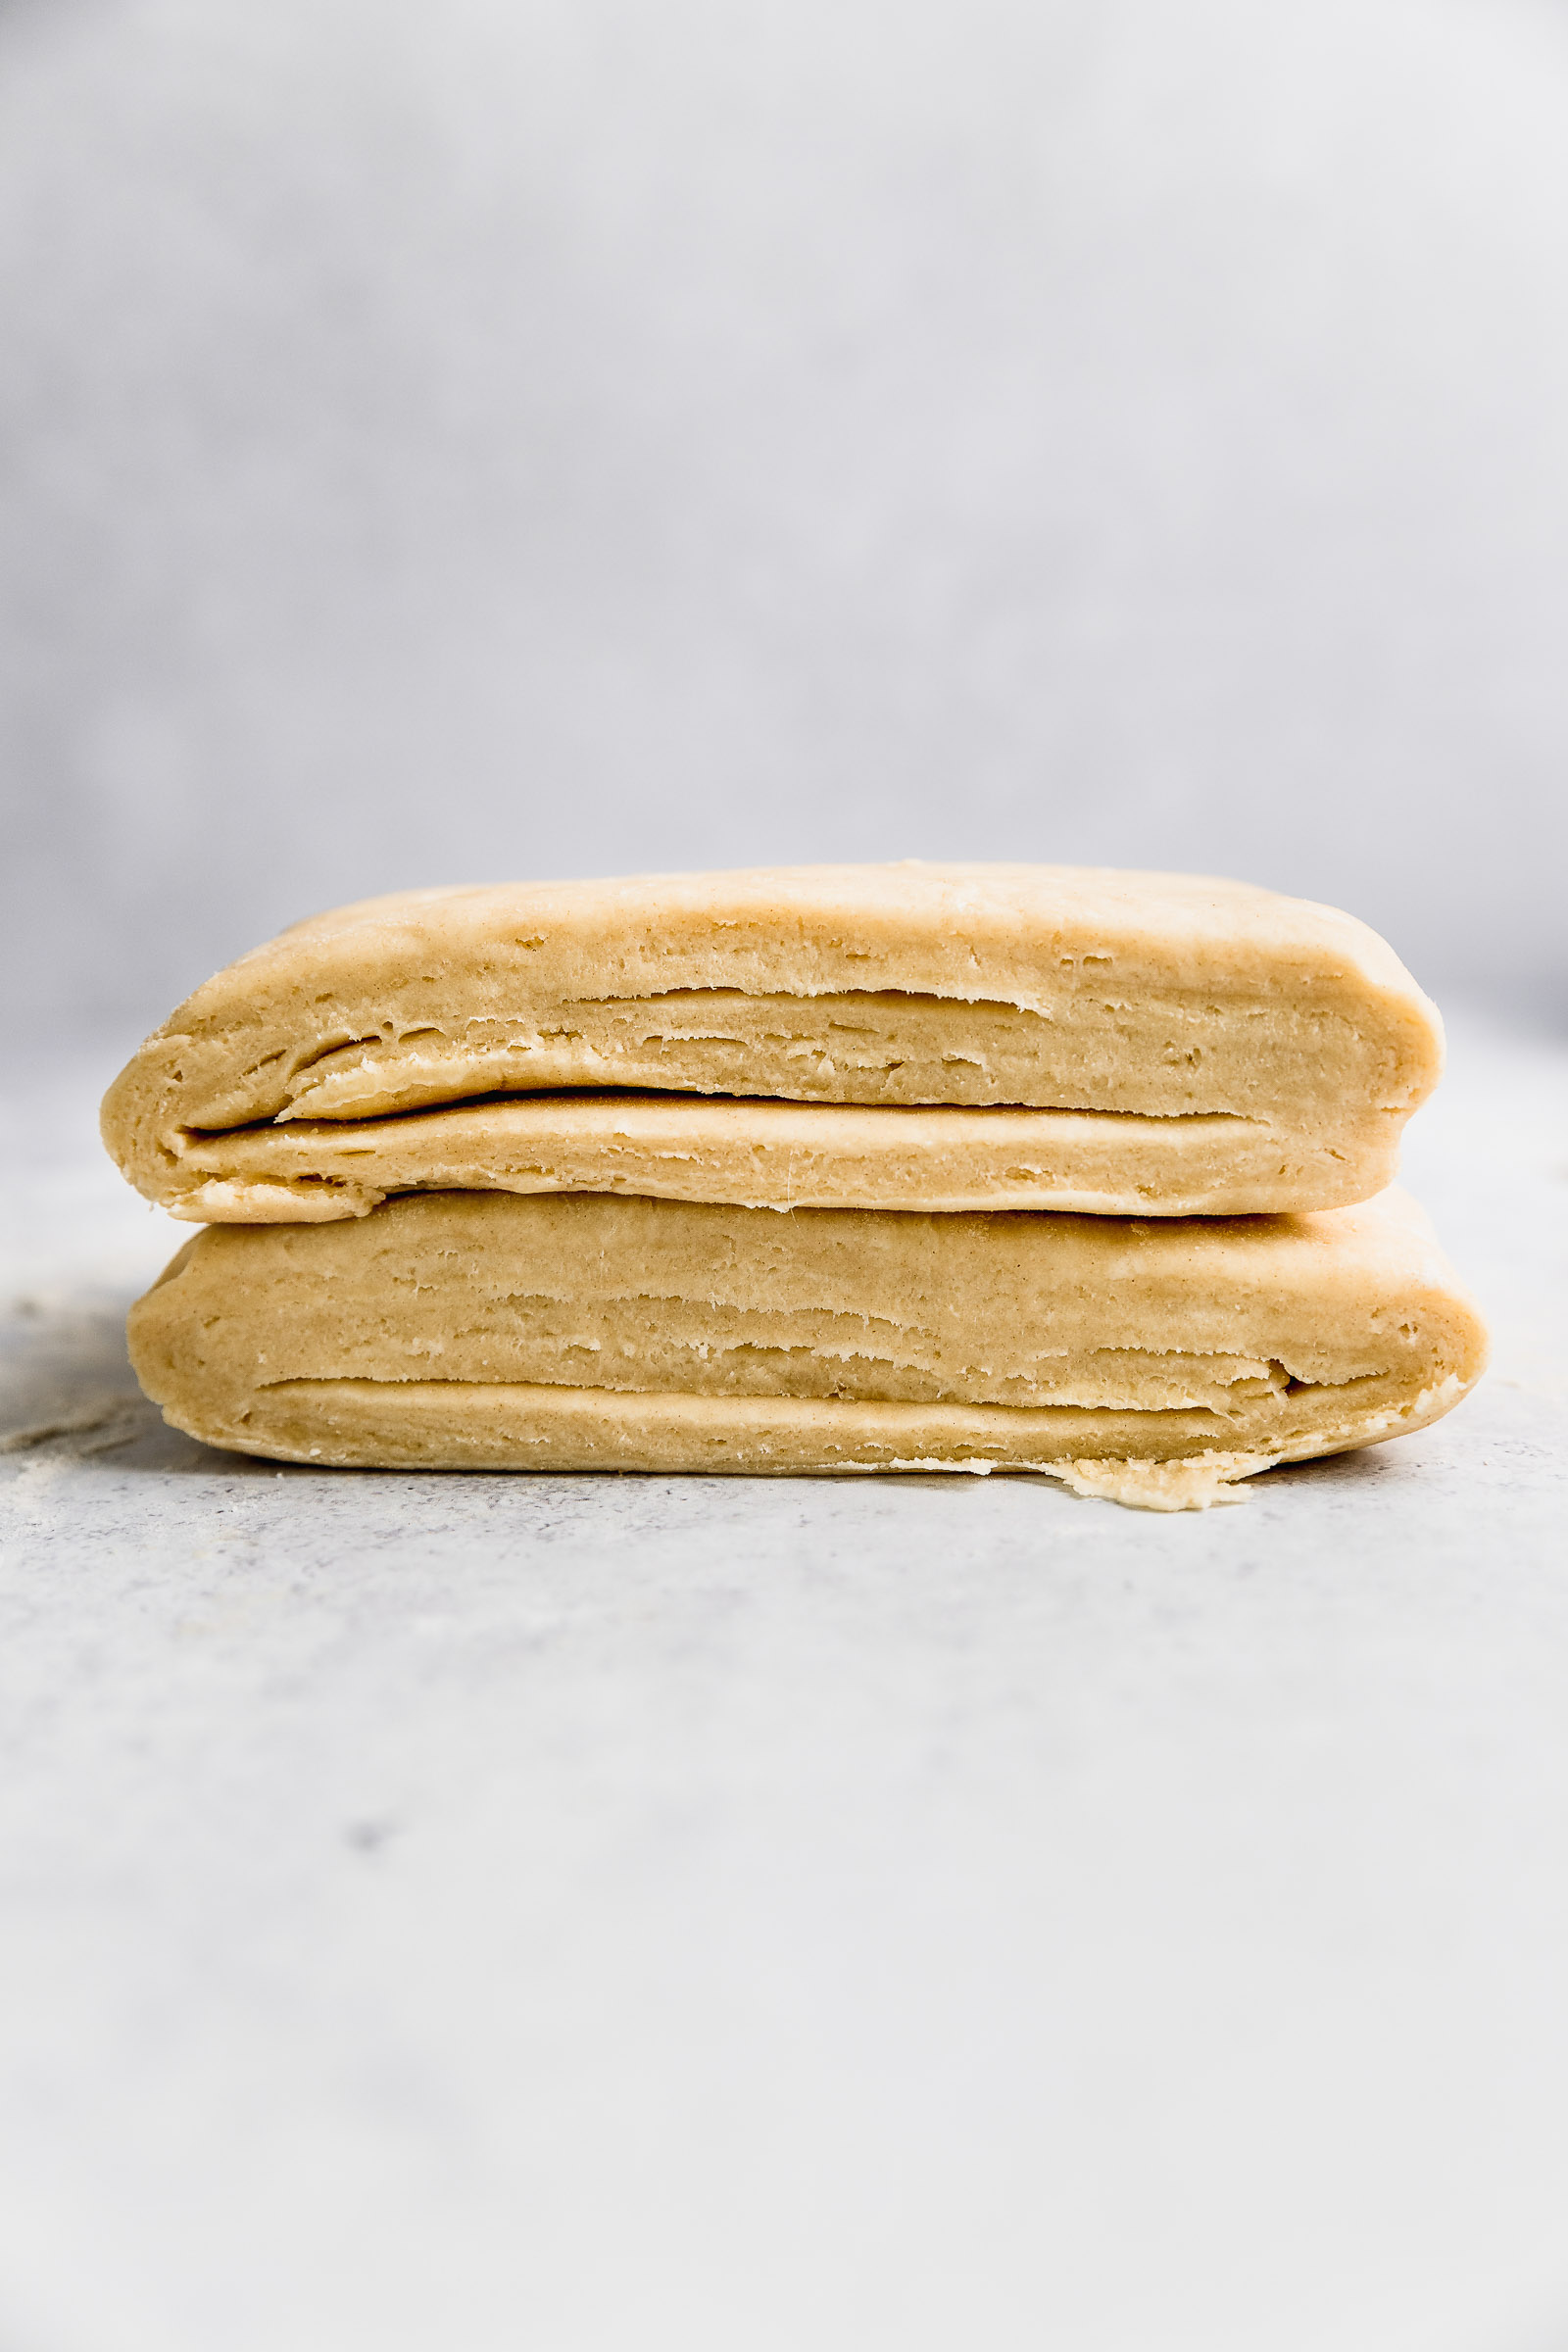
- Spin the dough a quarter turn and roll it out again in the opposite direction than before. Use a dry pastry brush to brush off the excess flour and fold it in three again. Roll it a bit to stick the layers together.
- Your dough is ready to use! Refrigerate it for at least 30 minutes before using it if it’s too soft.

FAQ
Whenever I make a basic recipe like this rough puff pastry, I know that there will be some doubts that arise. I’ve been writing recipes for 8 years now so I think I can read your mind ahead of time! Still, let me know in the comments if there’s another important question I could include here.
- Can I use a food processor to make this rough puff pastry recipe? You could but I don’t recommend it. It’s essential for a good puff pastry to have those uneven medium pieces of butter all around. It’s what creates that flakiness! In a food processor, this will happen in a more even way and I think that it won’t have as good of a result. If you’re making a large batch, though, then I can see the advantage.
- Can I use shortening instead of butter? You can. However, in my opinion, the flavour from an all-butter puff pastry is by far superior. The flakiness is also better because butter has a bit of milk in it, which makes it puff more as it releases vapour in the oven. Having said all that, you still get a nice result with shortening.
- Will gluten-free flour work? Not all gluten-free flour will help. The reason is that gluten is what the structure of baked goods is made of. That’s why sometimes gluten-free baked products can look denser. You need that gluten structure to trap the air! 1-1 mixes such as the one from Bob’s Red Mill do yield a really good result though. That’s because they typically have xantham gum which makes for a good replacement for gluten.

Refrigerating and freezing
Once you have made your beautiful rough puff pastry, you can keep it in the fridge for up to 2 days or freeze it for up to 6 months. What I usually do is make a double recipe of puff pastry, use half of it in my recipe at hand, and freeze the other half. In that way, whenever I need puff pastry, I can thank Lorena from the past who did it for me. It’s a very practical recipe to have at hand because it looks great, tastes so elegant and can really be a conversation piece at the table. Try it at home to make your pies, galettes, snacks and more and let me know what you think! For me, it’s a great payout for the amount of work it requires in the kitchen. It’s very satisfying to see it grow in the oven!

Perfect Rough Puff Pastry Recipe
Ingredients
- 500 g all-purpose flour
- 1.5 tsp salt
- 400 g cold unsalted butter cut into cubes
- 150 ml water
Instructions
- In a large bowl place the flour, salt and butter. Mix.
- Use your fingers to pinch the butter along with the flour to split the pieces up. We don’t want to completely lose the butter but rather leave a few medium, pieces in there. That’s very important to get that puffiness we’re looking for.

- Add the water and incorporate the dough with your hands, kneading only enough to bring it together and then stop to prevent the butter chunks from mixing too much. The end result will be a shaggy dough.
- Flatten out the dough a bit with your hands, wrap it in plastic wrap and refrigerate it for 1 hour or up to 2 days.
- If you’re refrigerating for more than an hour, let it come to room temperature before trying to roll it out. Use a rolling pin to roll out the dough on a lightly floured surface into a long triangle. It should be about 4-5mm thick. Use a dry pastry brush to brush off the excess flour and fold it in three.

- Spin the dough a quarter turn and roll it out again in the opposite direction than before. Use a dry pastry brush to brush off the excess flour and fold it in three again. Roll it a bit to stick the layers together.
- Your dough is ready to use! Refrigerate it for at least 30 minutes before using it if it’s too soft.
- Keep it in the fridge for up to 2 days or freeze it for up to 6 months.

3 comments
From start to finish this is probably the nicest dough I’ve ever worked with. I will definitely be using this recipe again (made some beautiful turnovers)
Love the recipe
So easy and soooooooo good