
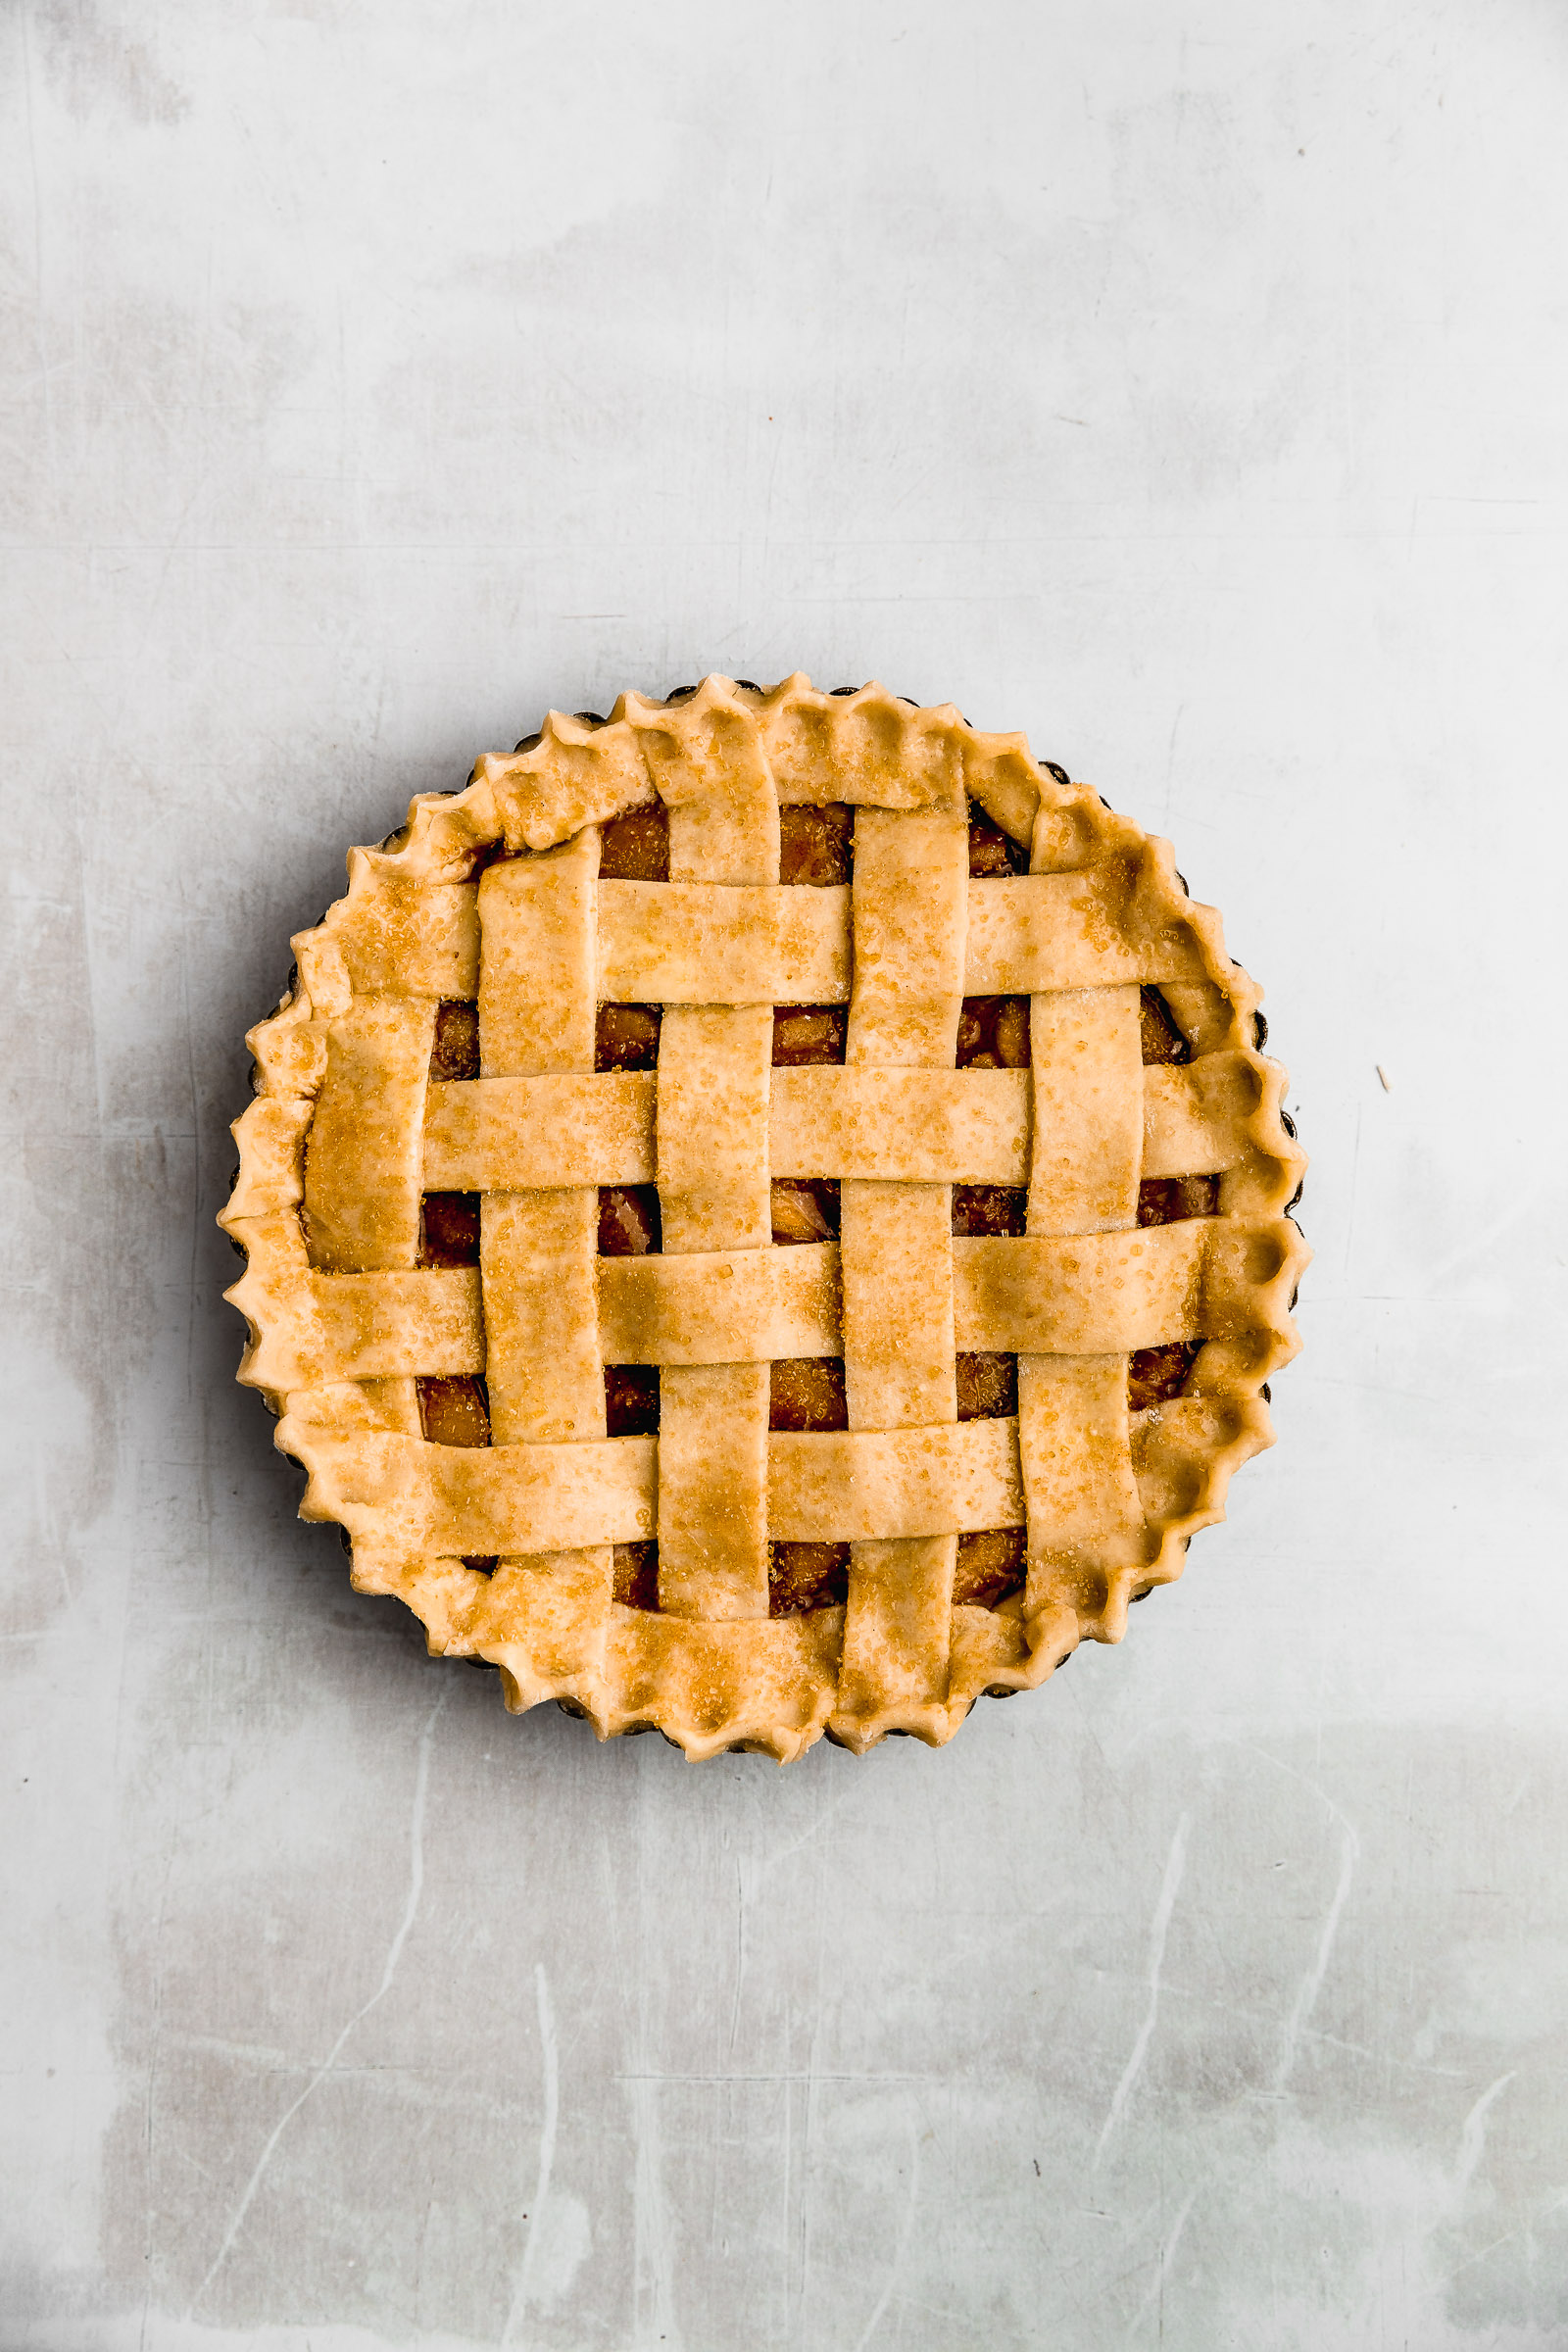
You don’t need a food processor to make a delicious better than store-bought pie crust. This recipe for all-butter pie crust without a food processor makes a flaky, tasty and versatile dough. It’s an easy recipe made with simple ingredients for the perfect pie crust for the holiday season. It’s great for a crispy base and even for the most beautiful lattice cover.
What makes a great pie crust
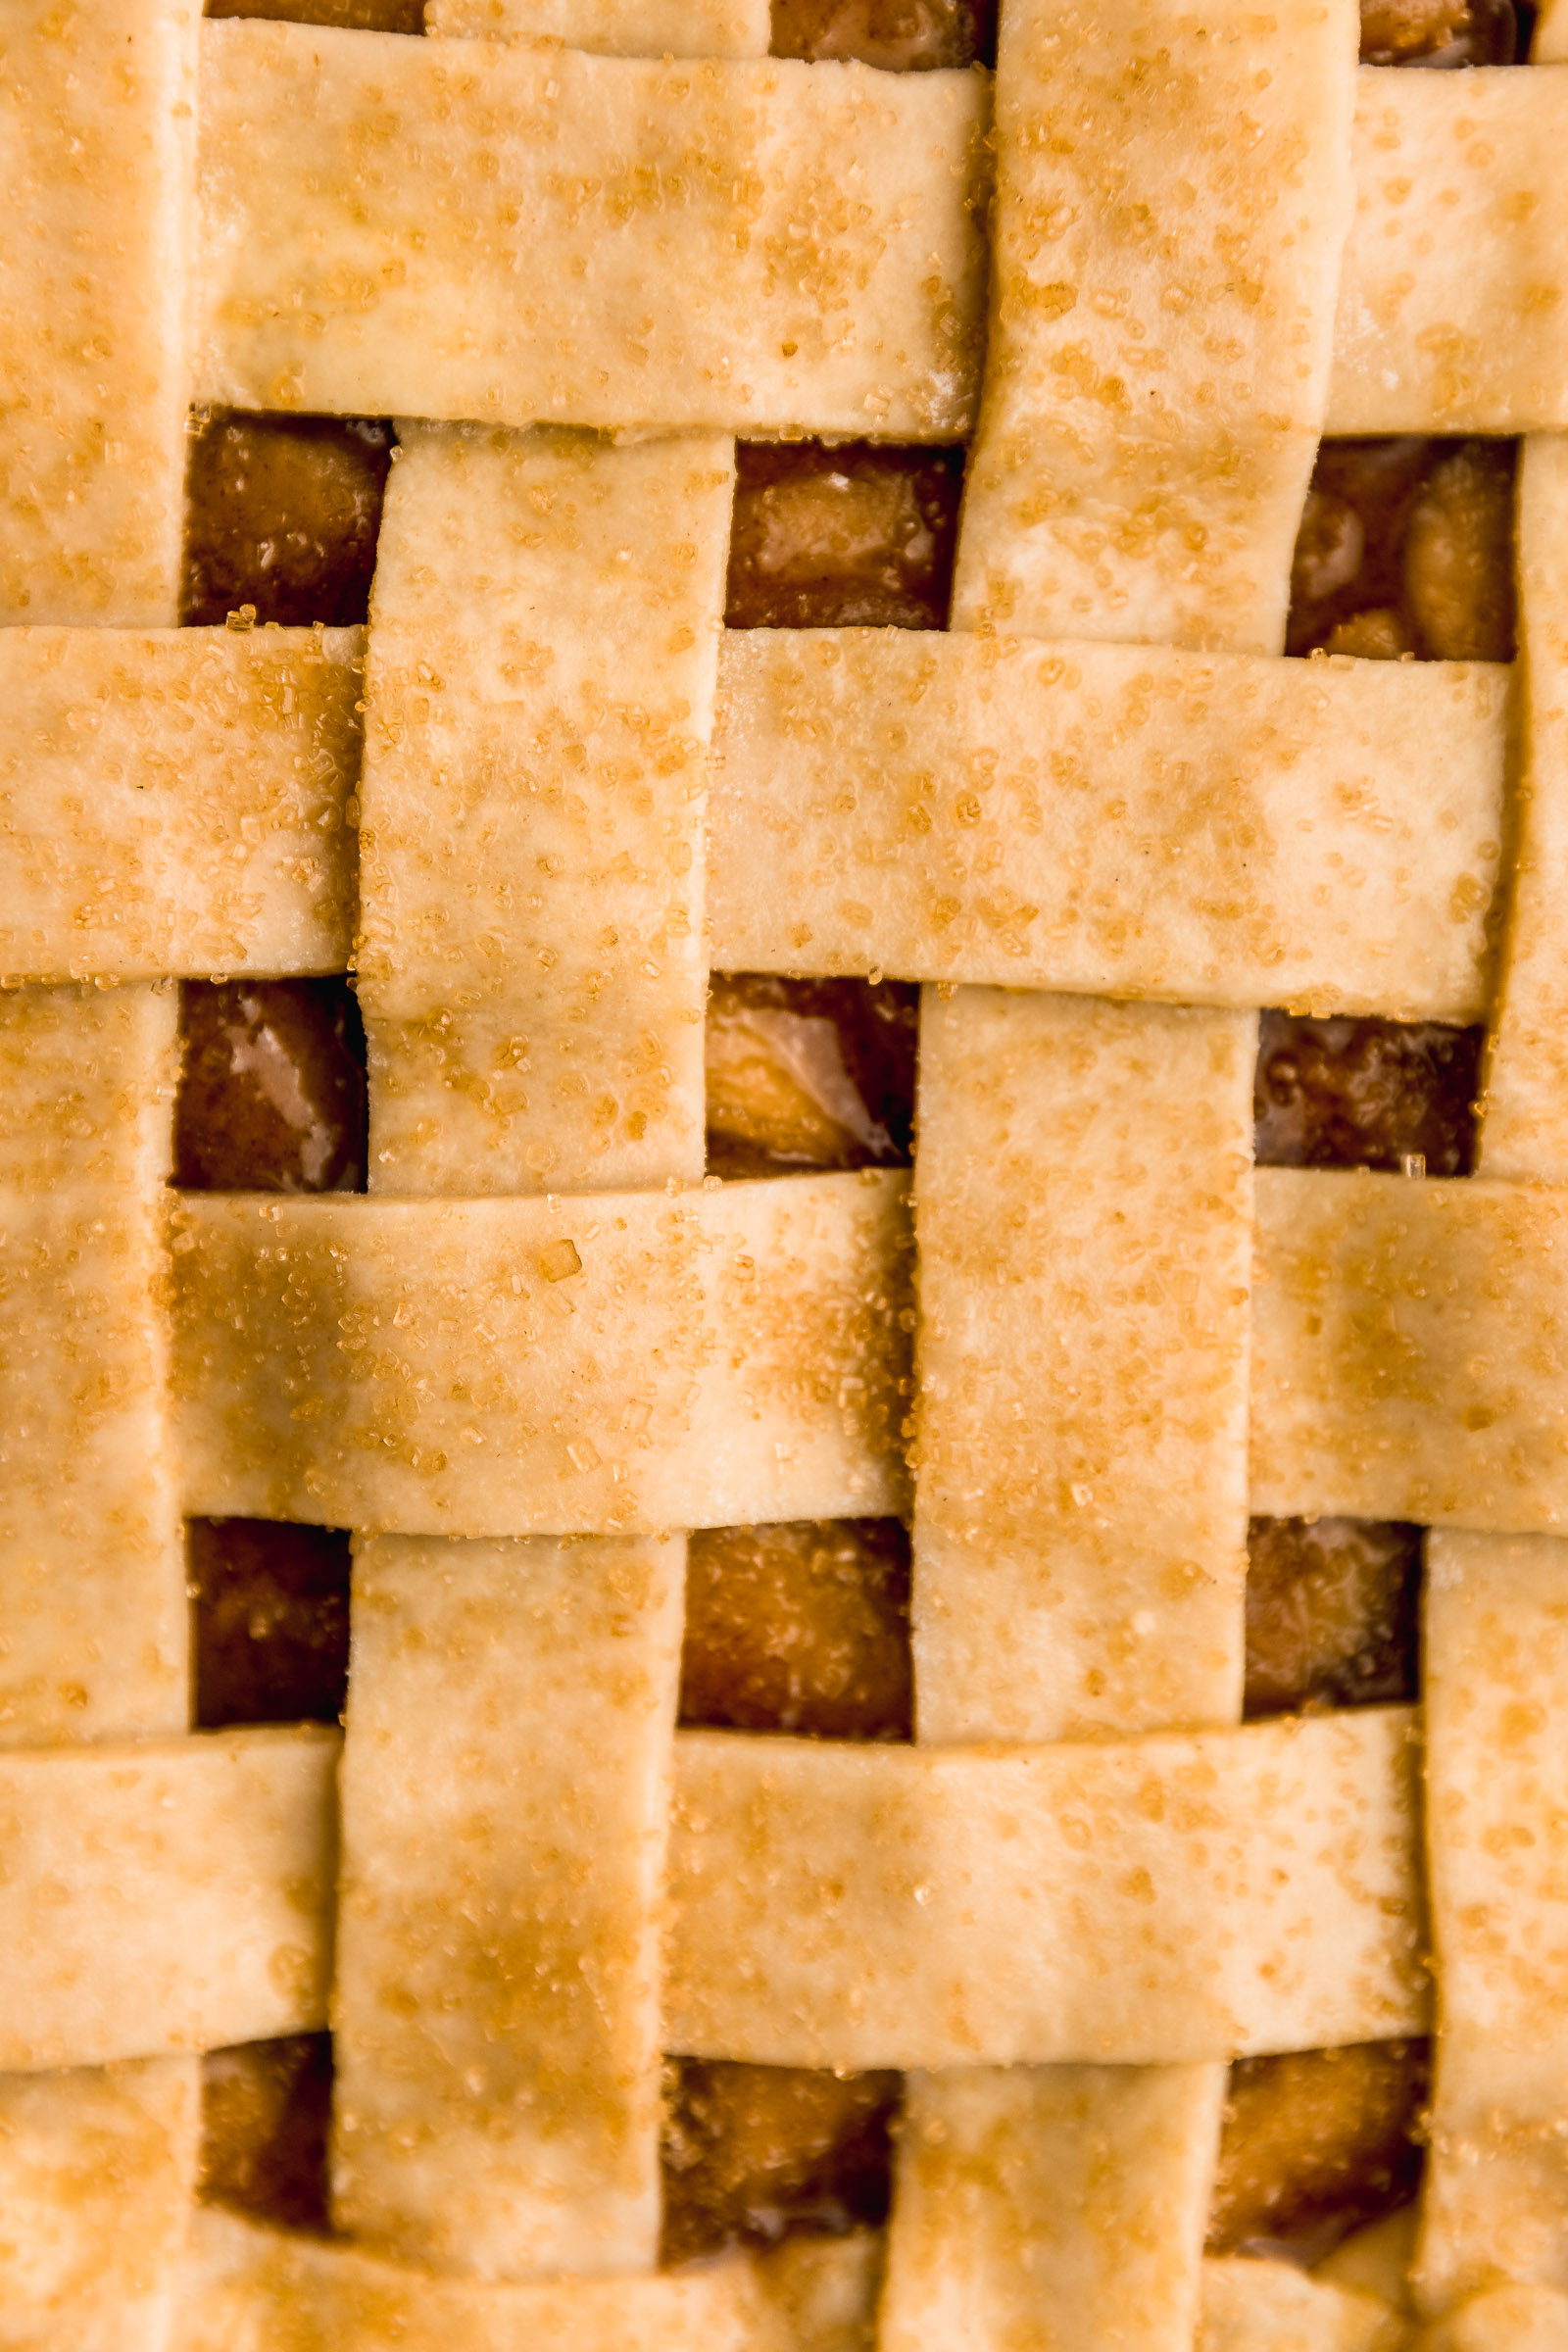
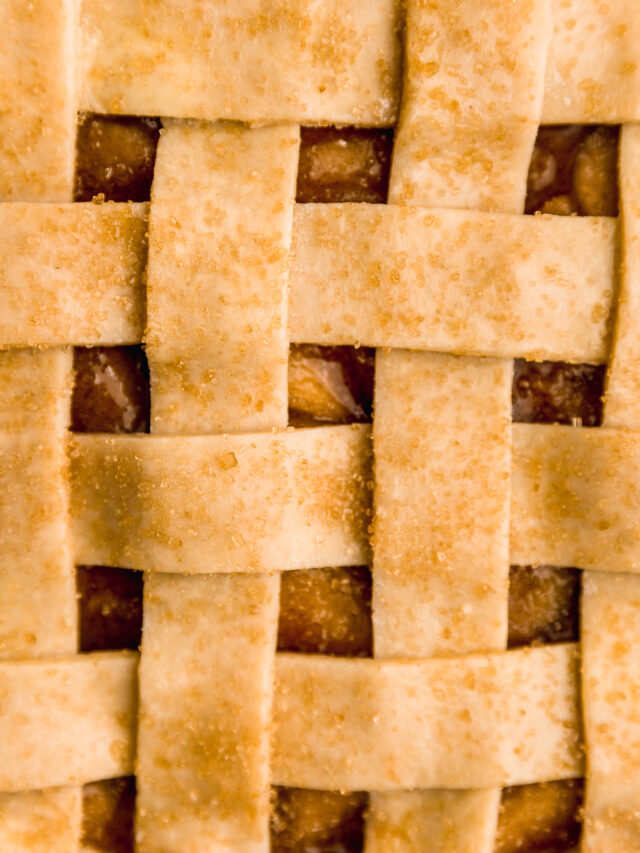
A great pie needs a flaky crust that also has amazing flavour. For me, that flavour comes in the form of an all-butter crust. Picture the most amazing apple pie slice. Its cross-section should reveal the flakiest pie crust, a delicious filling and a shiny and golden top. Making the pie crust without a food processor is actually an advantage in my opinion. It helps control the process better to get nice chunks of butter in the dough. And it’s those bits of butter that make this all-butter pie crust recipe amazing. Another recipe that I highly recommend that’s very fun to make is my mini apple pies, so cute and easy to make! Now, if you’re looking for a butter crust for savory pies, go to my quiche crust post.
Ingredients to make an all-butter pie crust without a food processor
In simple recipes like this all-butter pie crust without a food processor, the ingredients are key to achieving the perfect result. It really comes down to simple ingredients that we all have at home on a day-to-day basis:
- All-purpose flour: All-purpose flour has the perfect amount of protein for recipes like this all-butter pie crust. It will bind all the ingredients together and help achieve that flaky texture we look for.
- Sugar: Sugar will add flavour to the dough and make it a delicious pie crust. Some recipes don’t use sugar but I find that a little makes it more pleasurable to eat.
- Salt: Salt is key to every recipe. The right amount will balance out all the flavours and give it a lovely taste.
- Unsalted butter: In this recipe, we use cold butter that’s cut into cubes. The cold butter will help us keep chunks of it in the dough which is what makes it flaky! That would be impossible if the butter was at room temperature.
- Cold Water: The addition of water to this pie crust without a food processor brings all the ingredients together. You want it to be very cold, ideally ice water, to prevent the butter from getting soft as you incorporate it. This is particularly important in summer or during hot days.
Butter vs. Shortening in this recipe
Butter and vegetable shortening are both valid choices when making a pie crust without a food processor. Shortening will give you a bit more leeway while working with it because it melts at a higher temperature. It also provides a dough that loses less shape when baking. Now, if you know me you know I’m all about flavour. That’s when the all-butter crust comes in. But the butter is not just about flavour, it also has a lovely flaky effect because of its water content, just like when we make croissants. Now, if you like you can also use this recipe with shortening or even go for a half-and-half situation. No matter what you choose, you will have a delicious homemade pie crust recipe.
Step-by-step instructions
Now that we have talked about the ingredients we can jump over to the step-by-step instructions for this incredible all-butter pie crust without a food processor. The steps are really simple to follow:
- Place the all-purpose flour, sugar and salt in a large bowl and mix them together.
- Add the cold butter cut into cubes and mix them in with the flour mixture.
- Pinch the flour along with the dry ingredients to break it up. We don’t want to completely turn it into tiny pieces like we would in other recipes. You should stop when you see about half tiny pieces and half medium pieces of butter. This is what makes this all-butter pie crust extra flaky.
- Add the water and knead slightly with your hands to incorporate the dough. Only knead until it comes together completely. Don’t knead more than you have to or it will turn tough. You will notice spots of butter in the dough and that’s perfect.
- Refrigerate the ball of dough covered in plastic wrap for 30 minutes or up to 2 days. You can also freeze it for up to 2 months. Now it’s ready to roll out and use in your favourite pie recipe.
- After refrigerating, assess if the dough is too cold. If it is, give it about 15 minutes at room temperature before rolling out if it is. If it’s OK, use a rolling pin to roll out the dough on a lightly floured surface. You want it to be about 3mm thick.
Pie crust without a food processor (or with)
I like to make this all-butter pie crust without a food processor because I think that it gives you a lot more control over the size of the butter as you pinch it with the dry ingredients. Food processors are useful machines in dough making, particularly when you want the flour-butter mixture to look like coarse cornmeal. This is not the case here as you know. It’s just more difficult to control it when using a food processor. Now, if you’re confident in your skills of controlling the one you own, you can go ahead and give it a try!
For the food processor method, you will add the dry ingredients to it along with the butter. You will turn it on for short intervals until you see the medium-sized butter pieces we talked about before. Whether you make this recipe in a food processor or in a large bowl by hand, it’s still a really easy pie crust recipe.
When blind bake this all-butter pie crust
Some pies require you to blind bake the dough before adding the filling, others don’t. Blind baking means baking the dough in the pan with weights on top so that it doesn’t shrink. For recipes where the filling has been previously cooked and thickened such as apple pie and other fruit pies, it’s a general rule that you don’t blind bake. Blind baking is required when the filling needs only a short time of baking. In a short time, you wouldn’t get a golden crust. Or maybe you’re dealing with a filling that needs to bake at a lower temperature like a fla. That also wouldn’t yield a crispy crust. It’s also best for fillings that won’t go into the oven such as pastry cream.

How to blind bake
- Once your pie crust without a food processor is rolled out, you will place it in your favourite pie dish or pie pan. Then, you will cut the pie crust dough to the edge of the pan.
- Crumple up a piece of parchment paper that’s larger than the pan and then stretch it back out. This makes it more pliable so that it can fit into the corners of the pie. Place it inside the pie pan over the dough and then fill it with pie weights. You can use ceramic pie weights that are specifically made for this use or use beans. You need the baking beans or weights to fill the pie all the way to the top. This will prevent the dough from shrinking as it bakes. That’s why I rather use beans because they’re more cost-effective for the volume we need. You can always store them after and reuse them as many times as you like.
- Blind bake the pie dough like this in a preheated oven at 180C/350F. It will stay there until the edges become golden and the bottom looks dry. This will take about 20 minutes. Then, you will remove the weight with the help of the parchment paper. Place it back in for an extra 15-20 minutes or until it’s evenly golden.
- Now you can wait for it to cool down and fill it with whatever pie filling you like.

Tips for the perfect pie crust without a food processor
Now that you know *almost* everything about this pie dough recipe, I think we need to top your knowledge with a few tips. I love tips because they troubleshoot before anything wrong even happens! So here are a few pointers that will help you nail this pie crust without a food processor:
- Temperature control is your best friend: Because butter has different textures at different temperatures, you need to make sure that it’s at the stage that helps you the most. When making the pie crust without a food processor, you need the butter to be very cold, freshly out of the fridge. This is because you will be pinching it for a while and your warm hands will inevitably have an effect on it. Then, when rolling the dough out, you want it to be cold. Not so cold that it’s impossible to roll out, though. If it’s been in the fridge for longer than 30 minutes, you might want to keep it at room temperature for 15 minutes or so. It will soften so that you can comfortably roll it out.
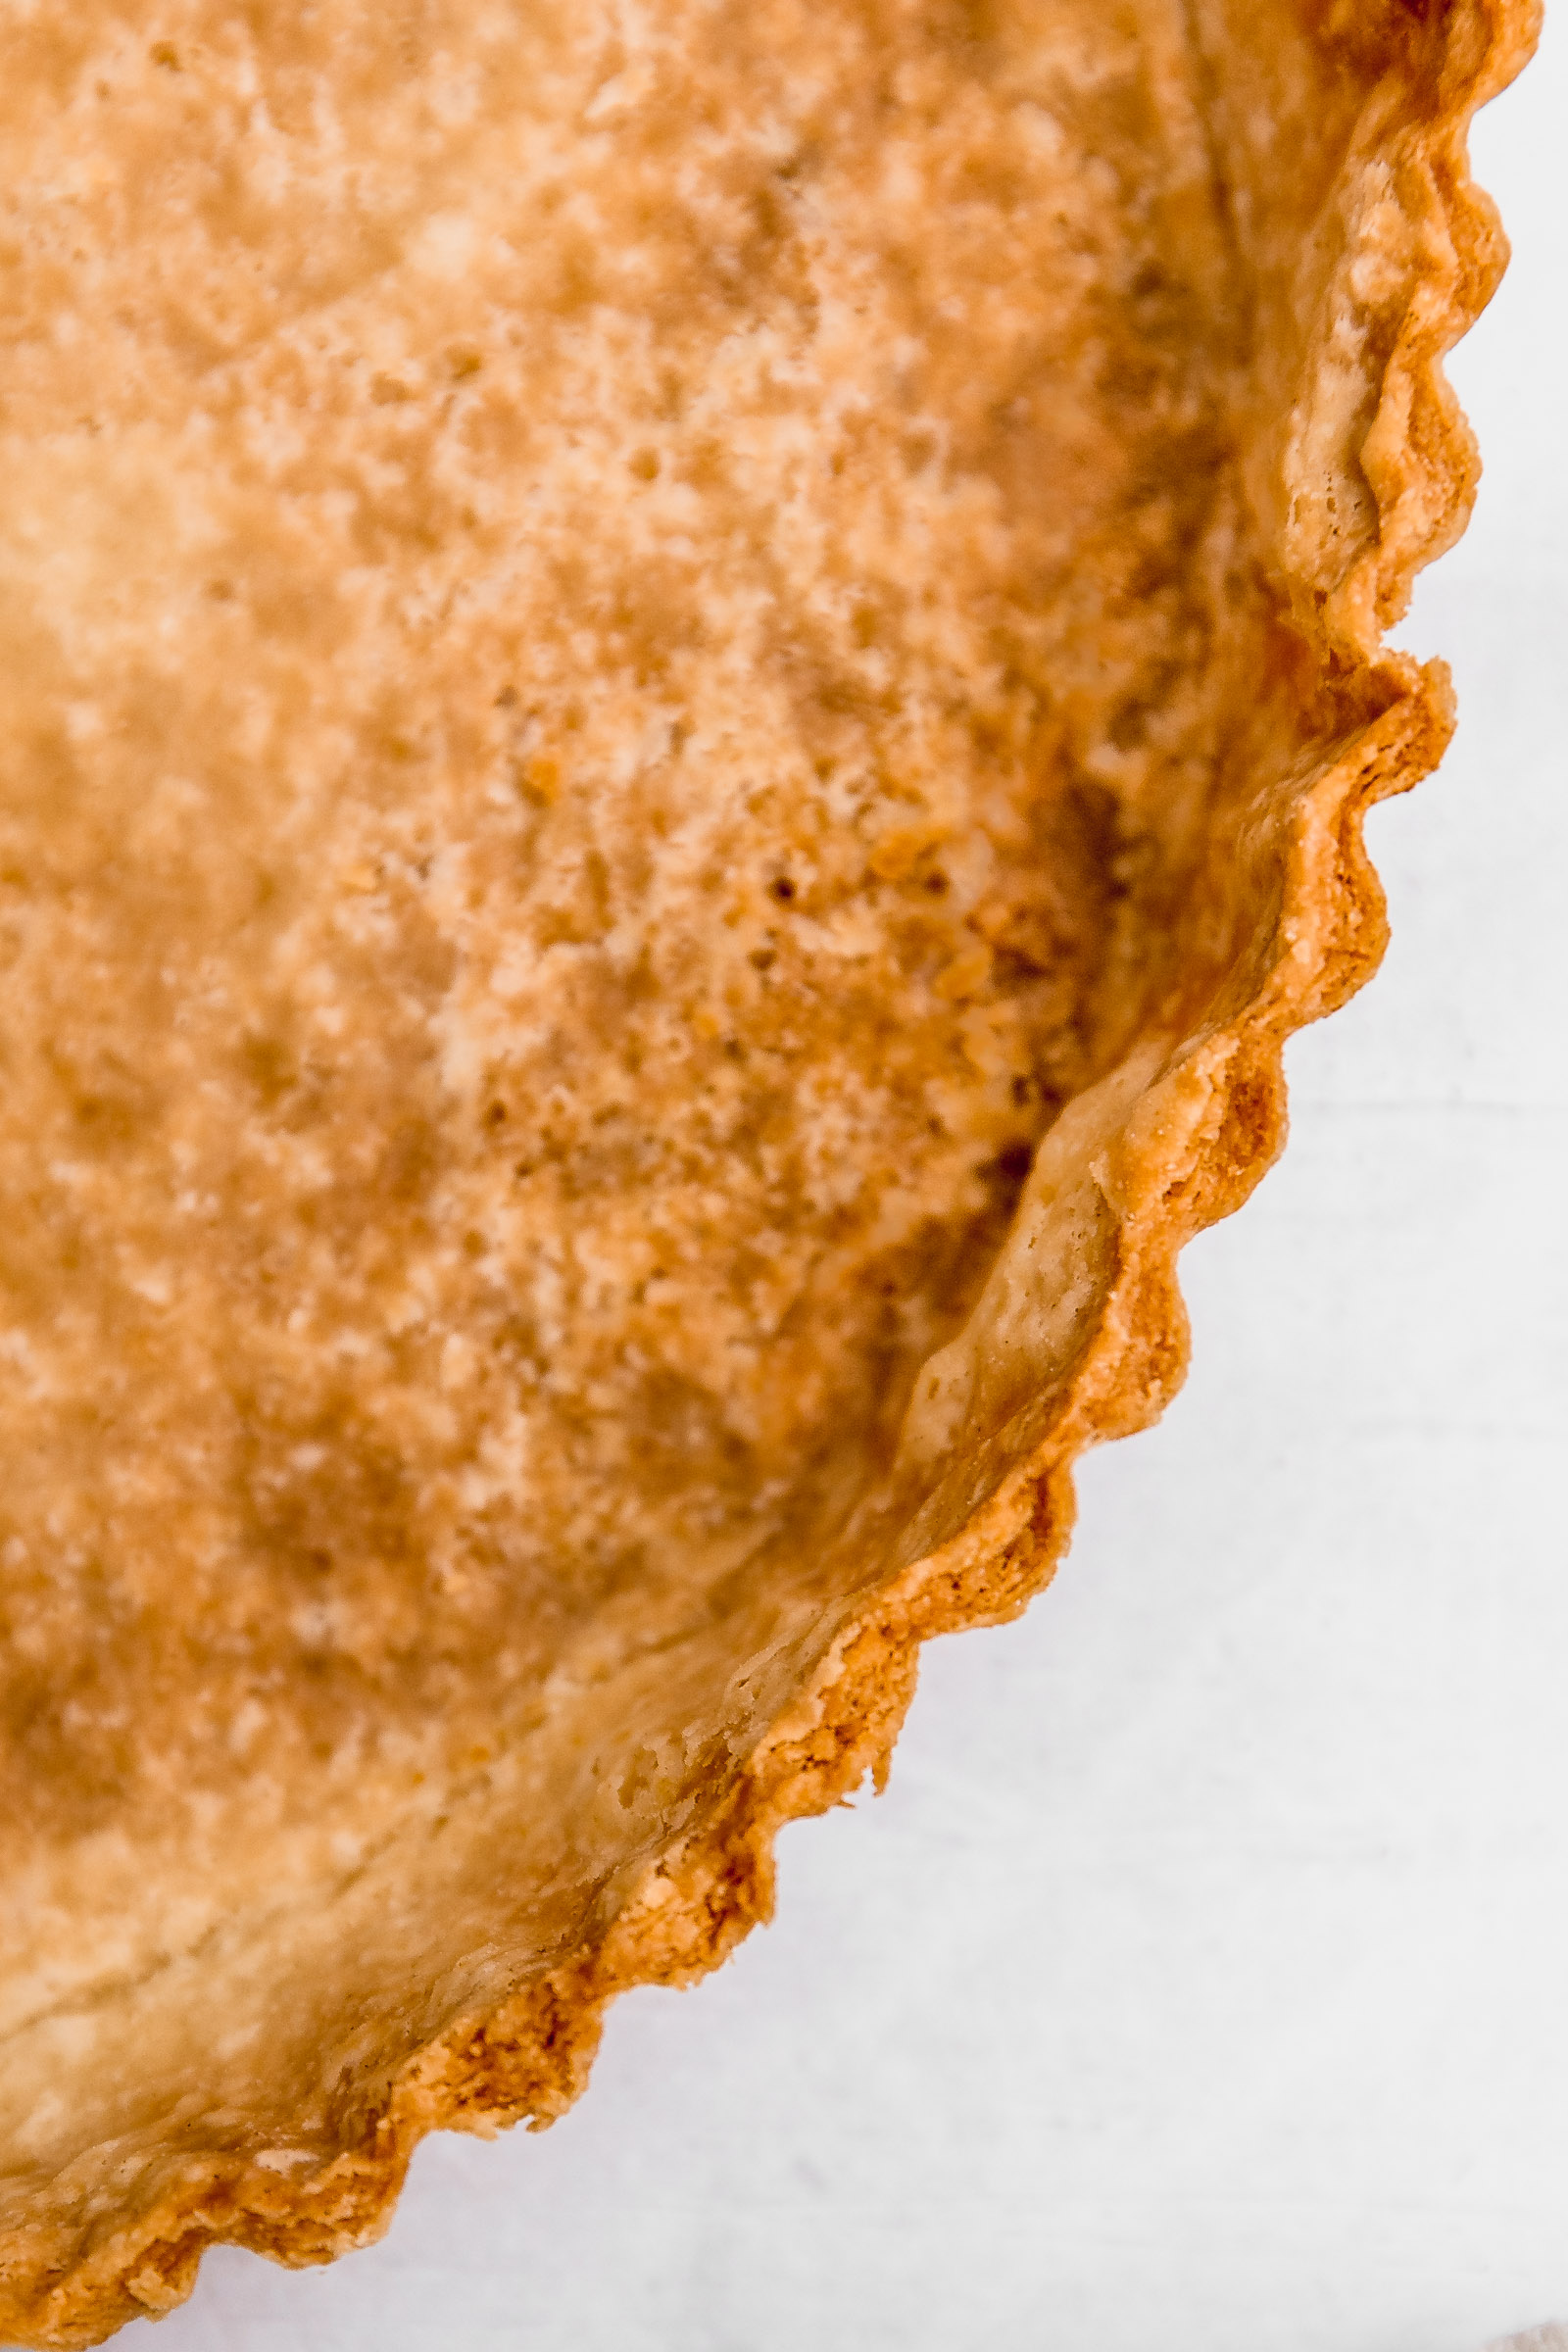
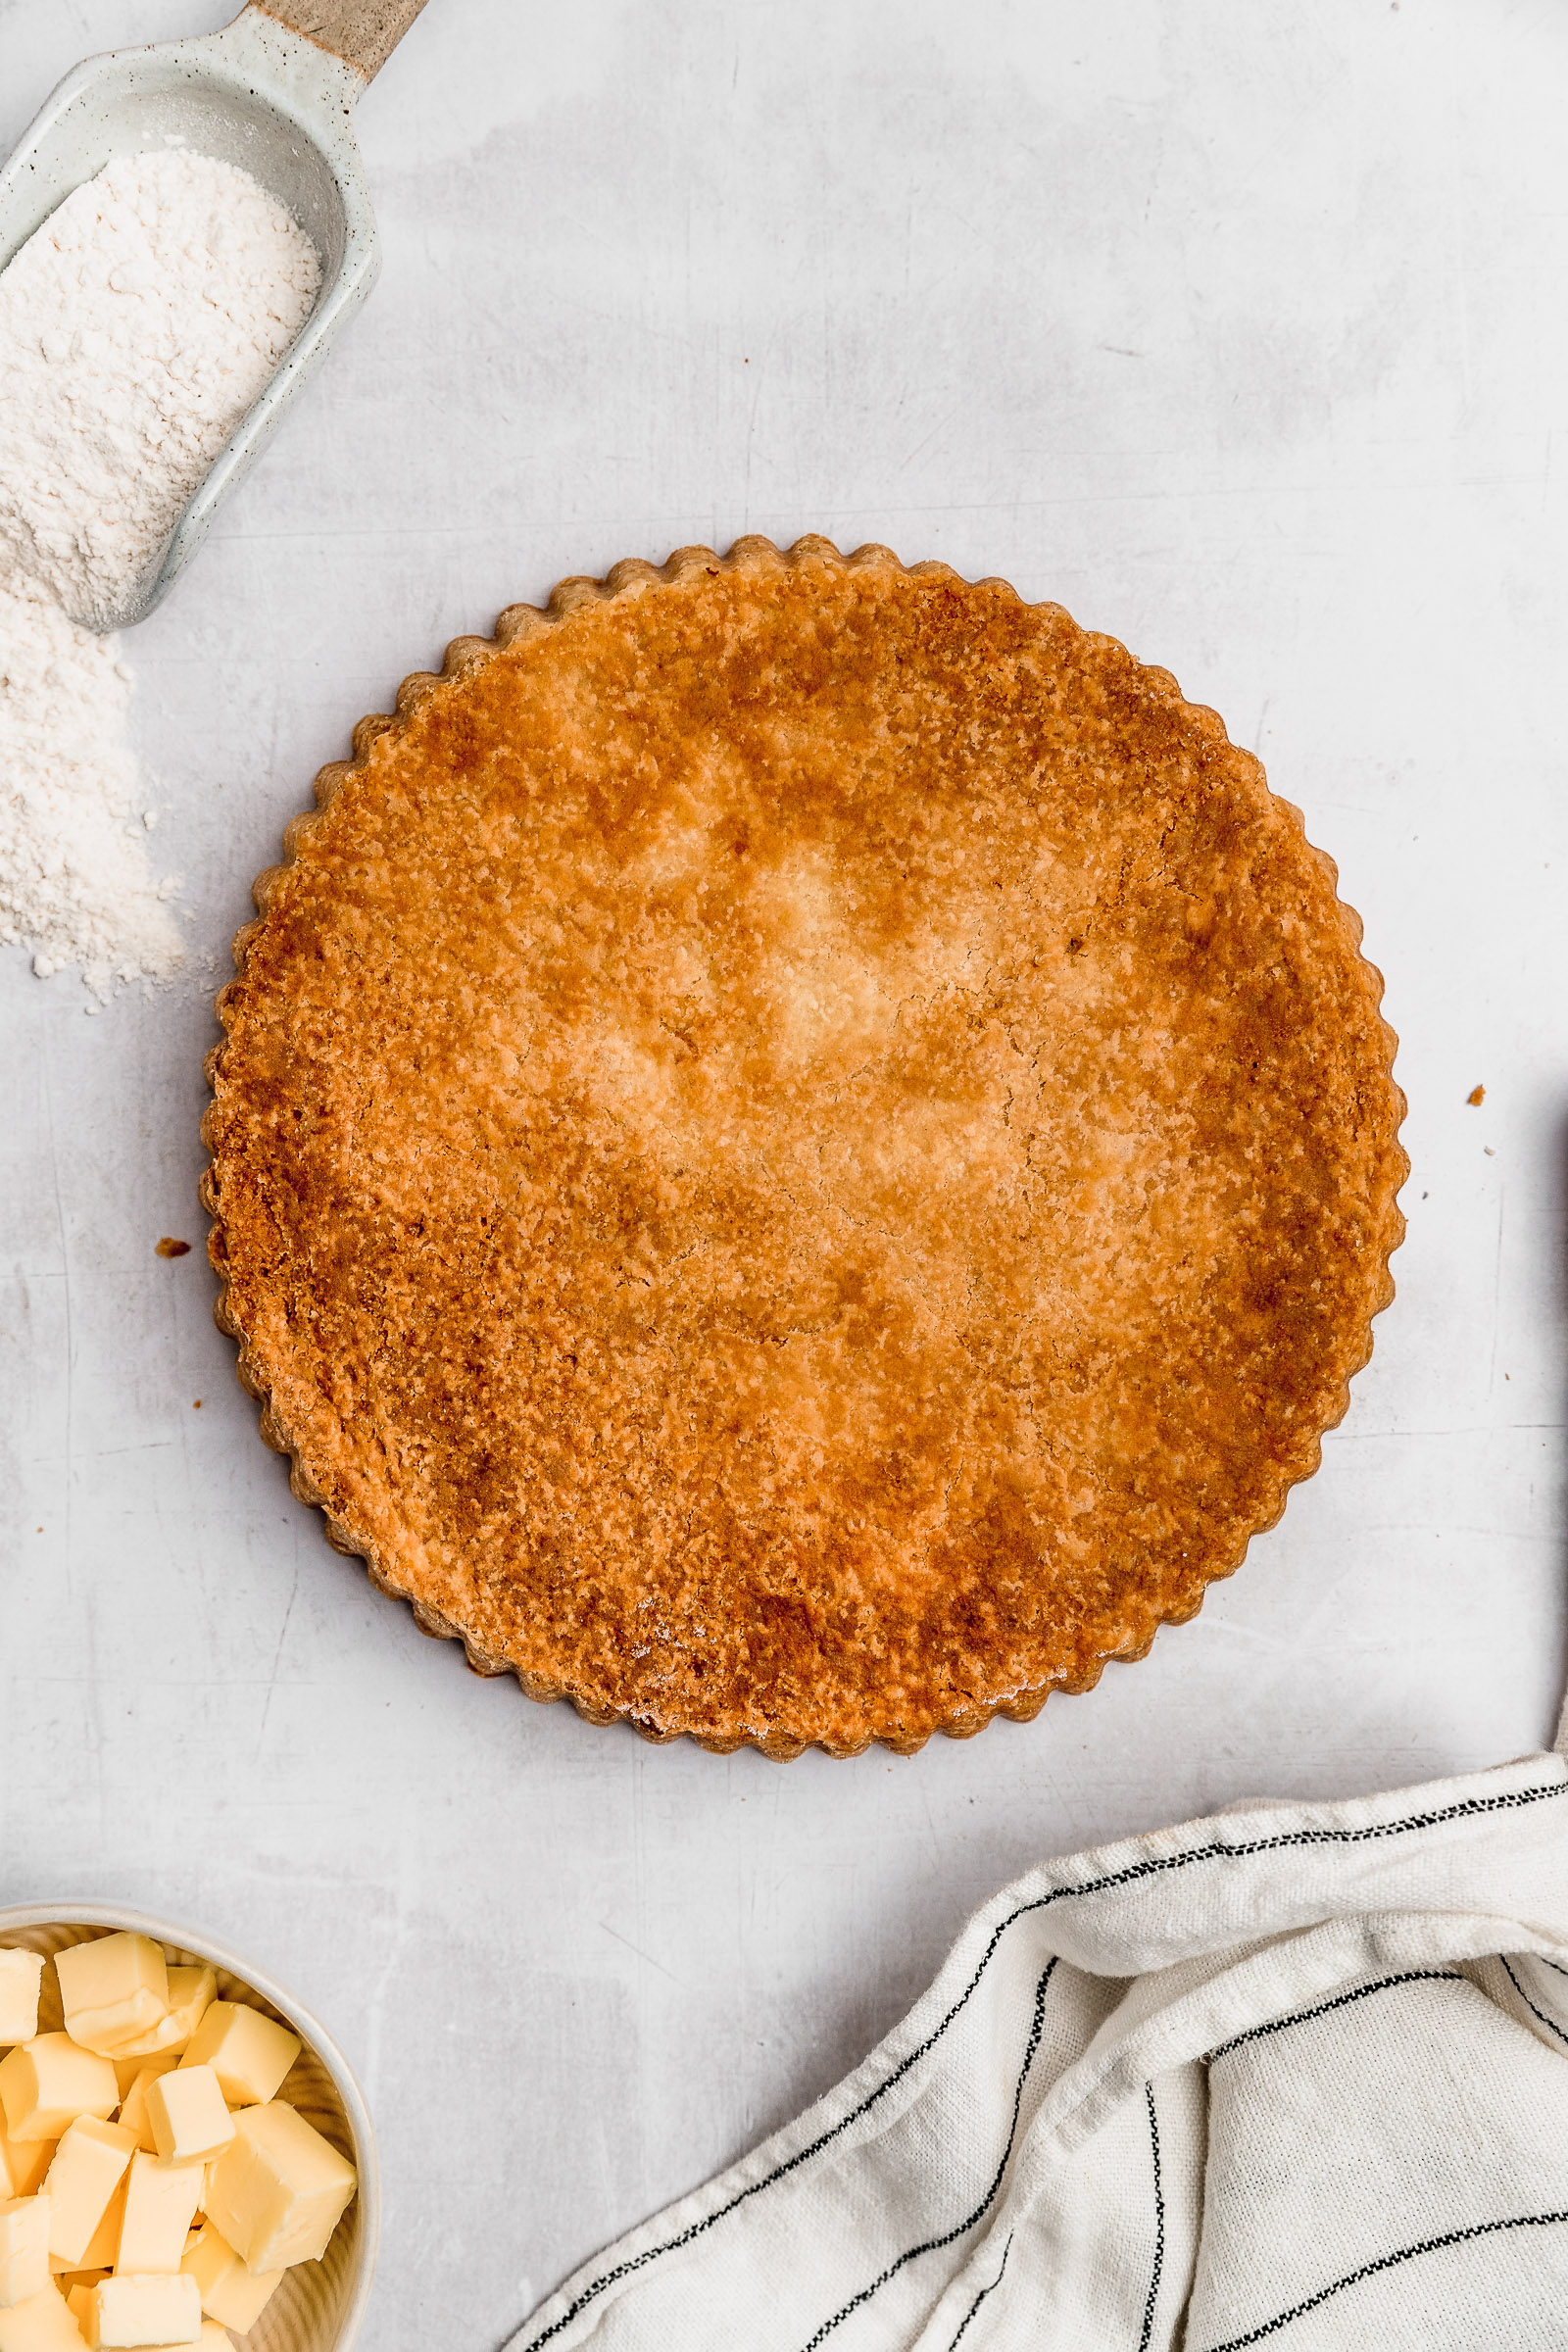
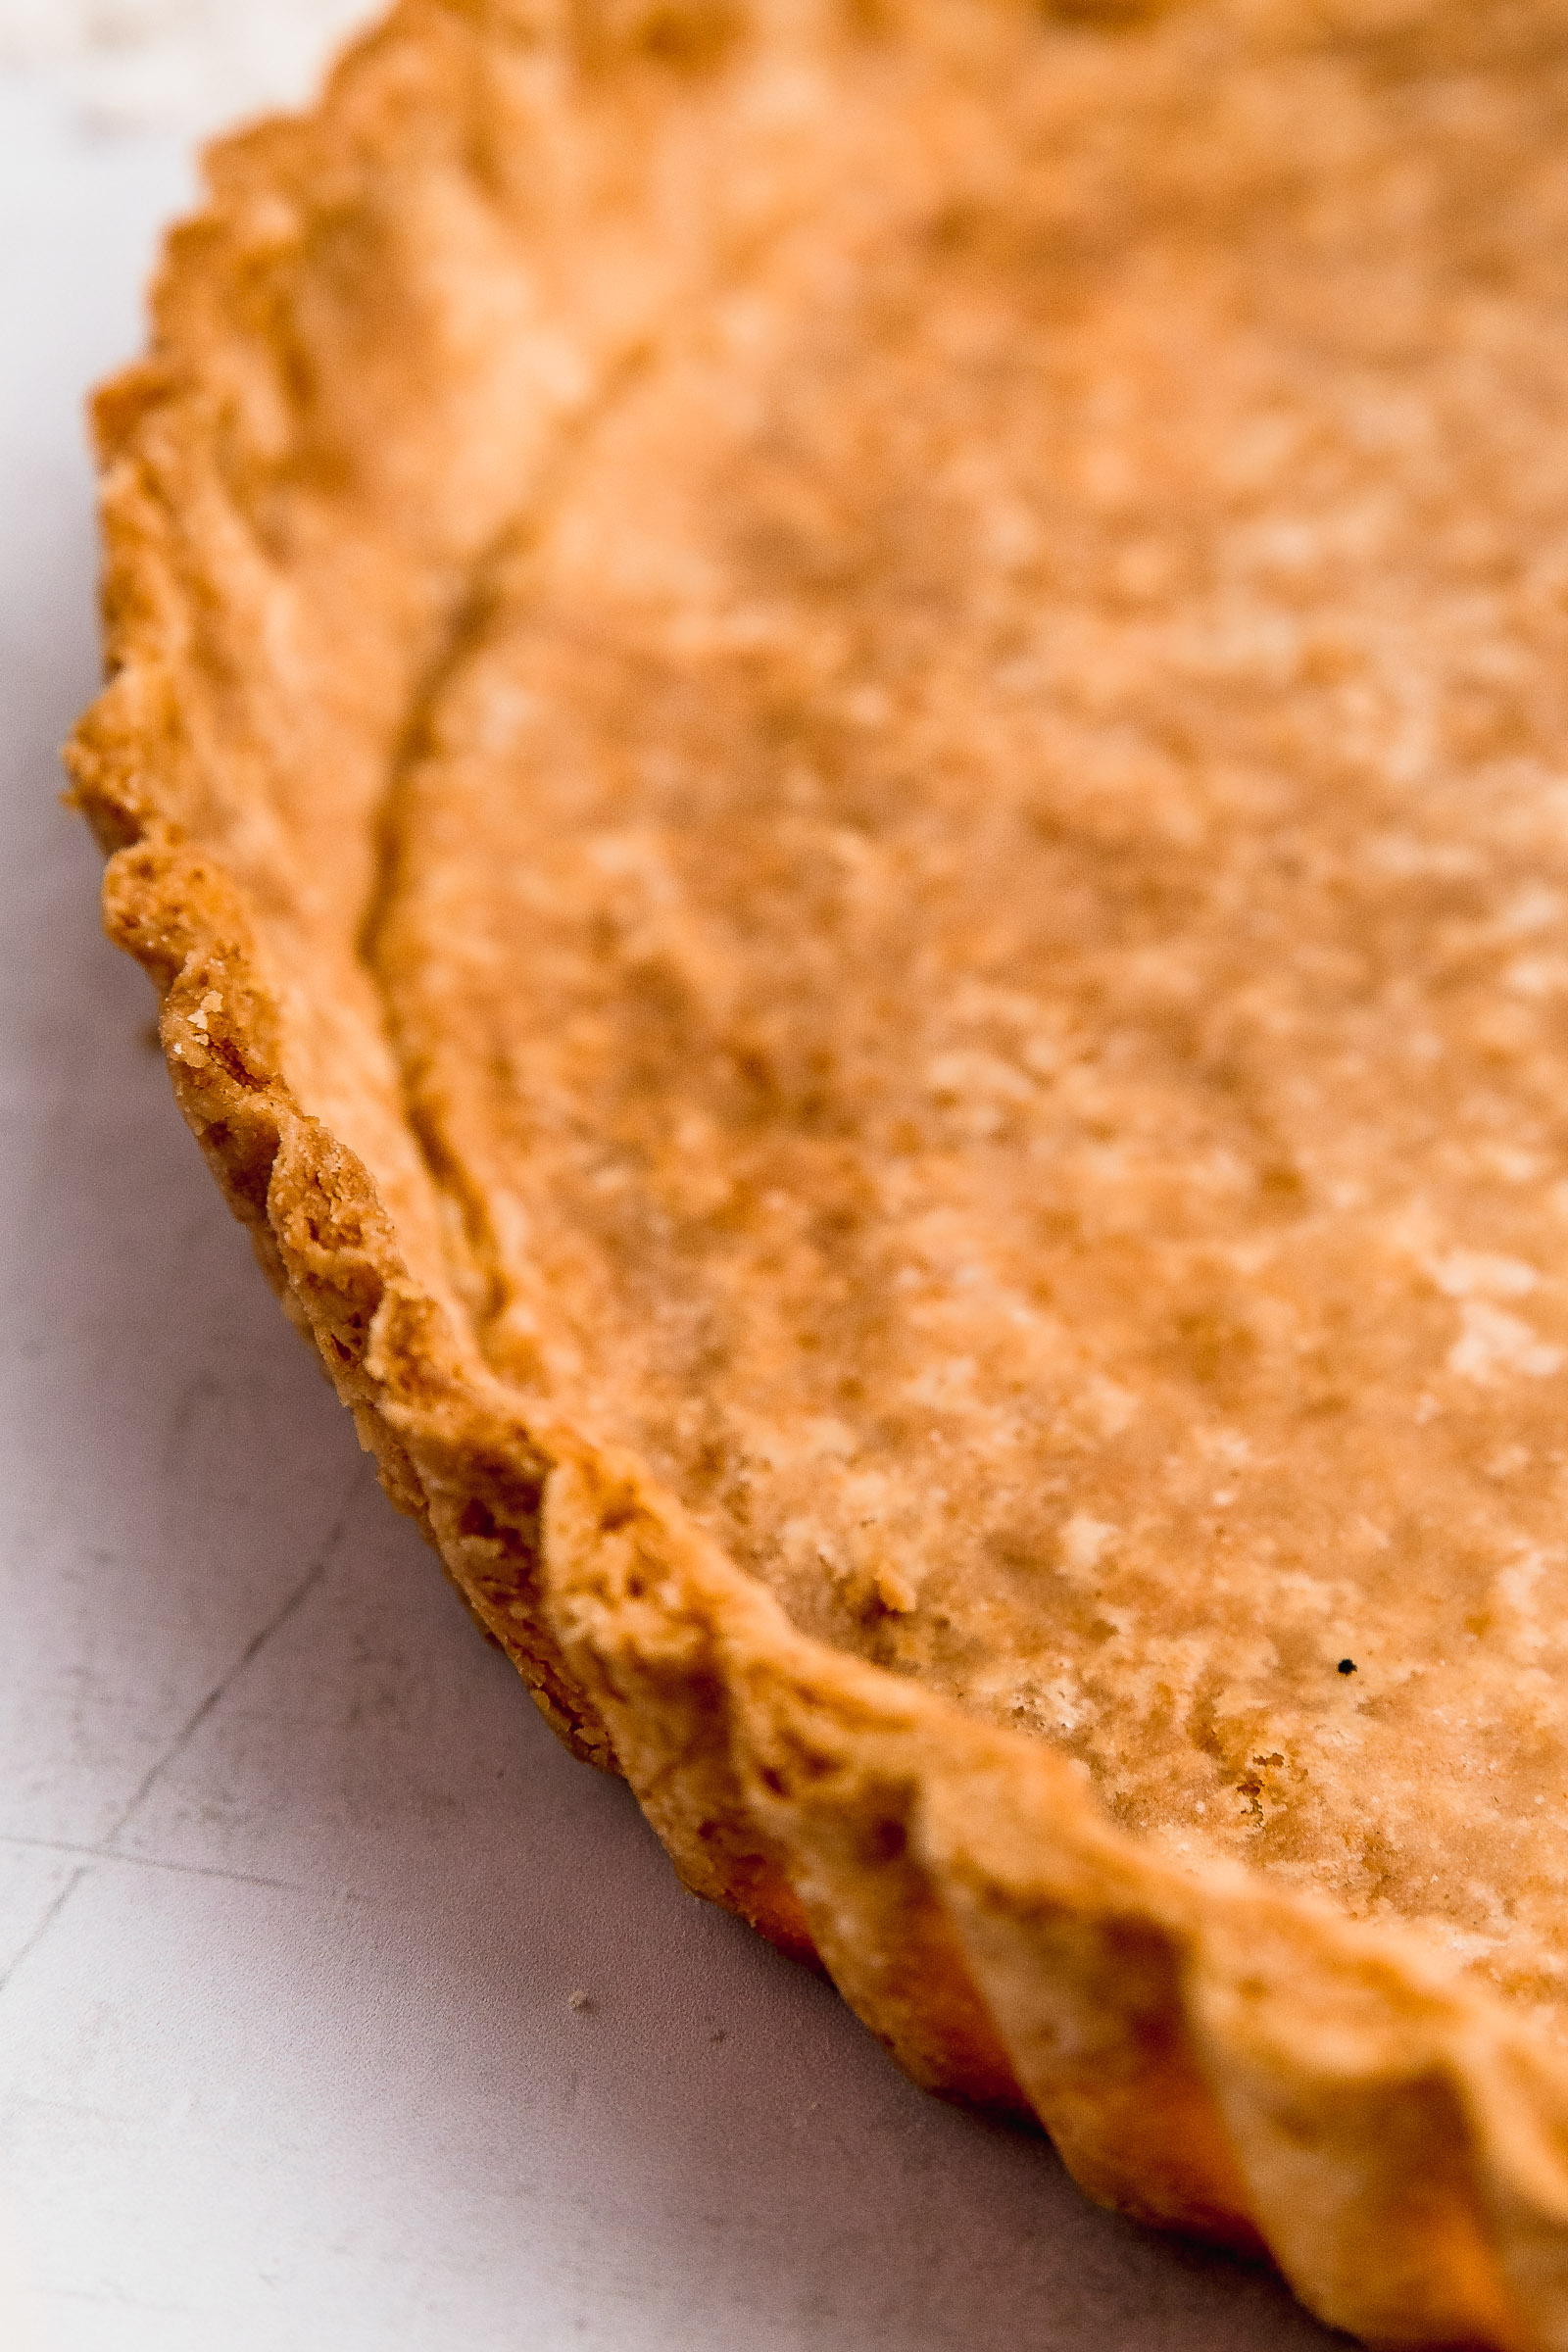
- Your pie dish: The material that your pie dish or pan is made of will affect the way that your pie bakes. A good pie crust is a lovely golden-brown colour at the base. To achieve this, the best material is metal and the worst are glass and ceramic. My favourite pie pan is this one by USA PAN. You can also use a tart pan like I did on the crust in these photos.
- Even browning on top: When you have assembled your pie and topped it with a closed lid or a lattice, you will notice that as it bakes, the top crust will bake unevenly. The edges that don’t have any filling or little filling under them will become golden much deeper. What I like to do is cover the edges with aluminum foil/tin foil for half the baking time. After that time I remove them and continue baking like that. This will ensure that you get an even browning on top always.
Freezing this all-butter pie crust
Now that you have made your all-butter pie crust without a food processor, you might be asking yourself if it’s possible to freeze. The answer is yes! After making the pie dough you can wrap it in plastic wrap and refrigerate it for up to 2 days. Also, you could freeze it for up to 2 months. You could actually freeze it for longer than that and it wouldn’t be harmful. However, the butter has this ability to rapidly absorb aromas from other food around it, so it starts to taste like “fridge food” if you know what I mean.
If you have it frozen and want to use it to make a pie, thaw it overnight in the refrigerator. The other option is to remove it from the freezer for 40 minutes to 1 hour before rolling it out. Thawing overnight in the fridge is my favourite option because it gets evenly thawed. From then on you just let it come to room temperature a bit and roll it out. With removing it straight from the freezer, it sometimes happens that one side starts to melt while the other is hard as a rock. Or maybe it’s really cold at the centre, making it tough to roll.

All-Butter Pie Crust Without a Food Processor
Ingredients
- 300 g all-purpose flour
- 60 g granulated sugar
- 1 tsp salt
- 220 g unsalted butter cold, cut into cubes
- 110 g water
Instructions
- Place the all-purpose flour, sugar and salt in a large bowl and mix them together.
- Add the cold butter cut into cubes and mix them in with the flour mixture.
- Pinch the flour along with the dry ingredients to break it up. We don’t want to completely turn it into tiny pieces like we would in other recipes. You should stop when you see about half tiny pieces and half medium pieces of butter. This is what makes this all-butter pie crust extra flaky.
- Add the water and knead slightly with your hands to incorporate the dough. Only knead until it comes together completely. Don’t knead more than you have to or it will turn tough. You will notice spots of butter in the dough and that’s perfect.
- Refrigerate the ball of dough covered in plastic wrap for 30 minutes or up to 2 days. You can also freeze it for up to 2 months. Now it's ready to roll out and use in your favourite pie recipe.
If you need to blind bake:
- After refrigerating, assess if the dough is too cold and give it about 15 minutes at room temperature before rolling out if it is. If it's OK, use a rolling pin to roll out the dough on a lightly floured surface. You want it to be about 3mm thick.
- Once your pie crust without a food processor is rolled out, you will place it in your favourite pie dish or pie pan. Then, you will cut the pie crust dough to the edge of the pan. Crumple up a piece of parchment paper that's larger than the pan and then stretch it back out. This makes it more pliable so that it can fit into the corners of the pie. Place it inside the pie pan over the dough and then fill it with pie weights. You can use ceramic pie weights that are specifically made for this use or use beans. You need the baking beans or weights to fill the pie all the way to the top in order to prevent the dough from shrinking as it bakes. That's why I rather use beans because they're more cost-effective for the volume we need. You can always store them after and reuse them as many times as you like.
- Blind bake the pie dough like this in a preheated oven at 180C/350F until the edges become golden and the bottom looks dry. This will take about 20 minutes. Then, you will remove the weight with the help of the parchment paper and place it back in for an extra 15-20 minutes or until it's evenly golden.
- Now you can wait for it to cool down and fill it with whatever pie filling you like.

2 comments
Very well explained, it’s like watching a video!
This is extraordinarily easy and delicious! It’s very flaky and buttery 😀