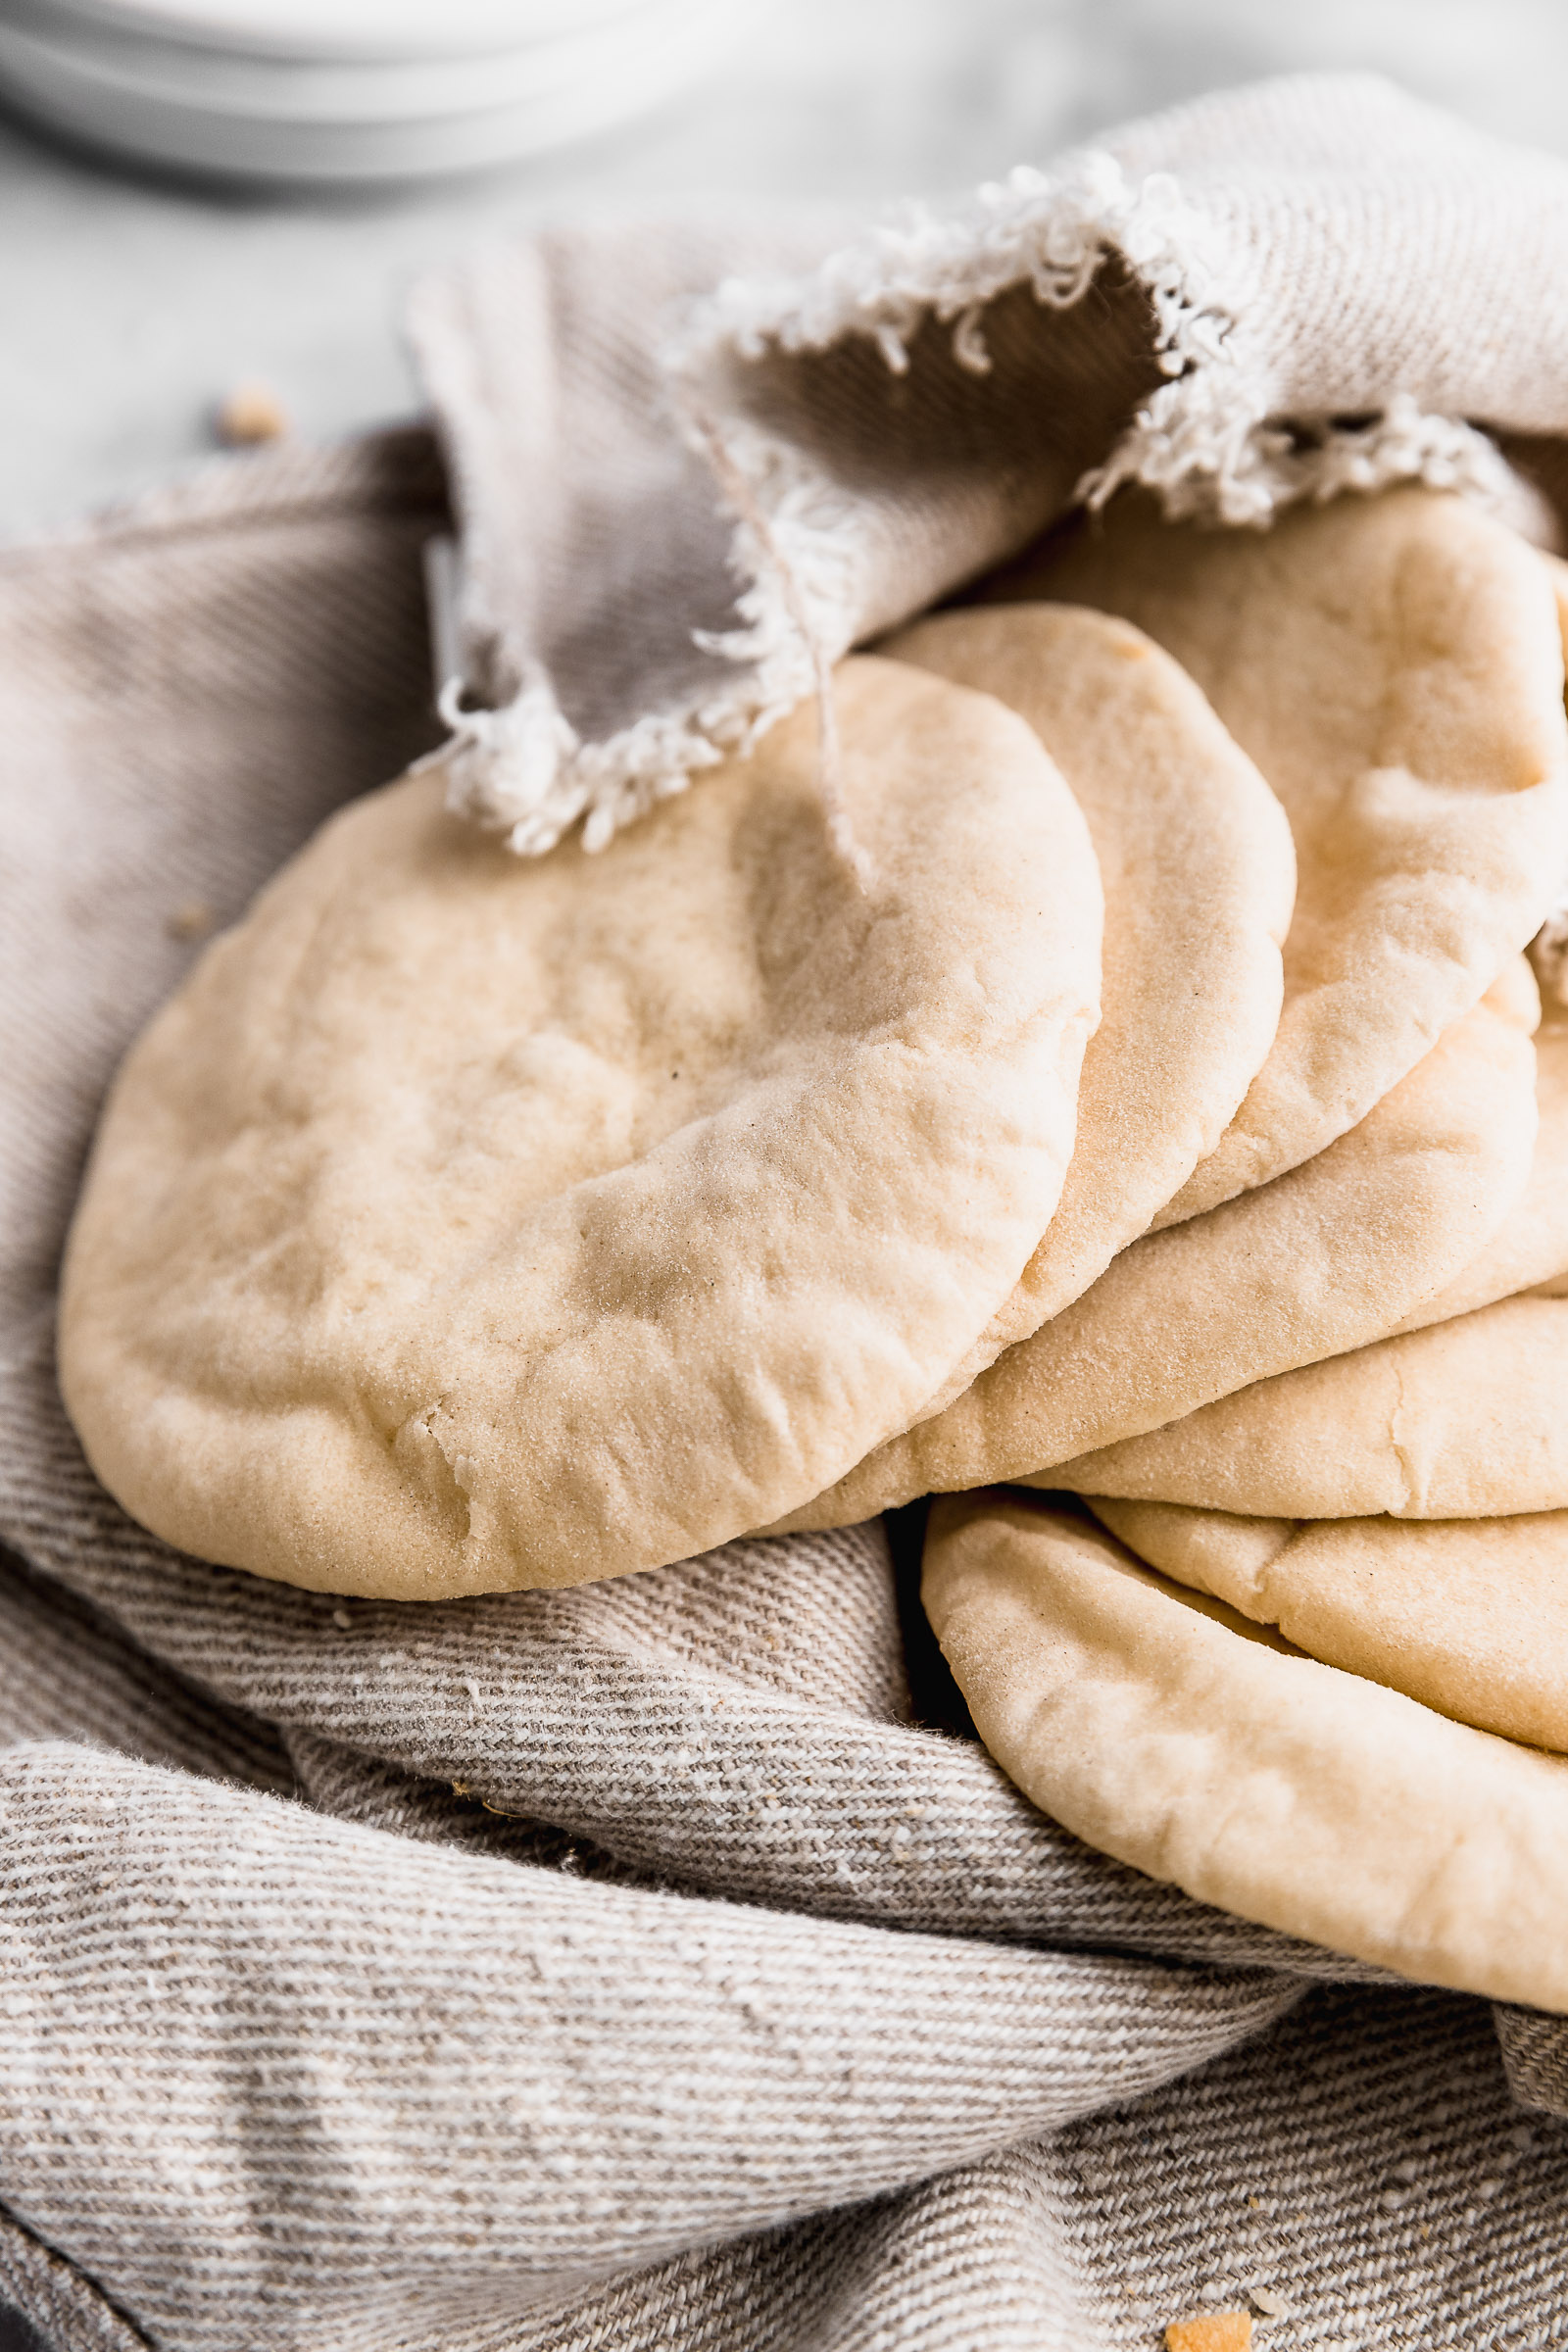
Pitta bread (pita bread) is one of my favourites and this recipe is exceptionally delicious and easy to make. The bread is nice and puffy and the taste is glorious.
Pitta bread (pita bread)
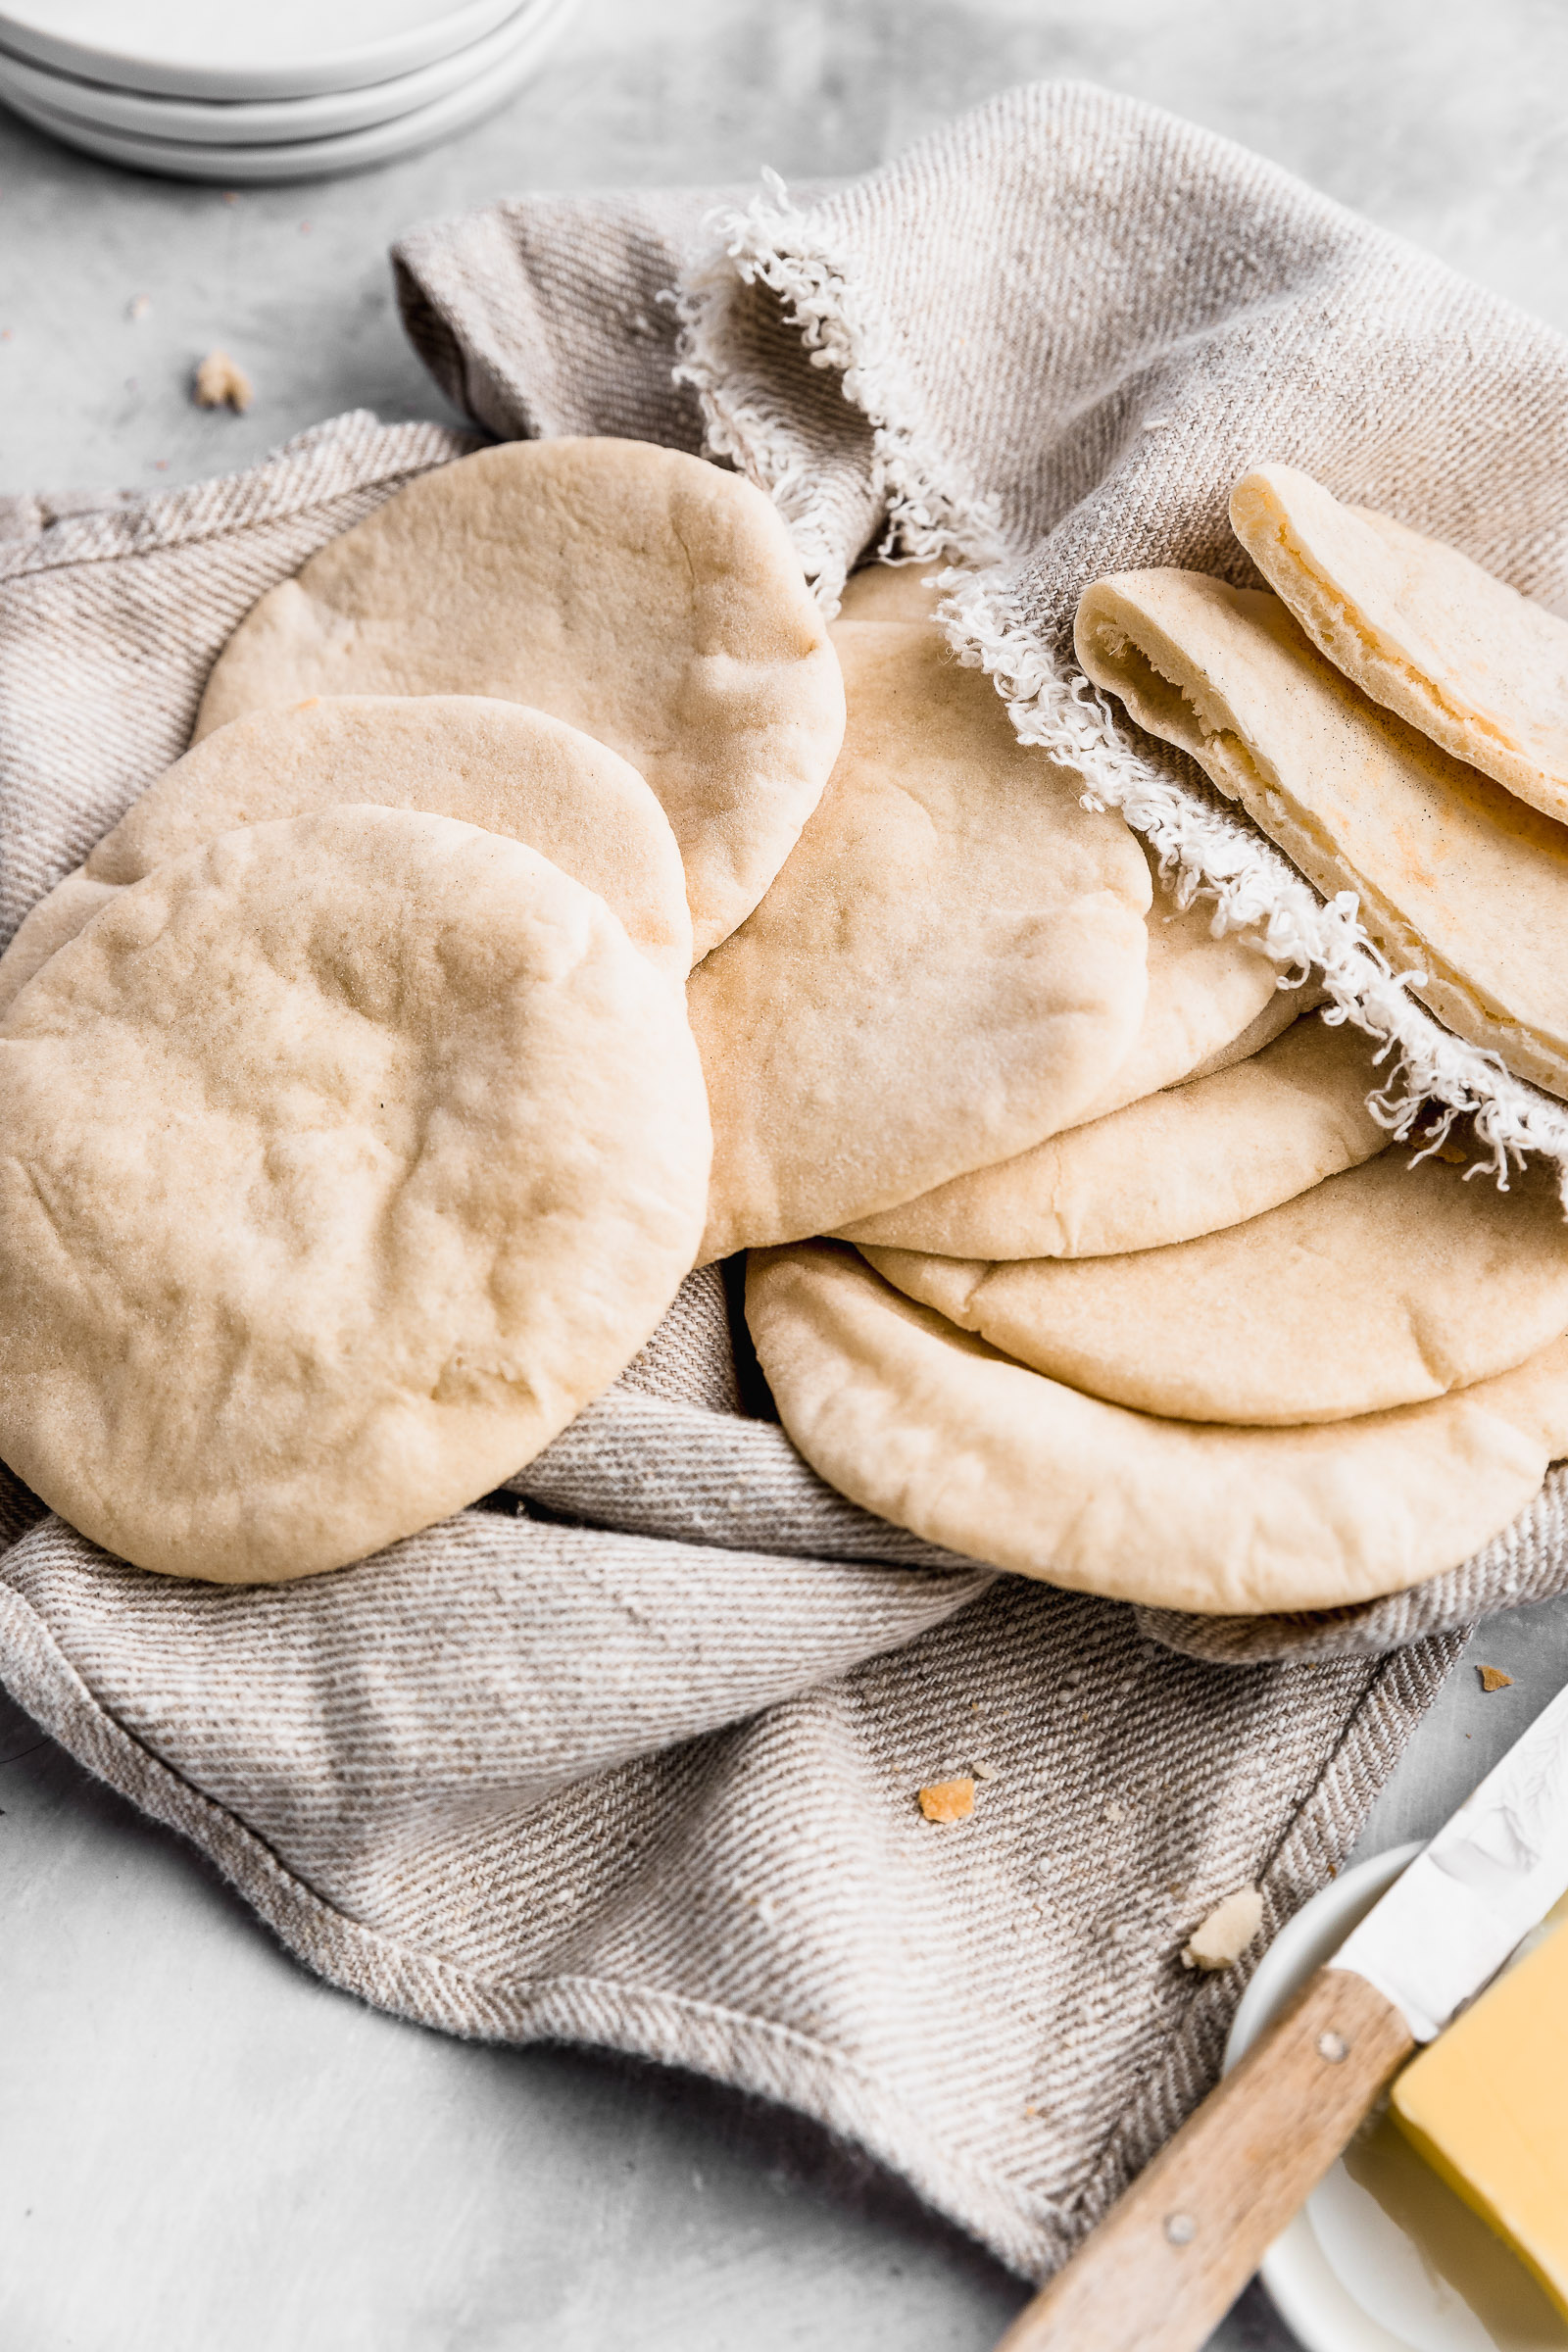
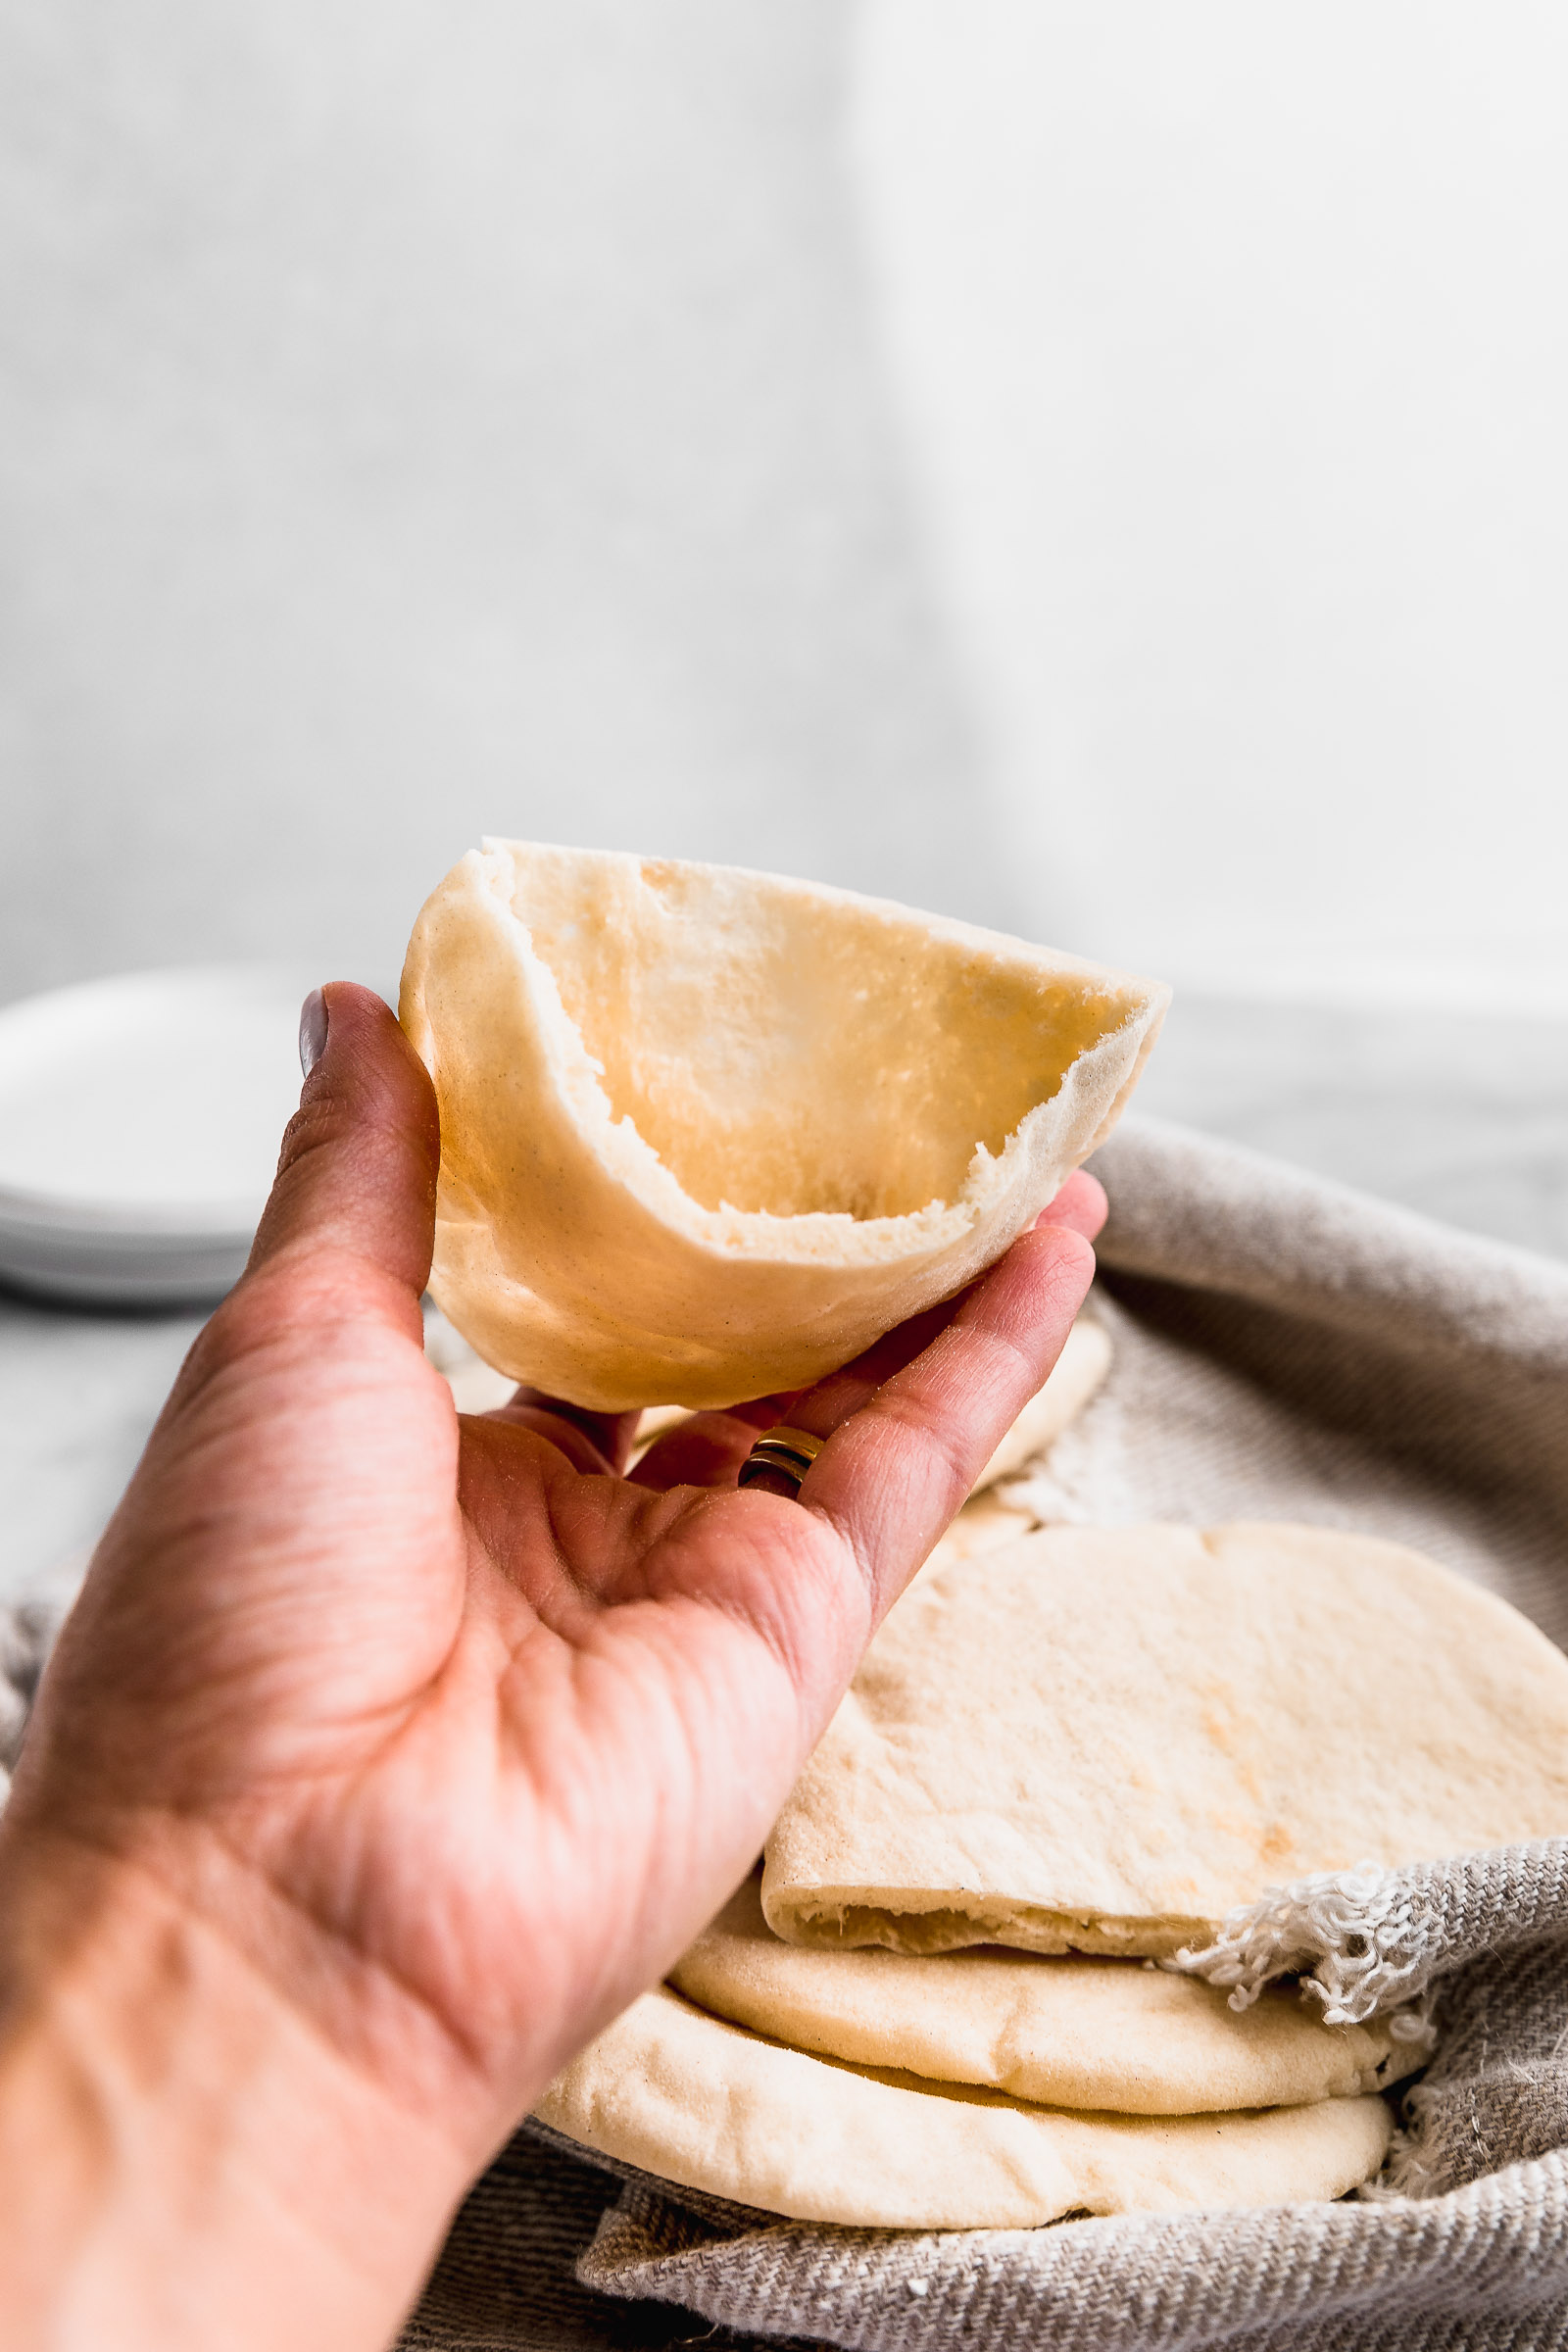
Pitta bread or pita bread is from the flatbread family, just like Nann. When baked, the dough inflates generating a pocket. You can stuff them, open them and toast them, make pita chips or use them for scooping hummus and dips. The pocket forms because it’s cooked at a high temperature and that heat shock generates steam in the dough and makes it puff.

How to bake it
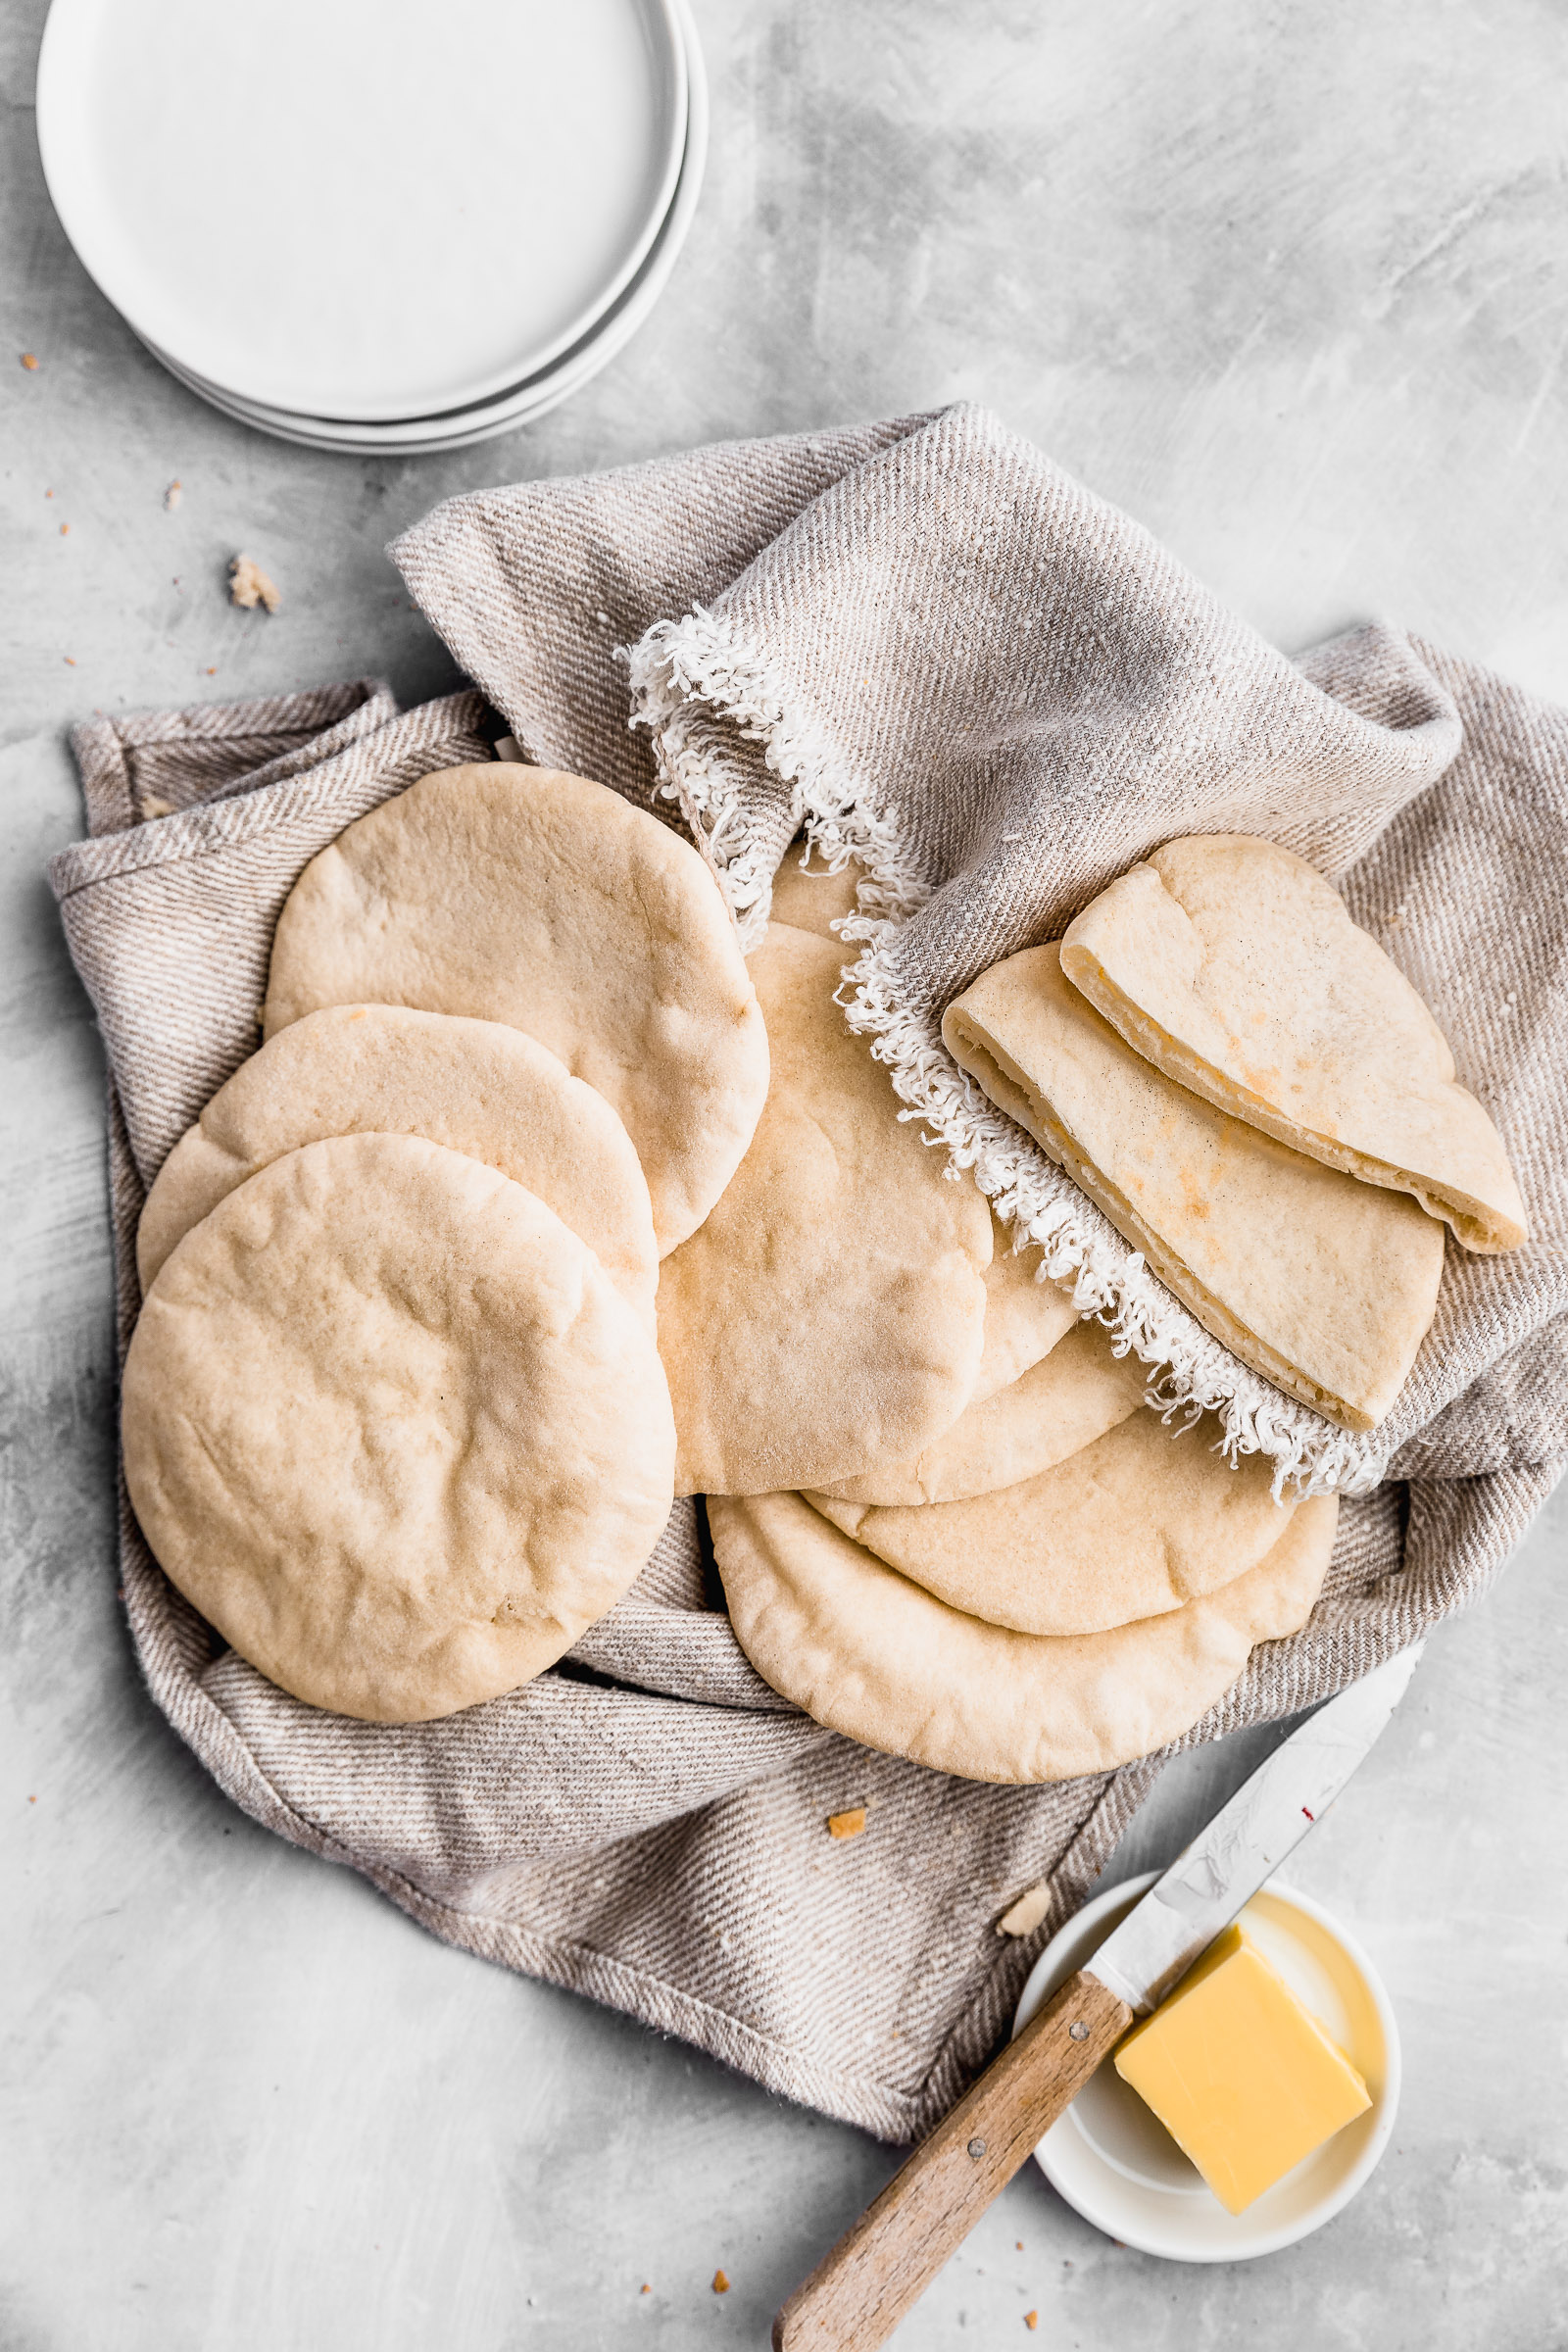
To bake pitta bread (pita bread) you will first preheat your oven to 250°C/480°F or to the maximum heat that your oven allows. Along with the oven, you will preheat a pizza stone or a cast iron flat grill or pan. It also works really well with a good quality baking tray that has good heat conduction. Once everything is very hot, you will place the flattened dough portions on top of the surface of your choice. With the heat, the pitta bread (pita bread) will inflate like a balloon. After 2 minutes they’re ready and you can remove them from the oven. Don’t let them overcook or you’ll get crispy balloons instead, lol. When they come out they should be white and soft.
The dough
The dough for the pitta bread (pita bread) is very simple to make. You just need to mix all the ingredients in a bowl and knead by hand or using a stand mixer with the hook attachment. By hand, it will take about 20 minutes and 10 minutes with the stand mixer. The result is a smooth, soft and very slightly sticky dough. Like most bread, the dough needs to proof in a warm place. In this process, the yeast feeds on the flour and in turn generates carbon dioxide which is the air in bread. After the first proof, I divided the dough into small portions of dough and shaped them into buns. These buns are then proofed once again before rolling them out and cooking them. When you roll them, make sure to have a thin dough of about 2mm thick. This helps a nice pocket formation.
When proofing the dough, it’s important to have it covered and in a warm spot. To generate a warm environment for yeasted doughs, I like to turn on the light in my oven. I don’t turn on the actual oven but only the light. Oven light bulbs are usually not efficient and thus generate heat when they’re on. This usually is enough for this purpose. To cover the pitta bread (pita bread) dough, you can use wet kitchen linen or plastic. I have a bowl with a lid that works perfectly or you can also have a couple of plastic bags that you can reuse for this purpose.
The best pitta bread (pita bread)
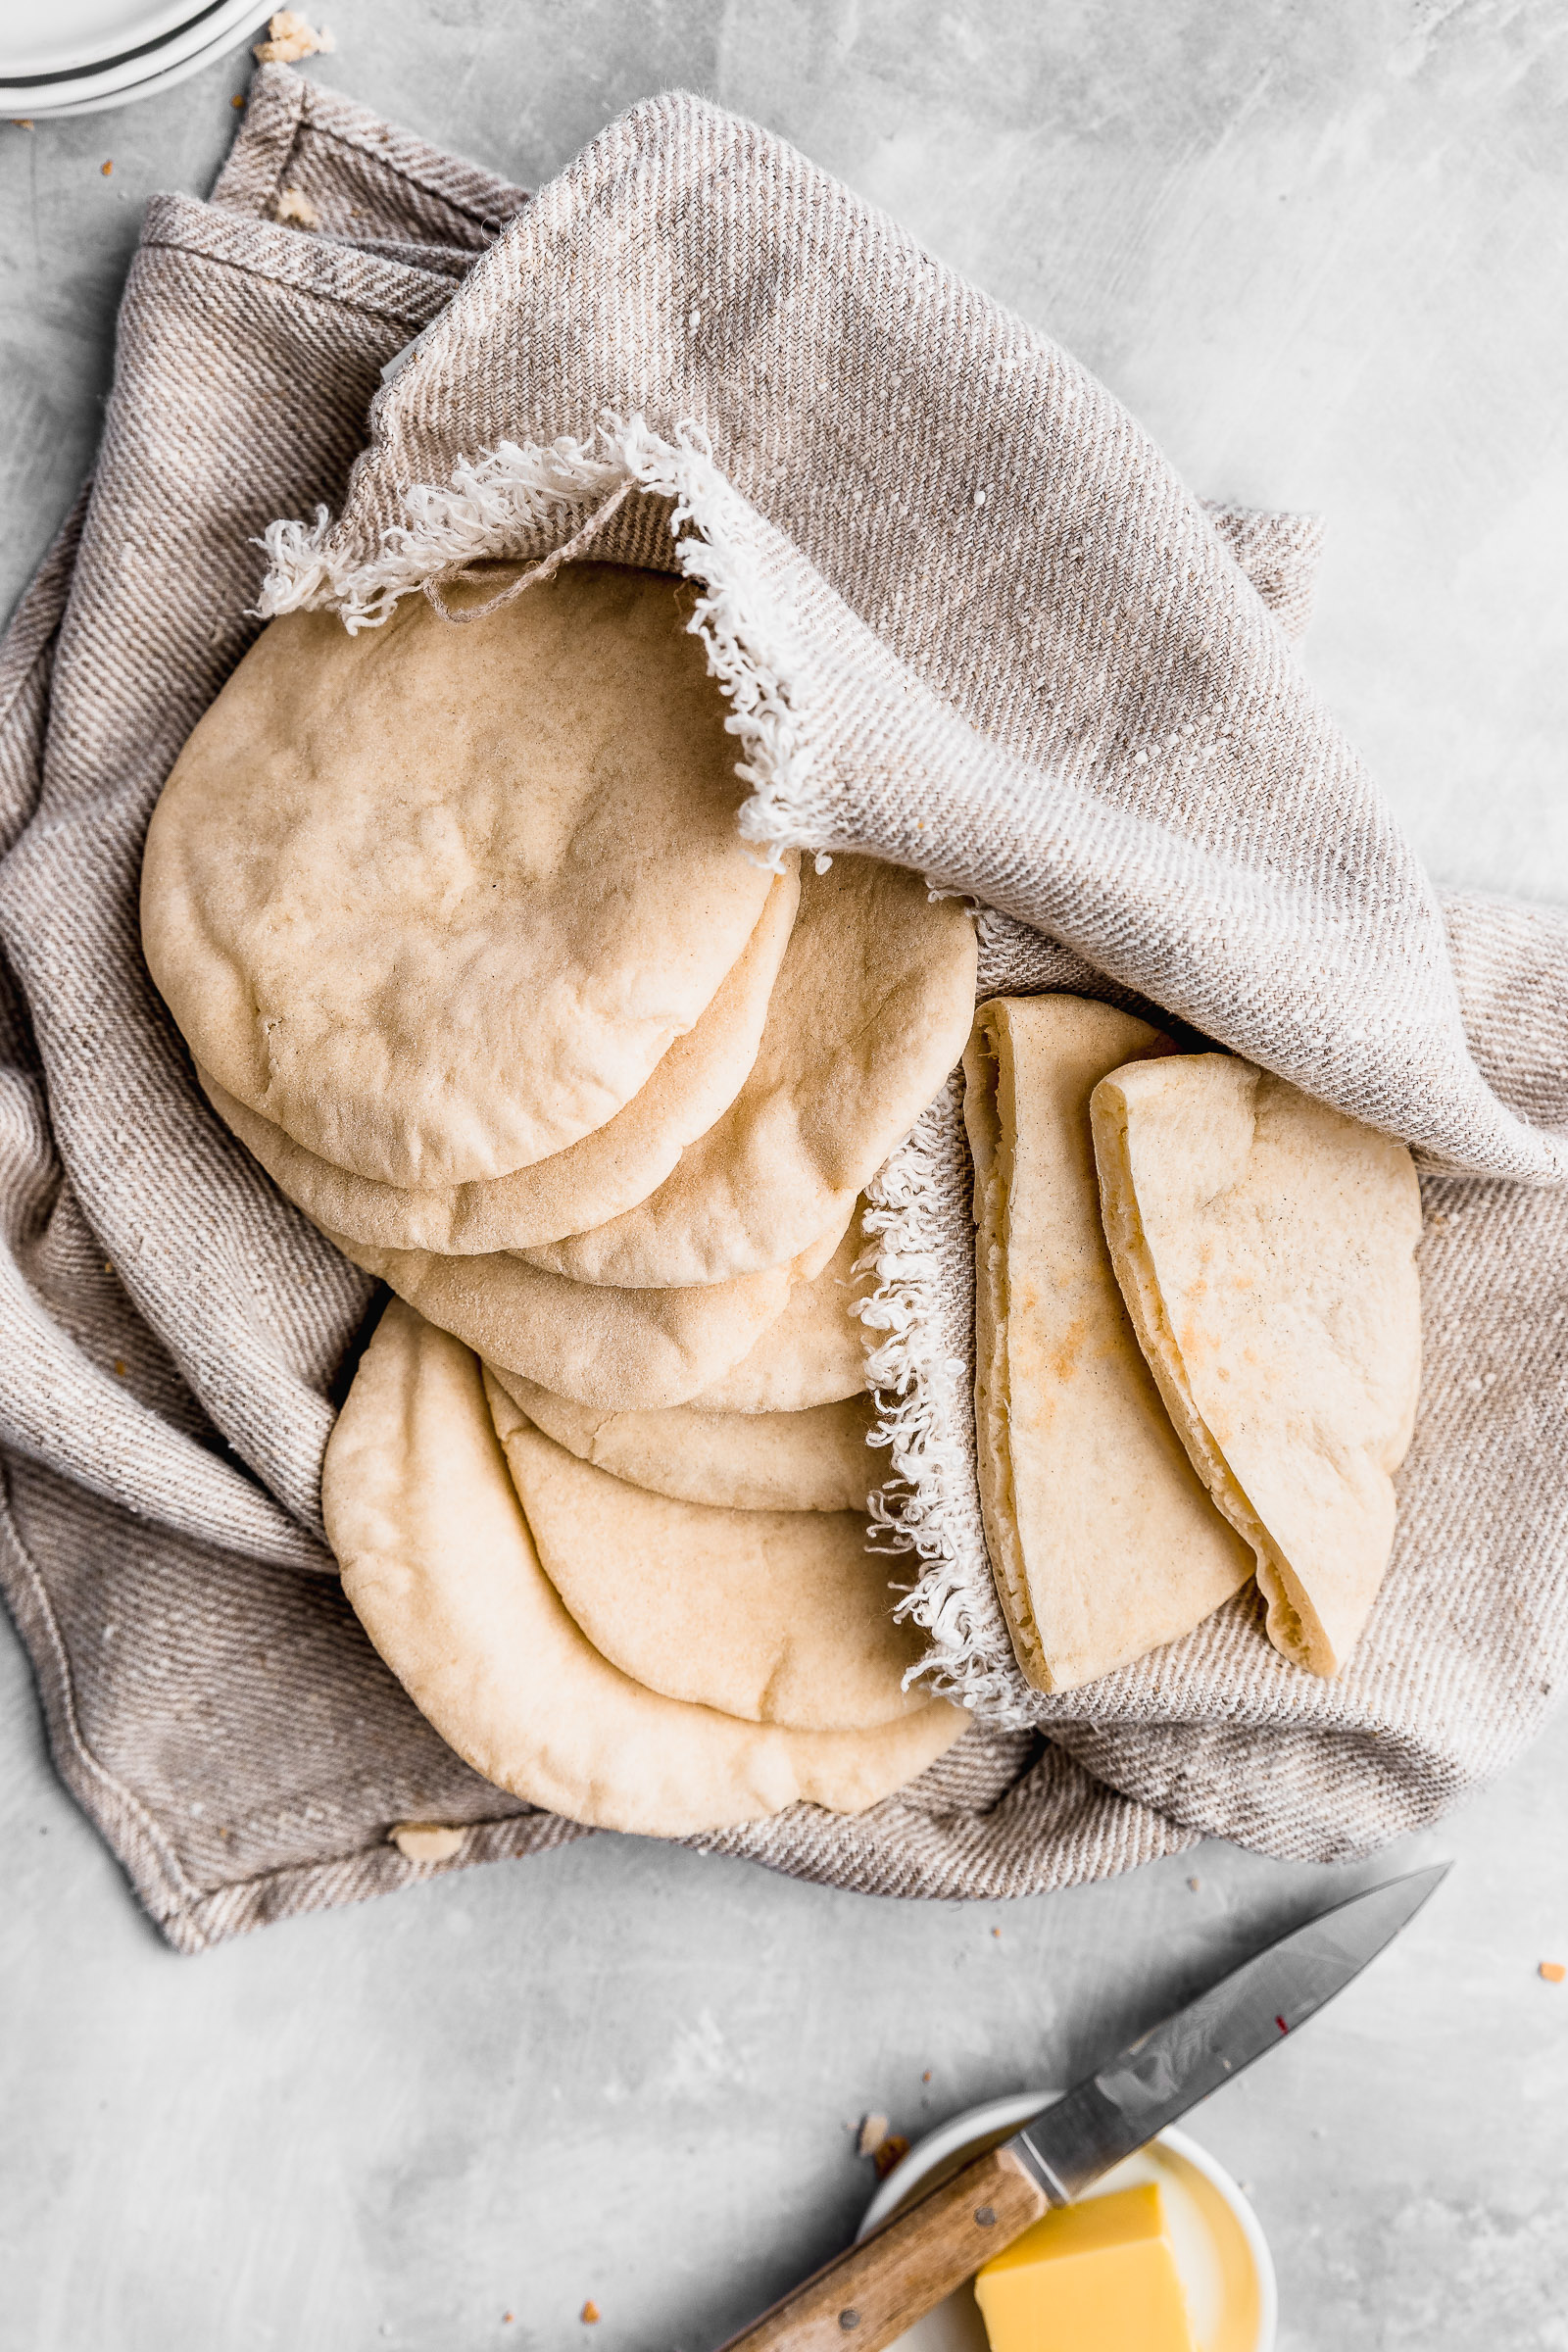
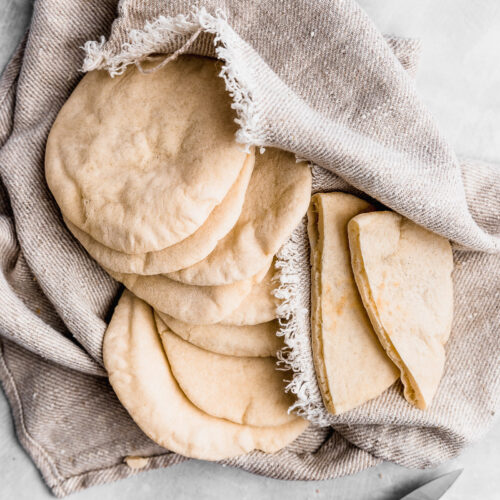
This is a small yet powerful bread. When I made it, to taste it, I drizzled a bit of olive oil and salt onto a plate and we dunked in with a piece of bread. It was like an out-of-body experience. Not only is the bread delicious, but it’s also light, like eating a thin cloud. It becomes addictive and you can’t stop eating it. When I made this pitta bread (pita bread) Javi’s family (my husband) was coming over for dinner. I warmed up a few pitas on a hot pan and cut them into triangles. Since I loved it so much with olive oil, I repeated the formula. I drizzled olive oil and balsamic vinegar onto a place and sprinkled it with salt flakes. Well, it was a COMPLETE SUCCESS. I had to warm up some more because they needed to keep eating it. I had made a lot of effort for the main course but they just wanted more bread! LOL.

Ingredients
- 370 g all-purpose flour
- 7 g salt
- 9 g instant dry yeast
- ½ tsp granulated sugar
- 15 g olive oil
- 250 ml warm water
Instructions
- Mix all the ingredients in a bowl and knead for 20min by hand or 10min using a stand mixer with the hook attachment on medium speed. The result should be a soft and slightly sticky dough. If it's sticking too much to your hands, add a bit more flour at a time.
- Proof for 1 hour, covered and in a warm spot. I usually proof my dough in my oven with just the light on.
- After this time, weigh the dough and divide it into 16 pieces with the same weight.
- Form buns by first flattening one of these dough sections. Then fold the edges in forming a parcel. Turn it over so that the seam is against the surface. Roll it while gently pressing down to close the seam.
- Place on a cooking tray, cover with a damp kitchen towel and let proof for 20 minutes.
- Sprinkle a bit of flour onto your kitchen surface and roll out the buns until 2mm thick.
- Preheat an oven to 250°C/480°F or to the maximum temperature that your oven allows. Inside the oven, you will also preheat a pizza stone or a cast iron flat grill or pan. You can also use a baking tray but ideally stick to the first options.
- Place the pieces of bread that fit comfortably on top of the hot surface of your choice and cook them for 2 minutes. They should puff up like a balloon.
- Remove the bread from the oven and repeat with the others.
- You can freeze them for up to 3 months in a bag or air-tight container.